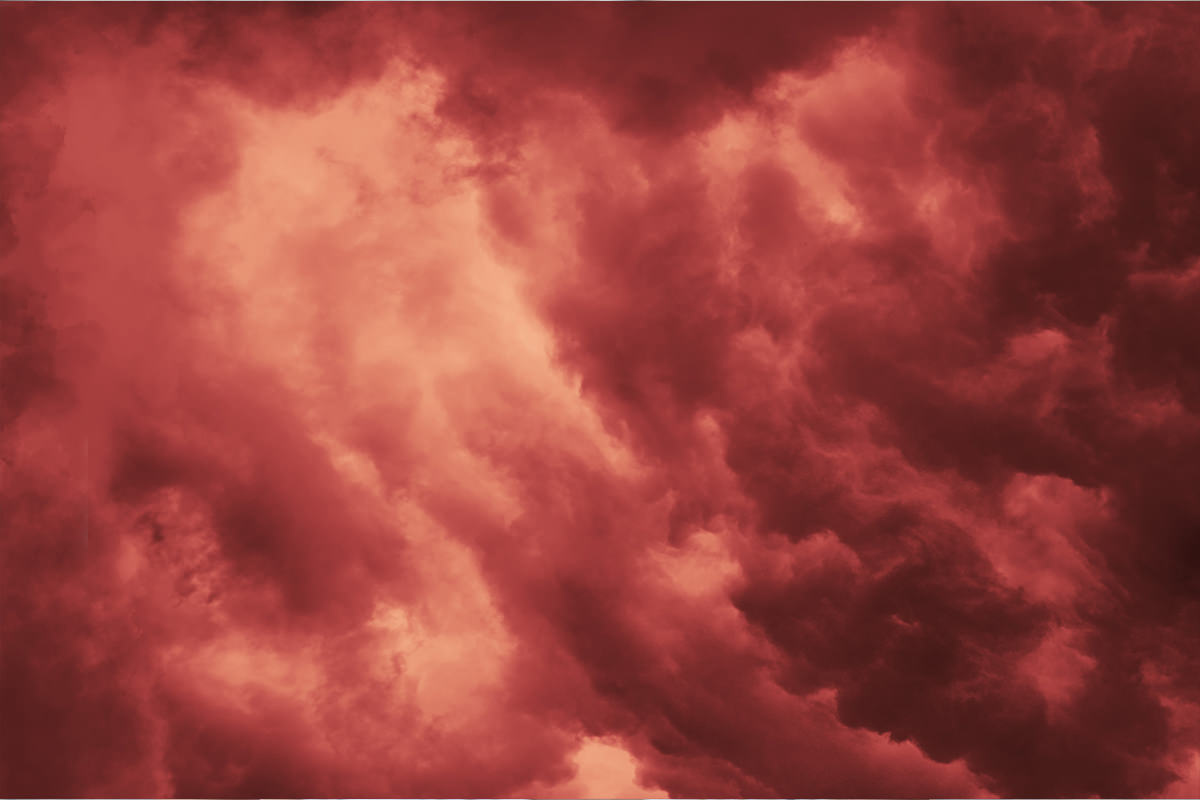

BEFORE
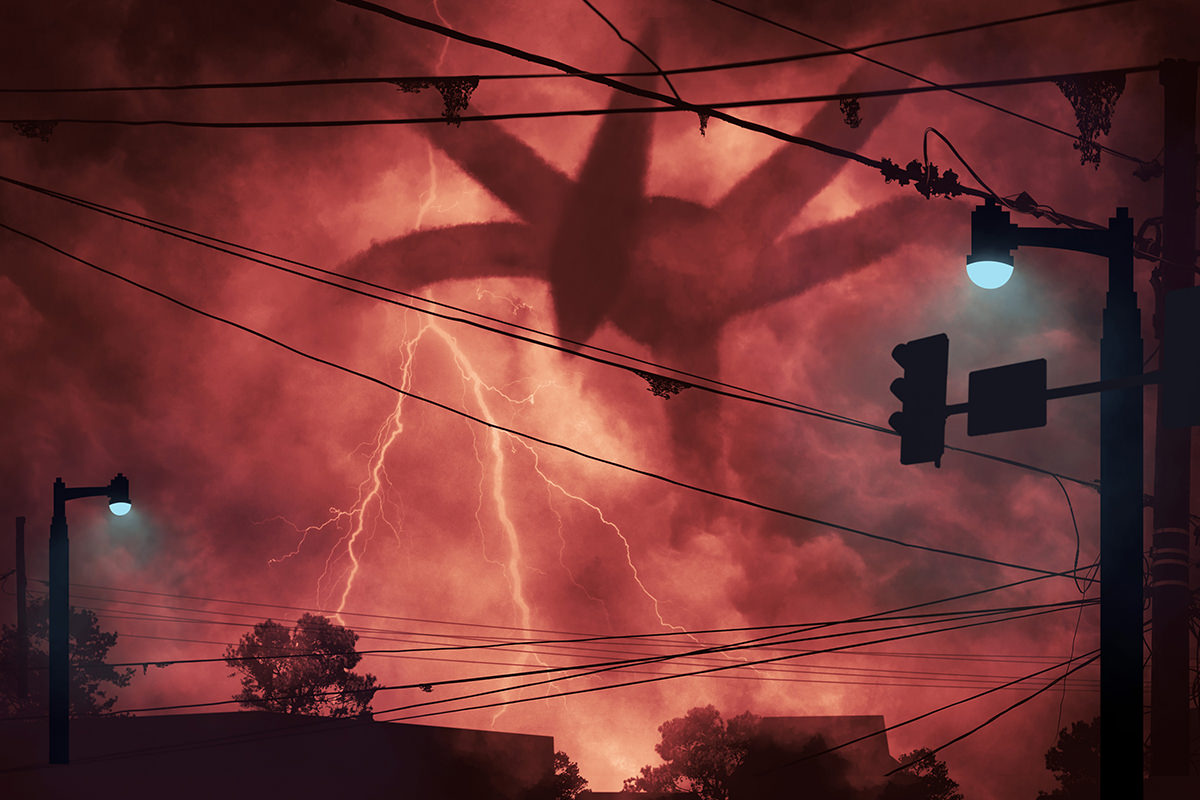
AFTER
Download Sample Images
Click the link below to download the sample images and follow along with this tutorial.
DownloadTutorial Description
Today, we’re venturing into the Upside Down to bring a giant shadow monster to life. We’ll show you step-by-step how to create the environment and the creature. Then we’ll animate them into a cinemagraph.
Download our FREE Cloud Brush!
STRANGER DANGER
We’re creating this image from scratch, using only stock images for some environmental elements and then we’ll be drawing in the monster and some additional structures. This image is all about creating depth, so we’re starting with our stormy sky background and then we’ll be slowly working our way to the foreground.

Quick Tip: When creating an image with a lot of depth, it’s generally a good idea to start with the elements that are further away and the work your way up to the foreground elements.
We also recommend placing a Black & White adjustment layer on the top of your layer stack before starting. This will help you focus more on highlights, shadows, and composition as you piece your image together. You can disable this or remove it at anytime, and we’ll eventually want it off once we start the coloring process.
Layer Blending Modes are going to be a huge asset as we continually add new layers to build the composite. For example, to create the sky, we brought in the image of our stormy sky, Duplicated that layer by hitting CTRL or CMD + J and then changed the Blending Mode of the new layer to Multiply. Use our FREE custom Cloud Brush to blend your cloud layers and add more variety.
Tools & Techniques
There are a variety of tools and techniques used to Mask objects in Photoshop and we’ll be using a ton of them throughout this tutorial. We’ll use everything from the Magic Wand Tool (W), to the Lasso Tool (L), to Channels, to Selective Color to make our masks. We’ll go over what masking techniques are best for specific situations.
We’ll be drawing in all of the elements that aren’t part of a stock photo. In this case, the light posts and the monster were created by hand. Using the Brush Tool (B), along with the same Cloud Brush that we used earlier, simply paint in shapes for each of the monster’s limbs. Since we’re working primarily in silhouette, it’s surprisingly easy to get something that looks like it’s emerging from the clouds. By sampling (ALT or OPTN) colors from the clouds, you can paint additional clouds in front of the monster which will help incorporate it into the environment. We recommend a flow of about 1% since we want this effect to be relatively subtle.
Additional Elements
For the additional buildings, light posts, and power lines, you can use a combination of the Rectangular Marquee Tool (M), Polygonal Lasso Tool (L), and Pen Tool (P) to draw in more foreground elements. Again, since we’re working with silhouettes, this process is incredibly easy and effective.
We wanted to make this image more dynamic and thought it would be perfect for making into a simple cinemagraph. You can animate images in Photoshop by using the Video Timeline. By adding Key Frames for opacity adjustments to the lightning layers and street light layers, you can create the illusion of lightning flashes and flickering lights. If you’ve never made a cinemagraph before this is a great place to start! We also added a bit of opacity change to the monster to create the appearance of a little more movement.
Alright, ya demogorgons, that’s all we’ve got this week. We wanted to keep this image relatively simple so that once you understand the techniques, you can play around to create a monster image and animation that’s all your own. So have fun and be creative!


