
THIS COURSE INCLUDES
- 5 Lessonsin 2 sections
- 1h 44mof 4K video
- Beginner-Friendlymade for newcomers
- 7 Sample Images6 JPEGs + 1 RAW file
- 6 Layered PSDs+ Frequency Separation action
- Captionsand chapters on every lesson
Part of a Learning Path
Join PHLEARN PRO for instant access to this course and every tutorial on PHLEARN.
- Stream in up to 4K on any device
- Closed captions and chapters on every course
- Download all sample images and PSDs
- New PRO tutorials every month
- Cancel anytime
Description
Learn essential in-studio photo editing in Photoshop to transform your studio photos. We show you how to tackle the common problems of photographing people in a studio, from a backdrop that isn’t big enough to hair that has to be cut out perfectly, and how to take a RAW image from Camera Raw all the way to a finished retouch. The 5 lessons start simple and get more advanced as you go.
This course covers removing distractions, extending backgrounds, integrating graphics, and mastering cutout techniques. You’ll learn to clean up floors, backdrops and wrinkled clothing with Generative Fill, cut a logo out and place it behind your subject, and select fine hair detail with Select and Mask and channels. Discover how to eliminate fringing so your subject works on any background, change backgrounds using AI, and see where AI still needs a hand. The final lesson brings it together with color correction in Camera Raw, Liquify, blemish removal and frequency separation, to retouch for flawless results. Included with this class, you’ll receive both JPEG and RAW files, plus our handy Frequency Separation Action.
Note:
This tutorial features assets from Adobe Stock. Due to copyright restrictions, we can only offer a low-resolution preview here. However, you can download the high-resolution asset for free directly from Adobe Stock (link provided in the download Sample Image folder).
What You’ll Learn
- Cut out subjects cleanly and fix edge fringe
- Extend and change backgrounds with AI
- Remove distractions and retouch for a polished shot
Course Downloads
Transform Your Studio Shots
Studio Photo Editing in Photoshop: Selection & Masking
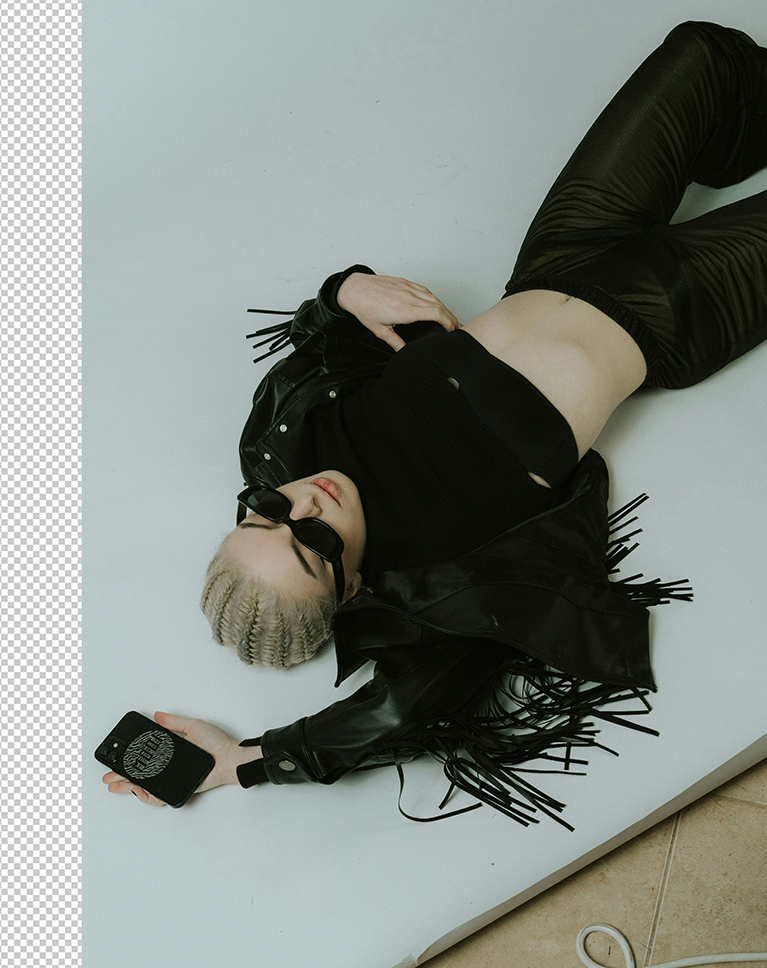
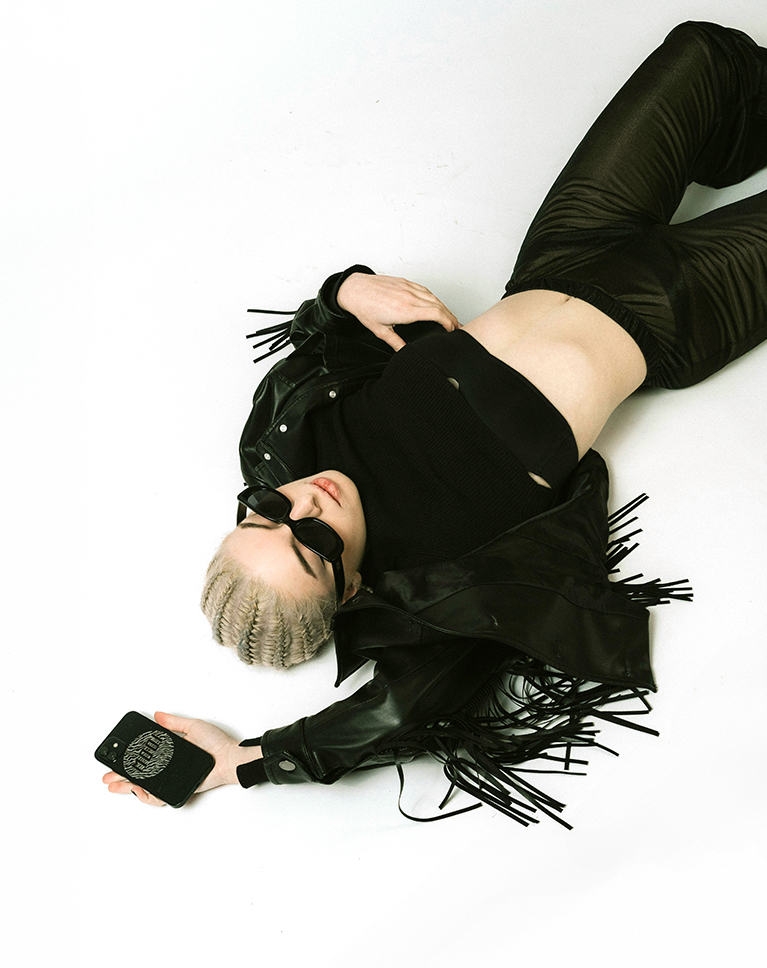
In this studio photo editing in Photoshop tutorial, you’ll learn the ins and outs of selection and masking tools, essential for isolating specific areas of your image. Discover how to use the selection brush tool to create precise outlines around desired elements, enabling you to target specific areas for modifications. This technique is invaluable for removing unwanted objects or creating precise masks for further manipulations.
Master Adjustment Layers
Learn the power of non-destructive editing with Adjustment Layers! In this tutorial you’ll discover how to use adjustment layers to make targeted adjustments to color, contrast, and other image properties without permanently altering the original pixel data. This flexibility allows you to experiment with different effects and fine-tune the overall appearance of your images.
Incorporating AI
Artificial Intelligence is a game-changer for studio photo editing in Photoshop, offering a powerful and time-saving tool. In this tutorial, you’ll learn how to effectively incorporate Generative Fill into your editing workflow. Discover how to select areas for replacement, fine-tune the generated content, and combine Generative Fill with other editing techniques for optimal results.
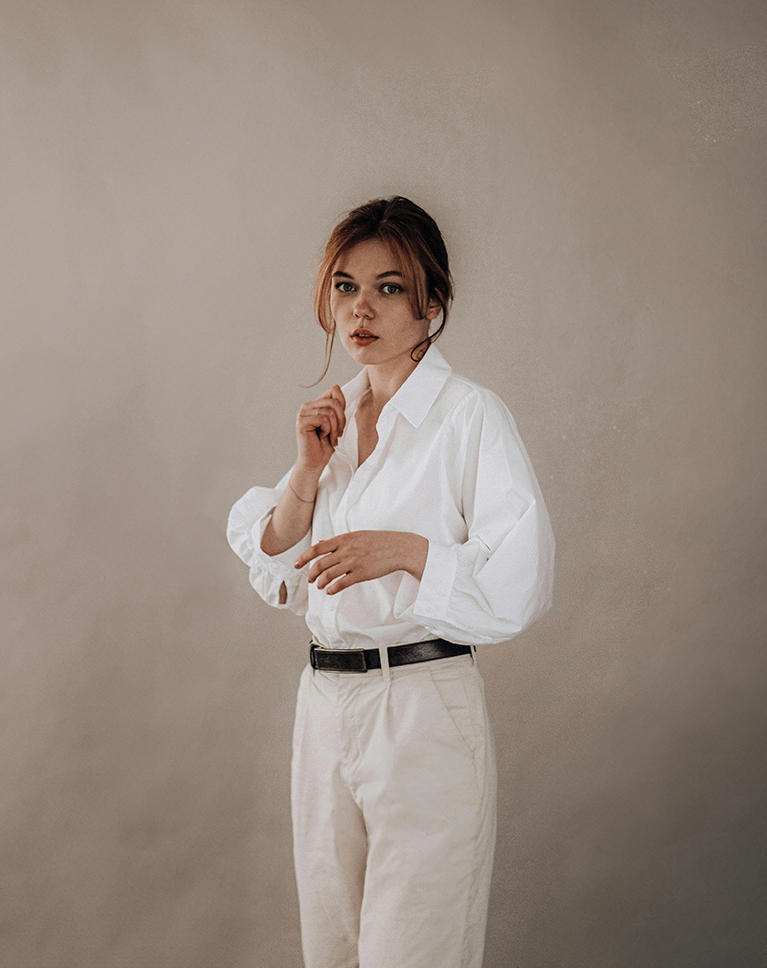
Cutting Out Your Subject
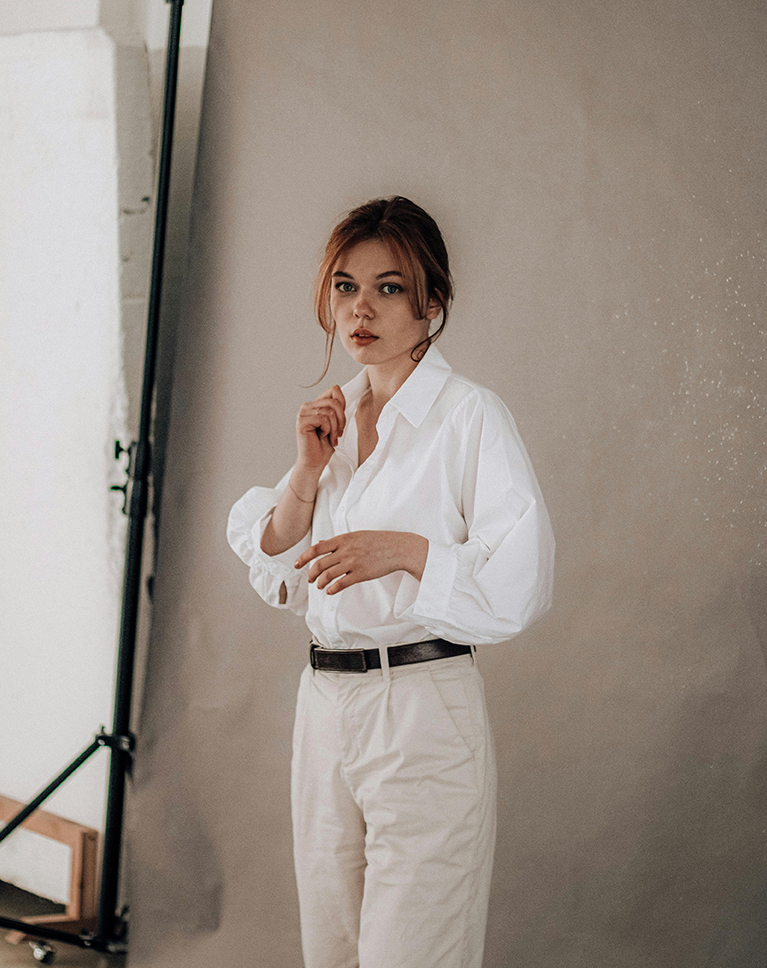
In studio photo editing in Photoshop, the ability to precisely cut out subjects from their backgrounds is a fundamental skill. In this tutorial we’ll show you the most effective technique to isolate elements, so that you can manipulate them independently, opening up a world of creative possibilities.
Removing Distractions
Distractions can often detract from the overall impact of a studio photograph. Removing unwanted elements, such as clutter, blemishes, or objects that don’t contribute to the composition, can significantly enhance the visual appeal of your images. Discover how to identify and eliminate unwanted elements, improve the overall clarity and focus of your images, and enhance their visual impact.
Cleanup Small Details
In this studio photo editing in Photoshop tutorial, we dive deep into the details, addressing both the big picture and the finer points! We’ll even guide you through the process of using Photoshop’s tools to remove creases from your subjects’ clothing, ensuring that your photos remain visually appealing and focused.
Transform Your Backgrounds
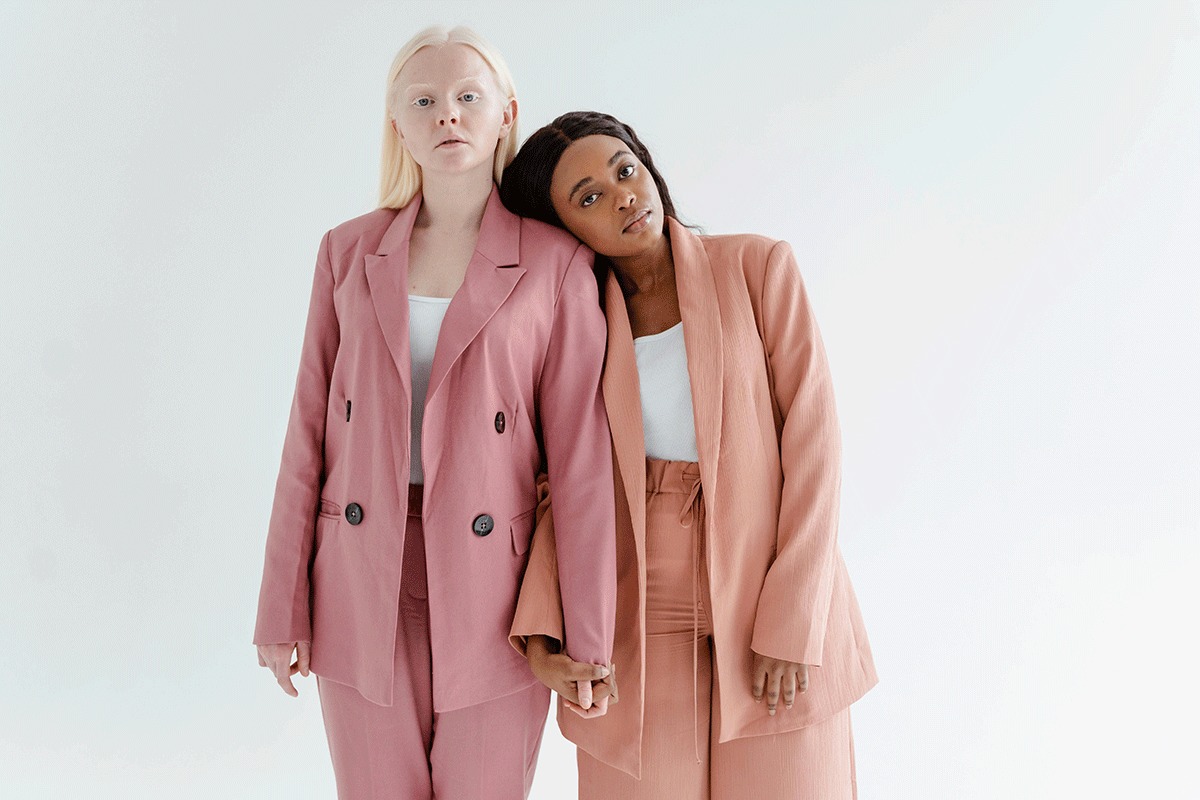
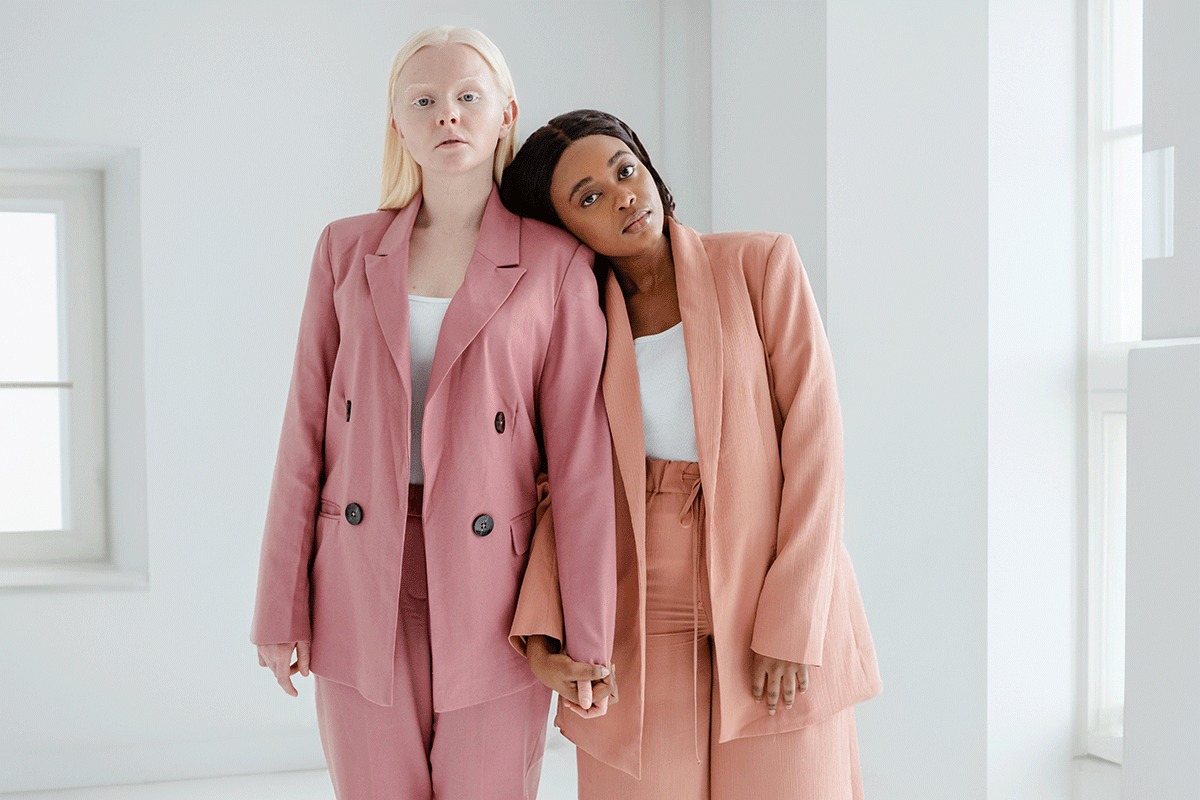
The ability to change or extend backgrounds in photos offers endless creative possibilities, allowing you to transform your images and tell new stories.
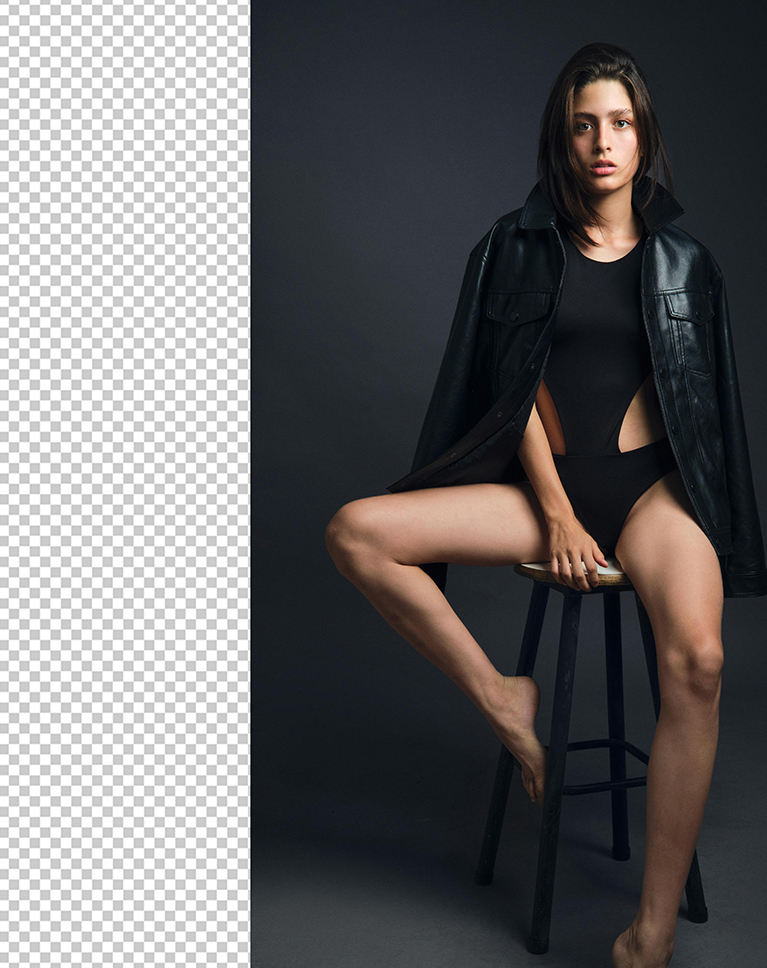
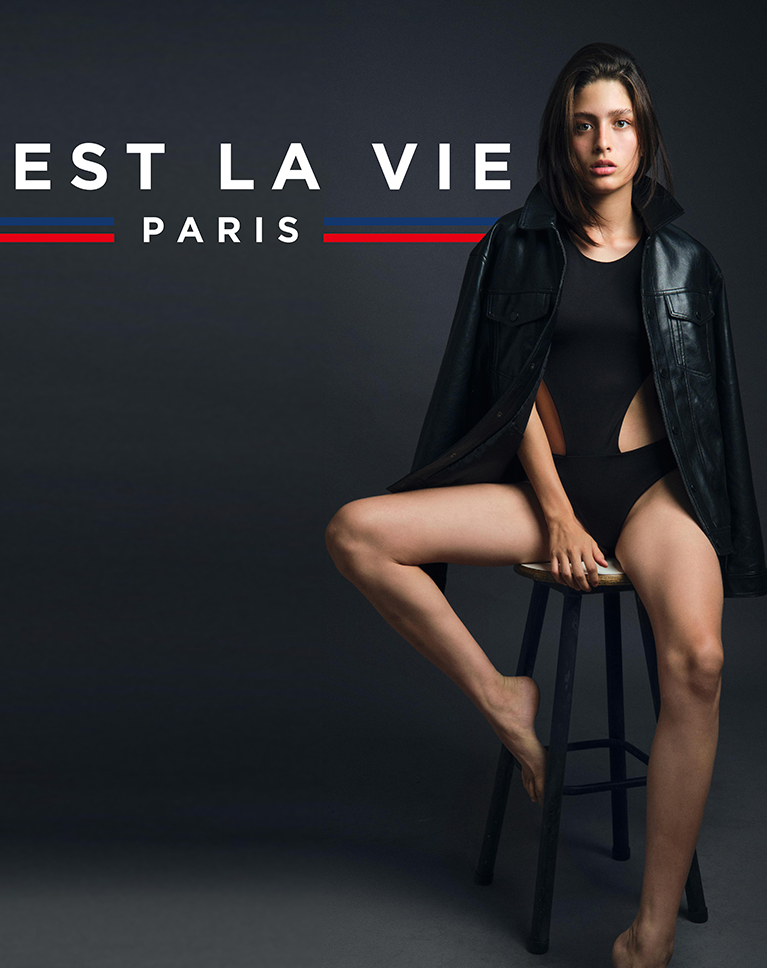
Extending & Replacing Backgrounds
Whether you work with people, food, or products, being able to adapt your background to your client’s needs is a valuable studio photo editing in Photoshop skill that can set you apart as a creative. In this tutorial, you’ll learn how to efficiently extend or remove any background and replace it with your desired image.
Integrate New Elements
Another creative approach to transforming your images is to incorporate new elements.
Learn how to seamlessly add text or graphics into your photos. Discover the power of the Levels Adjustment tool for creating clean selections and the versatility of the Layer Mask for precise control over visibility.
Advanced Hair Selections
Selecting and cutting out hair is tough, and studio photo editing in Photoshop leans on it constantly. It’s even harder when you’re new to Photoshop.
In this tutorial we’ll show you how to make advanced selections with Channels, and paint in new, photorealistic hair with the Brush Tool.
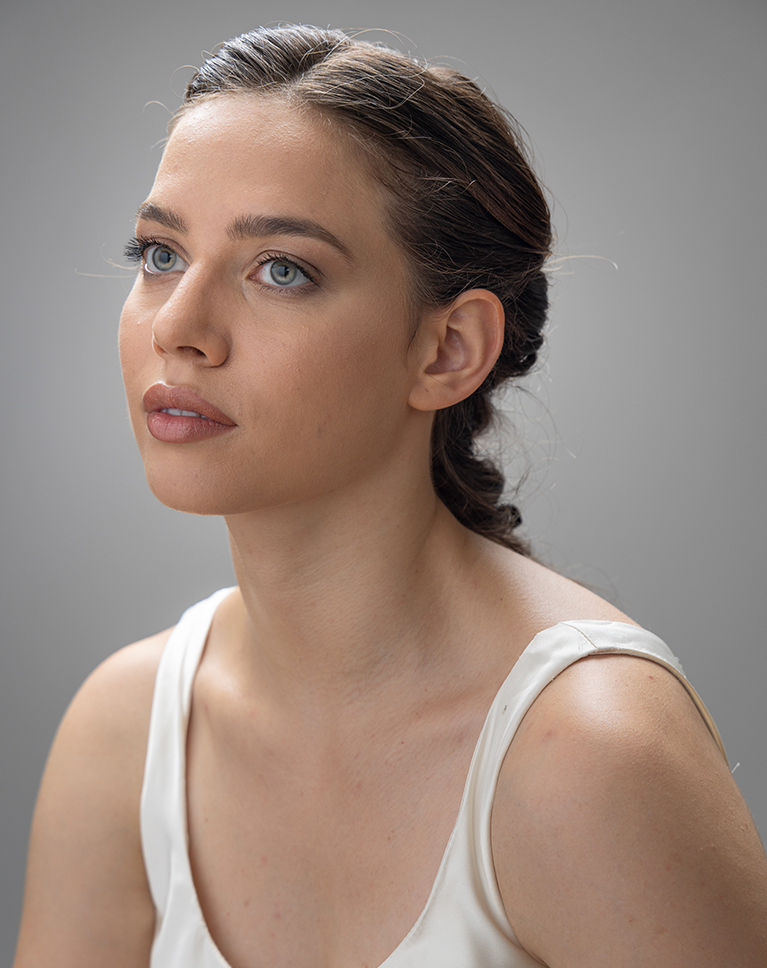
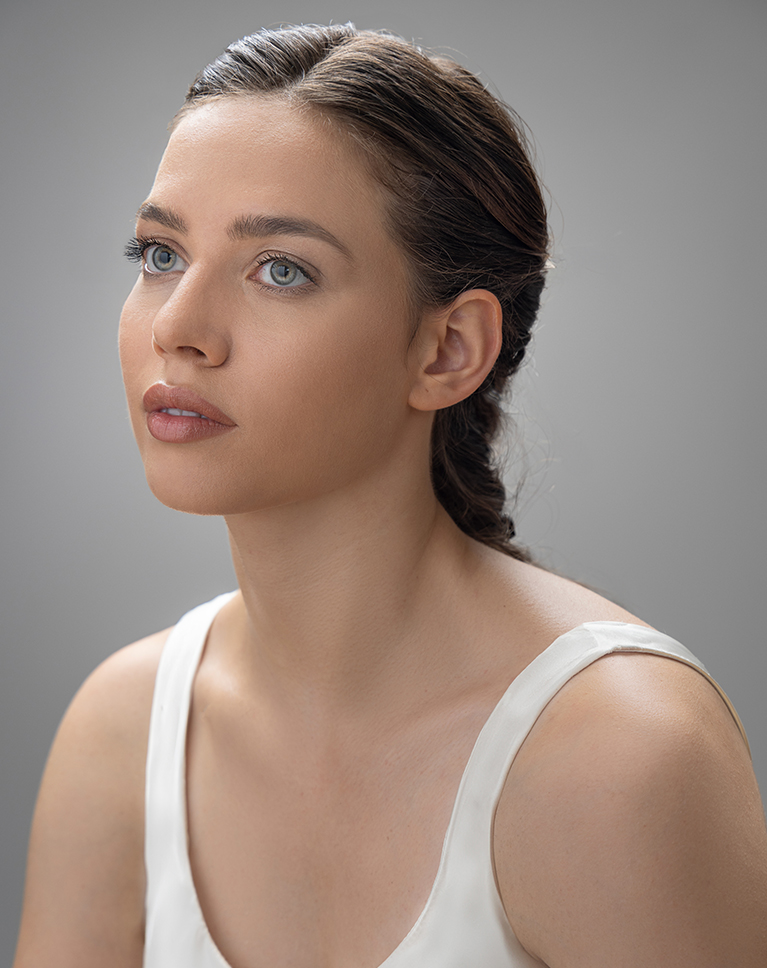
Master Frequency Separation
In-studio photo editing in Photoshop often centers around portraits. To help you achieve stunning results, we’ll show you our go-to technique: Frequency Separation. Discover the secrets of this powerful method, and learn how to use it to remove blemishes, smooth skin tones, and enhance your subjects’ appearance.
Photoshop Action Included
Your time is valuable. The faster you can finish an edit, the faster you can get on to your next project or photoshoot. Our included Frequency Separation Photoshop action will automatically separate the high and low frequencies in any image, saving you time and getting you right into retouching.
Explore More on Retouching
Master the art of retouching with our comprehensive 28-hour Retouching Learning Path, designed for both amateurs and professionals. This in-depth curriculum covers the fundamentals with introductory courses, dives into retouching features, fabric, and materials, and concludes with advanced techniques and applications.
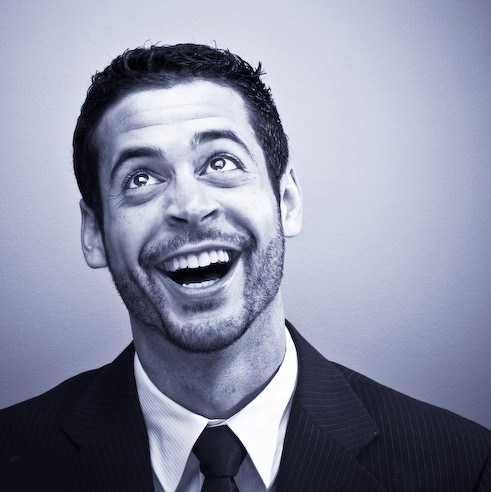
Class Instructor
Aaron Nace
PHLEARN Founder & Lead Instructor
Aaron Nace is a photographer, digital artist, and the founder of PHLEARN. He has been teaching Photoshop, Lightroom, and photography since 2011, and has taught at Adobe MAX for more than eight years.
Aaron publishes a free tutorial every week and a new in-depth PRO course every month.
- 2M+YouTube subscribers
- 160M+video views
- 1,000+tutorials published
- 15years teaching Photoshop
Special thanks to Azzurra Piccardi for providing the images used in this tutorial.
Reviews
Master Photoshop, Lightroom and Photography
Join PHLEARN PRO for $12.99 a month or $99.99 a year. Cancel anytime, with a 100% money-back guarantee.






Just the essential for portrait retouching
The refining of the hair is crazy!!!! I struggled with that, just by watching this video has helped big time 🤯😮💨
Excellent information and overall presentation. However, you fly through the explanations and cursor movements way too quickly for people who are not that familiar with the techniques you are demonstrating. Further, rapid cursor movements are very distracting. Would you kindly slow down!
Great tutorial, All the tools are presented and well explained, especially the frequency separation.
Thank you for FINALLY explaining Frequency Separation, AND demonstrating how to use it, AND providing a ready-made Action! Thank you!
Great course, lots of information and don’t take forever to get to it. Appreciate you getting right to the point.
Great tutorial as always .. I’ve been using Photoshop for about 25 years and I always learn something new from Aaron. Brilliant.
Learned a lot in a fairly small amount of time…