

THIS COURSE INCLUDES
- 14 Lessonsin 3 sections
- 3h 3mof captioned HD video
- Intermediatesome Photoshop basics
- 30 Sample Images+ 12 actions
Part of a Learning Path
Join PHLEARN PRO for instant access to this course and every tutorial on PHLEARN.
- Stream in up to 4K on any device
- Closed captions and chapters on every course
- Download all sample images and PSDs
- New PRO tutorials every month
- Cancel anytime
Description
Photoshop Actions are a workflow miracle, helping you perform complicated tasks faster than ever–all with the same amount of precision that you’re used to.
We take you through every tool and menu, and then show you how to master Photoshop Actions by creating your own to apply professional coloring, dodging and burning, sharpening, and more. Best of all, we’re including some of our best PHLEARN Photoshop actions for you to use and make your own.
What You’ll Learn
- Build your own Photoshop Actions to work faster
- Automate coloring, dodging and burning, and sharpening
- Master the Actions Panel every button and setting
Table of Contents
-
01 - Tutorial Introduction: What are Actions?1:45m
-
02 - The Actions Panel: Overview8:08m
-
01 - How to Make a Simple Action10:22m
-
02 - How to Make Advanced Actions (Part 1)29:28m
-
03 - How to Make Advanced Actions (Part 2)19:12m
-
04 - How to Edit Actions20:16m
-
05 - How to Load, Save, & Use Actions5:48m
-
01 - Create a Sharpen Action21:08m
-
02 - Create a Dodge & Burn Action15:53m
-
03 - Create a Color Tone Action12:49m
-
04 - Create a Black and White Action11:30m
-
05 - Create an Anaglyph Action10:24m
-
06 - How to Resize and Save for Social Media (Instagram)8:25m
-
07 - How to Batch Process Actions in Photoshop7:36m
Course Downloads
Discover Photoshop Actions

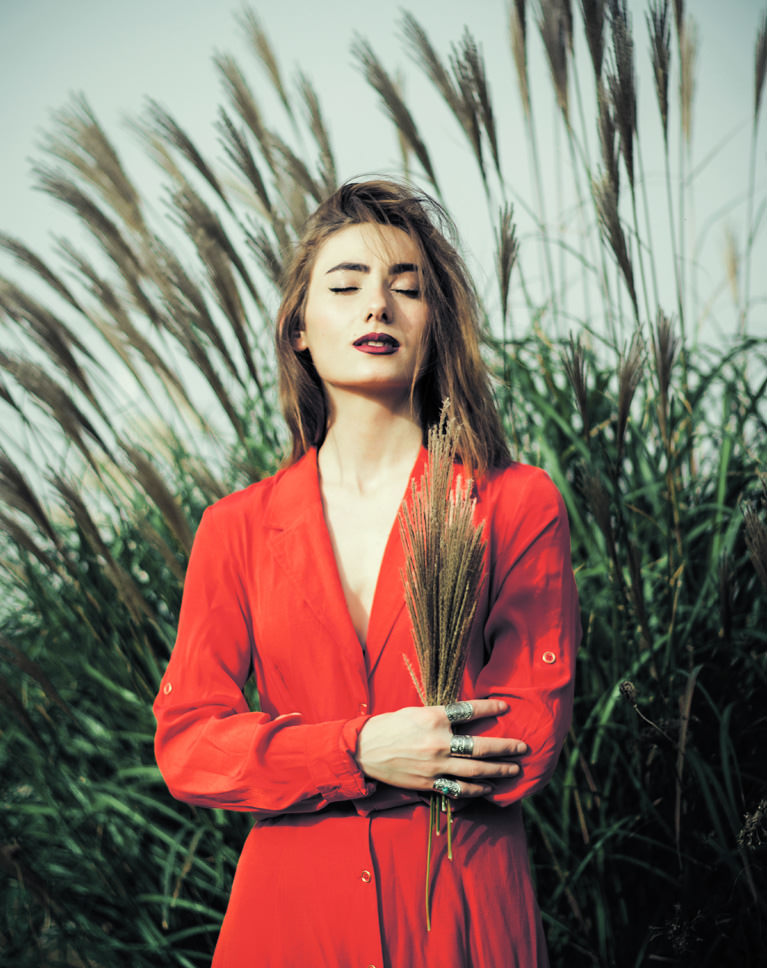
Master Photoshop Actions: What Are They?
Have you ever created a certain look that you wish you could use over and over again? Or have you gone through a detailed process like sharpening, wishing you could expedite the workflow? Photoshop Actions are the answer! Use them to save time, recreate styles, and simplify some of the more tedious aspects of post-production.
Simplify Complex Tasks
Creating accurate selections, sharpening, dodging and burning – these are all important steps that can eat up precious hours before a deadline. Learn how to record any series of steps in Photoshop and save it as an action to use later, no matter how complicated the task!
Master Photoshop Actions to Work Faster
Once you’re familiar with how to create actions, how to apply actions, and how to save actions, you will quickly realize how you can use them to speed up your workflow. Any patterns in your editing process can be captured and replayed, saving you seconds, minutes, and even hours of time. Best of all, you will still have the ability to make fine adjustments, ensuring you get the look that you expect every time.


Sharpen Photos
Not every part of a photo should receive the same amount of sharpening. Sharpening should also be applied differently depending on the size of the image. Surely, there’s no way to automate this process. Right? Wrong! We walk you through how to create a custom Photoshop action that will allow you to sharpen faster, with as much detail and customizability as you’d get doing it manually.
Add Color and Style
If you’re a working photographer, you likely have a number of color styles and looks you turn to for different situations. One client might want an old vintage look. Another might want something bright and colorful. We show you how to record and how to save actions in Photoshop that will allow you to quickly apply the looks you use most often.
The Actions Panel
If you’re wondering where the Actions Panel is in Photoshop CC, don’t worry! We start by showing you where to find it and then walk you through every button, option, and menu. And if you’re a seasoned pro, we cover several advanced techniques that we’re confident will help get you working faster than ever.


What’s Included?
We could not make a master Photoshop Actions tutorial without including some of our favorites! Get access to powerful tools that will help you dodge and burn, sharpen, color, and stylize your images. Keep them forever and customize them to fit your own style and taste.
How to Install Photoshop Actions
The best part about actions is that you don’t always have to make them yourself. You can find countless actions for free and for sale all over the internet. Find something you like? We’ll show you how to import actions into Photoshop to use and customize.
Create Your Own Photoshop Actions
Every photographer has their own style and their own editing routine. Learn how to make and how to save processes that will make repeating edits in the future a breeze. Streamline your post-production workflow and consistently deliver images that are uniquely yours.


Save Time!
Stop wasting time doing the same repetitive process over and over again. Automate it with Actions in Photoshop!


Record, Stop, Save and Export
In this tutorial, we go in-depth through the entire process of creating, editing, and saving Photoshop actions in Photoshop CC. You will learn how to master Photoshop Actions from the first click: when to start recording and when to stop recording, valuable keyboard shortcuts, and even how to troubleshoot when an action is not working.
Resize Images for Instagram & Social Media
Your camera takes huge, beautiful images with millions of pixels worth of information. While that’s great for editing, most of the time you’ll need to resize your photos to share across the web and social media. Fortunately, you can learn how to apply actions in Photoshop that will automatically resize and sharpen images to any size you need.
Dodge & Burn
Adding depth and definition is only a scroll, click, and keystroke away. Dodging and burning is one of the most effective tools to have in your editing toolbox. Apply realistic highlights and shadows in a fraction of the time and help your subjects jump off the page (or screen).


Batch Process
Using Photoshop actions in combination with batch processing will give you the ability to perform complex tasks, cropping, and resizing with only a few clicks! Instantly prepare an entire folder of images for delivery to the web or to social media.
Extraordinary Effects
Actions aren’t always all business. We show you how to make a colorful anaglyph action that you can use when you’re images need a little extra flavor. And any time you find a fun effect that you want to try, we walk you through how to import actions into Photoshop from the internet to use and make your own.
Share Your Ideas
Making actions for yourself is one thing. Making actions for other artists is a whole new challenge. Throughout the tutorial, we offer tips and tricks on how to make actions that are both universal and easy to follow along with. Learn to include detailed instructions, create pop-ups, and more.

Class Instructor
Aaron Nace
PHLEARN Founder & Lead Instructor
Aaron Nace is a photographer, digital artist, and the founder of PHLEARN. Since 2011 he has taught millions of people to edit with confidence in Photoshop and Lightroom, on YouTube and in PHLEARN PRO, and he has been a featured speaker at Adobe MAX for more than eight years.
Every PRO course comes with the sample images and PSDs to follow along step by step, and Aaron adds new courses and free tutorials all year.
- 2M+YouTube subscribers
- 160M+video views
- 1,000+tutorials published
- 15years teaching Photoshop
Reviews
Master Photoshop, Lightroom and Photography
Join PHLEARN PRO for $12.99 a month or $99.99 a year. Cancel anytime, with a 100% money-back guarantee.






Aaron, what a brilliant tutorial. Your style of teaching is second to none. I had an issue with saving my own files in the correct folders, however this is overcome by adding a toggle ‘on’ in the right place…. superb
another great tutorial! I have only one problem, when I want to use the actions, it writes it is not compatible with this version of photoshop. but I have the latest one, Photoshop CC 2020
Great tutorial! However, as other have mentionned, the keyboard shortcuts where especially hard to use for certain keyboards. For instance, I had to use my keyboard in various settings (french canadian, english canadian, USA, and finally France) to get the forward layer and backward layer fonction to work. That being said, i found that what works for me is a french keyboard setting. Then, use the opt : and opt ÷ shortcuts to toggle between forward and backward layer.
This has been a great experience. I have built actions, but, no where did I come to understand the underlying process. I am very impressed with the presentation style. You end up growing in knowledge without really being aware of it. Fantastic.
I don’t get tired of watching your tutorial. You have a very clear / friendly way of sharing information with others.
Oh my!!! Aaron what a wonderful tutorial. I thought I knew my way around the actions, and thought it was somewhat clumsy, you demonstrated how I can better simplify, organize and continue to improve efficiency while working in photoshop. You are an outstanding teacher of Photoshop. Thank you so much. I am so grateful.
Great to learn how to automate sets of frequently used steps. A real time saver that makes using Photoshop even more enjoyable by flowing through the creative process without getting bogged down on all the steps.
I LOVE ACTIONS! Thanks to this tutorial i finally have agrasp on the concept of actions in photoshop! It’s going to make life so much easier for me once i continue learning and playing with PS actions! Thanks for making this tutorial so easy to understand and helping me to be a better photographer one tutorial at a time! on to the next one!!
as always AWESOME tutorial !!!
As always, an excellent tutorial! Aaron, I congratulate you and your team. Even a person that believes knowing Photoshop very well, will find ways to work better and with quality! And he/she will still become a professional much more productive. Gilberto Borges
Thanks for that tutorial. A lot of small tricks that can be use everyday. There is some mismatch with the keabord shortcut, the one with special characters as [ or ] are not suitable depending the keyboard type you have. Maybe also missing a part on actions calling other actions. For example, we could create an action for adding a noise layer, and call that action everytime we need it inside another action. Same for sharpening.
I just want to add that if you are on a Swedish keyboard and follow “Advanced Actions 01” you can’t use ALT +[ or ] instead it’s ALT + < for backward and ALT + – (minus) for forward selection. I think is the same but Option on a mac. Regards Micke from Sweden.