Photoshop Compositing: Essential Tools & Techniques
-
Add to
favorites
-
DifficultyMedium
-
Length7.25 hours
-
Videos22
-
Software
Description
Learning how to combine or composite multiple photos together will open a new world of possibilities for any photographer. Whether you are new to compositing or an experienced editor, this tutorial will change the way you create composite images. Follow along with the included RAW Photos and Custom Photoshop Brushes.
THIS COURSE INCLUDES
- 22 Sample Images
- 1 Photoshop Brush
- 1 Photoshop Action
Share
Table of Contents
-
01 - Introduction2:41m
-
02 - Matching Light4:04m
-
03 - Matching Perspective2:33m
-
04 - Masking2:28m
-
05 - Clipping Masks1:35m
-
06 - Blending Modes1:15m
-
07 - Luminosity1:11m
-
08 - Matching Color1:40m
-
09 - Check Layers1:33m
-
01 - Intro to Frame Compositing4:00m
-
02 - Importing & Culling in Lightroom14:05m
-
03 - Frame Compositing in Photoshop (Part 1)58:09m
-
04 - Frame Compositing in Photoshop (Part 2)54:53m
-
05 - Create a Cinemagraph28:58m
-
06 - Intro to Element Compositing6:37m
-
07 - Importing & Organization in Lightroom9:42m
-
08 - Element Compositing in Photoshop (Part 1)32:12m
-
09 - Element Compositing in Photoshop (Part 2)45:53m
-
10 - Element Compositing in Photoshop (Part 3)1:14h
-
11 - Element Compositing in Photoshop (Part 4)1:04h
-
12 - Exporting in Photoshop & Lightroom8:37m
-
13 - Conclusion1:18m
Course Downloads
Professional Techniques. Realistic Composites.
Frame Compositing
If you are new to compositing, this is the perfect place to begin. Learn to combine multiple photos from the same shoot to create stunning effects.
Combine Any Photos
A photographer has many tools at their disposal, and the more you learn how to use, the more options you have. Creativity can flow freely when you are unrestricted by gear or technique. Learn how to combine multiple types of light sources to create stunning lighting effects.
The Essential Techniques
Photoshop Compositing can be complex, that is why we start this tutorial by breaking down all the essential techniques you need to create a great composite photo. Learn the essentials, then master compositing.
Photography, Lightroom & Photoshop
Go behind the scenes into each photo shoot and learn the details of how these images are captured, then follow the images through the editing process from Lightroom into Photoshop.
Lighting. Color. Perspective.
Combining images together can be tricky. Learn the essentials for making realistic composites–from finding the right images, to matching light, color, and perspective.
Create a Cinemagraph
Give your image the magic of movement by turning it into a Cinemagraph. Learn how to animate a still photo and save it as a Cinemagraph so it displays perfectly on the web.
Learn Perfect Masking
In order to place your subject into a new background, first you have mask or cut them out of their original photo. Depending on your subject, this can be simple or complex. Learn the tools you need to create a perfect mask every time.
Element Compositing
Flex those creative muscles, it’s time to learn element compositing. Combine photos taken around the globe to bring your concepts to life.
The PHLEARN Compositing Workflow
When creating a complex composite photo, how do you know what should be done first and how do you stay organized? Learn the workflow we have developed over years of compositing.

Aaron Nace
PHLEARN Founder
Aaron Nace is a photographer, Photoshop artist and founder of PHLEARN. He is the #1 Photoshop instructor in the world with millions of YouTube subscribers.
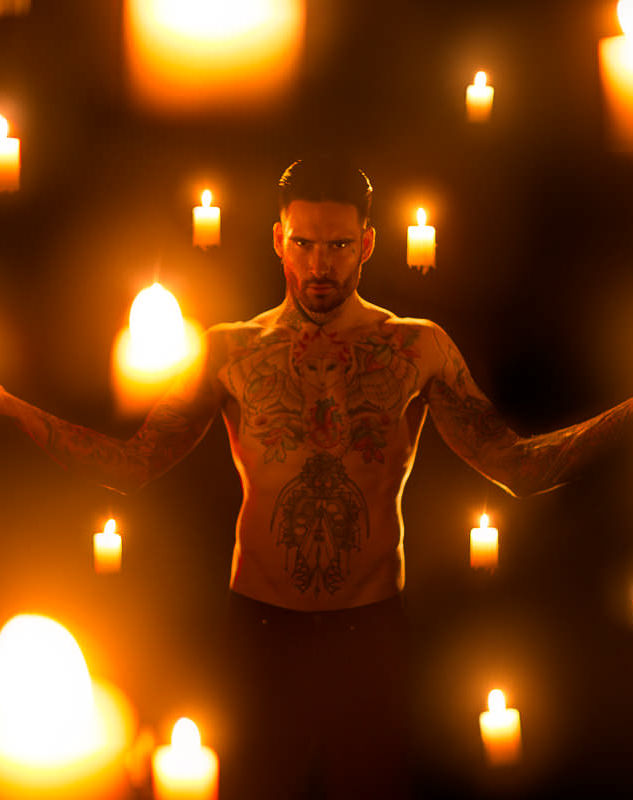
Ian Elkins
Photographer/Retoucher/Influencer – Featured Artist
Ian Elkins’ work in modeling, retouching, and serving as a content creator for the world’s leading brands is sexy, adventurous, and influential. In our interview, we talk about finding balance in work and life, and how he stays inspired and strives to be his best self.
View Ian’s Instagram
Reviews
New & Popular Tutorials
Training Site in
the World
Tutorials!
Ratings
and Counting
Subscribers









Amazing as usual. Learned a lot from this class.
This tutorial is great! It’s hard to find a good tutorial on image compositing (seriously, I found one the other day that basically just taught how to make a simple mask for a subject, and that was about it…) and this one is very thorough. I like how it’s incredibly clear in describing how Light/Shadow, Perspective, and Color all need to work together to both make an image look realistic, as well as stylized. This is all the stuff art school refused to teach me.
the tutorials are good but I would like to get more to the point
cute little editing with Aaron 🙂
Its really great tutorial. In some areas i just get confused with matching color when you changed the blending to saturation its look so different saturation so you makes in all in one color tone, but my question is it will work in all compositions to make the composite in a realistic day light not in fantastic way ? . Other than that its great.
perfect! thank you
Just started pro to test out PHLEARN. I am not really new to any of the Adobe CC, but spend more of my time in Illustrator and AE. Photoshop is something I mostly use for documents like flyers and posters. I have done a few composites, but not trained to, just kind of knew the tools and figured it out. They turned out surprising fine, but it was trial and error and not a lot of knowledge of how I got there. PhLEARN compositing classes have changed all that. Many of the techniques are the same as I used, but it adds so much more and to get the way to use it is very rewarding for the low cost. I wish file sizes were not so large and we could get the PSD files to to side by side comparisons, but that is just a wish.
A well thought out and perfectly paced guide to composition. Aaron does not rush through any of the content and takes the time to explain his process. The short intro video giving an overview of the tools that would be used was a great way to help understand the purpose of using each tool. The addition of Lightroom videos within this tutorial was a great way for me to know how I can use LR in my compositing process. After doing this tutorial I now feel more confident with creating even better looking composites
A great tutorial and it was easy to follow along for me. But I guess sometimes, for users that don’t have a lot of experience, it might be not so easy.
I don’t have Lightroom installed on my computer. When I downloaded the files there were no sample images included. I am really interested in compositing and hope you guys do a revised version without the use of Lightroom.
Amazing
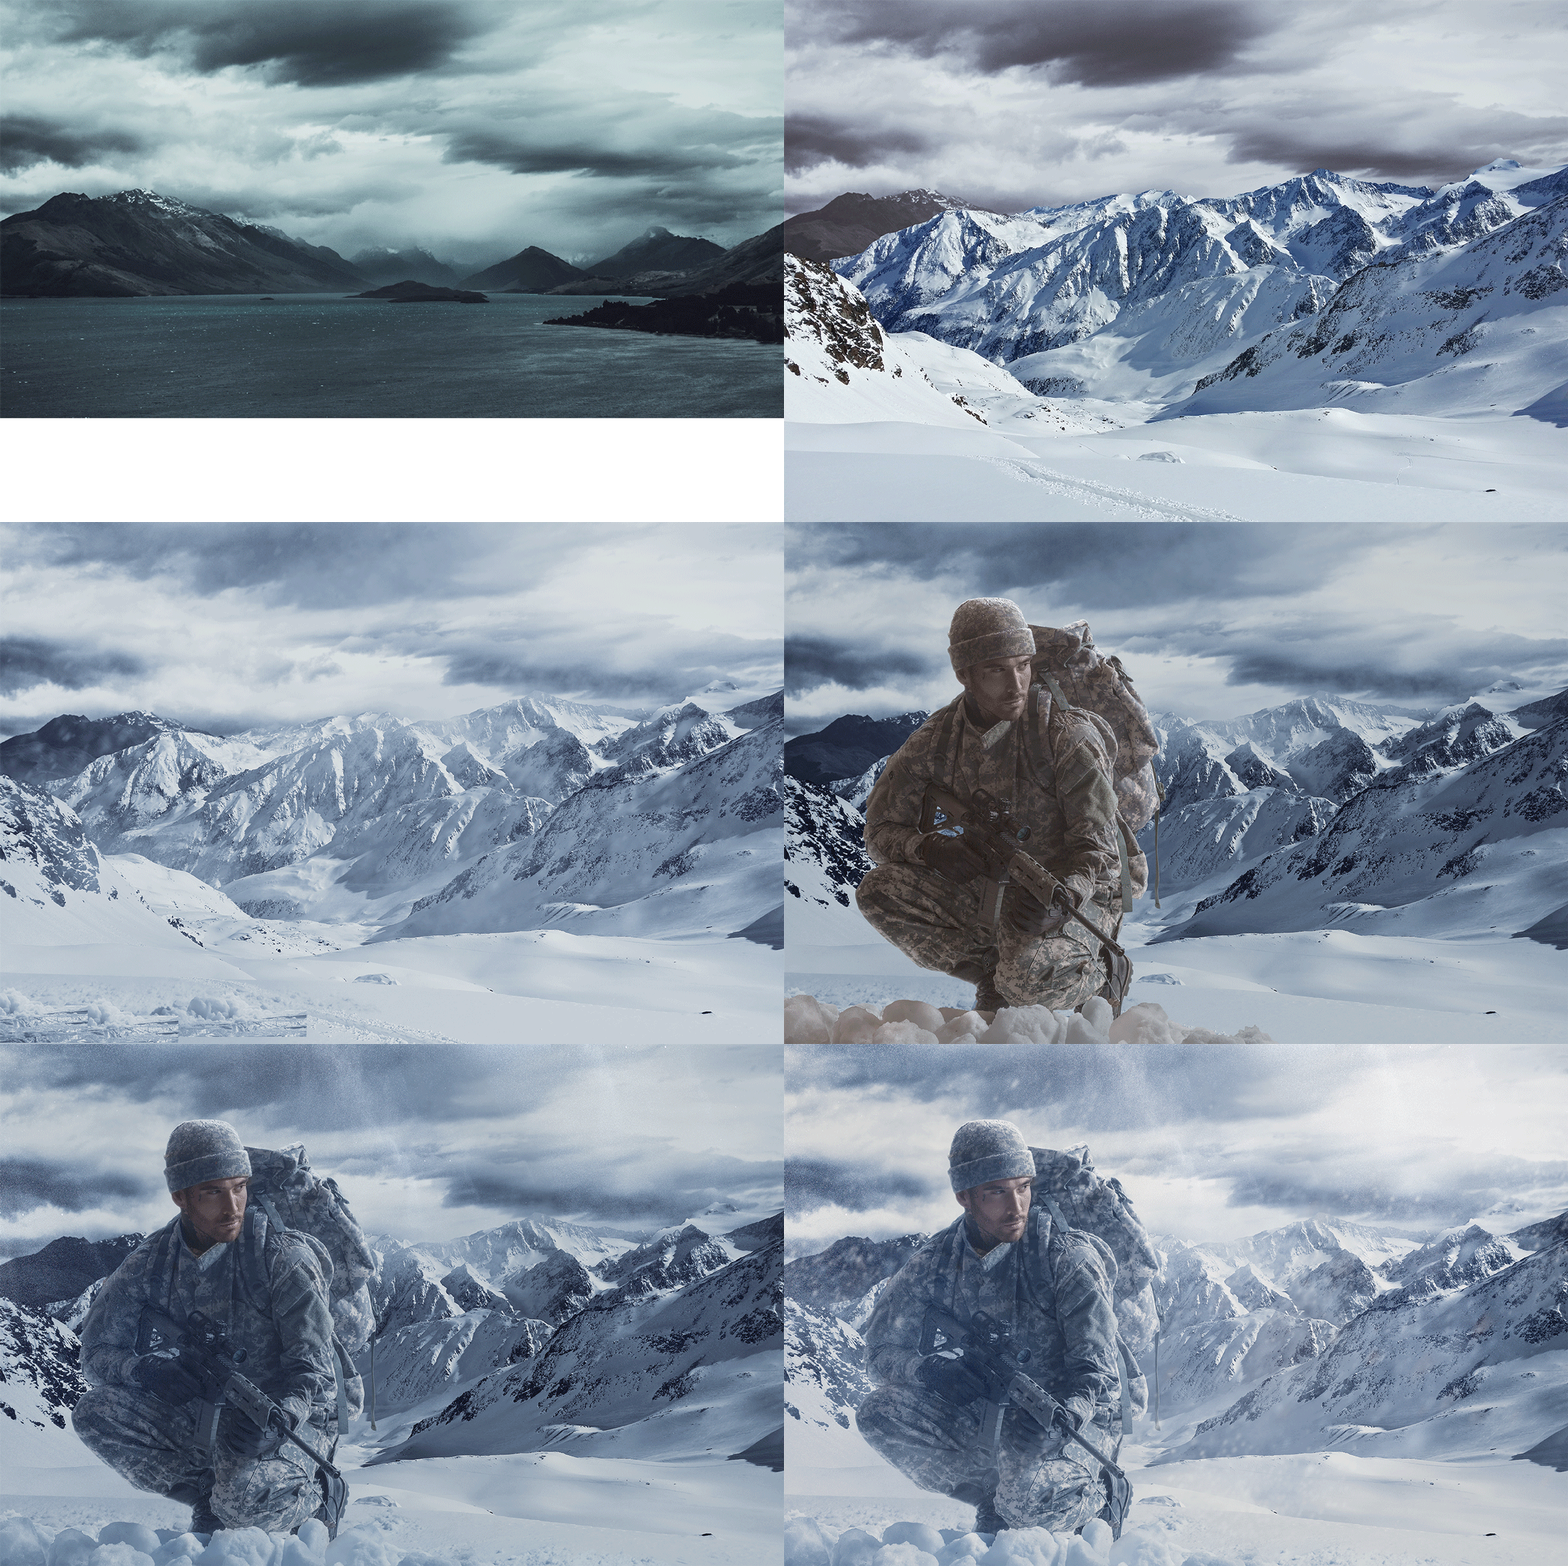
I tried to follow this tutorial and it worked fine until the soldier part, I could follow up to level adjustment 2 for the soldier, then I could not keep up anymore. It was to many layers to remember where to darken and where to lighten, shadows and no shadows. I know that you should not copy a work but to learn I want to learn how I should think when I make own compositings. But this seems to be tough to learn.
I tried this on a own composite and in the trashhold everything looked OK, but when I looked at the image in color there where no contrast at all. I can’t find where I did go wrong.
Generally a really good tutorial, very knowledgeable and well thought out. I have one nitpick however, he goes way to fast through some fairly complex areas, and does not fully explain why/what he’s doing. Specifically when he’s matching lighting. There is a lot of “this is too dark, that’s too light” and it’s tough to look back and forth between his video and my screen. Otherwise it’s a great tutorial, highly recommended.
Awesome as usually. Learned many new things to apply to mine. Love the check points as well
Sensational tutorial, easy to follow along for any skill level. Aaron is an epic teacher, really understands the intricacies of creating art. Thank you for sharing this with us. Alldaron
Very good, overall tutorial ! Suggestions: As is, it’s difficult to refer back to these for a particular technique. A short outline with embedded links, i.e. Apply image for color matching 12:34, would make these more useful later, rather than for one viewing. Thanks
I just finished watching this tutorial it was well worth the time, I have been playing around with composites for about three years and learned a lot from this tutorial. I probably watched an hour or two over a couple of weeks. You can down load the exact same images as used in the tutorial, I just used some images of mine. You can learn a lot from the free Phlearn and other free tutorials, but if you want to take your work the the next level this tutorial is well worth the time and money.
Good one! Like the thoughts about how to blend the arctic soldier’s edges with the background. The “edge glow” Aron talks about is called fresnel (“frey-nel”). Here’s a good read on the subject from the 3D rendering world: http://filmicworlds.com/blog/everything-has-fresnel/ Thanks for a great tutorial n Compositing.
I wasn’t sure if i wanted to do this one, since i’ve already completed “Island of Morel” and “A dark force”, but i can say it was totally worth it. Especially the Arctic Soldier taught me a lot. Thanks you Phlearn!
I finished it and my photos look just like his. And that is really awesome! So stoked! Especially going through all of the check layer/threshold stuff. He is great at explaining what light does, and how to use threshold to make sure the light levels go through your image realistically. It is so nice to go through a tutorial and have everything turn out great, without getting stuck and having to give up.
very useful tut. thank you phlearn
From where do you learn all these tricks??
Great stuff. Good job as always!
Updated and very useful compositing tutorial. The new bag of tricks as Threshold and Hue layers for checking luminosity levels and colors in composites made me aware of mistakes I really didn´t locate exactly in my previous work. Thanks Aaron for this top grade tutorial!!!