Download Photoshop Template
description
Follow along with the included Photoshop template to add motion blur, film grain, subtle coloring, and a vintage film border to any image—and in just a few easy steps.
Share
CREATE A VINTAGE FILM EFFECT
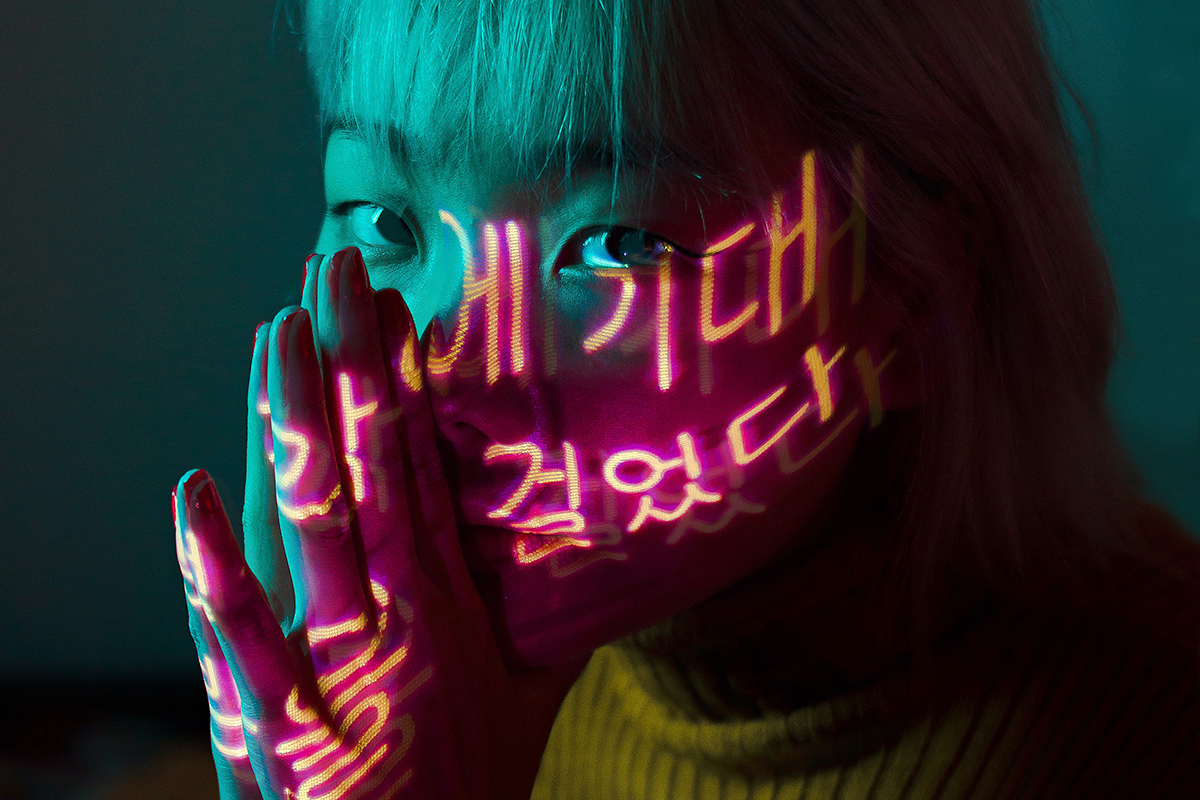
BEFORE
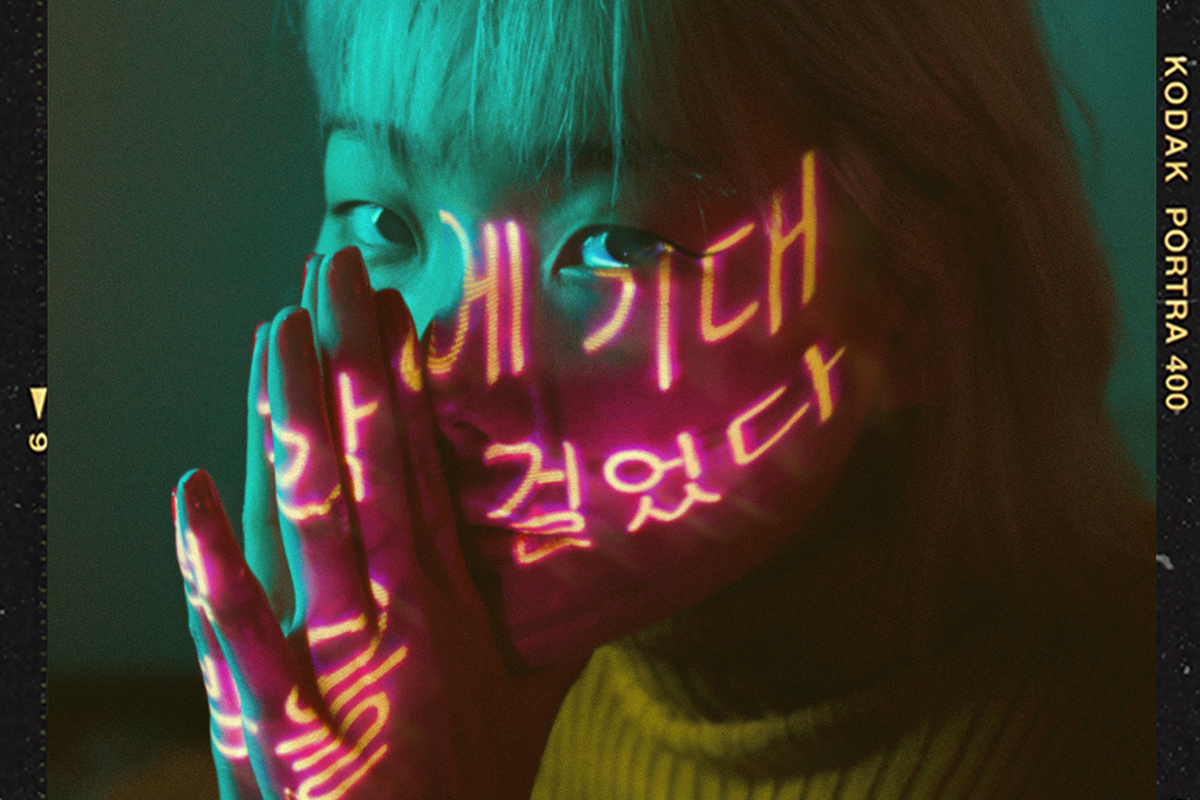
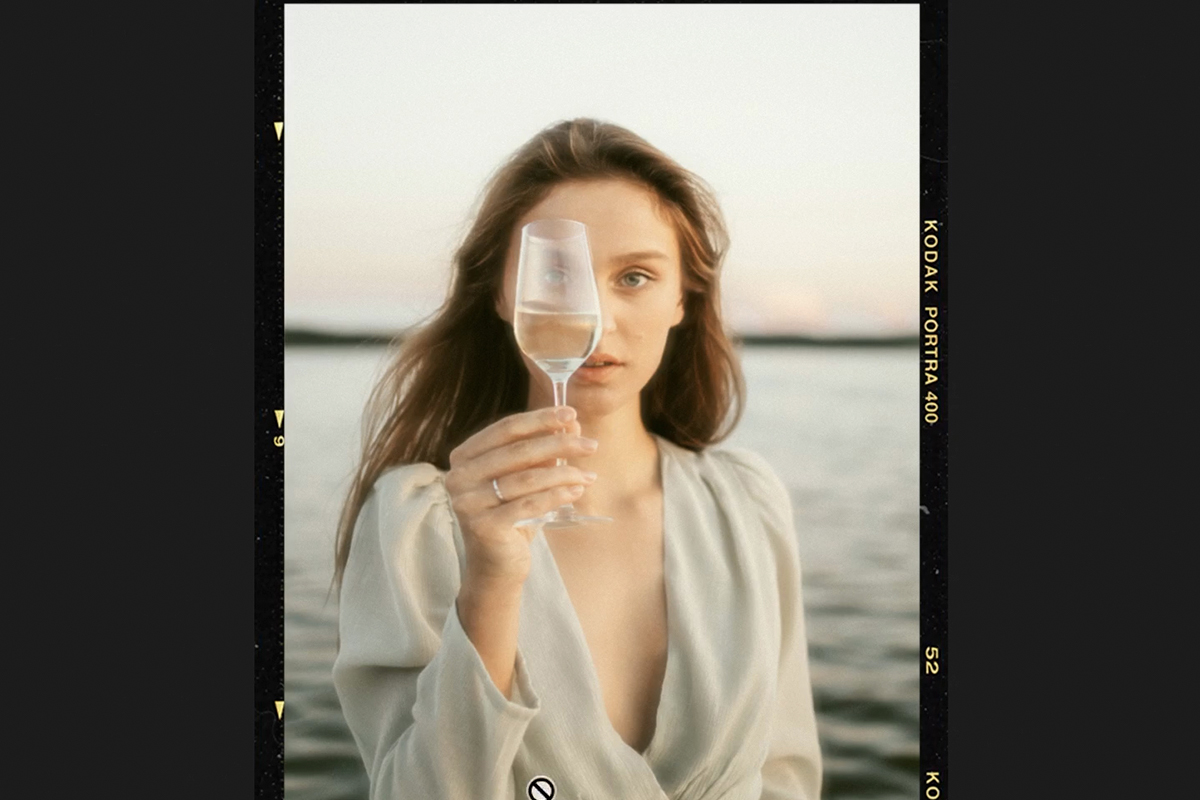
Beautiful Vintage Film Effect
Vintage Film Template
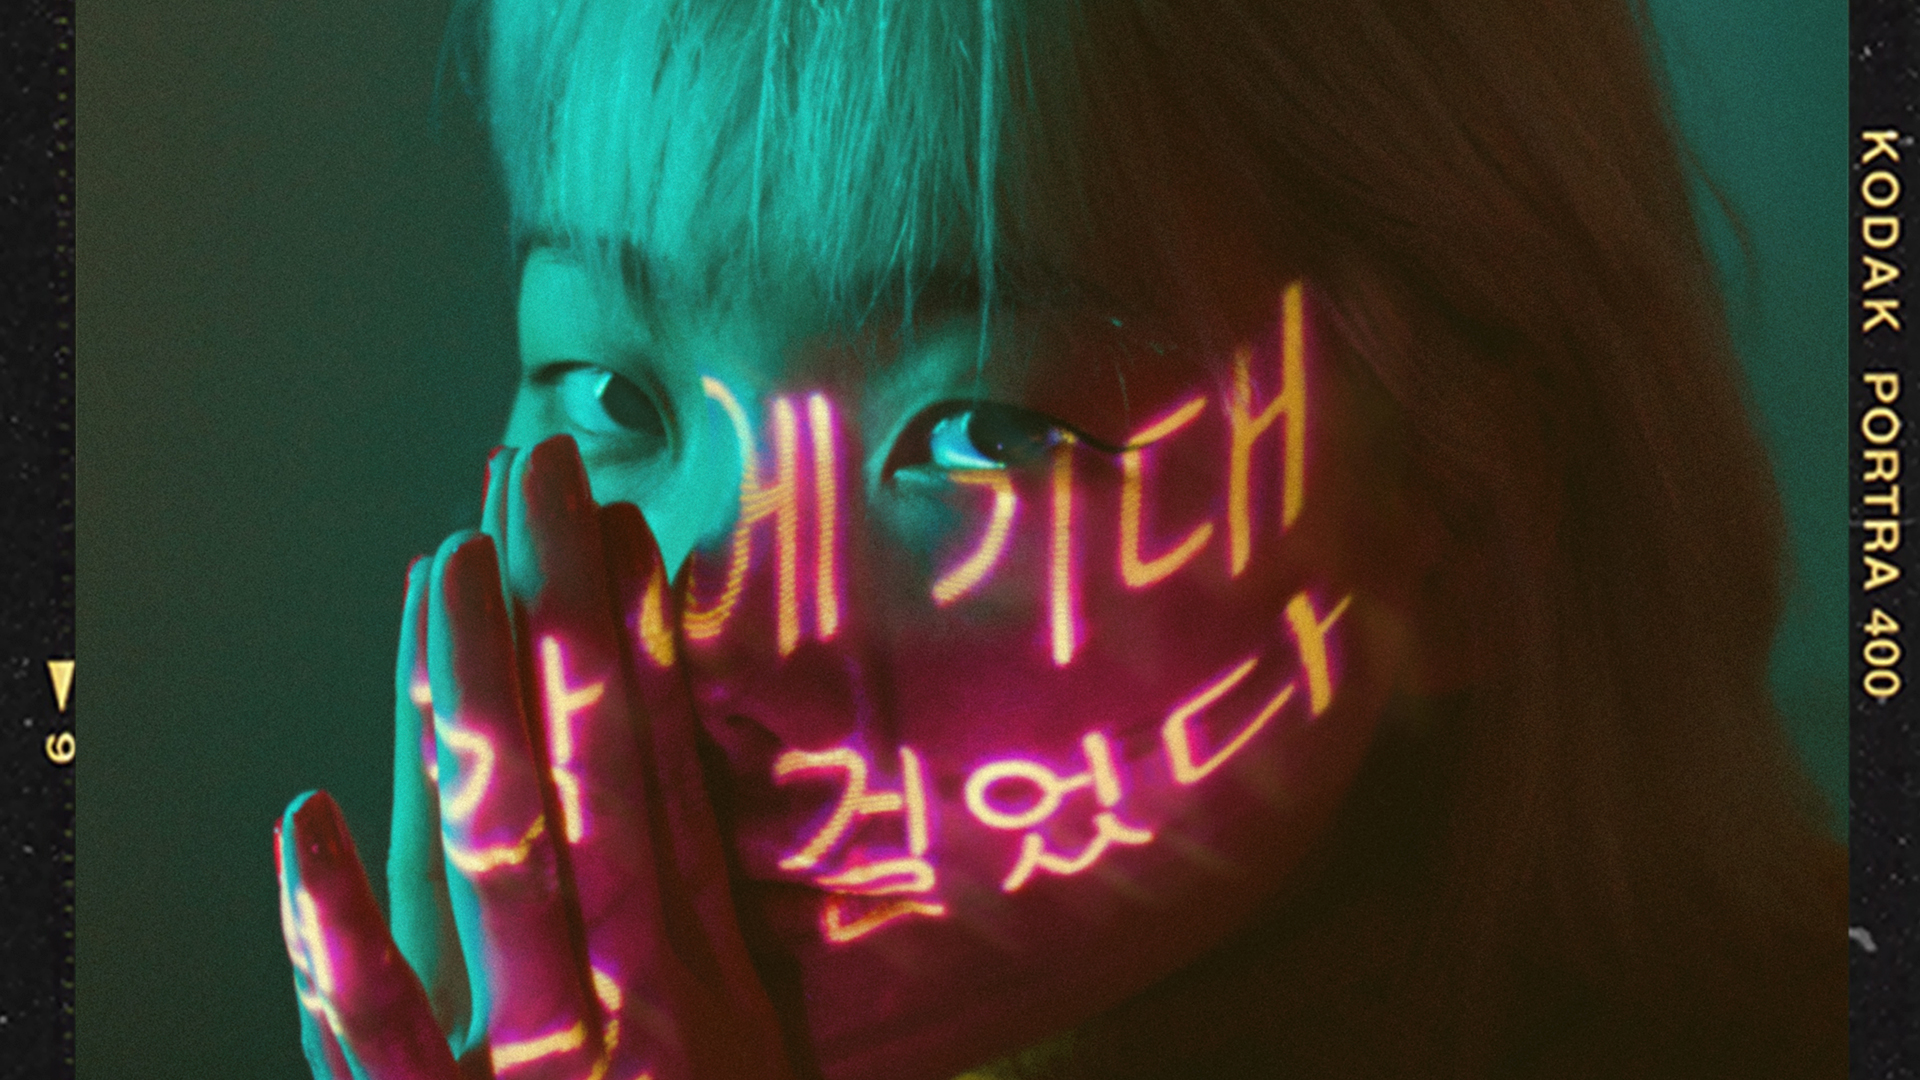
Vintage film looks are as popular now as they were during the golden age of film cameras.
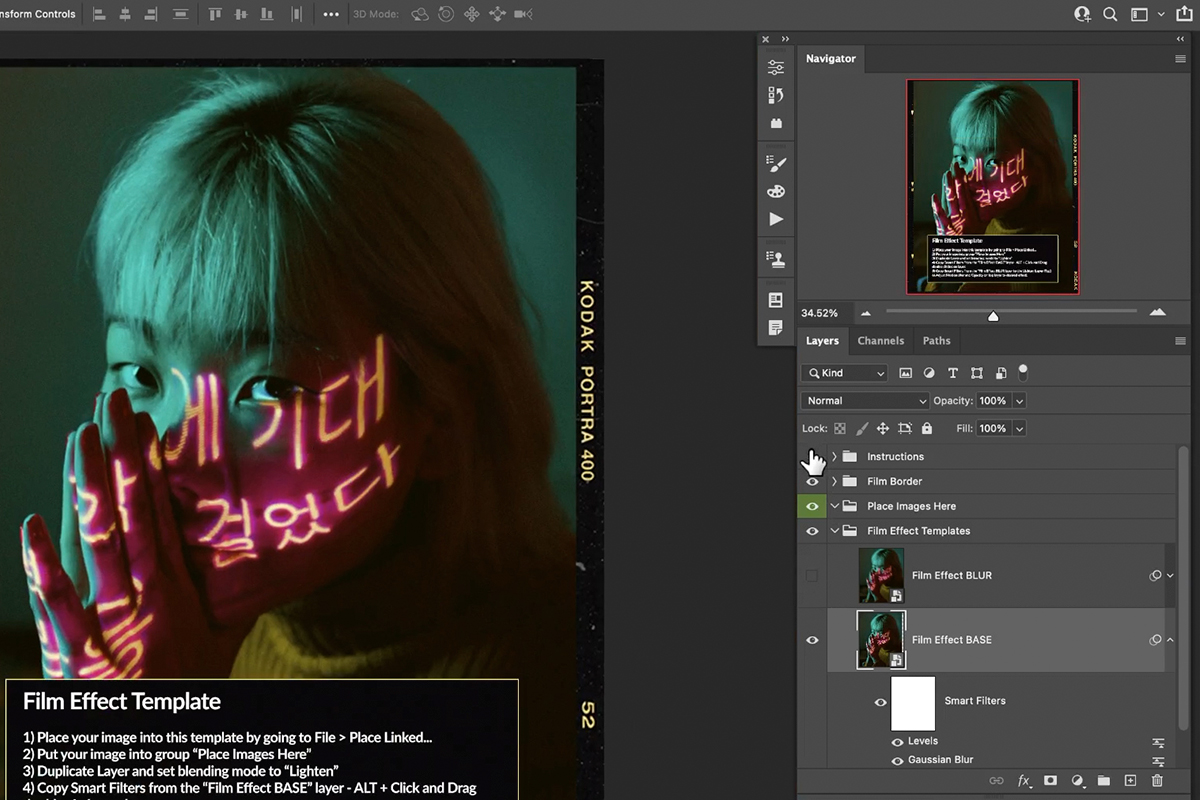
Learn how to replicate the look of film on a digital image, using soft blurs, warm coloring, and even a vintage frame border using our free Photoshop template! Download the template using the button above. Open it up, and you’ll see this. The project contains a few different folders.
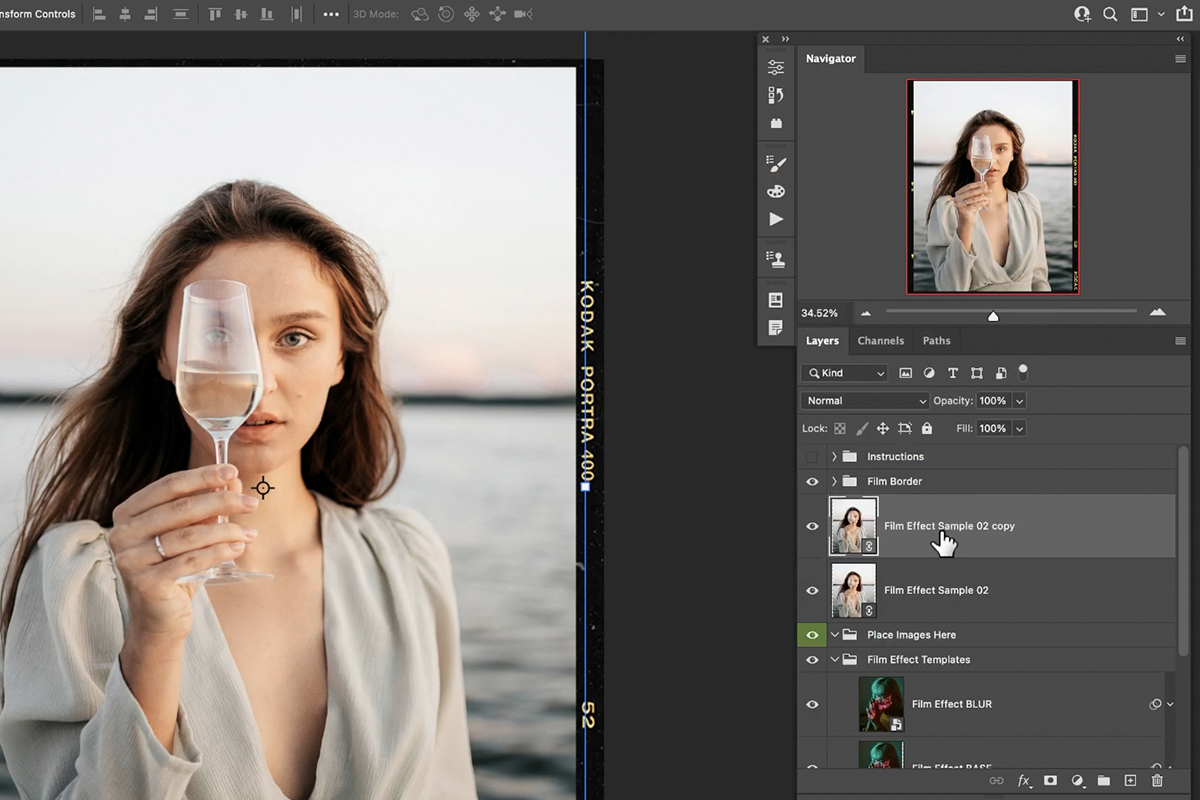
The first is labeled Instructions and it contains a step-by-step guide on how to use the template in Photoshop. The second folder contains the vintage film border that will go around your image. The third folder is where you will place your own images after you bring them into the project. And the last folder contains all the necessary parts of the effect, each applied to a sample image.
Importing Your Photos
Now that the template is open, you’re ready to bring in one of your own images.
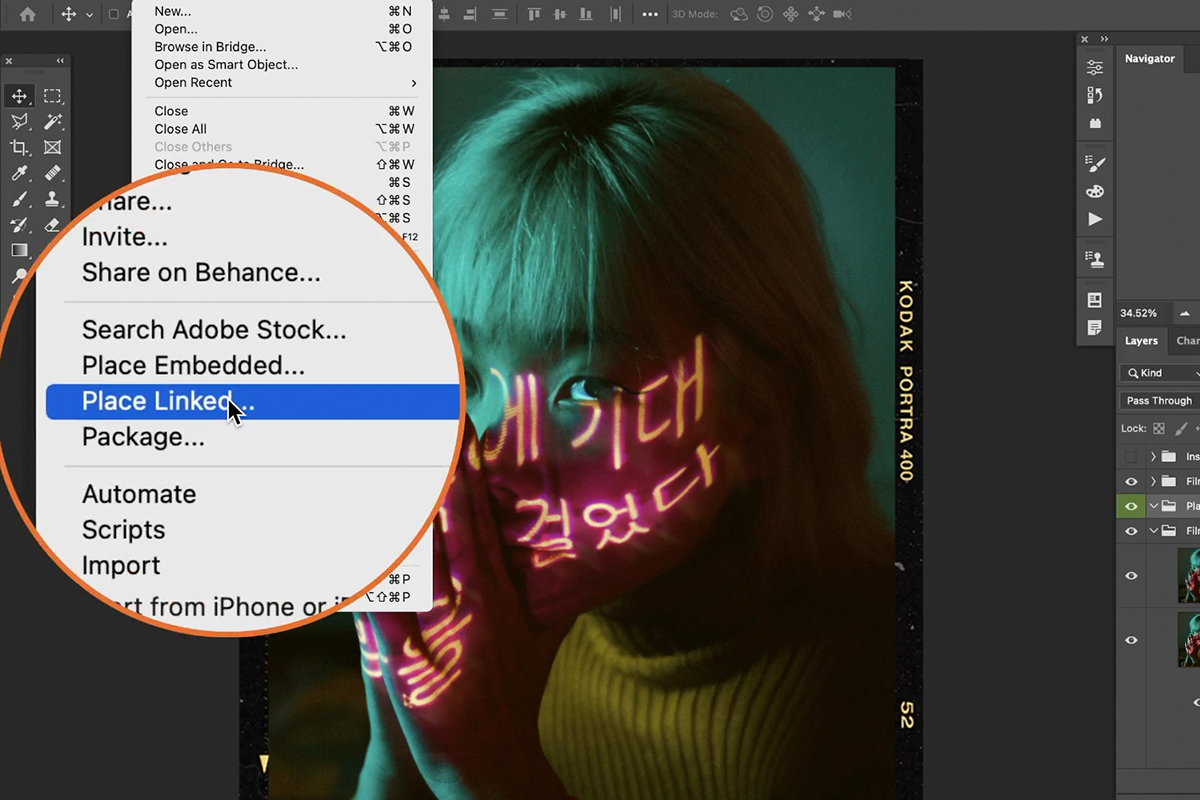
Open the File menu and select Place Linked. Choose the image you want to apply a matte effect to, and click Place. Once the image is open in Photoshop, move it into the folder labelled Place Images Here.
Now let’s add the effect!
Copying the Film Effect
In order to apply the film effect from our example image to the new image, we only need to do a little bit of copying.
First, we need to copy the new image. Click on it and hit CTRL or CMD + J to create a duplicate.
Keep in mind that we’re just replicating the structure and effects of the included example image! The example image includes two different layers: the bottom layer labelled Base and the top labelled Blur. Notice that the top layer is also set to the Lighten Blending Mode.
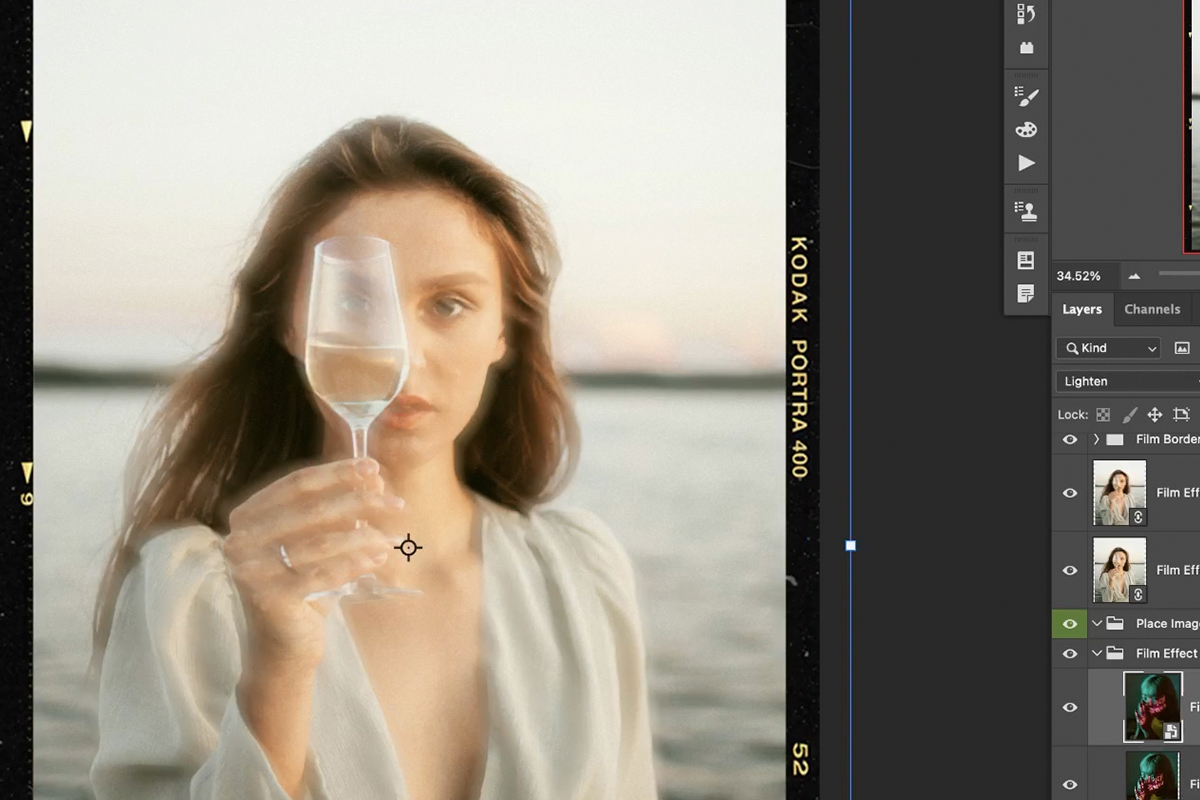
Set the top, duplicate image that you imported to the Lighten Blending Mode as well.
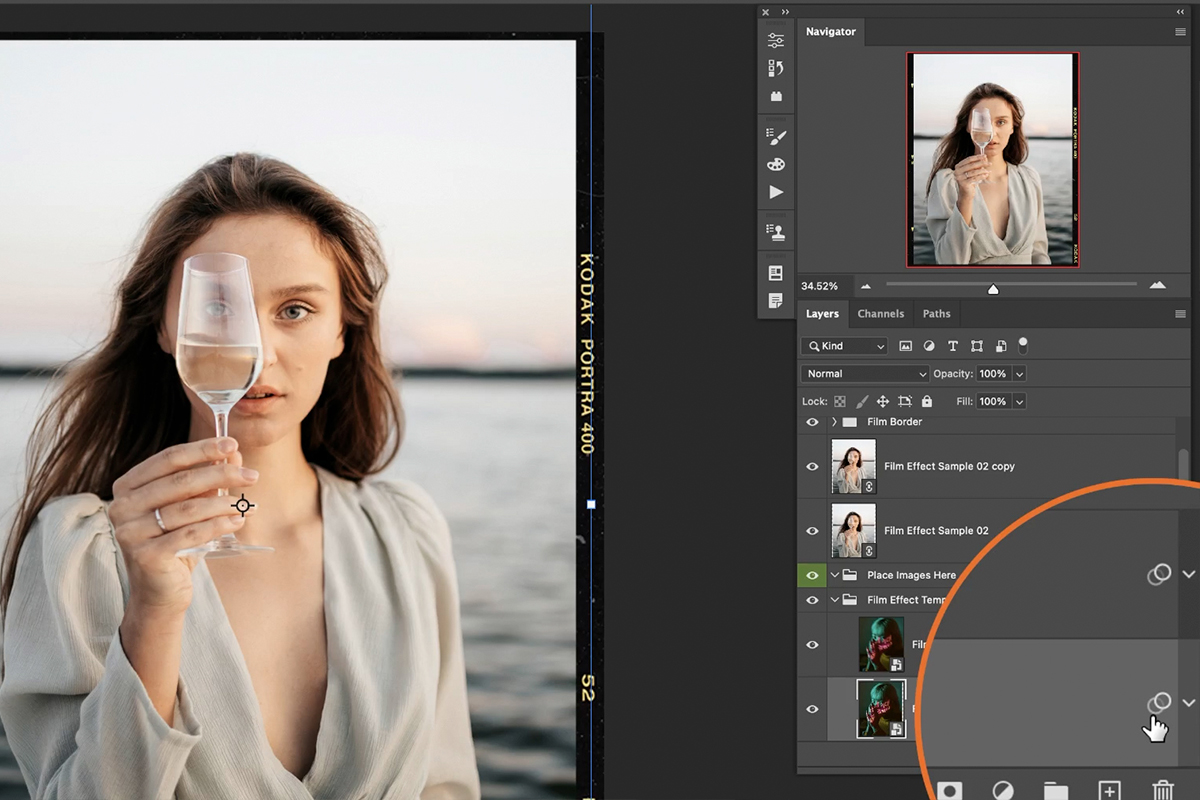
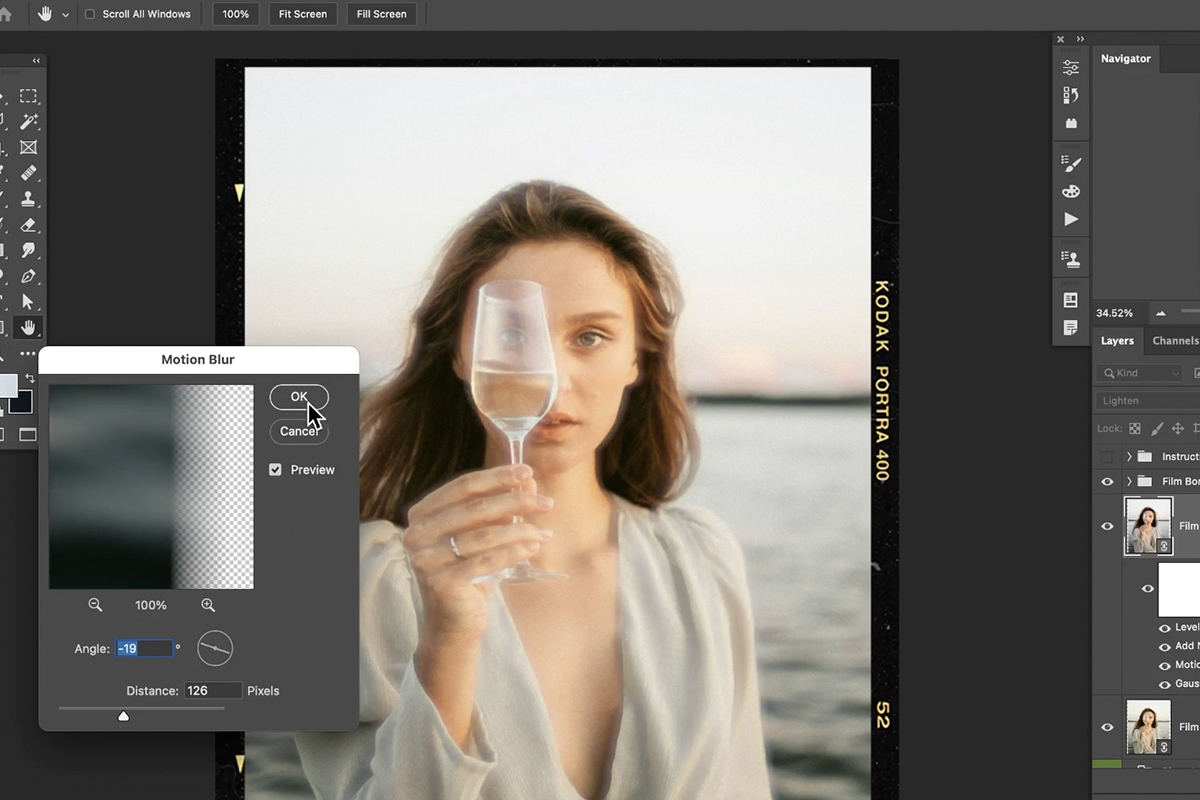
Looking at the included sample image and effect, notice the circle icons on the right side of each layer. Expanding those out, you’ll see a list of applied Smart Filters.
These Smart Filters are what create the matte effect. All we need to do is copy the Smart Filters from the base layer to the bottom layer of our new image, and from the Blur layer to the top layer of our new image.
To copy the Smart Filters, hold ALT or OPTN and click and drag the circle icons up to the layer you want to copy them to.
Remember: the effects on the BASE layer should be applied to the bottom copy of your image, and the effects on the BLUR layer should be applied to the top copy.
Once the effects are copied over, you may notice that it doesn’t look very good. Every image is different, and the included effects may need to be adjusted to work with the image you imported.
Simply double-click on any of the Smart Filters and adjust the settings to your taste.
This template is yours to keep and can be used to add a film effect to any photograph!
