

THIS COURSE INCLUDES
- 9 Lessonsin 2 sections
- 3h 27mof captioned 4K video
- Intermediatesome Lightroom basics
- 9 Sample Imagesto follow along
Part of a Learning Path
Join PHLEARN PRO for instant access to this course and every tutorial on PHLEARN.
- Stream in up to 4K on any device
- Closed captions and chapters on every course
- Download all sample images and PSDs
- New PRO tutorials every month
- Cancel anytime
Description
Masking in Lightroom is the difference between an edit that touches everything and one that changes exactly what you meant to change, and this course teaches it across every Lightroom app: Classic, desktop, mobile, and Camera Raw inside Photoshop. Across nine sections you will learn every mask type, the add, subtract, intersect, and invert logic that turns rough AI selections into precise ones, and the coloring tools (Point Color, Color Grading, Temp and Tint) that make those selections shine.
Then you put it to work on real photos: sculpting light with luminance ranges and gradients, painting sun rays with the brush, building glows behind subjects, cleaning up distractions with the AI Remove tool, adding believable lens blur, and finishing with a cinematic color grade in multiple versions. Nine sample images are included so you can follow every step.
What You’ll Learn
- Make precise selections, not global edits across every Lightroom app
- Turn rough AI selections into exact masks add, subtract, intersect
- Grade color with precision using Point Color and Color Grading
Table of Contents
-
01 - Exploring the Workspace16:36m
-
02 - Masking Foundations33:49m
-
03 - Mask Logic31:14m
Course Downloads
The Masking Masterclass
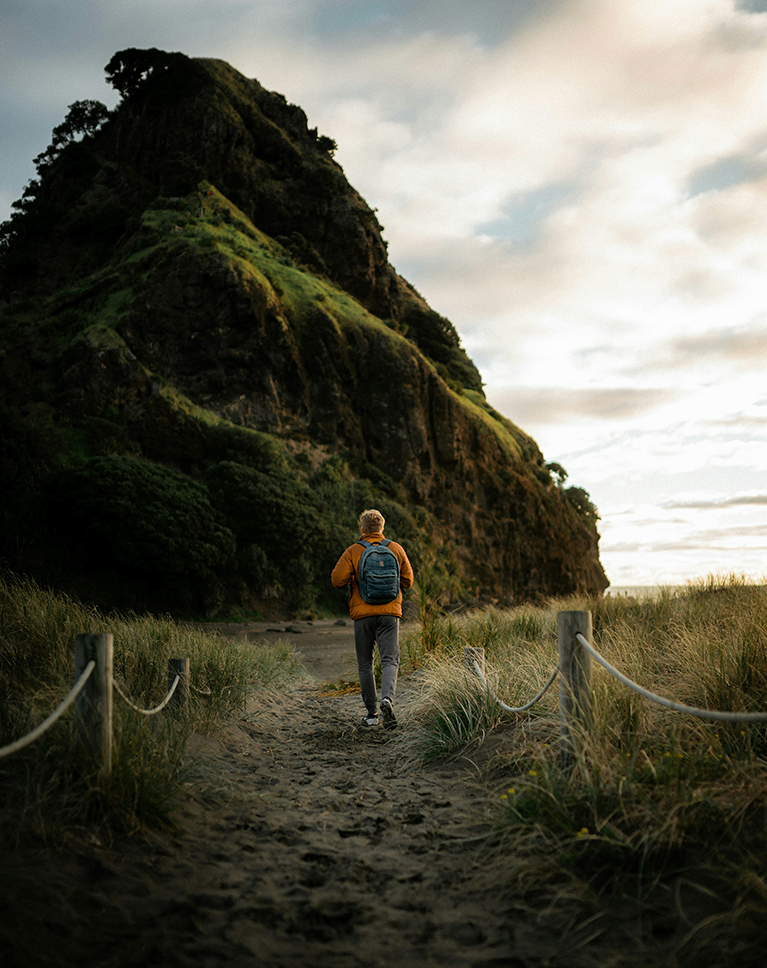
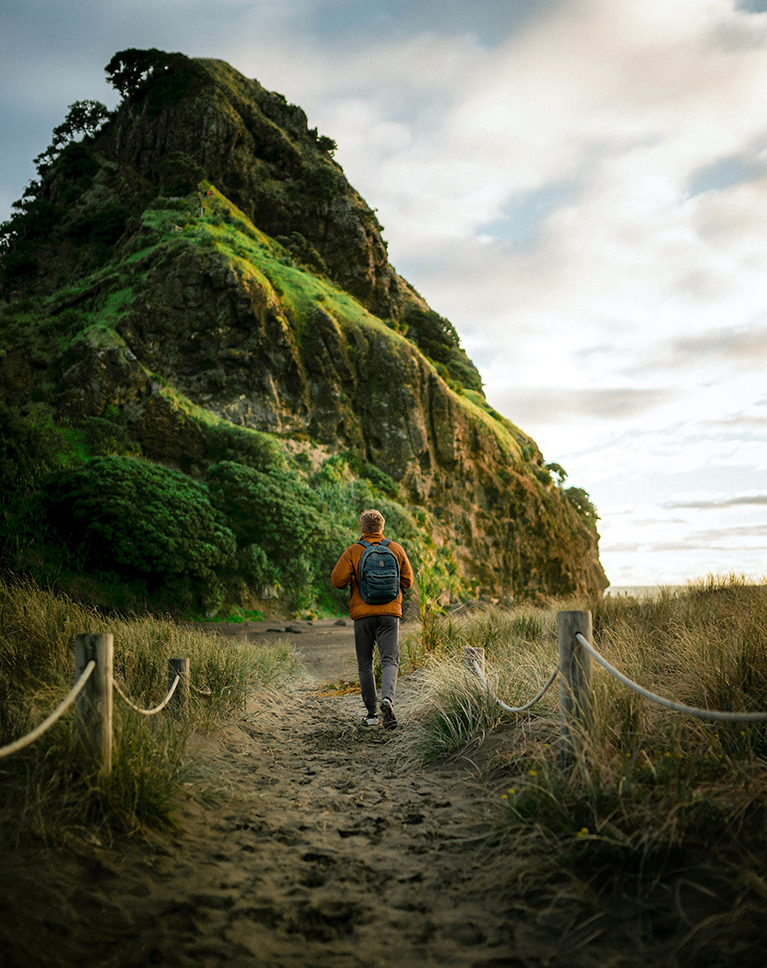
Masking in Lightroom: Local Beats Global
Raise the exposure on a whole photo to rescue a dark mountain and you blow out the sky. A mask is simply a selection, so the edit lands only where you want it. This is the idea the entire course is built on, and it works identically in Lightroom Classic, Lightroom on the desktop and mobile, and the Camera Raw Filter in Photoshop, so you can learn it once and use it everywhere.
Every Mask Type, Explained
Section 2 walks through every mask type in Lightroom and when to reach for it: Subject, Sky, Background, People (down to skin, eyes, lips, hair, and clothes), Objects, Landscape (which builds separate masks for sky, mountains, vegetation, and ground), Brush, Linear and Radial Gradients, Color Range, Luminance Range, and Depth Range. You will also learn the overlay views, the Amount slider, and the Tone, Color, Point Color, Curve, Effects, and Detail panels that live inside every mask.
Mask Logic: Add, Subtract, Intersect
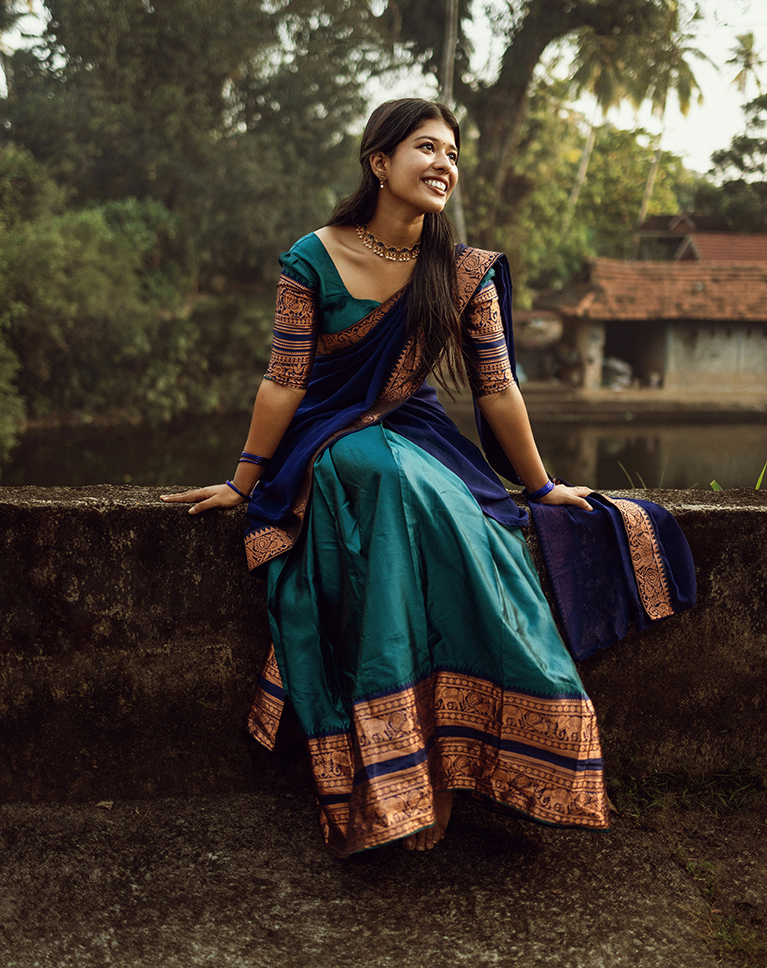
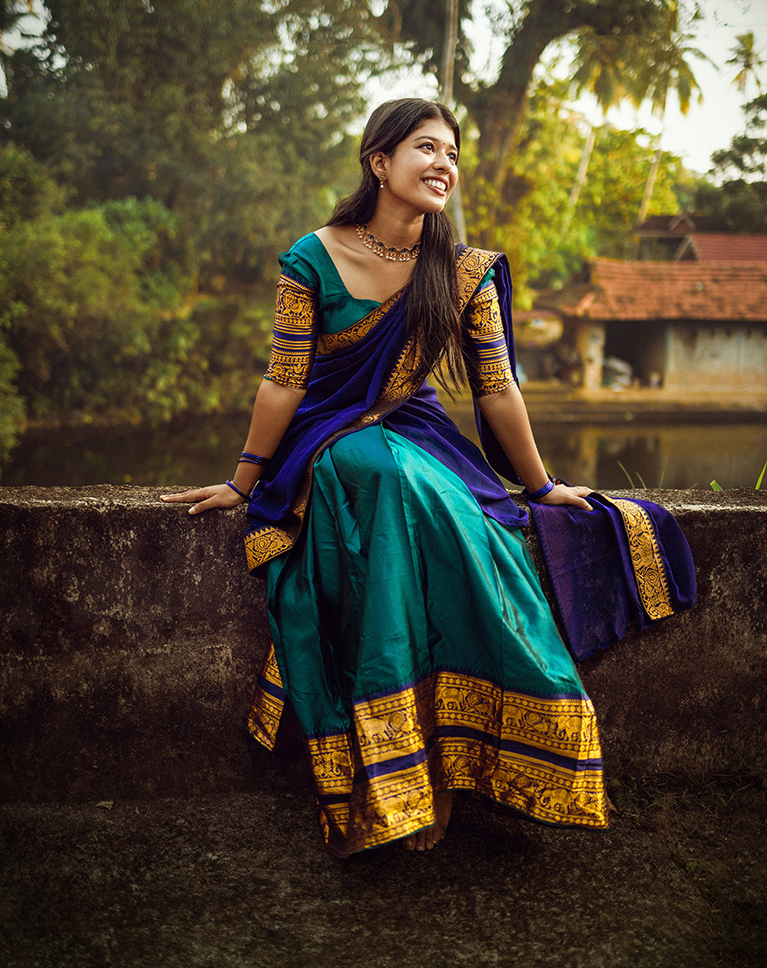
AI masks are smart but rarely perfect, and real masking in Lightroom starts where they stop. On a portrait in a patterned dress you will add an Objects selection to a People mask to catch missed clothing, subtract bracelets, and intersect a Radial Gradient with Select Subject so a brightening lands only on her face, like a softbox you place after the shoot. Invert flips any mask for vignettes and edge darkening.
Advanced Masking Workflow
A lone figure on a wind-swept beach becomes a full start-to-finish edit: a Sky mask with the subject subtracted, a Luminance Range subtracted again so only the darker sky deepens while cloud highlights survive, Landscape masks for the ground, a sky-only vignette, and the guiding rule of masking in Lightroom: add light, color, and texture to your subject, and take them away from everything else.
Selective Coloring with Point Color
Point Color lets you sample one color and shift its hue, saturation, luminance, and variance without touching anything else. You will use it inside masks to turn muted autumn foliage vibrant, tune a yellow hat and blue jeans, and warm the ground of a desert scene, and you will learn why saturation and luminance play so well together and when to reach for Temp and Tint instead.
Duplicate, Invert & Reuse
Build a mask once and get more out of it, because efficient masking in Lightroom is about reuse: duplicate a mask and reset its settings, invert a radial component so the outer background darkens while the subject stays untouched, subtract Select Subject from a glow so the light hits only the environment, and rename each mask so a complex edit stays readable when you come back to it.
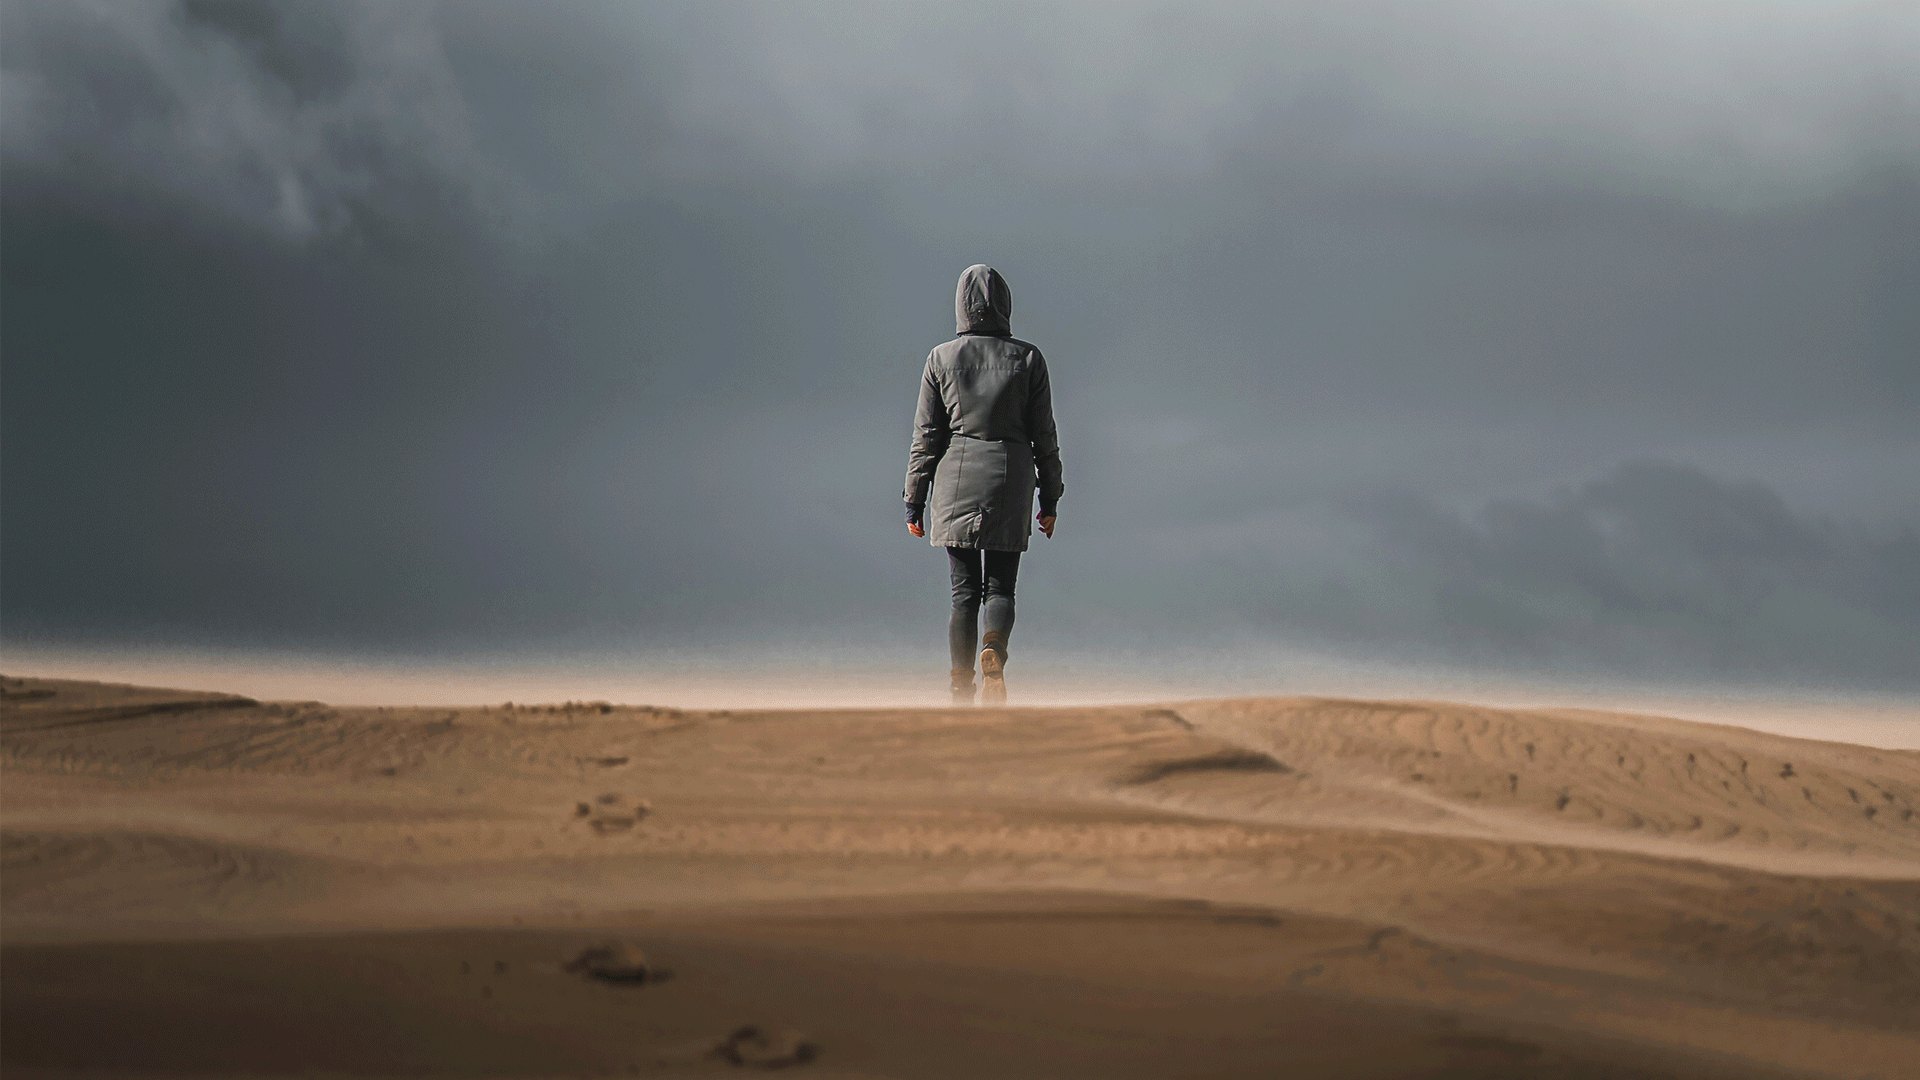
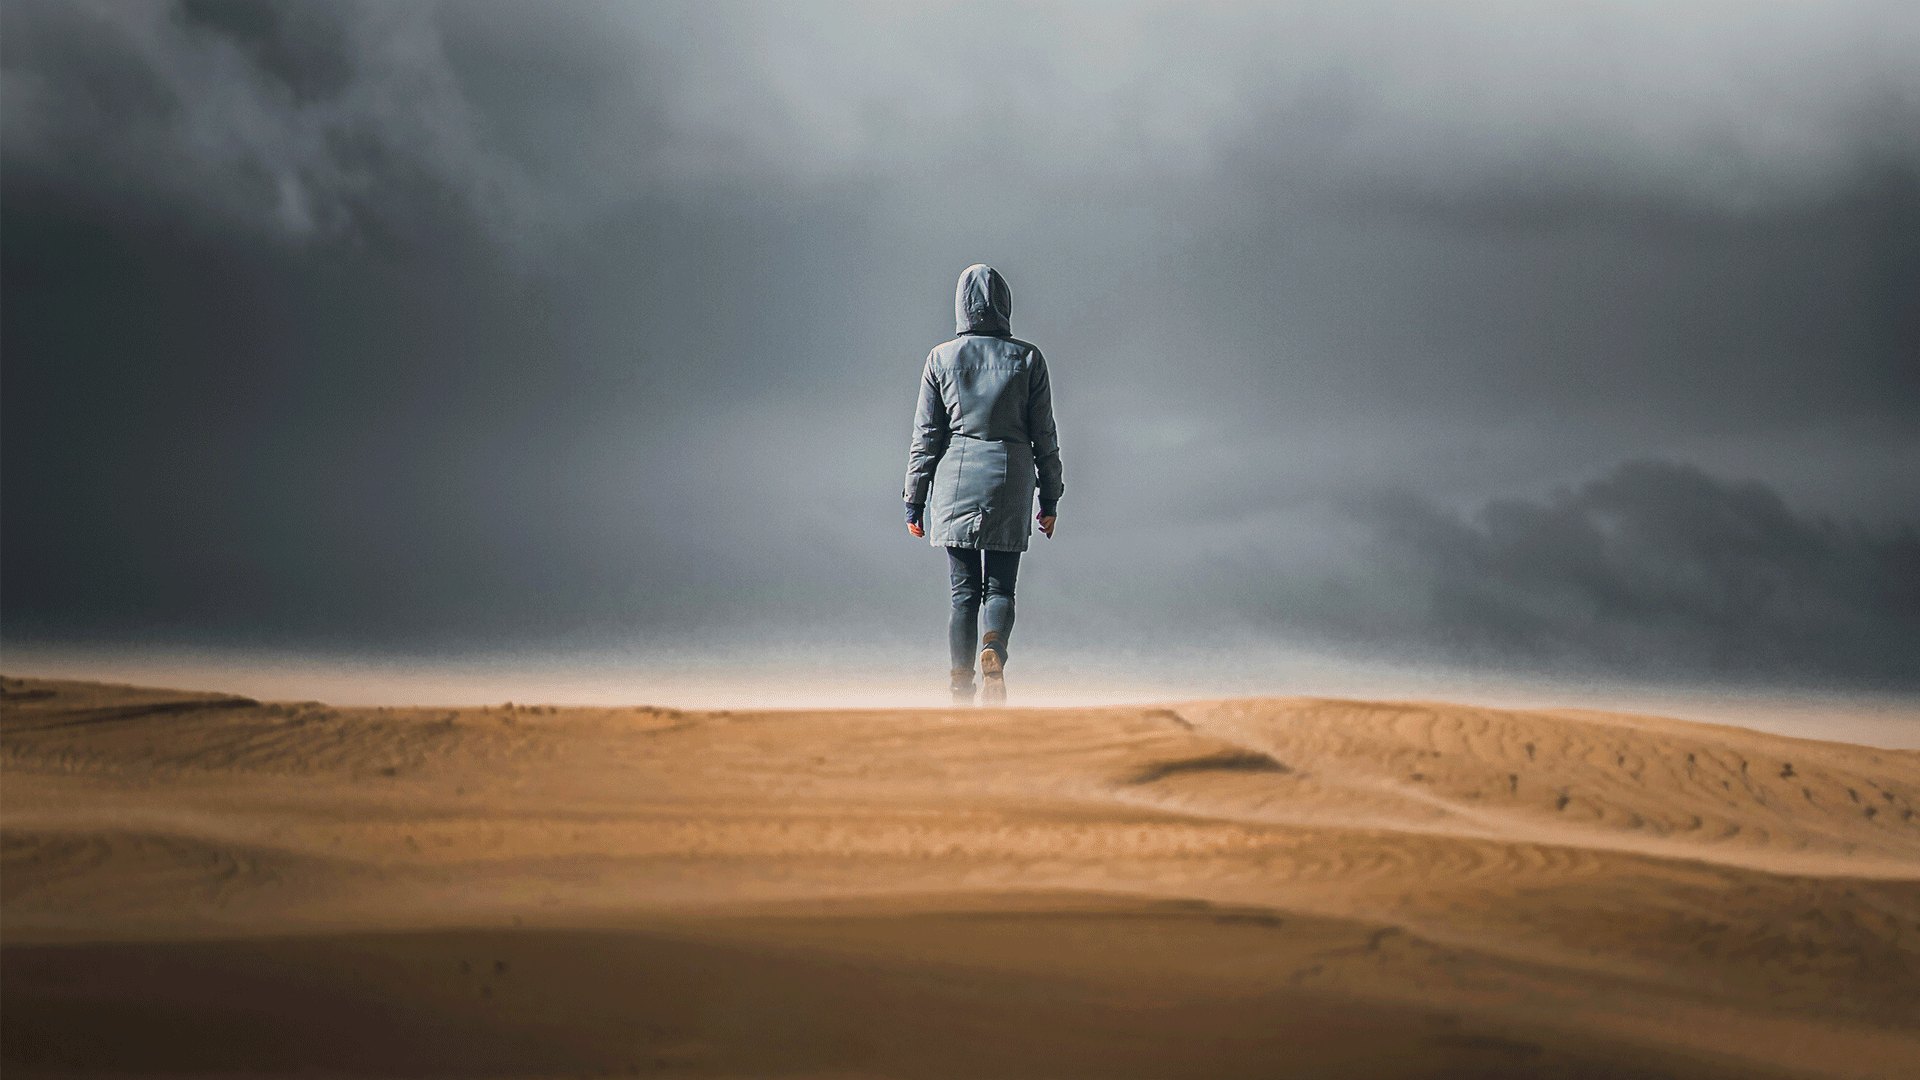
The Invisible Spotlight
Gradients are the fastest way to add drama with masking in Lightroom. In this section a Radial Gradient with feather at maximum drops a soft pool of light on the subject, Select Subject is subtracted so the glow lands on the environment, and Linear Gradients darken the foreground and the top edge to build a sandwich that pushes the eye toward the brightest part of the frame. Every one is a mask, so you can move it, feather it, or dial it back with the Amount slider whenever you like.
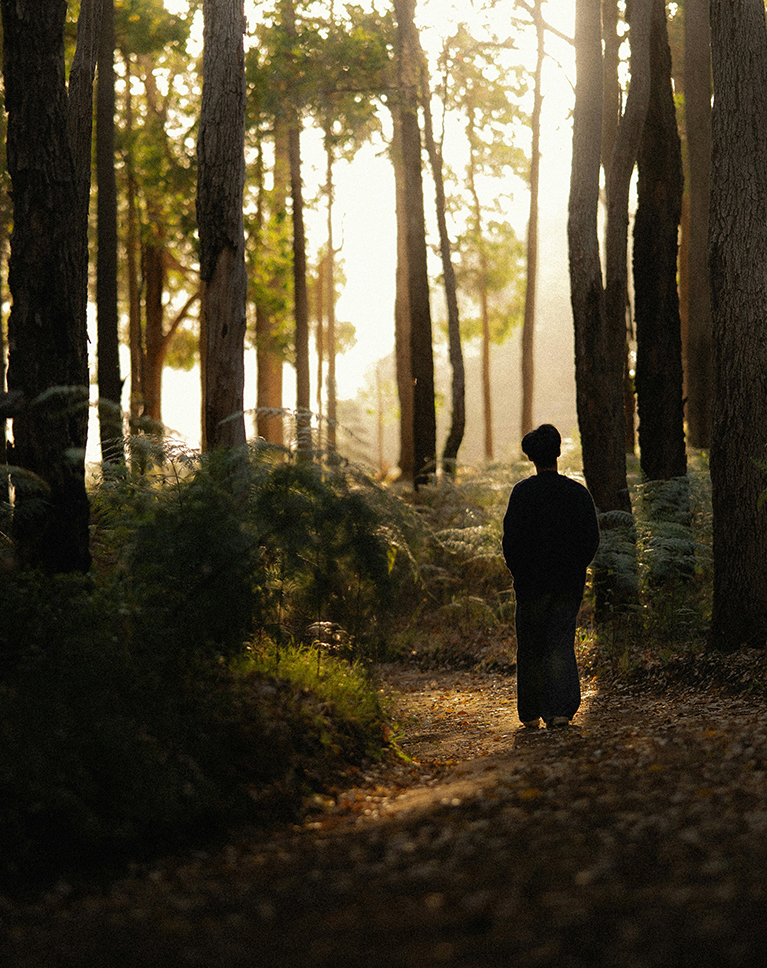
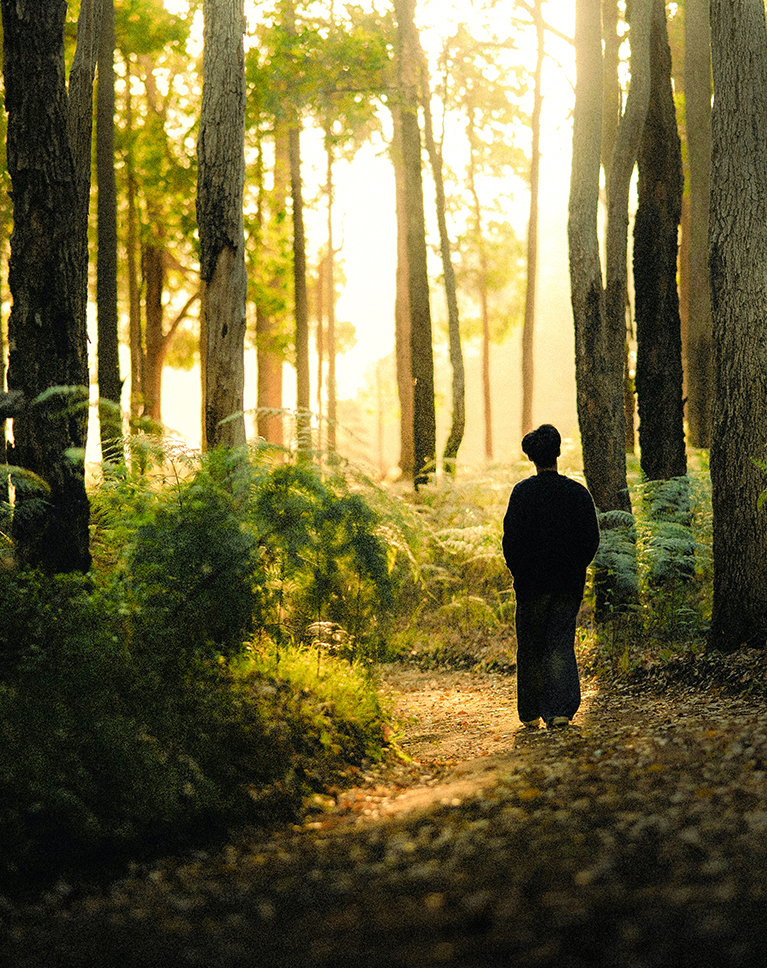
Light & Color with Luminance Ranges
On a forest path with sun streaming through the trees, masking in Lightroom by luminance lets you select the highlights with a Luminance Range, lift exposure while protecting the brightest values, bring the greens back with Point Color, and warm the light with Temp and Tint. Then the brush becomes a dodge and burn tool: feather high, flow low, painting pockets of light along the path.
Subject & Environment
A desert portrait on camelback gets a believable blue sky (blue Temp plus a touch of green Tint), a warmer, brighter ground, an Objects mask to add the camel to Select Subject, and Point Color on the scarf and coat. An intersected Radial Gradient brightens the rider’s face, and two vignettes, one global and one masked, finish the frame.
Scene Cleanup & Lens Blur
The skate-park example starts with the Remove tool and Generative AI to clear every distraction in one pass, then a People mask with Objects added for the board and shoes, gradients to even out the sky, and the Lens Blur tool with Point Focus and brush refinement to separate the skater from the bowl. A touch of grain keeps the blur looking like it came from a lens, which is masking in Lightroom at its most practical.

Global Color Grading
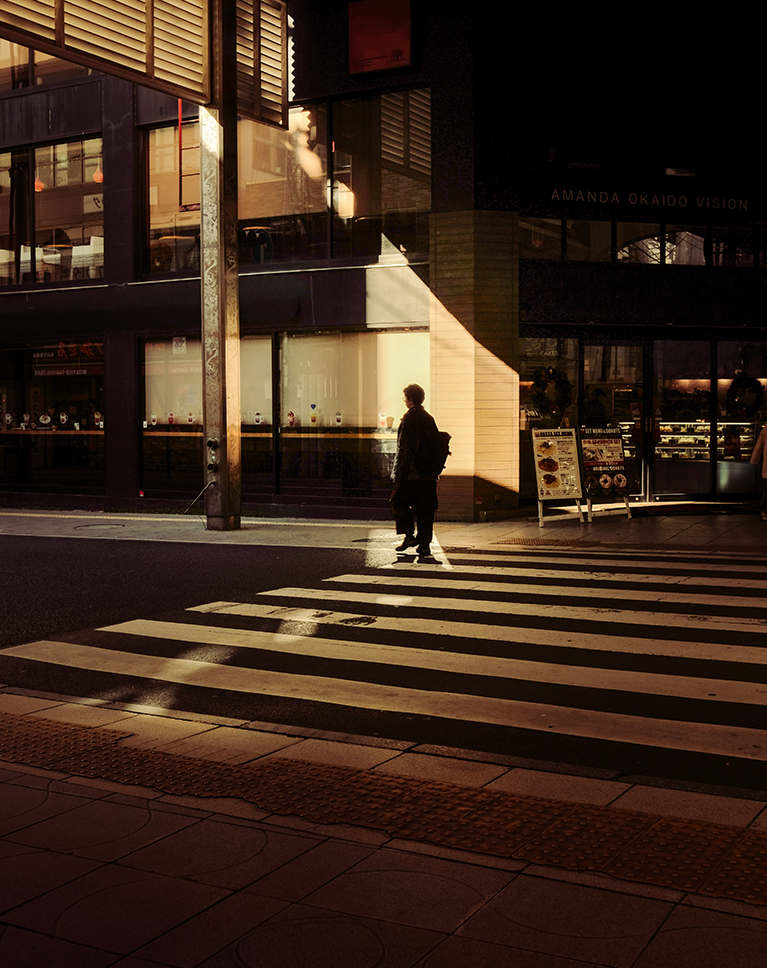
The final section turns a dark city street into film noir with masking in Lightroom and the Color Grading panel. You will build the light with a Luminance-intersected brush, radial and linear gradients, and subject subtraction to keep the silhouette dark, then grade shadows, midtones, and highlights individually, watching the image rather than the wheel as you rotate hue and set saturation.
Versions with Virtual Copies
Color is a decision, so this masking in Lightroom course shows you how to make it with options: create a Virtual Copy that carries every mask, removal, and grade, push the copy warmer, and compare the two side by side with sidebars hidden. It costs no disk space and makes it easy to hand a client two looks.
Included Files & Next Steps
This masking in Lightroom course includes all 9 sample images so you can follow every section in Lightroom Classic, Lightroom desktop or mobile, or Camera Raw in Photoshop. If you are new to Lightroom, start with our Lightroom Learning Path and come back to this course when you are ready to take control of every part of the frame.
Class Instructor
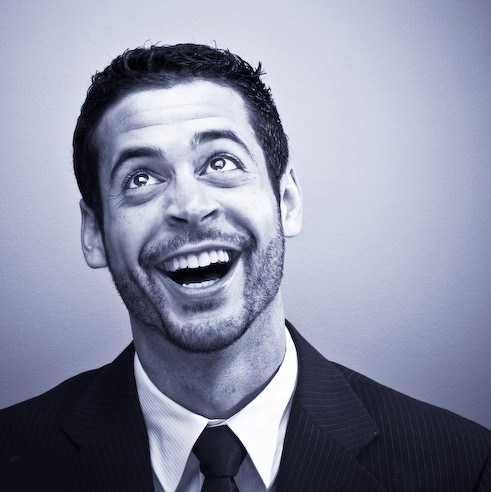
Aaron Nace
PHLEARN Founder & Lead Instructor
Aaron Nace is a photographer, digital artist, and the founder of PHLEARN. He has been teaching Photoshop, Lightroom, and photography since 2011, and has taught at Adobe MAX for more than eight years.
Aaron publishes a free tutorial every week and a new in-depth PRO course every month.
- 2M+YouTube subscribers
- 160M+video views
- 1,000+tutorials published
- 15years teaching Photoshop
The photographs in this course are stock images; all 9 sample images are included in your download so you can follow along in any Lightroom app.
Reviews
Master Photoshop, Lightroom and Photography
Join PHLEARN PRO for $12.99 a month or $99.99 a year. Cancel anytime, with a 100% money-back guarantee.






Thank you!
Entertaining and wonderfully educational as always! I’ve learned some awesome techniques which I’ve already implemented in my everyday workflow! Many thanks, Aaron 🙂
Aaron- When using the eyedropper tool to add a color you can also reset by sliding the “S” saturation to zero.
Excellent and thoughtful instruction. I like your relaxed and clear tone and that you review the steps done at the end of each lesson. Thank you for adding these more in depth lessons!
I have just started doing these tutorials and have to say I am really impressed on the high standard of teaching and I’m getting so much out of it thank you Phlearn
Hi Aaron, Thank you for your excellent presentation on Masking. Can you please tell me which method to use if you want to apply the same Masks to a number of photos? Using an example of a set of photos of Grandchildren Either- Edited one photo – adding masks – then select similar photos and clicking ‘Sync photos’ (with Masks ticked) or Select similar photos, tap the button next to the ‘Sync photos’ . Edit the first photo (brighten the eyes, teeth, adding contrast, enhancing colour…) . I understand, all the selected are edited at the same time. Which method gives the best result? And yes it wold be advisable to review the edited photos, in both methods. And thanks again for your excellent Masking Presentation.
Hey there! our team will reach out to your directly via email
Great tutorial. So much can be done in LR in lieu of PS.
As always, Aarons creativity, experience and knowledge throughout these tutorials are so clear, never rushed and are sprinkled with his sense of humour. I learn and laugh— what more could you ask for. I could, and would, ask for more — I loved Phlearn’s composite tutorials that focused on one final image, I’ve done them all and I could really sink my teeth into another big project like that.
Great job covering the basics! Would love to see an expanded series watching you do more edits! Thanks Aaron!
Awesome as always Truly a great teacher!!!
Great course! Color grading and masking ideas. were great.
Great tutorial that is explained clearly. I feel so much more confident using masks in Lightroom.
This is such a fantastic tutorial Aaron and you make this so enjoyable to Plearn from! You are a wonderful instructor!! I learned so much that I have been hesitant with in working with color masking, but now I am armed with so much more knowledge, I can’t wait to re-look at some of my favorate images!
Great course, easy to follow and understand!
This is more than a how-to tutorial. The instruction, examples, and presentation inspire the student to seek deeper meaning in Lightroom masks and color adjustments. As a fine art teacher, I appreciate the approach and point many of our students to these tutorials. Because they are far more than HOW, they also teach WHY. One thing that I would add to this tutorial and others is the use of an Adaptive Color Profile.
Hi I wrote a good review, but had 2 points of critique. Don’t you post reviews that have critiques? I would like to have gotten an answer. Greetings Cor, a long time subscriber
Hi! Our team reached out to you via email, as it would have been too long to answer here. Thanks for taking the time to write a review!
As usual a fine and detailed tutorial, I normally don’t use light room just camera raw in photoshop. There are things I was unaware of that is luminosity masking and intersection
Excellent tool description, but more importantly, the tutorial stresses the value of creating an art form from the pictures.
Absolutely love the way you break things down and give tips throughout each video. These lessons have changed my workflow and how I approach an image. Thank you! Aaron, do you have any lessons that cover harsh lighting scenarios like dance events, concerts, wedding receptions, etc? I would love to see how you handle color correction and make the subject pop in these settings.
These sessions just feel like it’s one-on-one with Aaron. He’s excellent — my favorite instructor.
I really enjoyed the Masking & Coloring in Lightroom module by PHLEARN. The course explains Lightroom’s masking tools in a clear and practical way, making even the more advanced features easy to understand. The coloring section is especially strong, showing not just how to adjust colors, but how to use them creatively to enhance mood and depth. The lessons are well-structured, easy to follow, and immediately applicable to real editing workflows. Highly recommended for photographers who want more control and confidence in their Lightroom edits.
Aaron is still the best! I’ve been using Lightroom since 2009. Whenever I need to learn something new or refresh my existing knowledge I come to Phlearn! Aaron is my go-to instructor.
Good stuff, Definently phleaned in this class!