How to Retouch Clothing & Fabric
-

-
Add to
favorites
-
DifficultyMedium
-
Length2.5 hours
-
Videos9
-
Software
DESCRIPTION
Learn how to make clothing and fabric look amazing with the professional tools and techniques in Photoshop. Remove wrinkles, change color, recover details, add shape and definition, and much more!
THIS COURSE INCLUDES
- 13 Sample Images
- 1 Sample PSD
- 1 Photoshop Action
SHARE
TABLE OF CONTENTS
-
01 - Change Color20:15m
-
02 - Remove Logos & Marks19:18m
-
03 - Increase Detail & Dynamic Range8:01m
-
04 - Dodge & Burn28:24m
-
05 - Remove Wrinkles10:26m
-
06 - Remove & Smooth Undergarment Lines11:19m
-
07 - Change the Shape18:21m
-
08 - Add Logos & Graphics24:24m
COURSE DOWNLOADS
Perfect Look. Perfect Fit. Every Time.
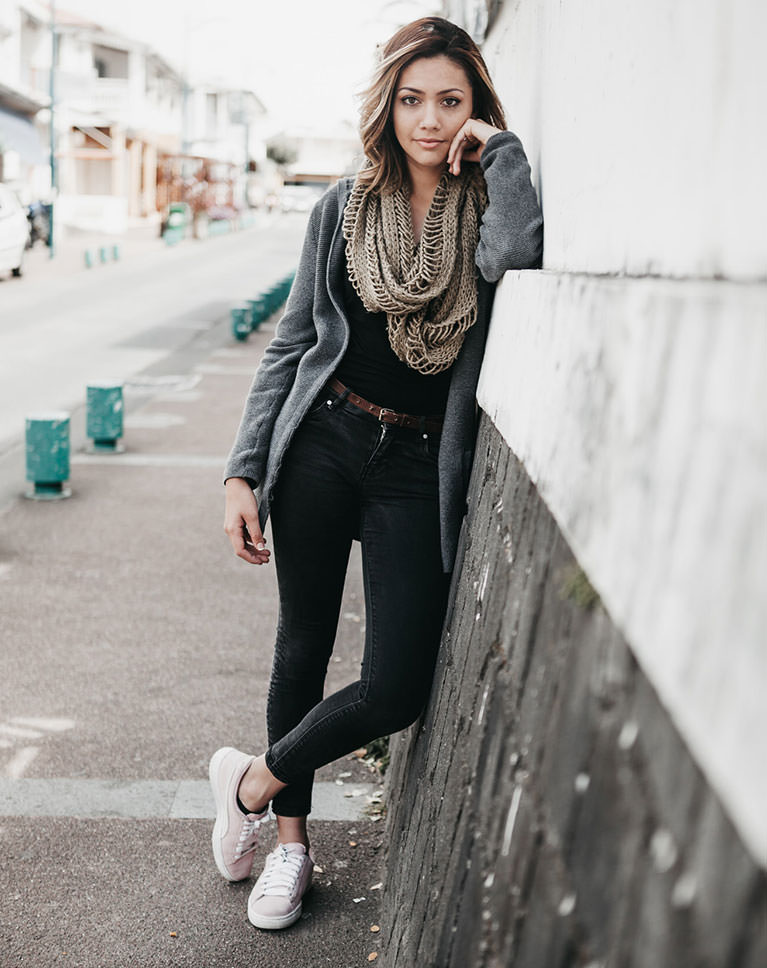
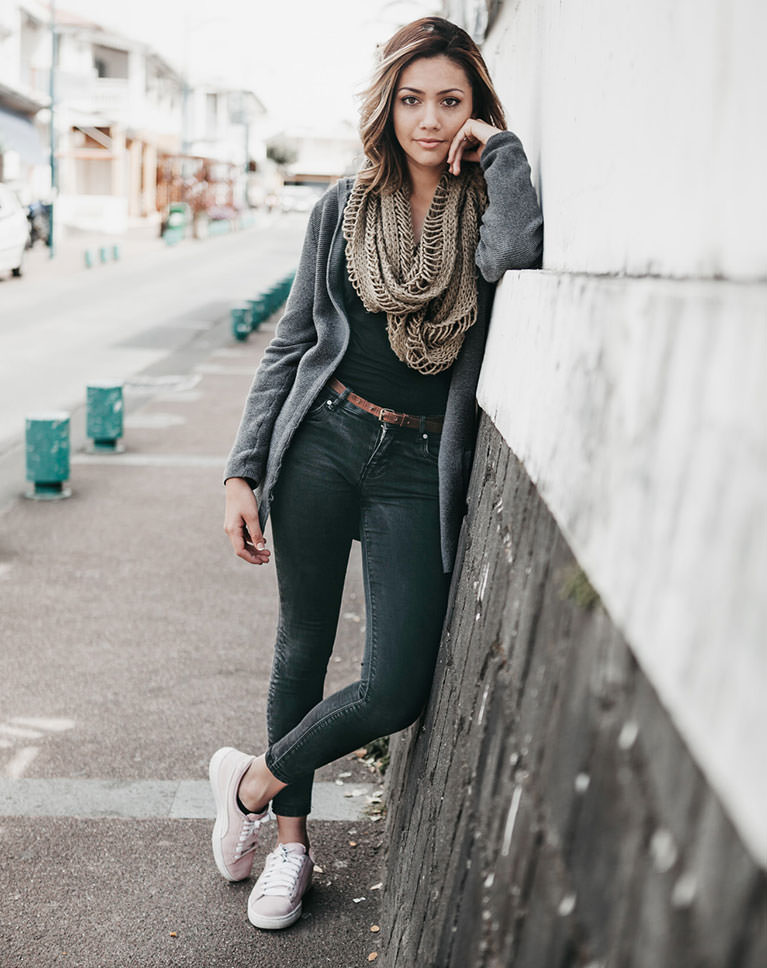
CHANGE & ENHANCE COLORS
ORIGINAL
Learn How to Retouch Clothing
Clothing is as much a part of a portrait as the person, oftentimes adding personality, color, and detail. We show you how to work with fabric and clothing in Photoshop to reduce distractions and help the clothing look like a natural extension of the subject.
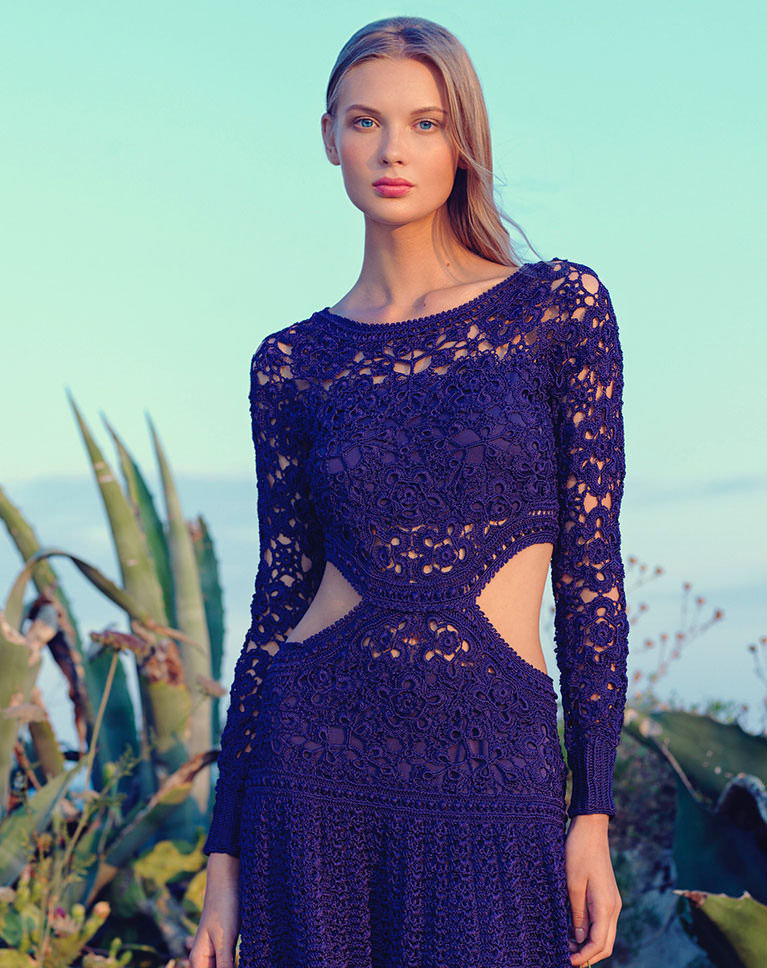
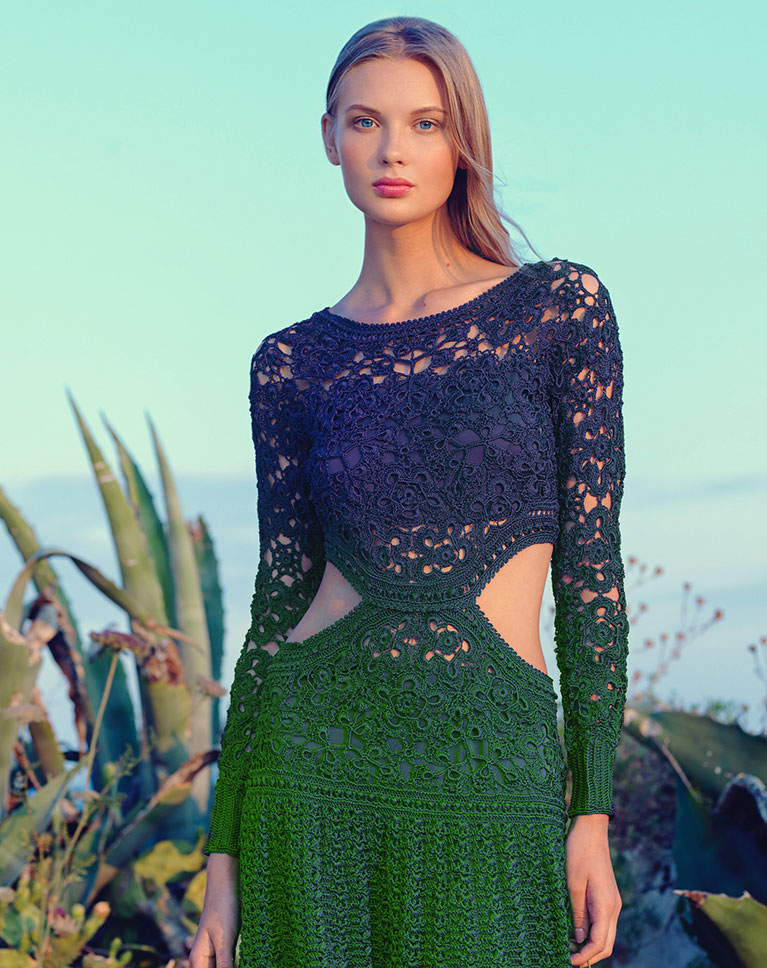
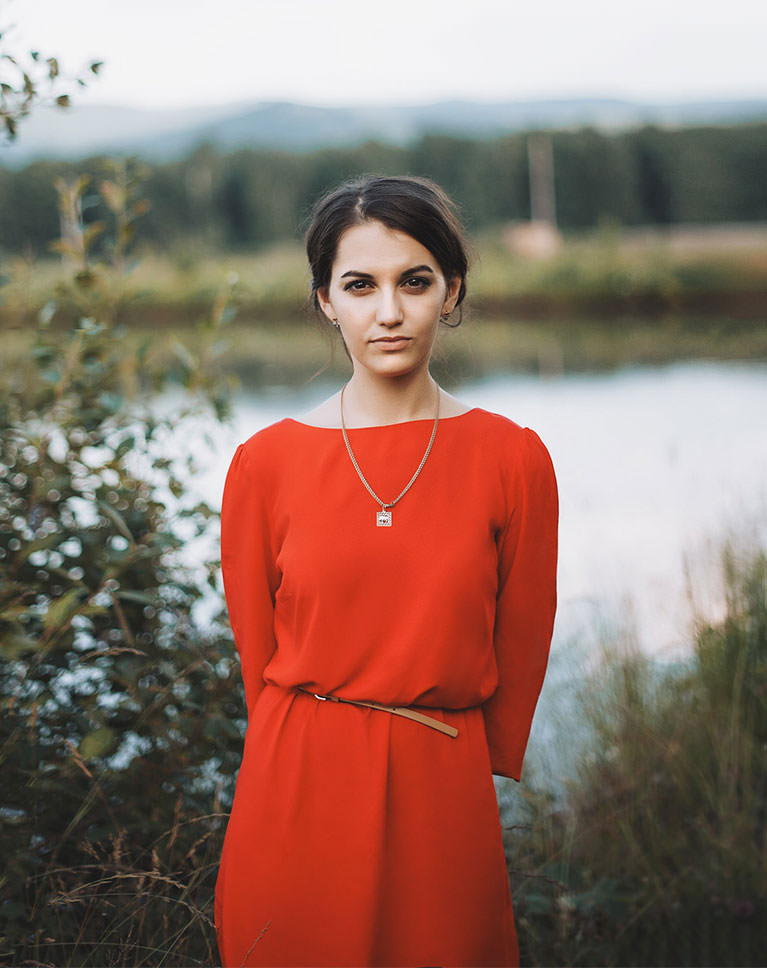
Change & Enhance Colors
Change a red dress to green, make a shirt match the colors in an environment, or even add beautiful gradients for an eye-catching effect. Learn how to change, adjust, and enhance the colors of any fabric, with realistic results that look like the dye is still fresh.
Freshly-Pressed
Wrinkles, folds, loose strands of fabric. Clothing is tough to work with during a Photoshoot. No matter how much you try to style it on-set, there’s always some minor distractions and imperfections that make it into the final image. We show you how to use advanced techniques, like Frequency Separation, for a freshly-pressed look.
ADD & REMOVE LOGOS
ORIGINAL
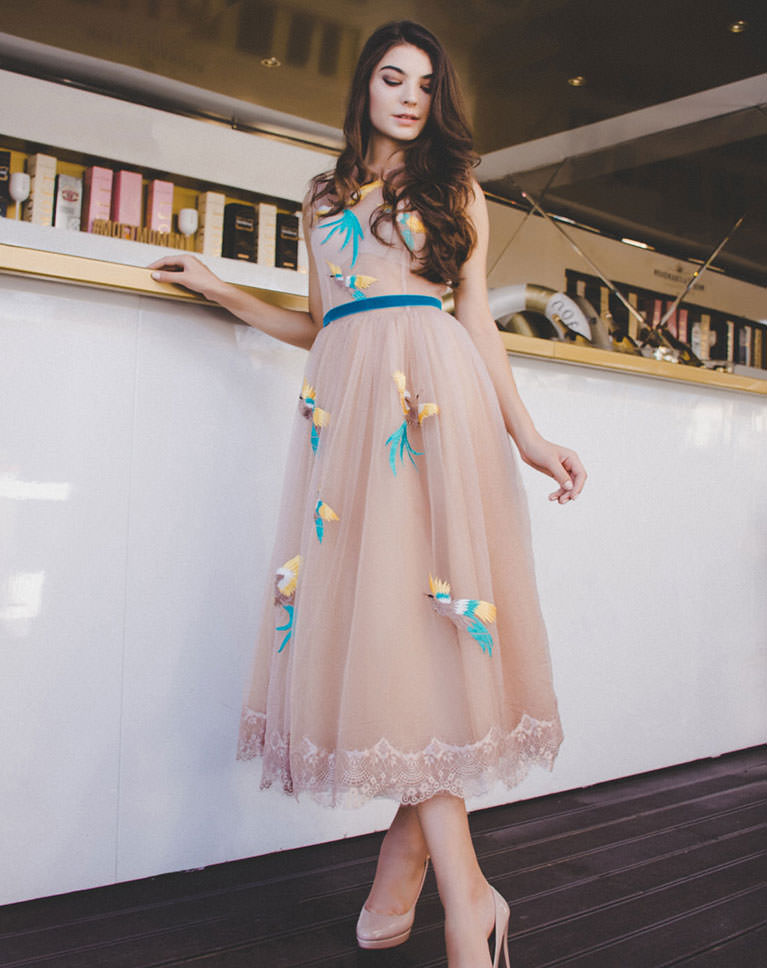
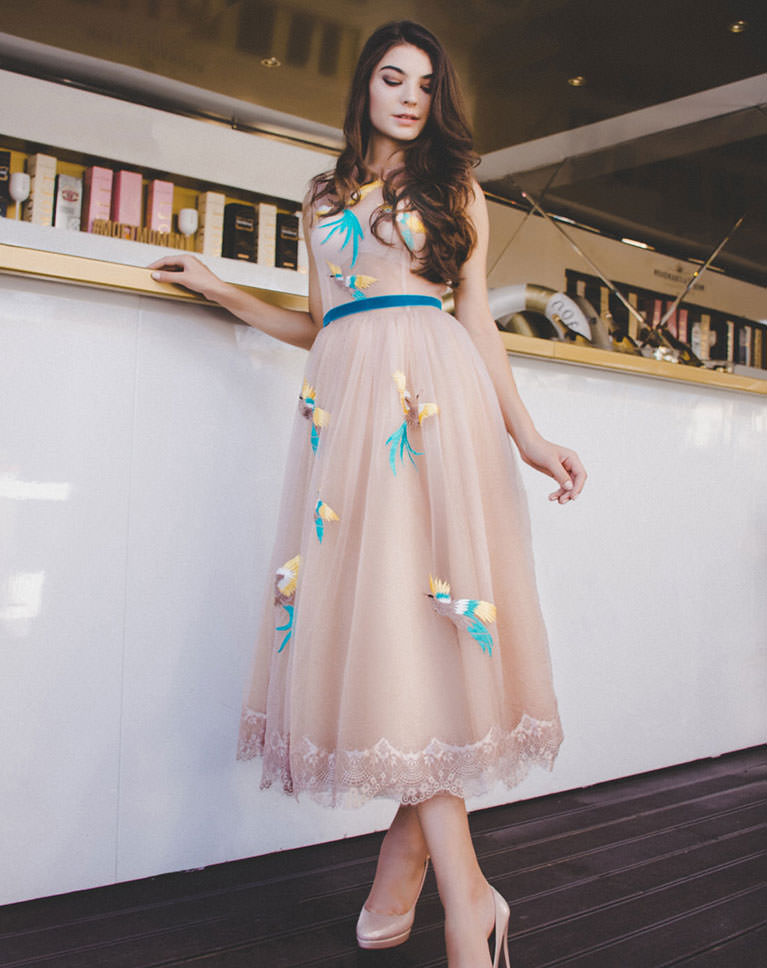
Add & Remove Logos
Logos and branding are everywhere, especially when it comes to clothing. We show you how to remove logos and graphics from any type of material. And you’ll learn how to add logos of your own, matching the folds and details in clothing and fabric for a photorealistic look.
Products & E-Commerce
Quickly change colors, add logos and graphics, and make clothing look flawless. When clients ask for a variety of product mockups, you’ll be ready!
Professional Tools & Techniques
From dodging and burning to Frequency Separation, we break down the tools and techniques you’ll need to make clothing and fabric look amazing. We even include our world famous PHLEARN Frequency Separation Action, giving you access to professional techniques in half the time!
RECOVER DETAILS
ORIGINAL
Recover Fine Details
Sometimes the fine details in fabric get lost, making an image look flat. Learn how to recover those details and textures with precise exposure adjustments in Photoshop.
Help Clothing Look its Best
When you’re clothes look great, you feel great. The same goes for photos. We show you how to identify distractions and problem areas in clothing and fabric, drawing more attention to your subject, and helping them look their very best.
Retouch Any Fabric
From rough denim to soft silk, you’ll learn how to work with any fabric and any type of clothing in Photoshop. Clean it, straighten it, and bring out all of the natural textures and shine.
From Rough Denim, to Soft Silk
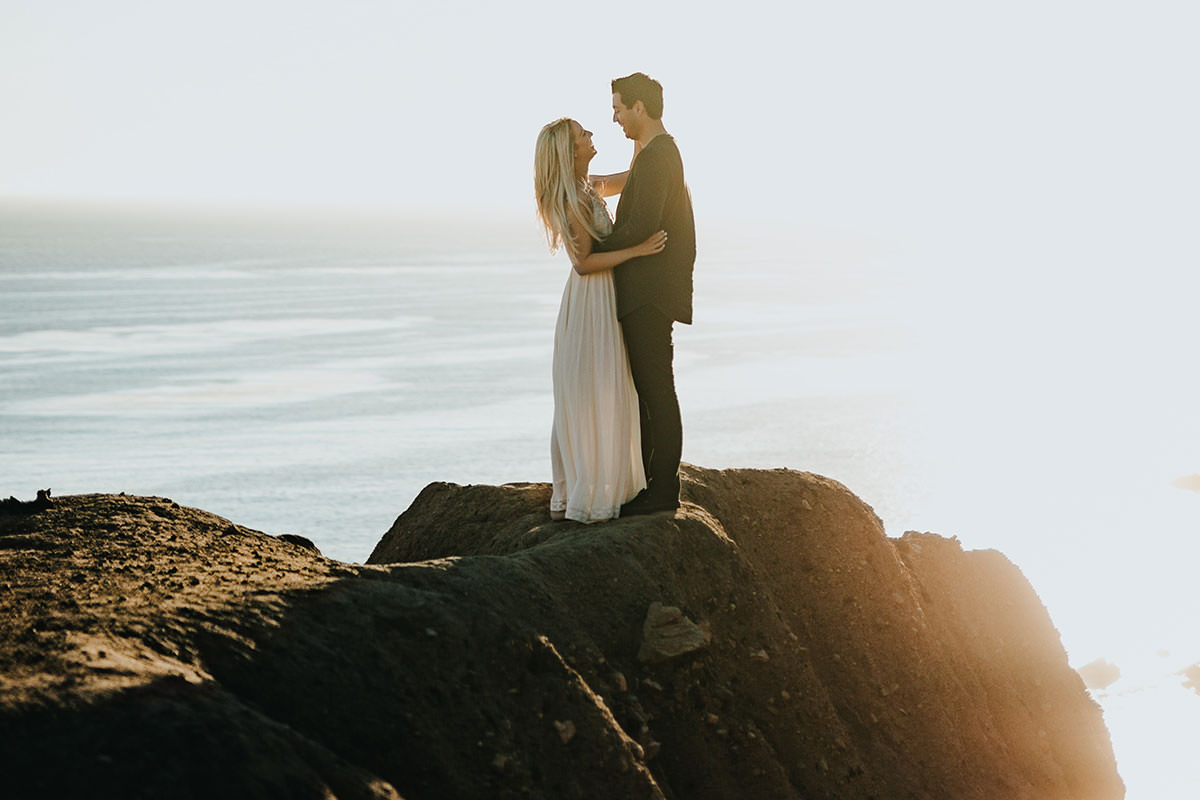

Fabric that Flows
If you work with images of people, chances are that you also work with a lot of clothing and fabric. Learn how to help clothing look its best, from removing wrinkles, to changing the shape for a perfect fit, every time.

REMOVE WRINKLES IN CLOTHING
ORIGINAL
Reduce & Remove Wrinkles
Forgot to iron? No problem! We show you how to reduce and remove wrinkles in any type of fabric, eliminate distractions and help your subject look their very best.
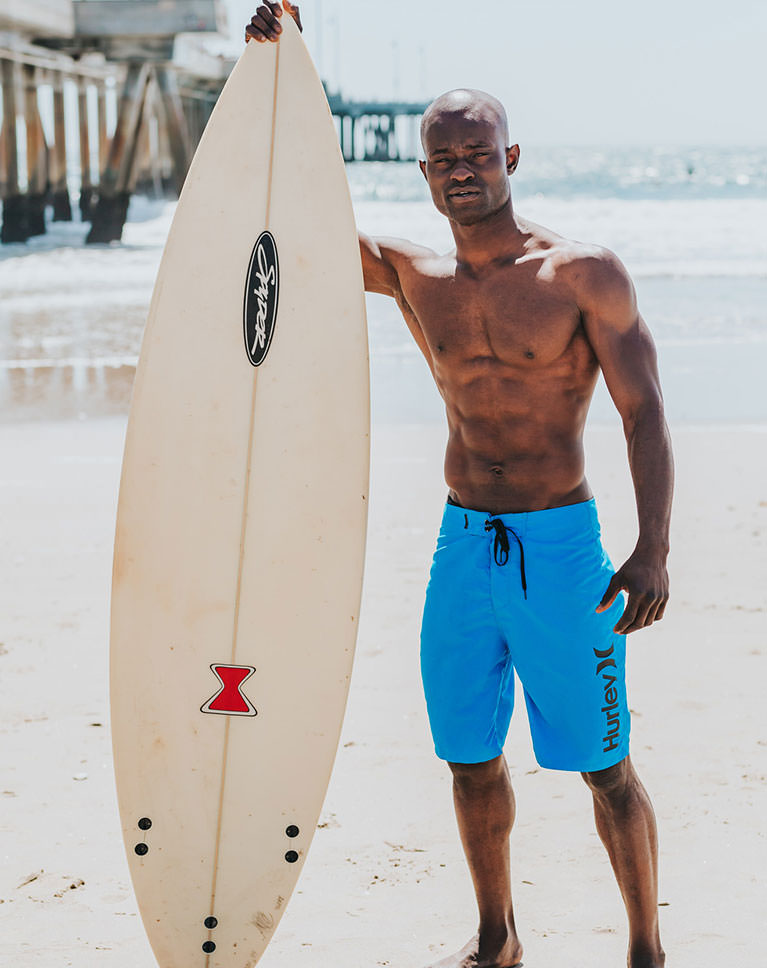
Fashion & Products
The techniques you learn in this course can be applied to a wide variety of images. Whether you shoot products, weddings, or high-fashion, you’ll be prepared to tackle clothing and fabric in any photo.
Frequency Separation
Frequency Separation works for more than just skin. We show you how to use this powerful retouching techniques to simplify clothing while preserving all of the original texture and details.
ADD DEFINITION WITH DODGE & BURN
ORIGINAL
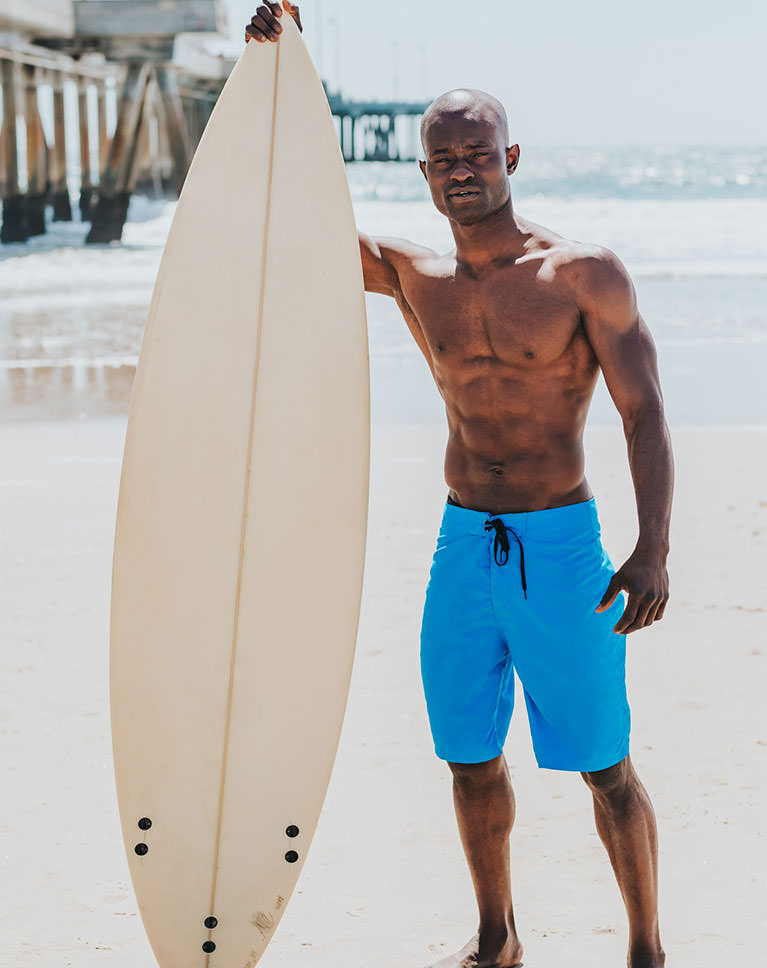
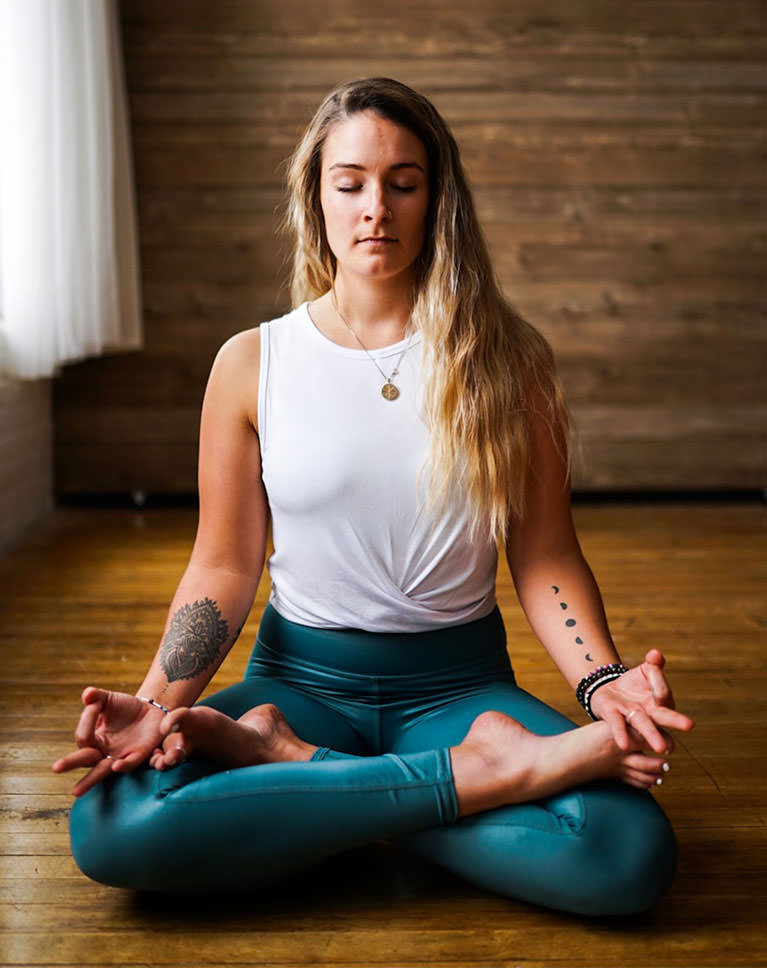
Dodging & Burning
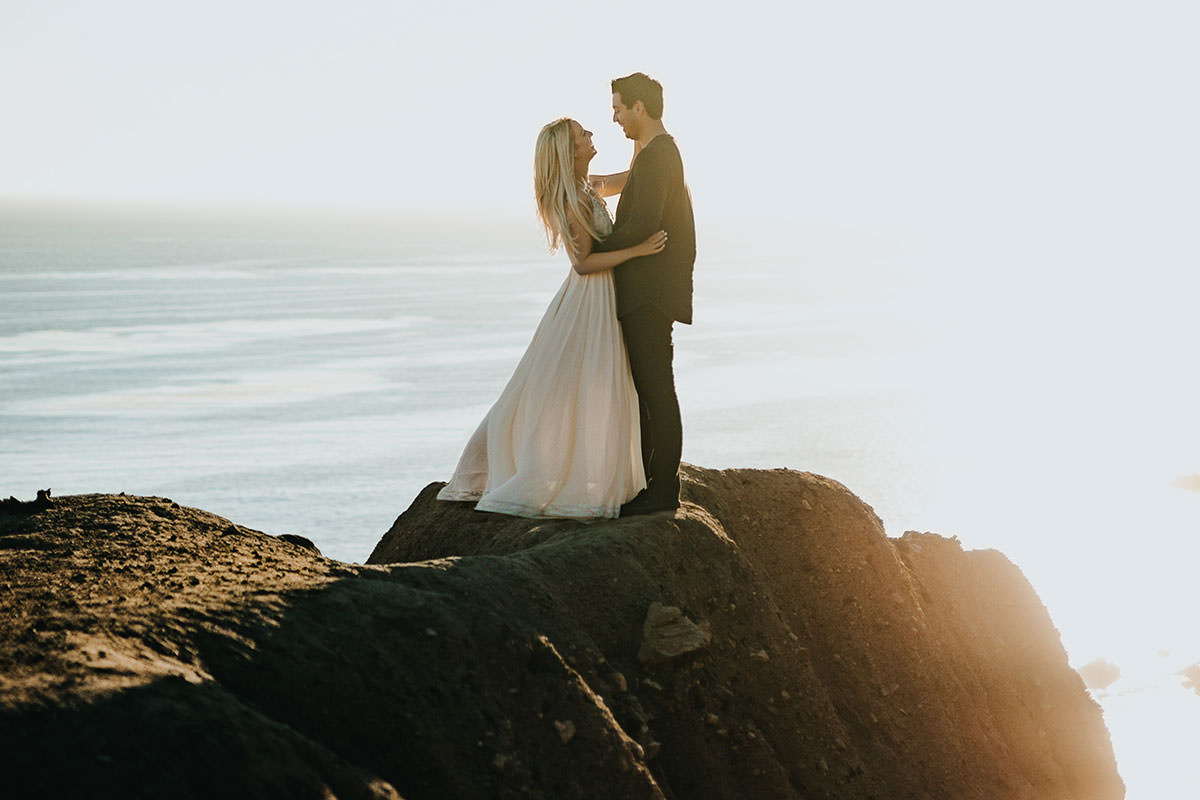
Add shape and definition to any fabric with professional dodging and burning techniques. Bring out the intricate details in a wedding dress, or the musculature underneath athletic-wear. Dodging and burning is one of the most powerful techniques that can take your images to the next level.
Enhance Folds & Structure
Add energy to a portrait by adding shape to the subject’s clothing. Create the illusion of a dress flowing in the wind, or enhance the structure and angles of a sharp new suit.
Reduce Distractions
Retouching clothing, like all other types of retouching, is about reducing distractions and drawing more attention to the subject. Learn the process of identifying problem areas, and then use the tools within Photoshop to simplify an image, keeping the attention where it matters most.

REMOVE UNDERGARMENT LINES
ORIGINAL
Perfect Fit
Sometimes clothes don’t always cooperate when they’re being photographed. What looks great in person, might need some help in a photo. Learn how to shape and sculpt clothing around a body for a perfect fit, every time.
Techniques for All Photographers
Whether it’s a detailed wedding dress or a limited edition t-shirt, you’ll learn how to make it look perfect in Photoshop.
The Retouching Process
This course covers just one part of the retouching process. We’ve got you covered for the others. From eyes, to hair, to perfect skin, we’ve got a library of tutorials that will help you master the art of retouching.
Class Instructor

Aaron Nace
PHLEARN Founder – Class Instructor
Aaron Nace is a photographer, Photoshop artist and founder of PHLEARN. He is the #1 Photoshop instructor in the world with millions of YouTube subscribers.


Reviews
New & Popular Tutorials


Training Site in
the World
Tutorials!
Ratings
and Counting
Subscribers
Overall this was a great tutorial, easy to follow and to the point! I want to know how to smooth a garment when there isn’t any “smooth” portion to sample from? That addition to this would be epic!
Hi there! Great stuff, thank you. I would love to see a tutorial on How to Retouch Clothing & Fabric when the garment is in full focus and close range to the camera and also has a textured weave and pattern to it. Every tutorial I see shows how to smooth clothing using a solid simple cotton material, which is not helpful when you are trying to smooth wrinkles and folds on a plaid wool suit, for example. Thank you!
I’m expanding my photoshop knowledge arsenal by the minute. And it doesn’t even hurt! I just have a great time with learning with Phlearn.
Excellent tutorial, Awesome action. Thank you.
thank you some much
very nice tutorial…. i love the change of the color of cloths and as always Phlearn is rocking . excellent fabulous and at last i want to say watching every single tutorial is worth time spend on phlearn
I needed to remove wrinkles from a t-shirt someone wore in a family photo. I knew Aaron would have a technique for me! Sure enough – an excellent section in the tutorial on using frequency separation to fix wrinkles in clothing. Not only that, but a PhotoShop action included to help make setting up the file for frequency separation super easy! Great tutorial!
Awesome tutorial once again. Really liked the new warp tool, haven’t installed the new version but this new action i just might. Keep them coming. As always you Rock
Amazing Tutorial. Please make more videos similar to this
Thank you very much for your helpful tutorials. The Frequency Separation Action is amazing for wrinkles and skin retouching.
Just Phlearn ! What else can i possibly say ! <3 Mr. Aron Nace ! Thank you
I’m halfway through it and so far it’s been great, I really recommend it. I already knew the tools so it’s not difficult for me to follow but I’ve never thought of using them this way. It’s extremely helpful and Aaron makes it very fun and light to watch. Thanks!
I learn new things in every video. Frequency Separation for clothes? ? (Forehead slap). You are so entertaining. I have subscriptions to other photography, LR, PS websites, but yours is my favorite. By the way, I have a question. When do you decide to create a blank new layer versus a duplicate layer? Thank you!
HI PHLEARN I like your course very much. Your course not only taught me a lot of Photoshop skills, but also taught me a lot of thinking about drawing. This is something that few people in China will teach. I hope you can produce a Chinese version of the course. That must be liked by a lot of people.
Thank you very much, Aaron. Great information, great! Your lessons are enjoyable, I reinforce my knowledge. Sincerely
As always, Aaron makes these tutorials interesting and fun while really getting down to business. Thanks Bro!!, for showing your techniques.
Excellent. So much covered it what from the title seems like a simple subject. One suggestion: On the final chapter, when you place a logo on an image’s shirt, that’s a case where either the ability to save a short cut to a specific point in the video, or limited transcripts would be useful. As you noted, lots of steps with: Logo, warp, apply image, channel-mask, displacement, multiple blend mode …. see, I think I forgot something already .
Great to finally get the wrinkle problem solved.. Great episode -THANKS again
Awesome tutorial. Undoubtedly one of my favorites!
I am only part way through, just finished the dodging and burning, and I am loving it. So far the dodging and burning, especially the dress, is the most useful, I learned a tremendous amount. It is amazing how much dimension you can add to clothing with a relatively simple technique. It will take me a while to remember the steps in the selection process, but once I start doing it on a more regular basis the more it will become routine. I will say in that lesson I went ahead and burned her face too. That was bugging me (too bright in my opinion) and it worked like a charm. I am sure I will have more to say as I get deeper into the lessons.
As you said in the intro : This is a fantastric tutorial ! <3