
Advanced Lighting & Coloring in Photoshop
-

-
Add to
favorites
-
DifficultyAdvanced
-
Length3.5 hours
-
Videos8
-
Software
Description
Master the art of creating the perfect exposure, lighting effects, color toning, and composites with luminance blending in Photoshop.
This is the best way to edit your photos while avoiding that ‘Photoshopped’ look.
THIS COURSE INCLUDES
- 10 Sample Images
- 1 Sample PSD
Share
Table of Contents
Course Downloads
Lighting, Coloring & Compositing
CREATE PERFECT COMPOSITE IMAGES
ORIGINAL
What is Luminosity Blending?
Luminosity Blending allows you to blend Layers and effects into only the highlights or shadows of an image. You can lighten the dark areas of a portrait without affecting the highlights, add stylistic color by coloring the highlights and shadows independently, and even make composites look seamless by matching the light and color between multiple photos.
Blending Options in Photoshop
There are a variety of tools in Photoshop that allow you to blend Layers and images together. Whether you’re looking to add a new sky into a landscape or you want professional-grade dodging and burning on a portrait, this tutorial breaks down how Luminosity Blending can improve any photo.
Tools for Compositing
The key to a believable composite image is matching the light and color between photos. We walk you through multiple compositing examples where we demonstrate how to match the lighting and the color, making it appear as though elements from two photos were all captured in the same scene.
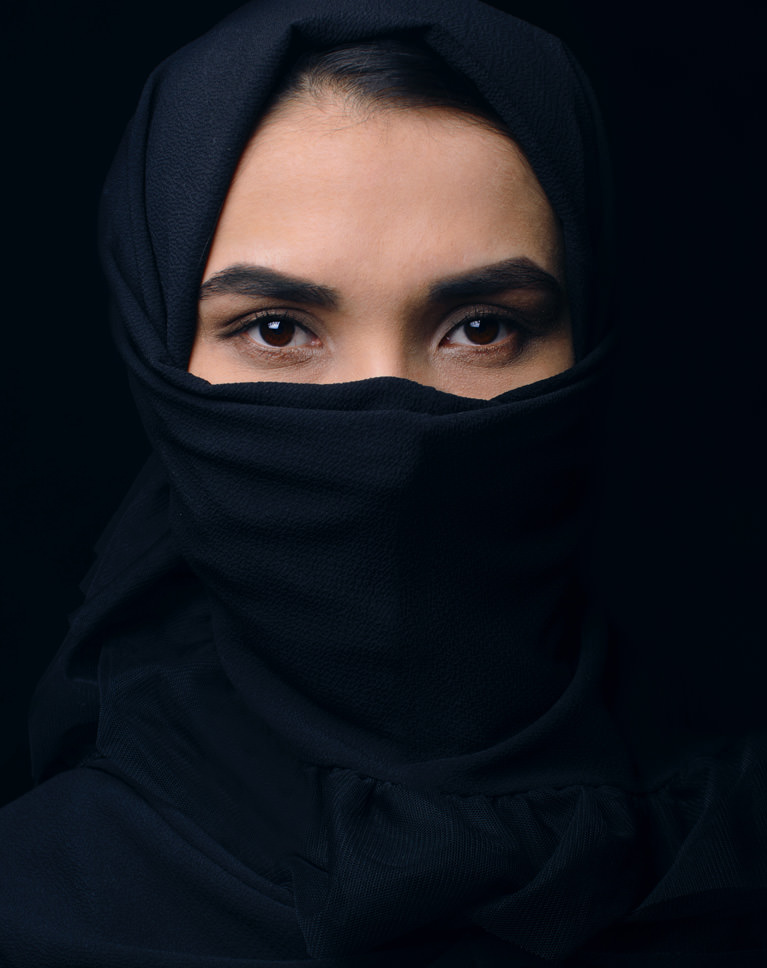
ADD REALISTIC LIGHTING
ORIGINAL
Highlights & Shadows
Light and shadow are the defining features of any photograph. We show you multiple tools and techniques that allow you to edit those areas of light and dark independently – carefully sculpting your edits for a more professional finish.
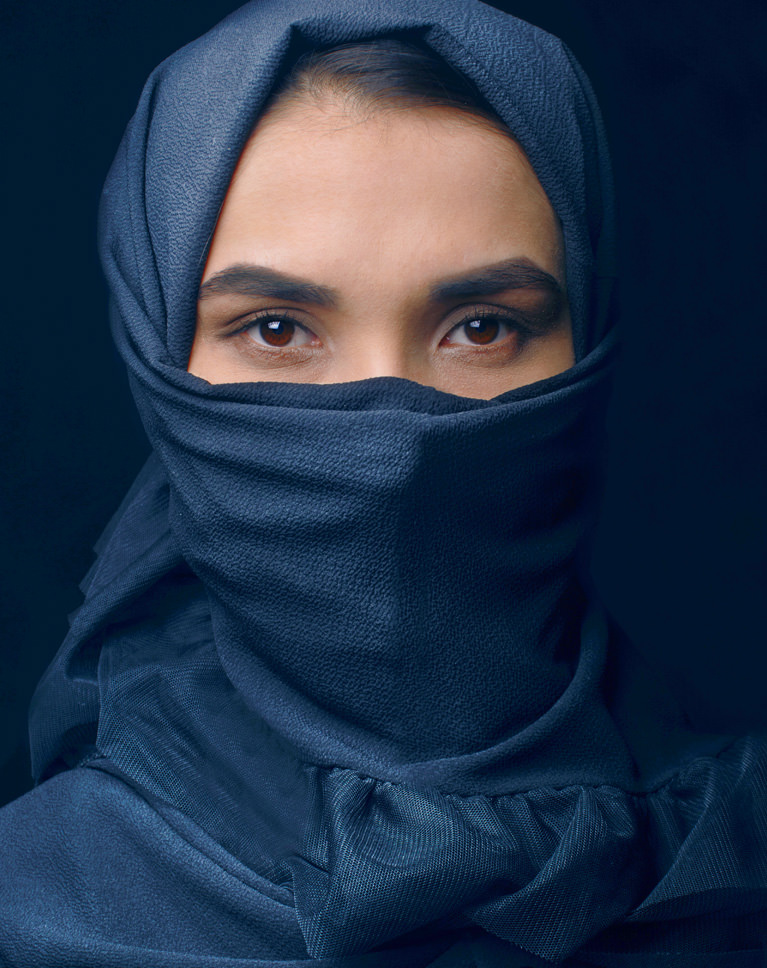
Dodge & Burn
Learn how to enhance the highlights and darken the shadows of a portrait to add stunning shape and definition. Dodging and burning is an essential retouching skill and we show you how to get the most professional results possible.
Light Effects
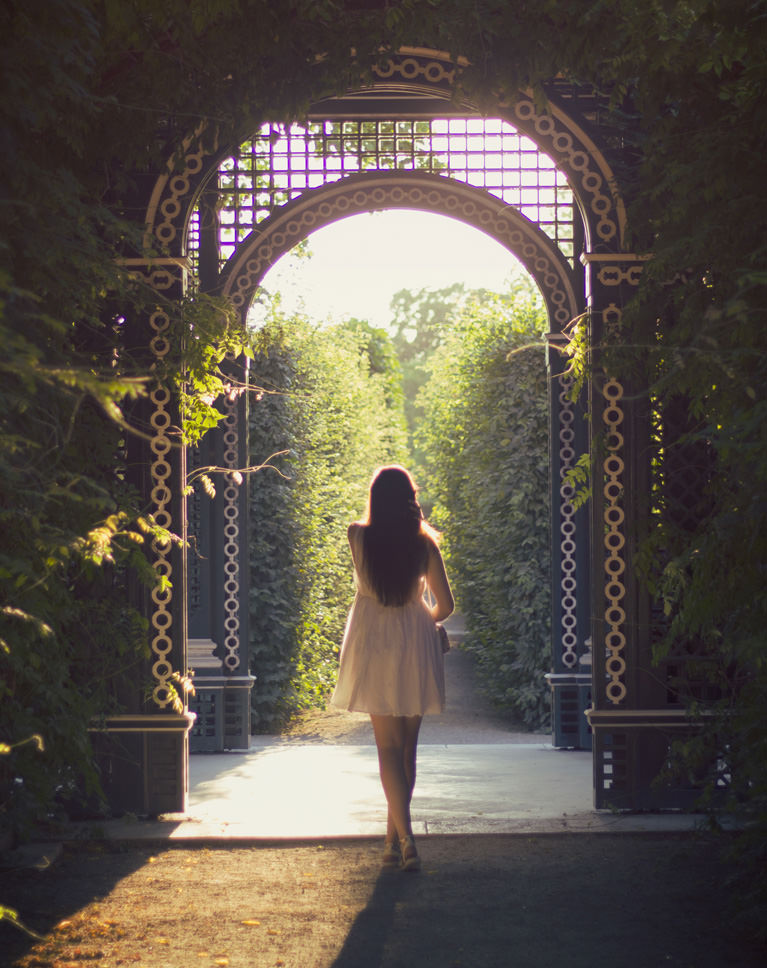
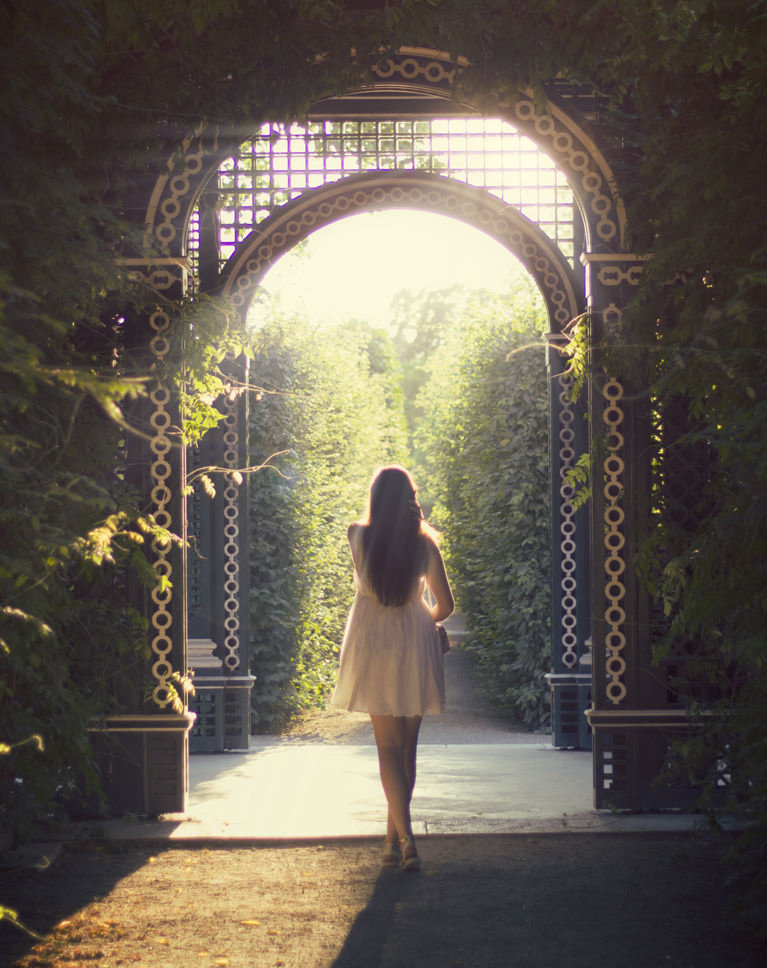
Learn how to fix the exposure of an image to bring out details that were lost, match the lighting between two scenes in a composite, and even create realistic light rays from scratch. Adjust lighting and create beautiful lighting effects with Luminosity Blending in Photoshop.
IMPROVE EXPOSURE
ORIGINAL
Precision & Control
The fastest way to achieve professional-looking results in Photoshop is to avoid tools that make large, crude selections and adjustments. We show you how to make pixel-perfect selections and Layer Masks that will help your edits look more natural than ever.
Advanced Masking
The more detailed you can make a Layer Mask, the better the edit will be. We show you how to use the information from an image and apply it to a Layer Mask for photorealistic edits and adjustments.
Adjust Exposure
Brighten shadows, enhance highlights, and bring out the details. Master the techniques of Luminosity Blending and learn to fix the exposure of any image.
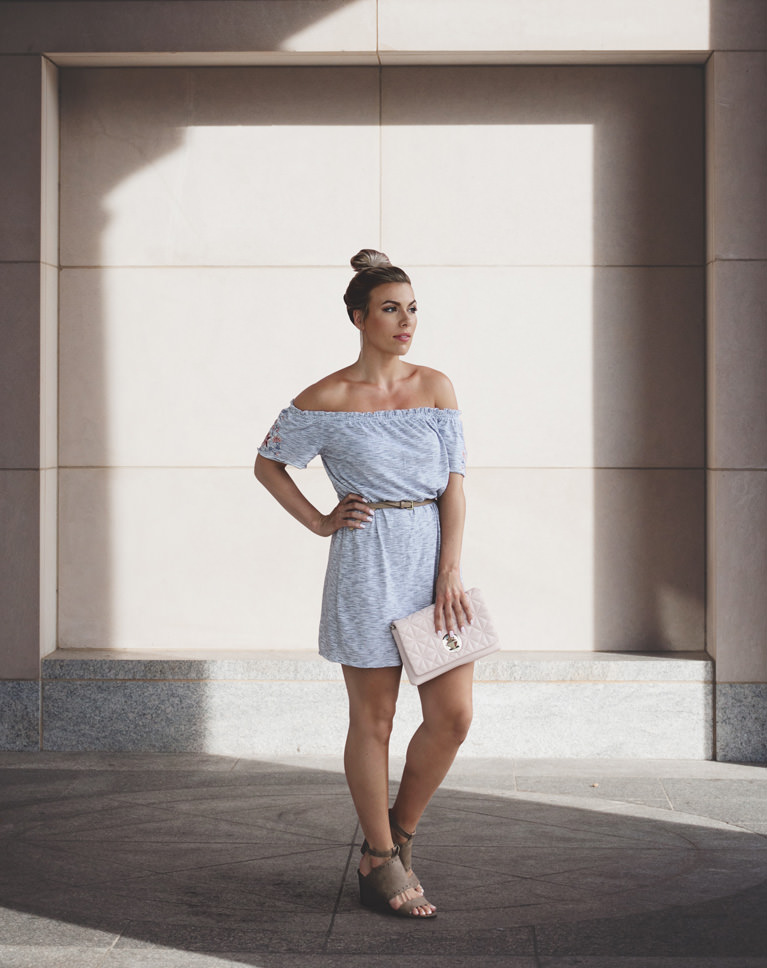
Precision & Control

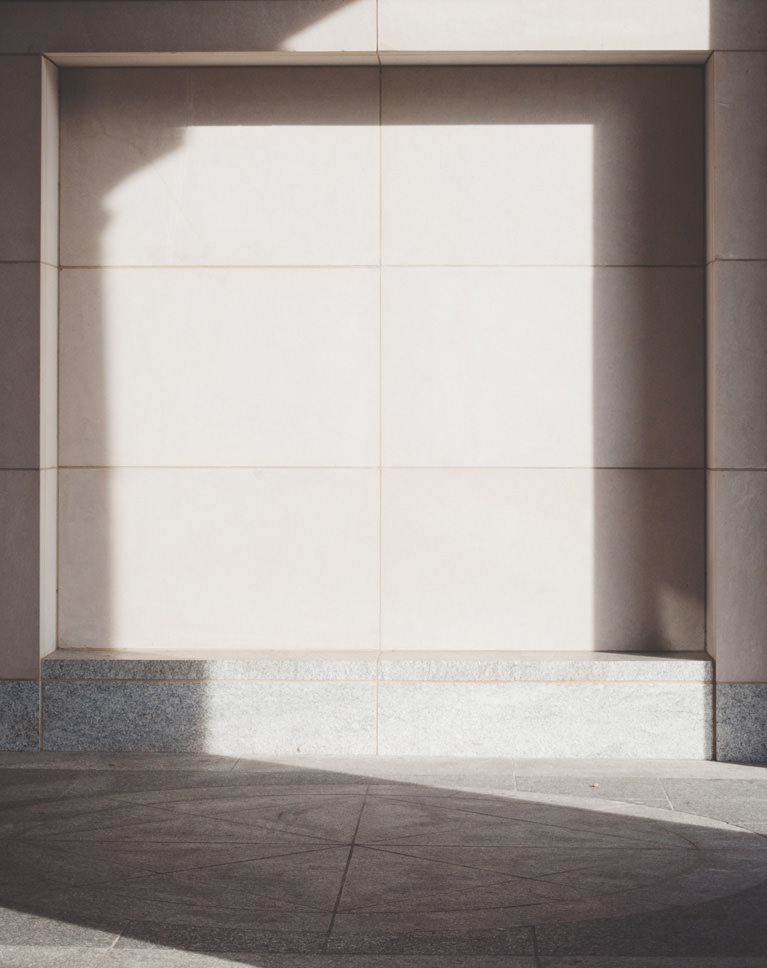
AFTER
BEFORE
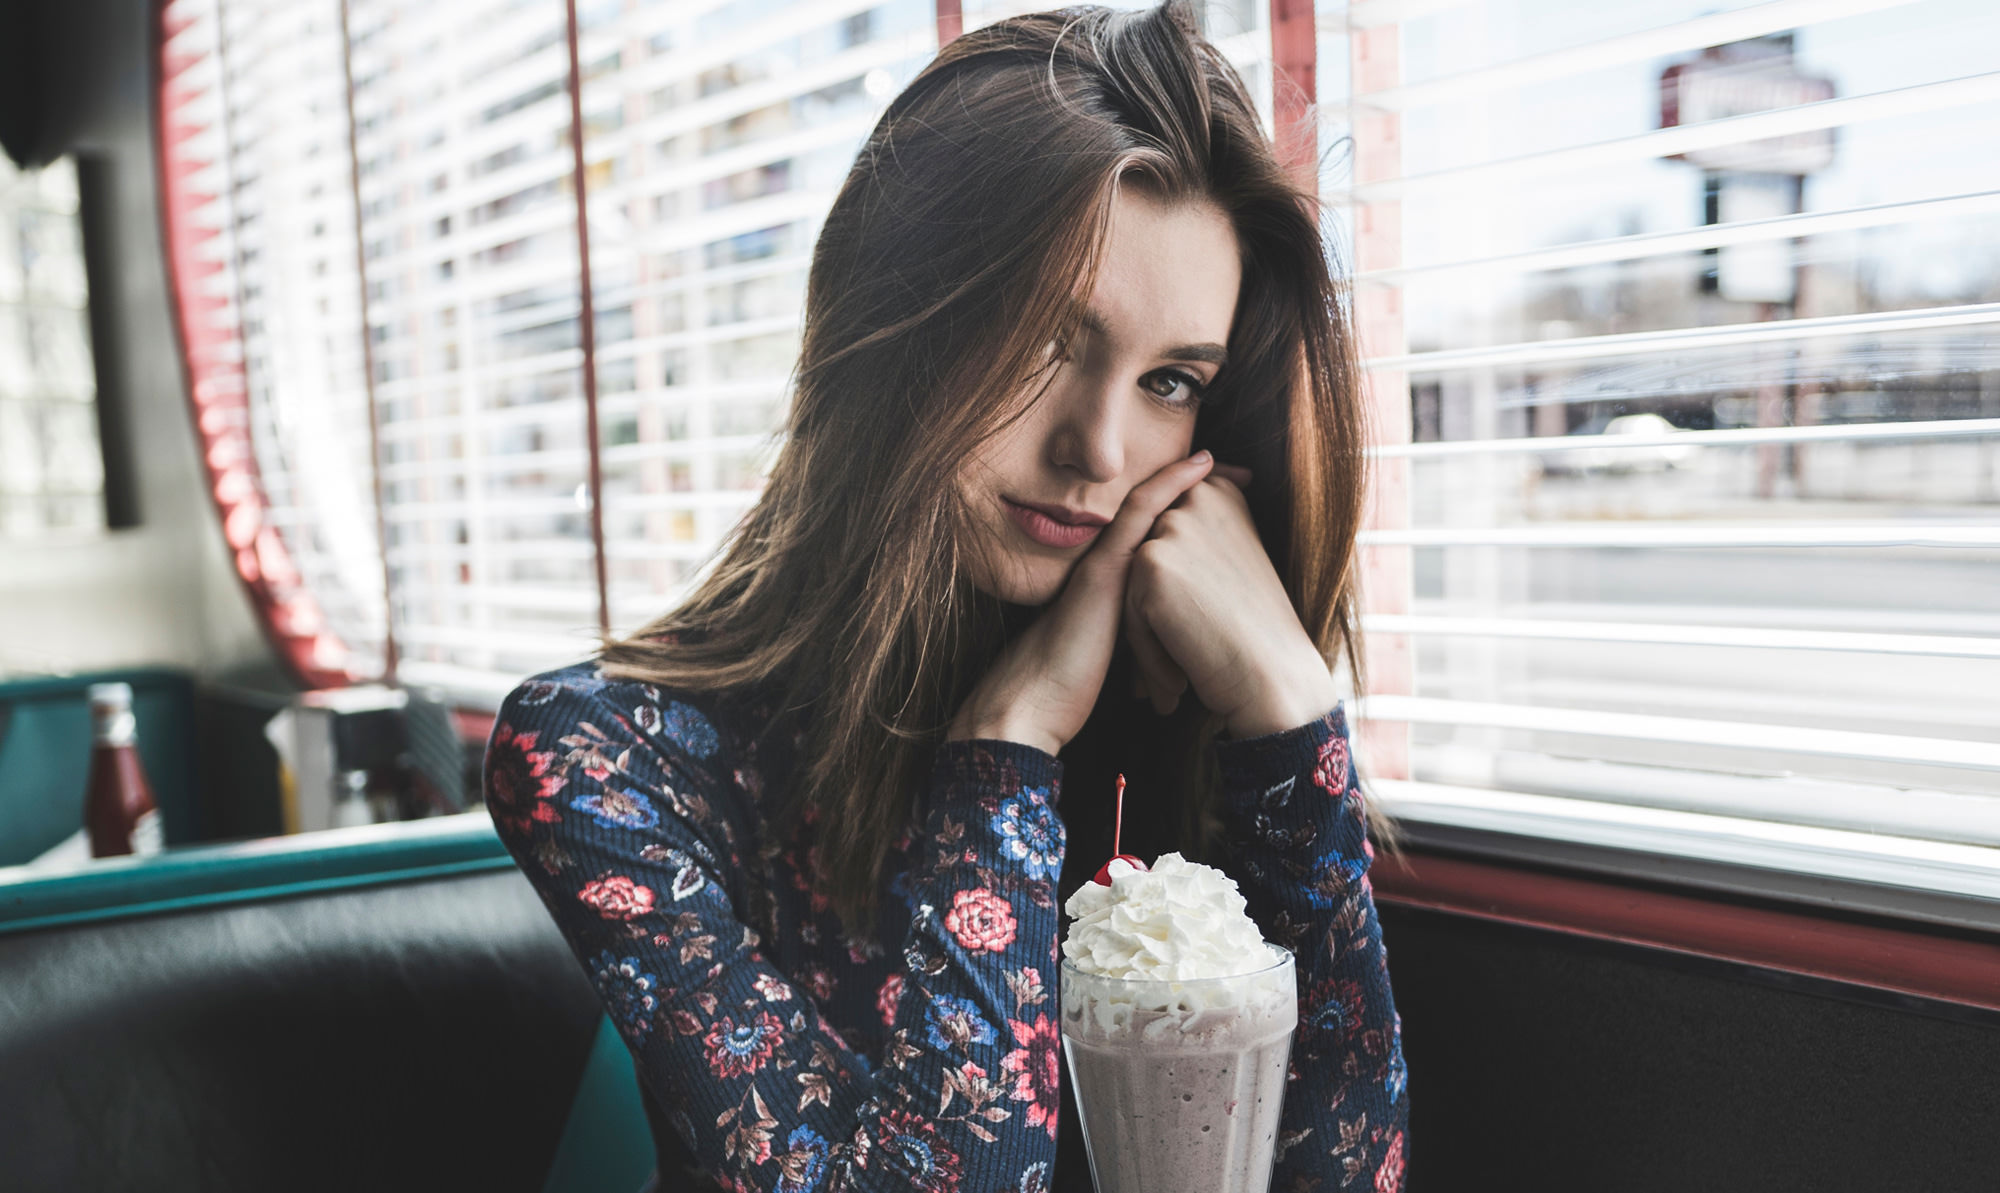
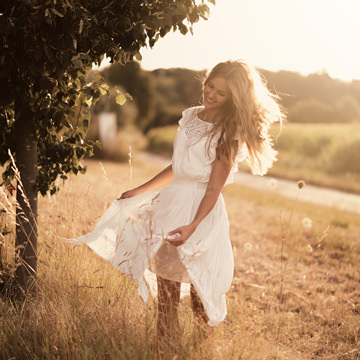
Creative Coloring
Color the highlights and shadows of an image independently to create a look that’s all your own.
CREATE SEAMLESS COMPOSITES
ORIGINAL
Coloring
Creative coloring can often be the most fun part of editing a photo. Add deep blues into the shadows of a photo and vibrant yellows into the highlights or even blend three, four, or five colors to create a unique look that’s all your own.
Color Matching
Have you ever tried to place a person into a new background and you can’t quite get the colors to match? Learn how to add and remove color casts to realistically place any person or object into a new environment.
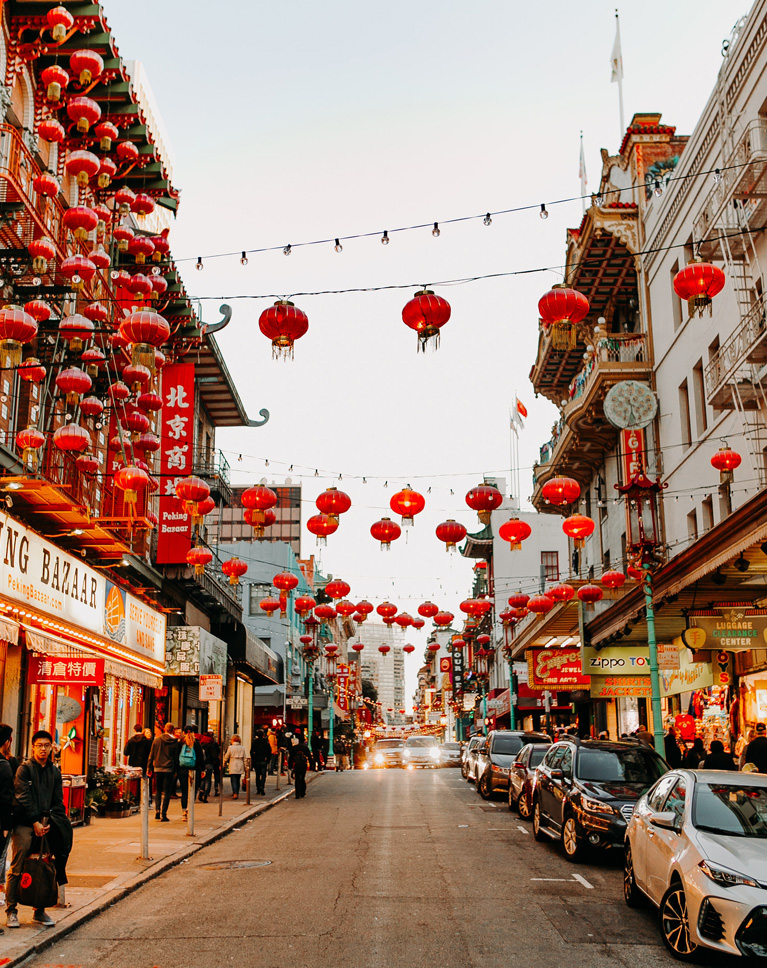
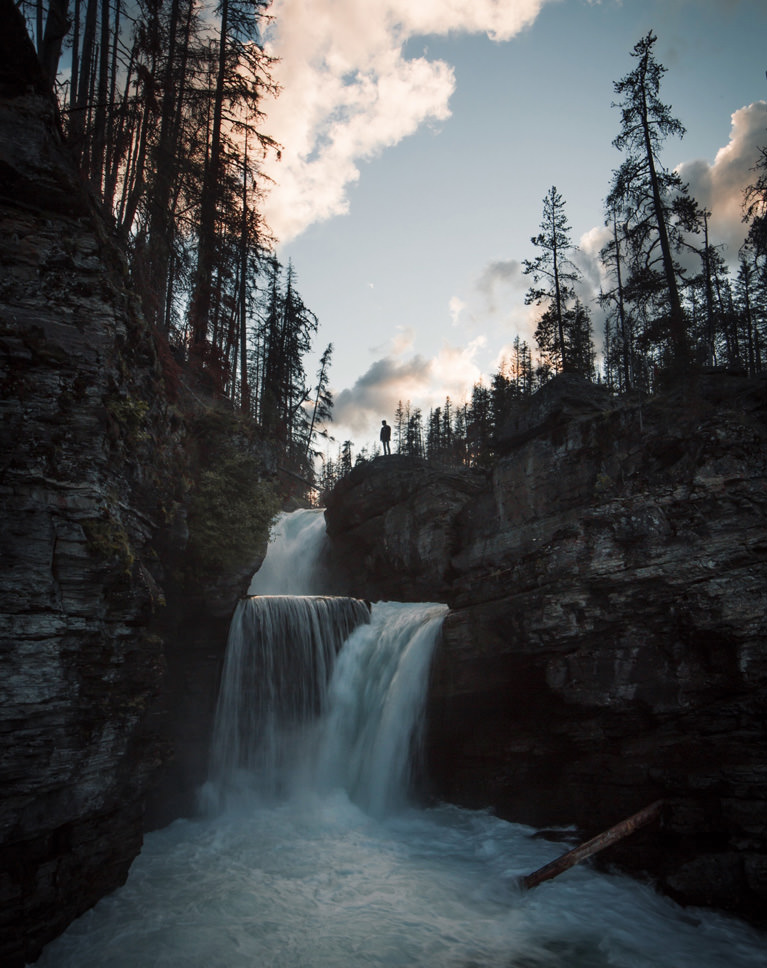
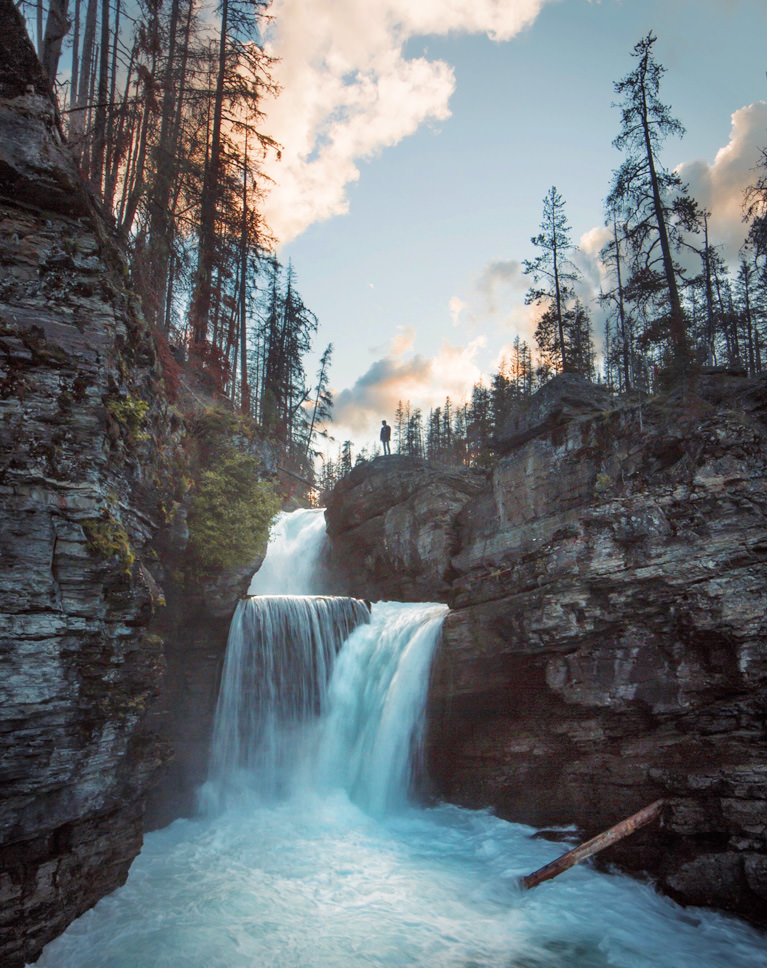
Sky Replacement
Have you ever taken what you thought was the perfect landscape photo but the sky was washed out and overexposed? Luminosity Blending can help! Replace any sky easily and accurately to make your landscape images even more impressive.
RECOVER SHADOW INFORMATION
ORIGINAL
Blend If
If you haven’t used Blend If before, prepare to meet your new favorite tool in Photoshop. Blend If allows you to blend a layer into the highlights, midtones, and shadows of another. Whether you’re fixing exposure, coloring, or compositing, this tool is useful in nearly any situation.
Apply Image
At its most basic level, Apply Image creates a copy of your entire image on a new layer. While it may seem simple, it’s a tool that has a wide variety of applications and near unlimited depth. Learn everything there is to know about how Apply Image works and how to use it to create precision edits.
Channels
Channels are one of the most accurate selection tools in Photoshop, allowing you to make a selection based off of the color and contrast in a photo. Learn how to use Channels in combination with Adjustment Layers to make precision edits to any photo.

Aaron Nace
PHLEARN Founder – Class Instructor
Aaron Nace is a photographer, Photoshop artist and founder of PHLEARN. He is the #1 Photoshop instructor in the world with millions of YouTube subscribers.


Reviews
New & Popular Tutorials


Training Site in
the World
Tutorials!
Ratings
and Counting
Subscribers
Revisiting Phlearn tutorials is great to fix concepts and assimilate better some advanced concepts. This is a very interesting tutorial to come back over as you are getting more experienced. Thanks Aaron!
As always we see that it’s the minutiae that makes all the difference. And it still requires creative input from me; slavishly trying to copy what I think Aaron is doing doesn’t work so well. The result is better if I use Aaron’s technique to implement the principle. One suggestion: With advanced tutorials like this can we assume that all the regular techniques are known? For instance, clipping a layer is basic, so need to stall proceedings with an explanation of how all that works. Having said that, maybe it would be a good idea to have all these basic techniques in some sort of reference folder so that we can refresh where uncertain.
The first part of this was great but after that, I was lost and couldn’t keep up. The 3rd tutorial for me was a mess – I was very quickly lost and could not keep along with the pace that you were creating layers and switching between components.
I started the free tutorial series of Aaron Nace………..it’s really amazing! Thank you ! love from Sri Lanka💗💖
Aaron is always thorough with teaching people how to do things, however. I did feel that if you call a tutorial ‘advanced’, you’d expect a little fewer explanations of basic concepts and buttons on Photoshop, with the assumptions that we’re nearing advanced editors. I would love if, for some images, Aaron went further with the editing. For example, the image where he changed the sky, changing the reflection on the car using luminosity blending to have it reflect the sky. Also, adding a general blue to highlightings on the ground, as it would reflect more of the blue from the sky. However, saying this, if you’re a beginner to luminosity blending and getting advanced selections, this is a perfect lesson, and it’s worth your time to watch, learn and practice.
Easily 5 out of 5 stars!!! There’s so much concise information packed in these 3.5 hours that you better not blink 😉 So many nuggets on colouring and luminosity masking that can be applied to almost every image I’ll ever take into Photoshop now and in the future. Thanks once again, Aaron!
OMG, editing shadows and highlights separately 🤯 apply image as a layer mask 🤯🤯 masking a group 🤯🤯🤯 this is just wonderful. Together with the bright and airy tutorial this has really opened my eyes to the superior control PS has over LR. Love every tutorial, many thanks 👍🥰
It was so great tutorial!!👍🏻 Really amazing 😉 I got a question on the group mask layer tip, is the same if I make a mask layer on a mask layer?
BOOM!
I absolutely love this tutorial. Had my mind blown several times. The apply image step, grouping it with itself, amazing. Definitely could bring my dodge & burning to a new level when I’m more comfortable with the tools. Incredible value. Thank you.
Great tutorial! 🙂
Phlearn! another 10/10 course, thanks!
Fantastic course. I am learning so much about advanced masking, channels, and how to use it all in real examples. this is taking my photography processing to the next level. Many thanks!
This is an incredibly valuable tutorial for virtually every photo, if you’re interested in changing just the lights or darks of an image. I found myself saying “dang!”, “dang!!”, I wish I had gotten Phlearn Pro years ago!!
Such a fantastic tutorial. Despite the level being “Advanced” Aaron does a superb job at demonstrating and explaining. This course is fantastic for everyone who has played with photoshop thanks to Aaron. Keep it up buddy!!
Why am I always so thrilled to watch these tutorials?! I tell you … Aaron’s teaching style is madly addictive!!
Sorcery… Sorcery, I tell you. Of the very best kind – thank you all for sharing this wisdom.
Teaching steps by steps good
You are my Boss my Guru … I have learn and fine tuned so many aspect of advance Photoshop from you .. Great Teacher .. Great Tutorials and above all Great Person … Thank You Aaron …
Excellent tutorial.
Thanks, another great tutorial – makes things a lot easier.
More one instrumental tutorial! Thank you Aaron Nace! These techniques, besides perfecting the treatment of images, save time of discovery with your exceptional didactics. Congratulations!
Awesome techniques to elevate one’s skills to the next level. Thanks A-Aron and phenomenal team. Every darn thing you do is epic, Nace.
Wonderful as usual. I learned so much. Thank you.
A great tutorial where I learned a lot. THX
My first day and this was my first tutorial and loved it! thank you for your honest simple and clear explanation!
Very good tutoria, liked the part with lightrays
Very good tutorial. Discovered some really easy ways to improve my work. Everything is explained very well, doesn´t matter what´s your photoshop skills. Thanks!
Such powerful tools for everyday work! Thank you
AMAZING AS ALWAYS
Great as always, very helpful 🙂
Very Informative! I definitely appreciated learning all the Dodging and Burning. I can always count on Phlearn to explain things in a way that I get, and if I have to go slower, I just back peddle or pause until mine is ready with Aaron’s (Which only happened a few times). I liked how after explaining what it is with Apply Image, etc, the end had several examples for us to work along with Aaron, to see how this tool could be used. Thanks again Phlearn!
I LOVE THIS TUTORIAL!! It goes right in line with the Blending Mode, and Color toning tutorials that i’m Really trying to understand and fit into my workflow. PHLEARN.com has changed my photography and graphic design capabilities!!!!
Really loved this tutorial, beginning to end, was a great refresher. Thanks, guys.
Excellent! The theme development is excellent. Simple to more Complex , one step at a time. Great teaching technique. Anyone can learn from this tutorial.
One thing that makes your training so compelling is that we feel like being in there, in the studio with you, and not in a classroom or in front of a screen. It’s really fun to learn in this way. Excellent work you doing.
Asa traditional painter/illustrator using photoshop I approached the digital medium as a painter. Your tutorials showed me its another medium and am excited about incorporating these tecniches in my work. Well done!!! Dminuto
Wow, great tutorial! Can’t thank you enough! By the way, I just learned recently that when you are in the lens flare dialog, you can hold Option (alt) and click in the little image area and you can type in specific x-y coordinates where you want your lens flare. So, you can get super specific where the lens flare falls.
Another winning tutorial. I have been experimenting a lot with luminosity blending as a result of some previous Phlearn tutorials. This really helped to consolidate the ideas and introduced some interesting new ideas. Great stuff as always (Y)
Powerful tutorial with a fantastic collection of information that recall and update some great techniques from former tutorials and adds more tools on our photoshop repertoire. Thanks Phlearn, thanks Aaron.
AMAZING tutorial, solves many questions i had. thank you !
What a great tutorial! I’ve always wanted to know how to do all this effects to an image. If you want to know and learn, this is the tutorial!! Great one!
Lens flare is created when the light hits the various layers of glass in your lens, so it wouldn’t make sense for the lens flare to be behind the transom, would it?
I appreciate how Aaron repeats the tricky parts or new ideas. I also like that the tutorials combine several techniques and show the benefits of each.
Nice background !