Download Assets
description
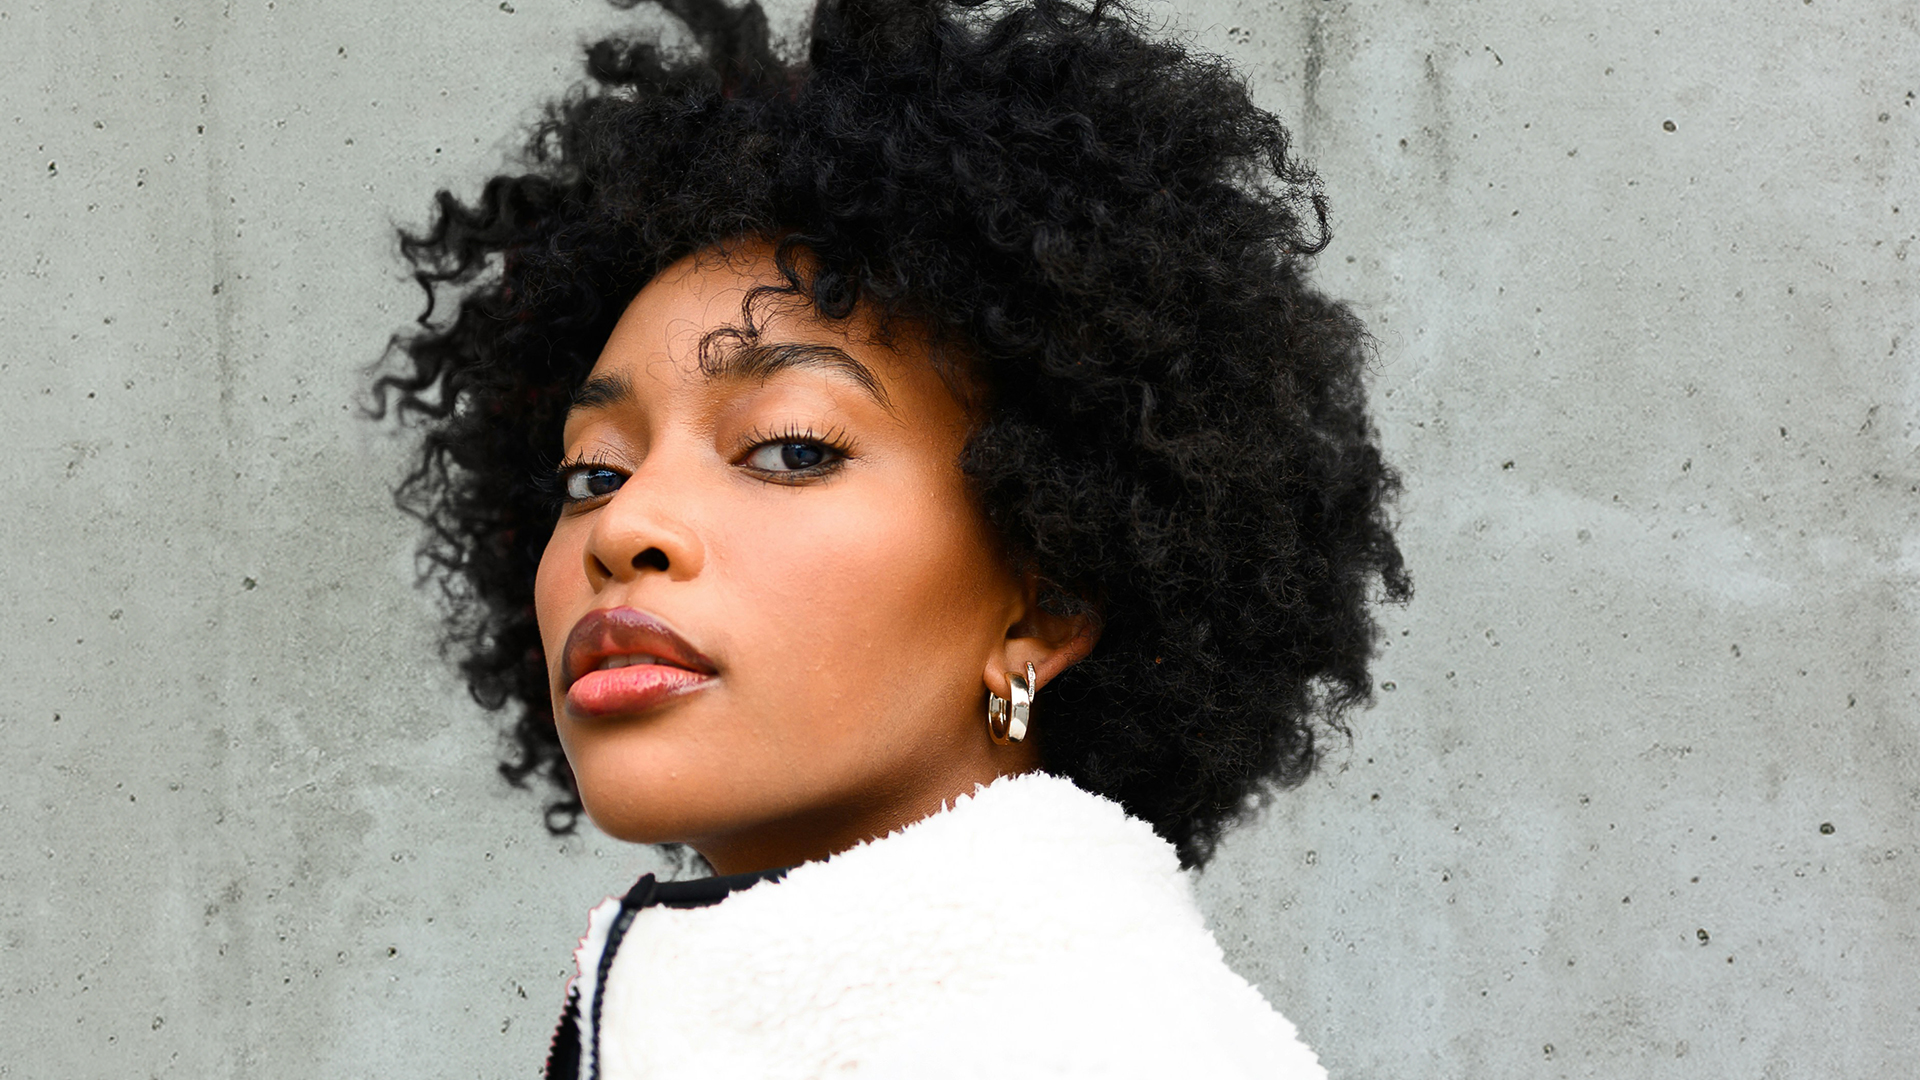
Learn how to effortlessly isolate subjects in Photoshop! In this tutorial we’ll show you how to select subject and refine the edges, to get perfect cutouts in no time. Plus, discover simple techniques to seamlessly blend your subjects into new backgrounds.
Go PRO:
Interested in taking your cutouts to the next level? Explore our three part series Simple, Intermediate and Advanced Cutouts in Photoshop.
Artist Credit
- Jeffery Erhunse
Images sourced from Unsplash.
Share
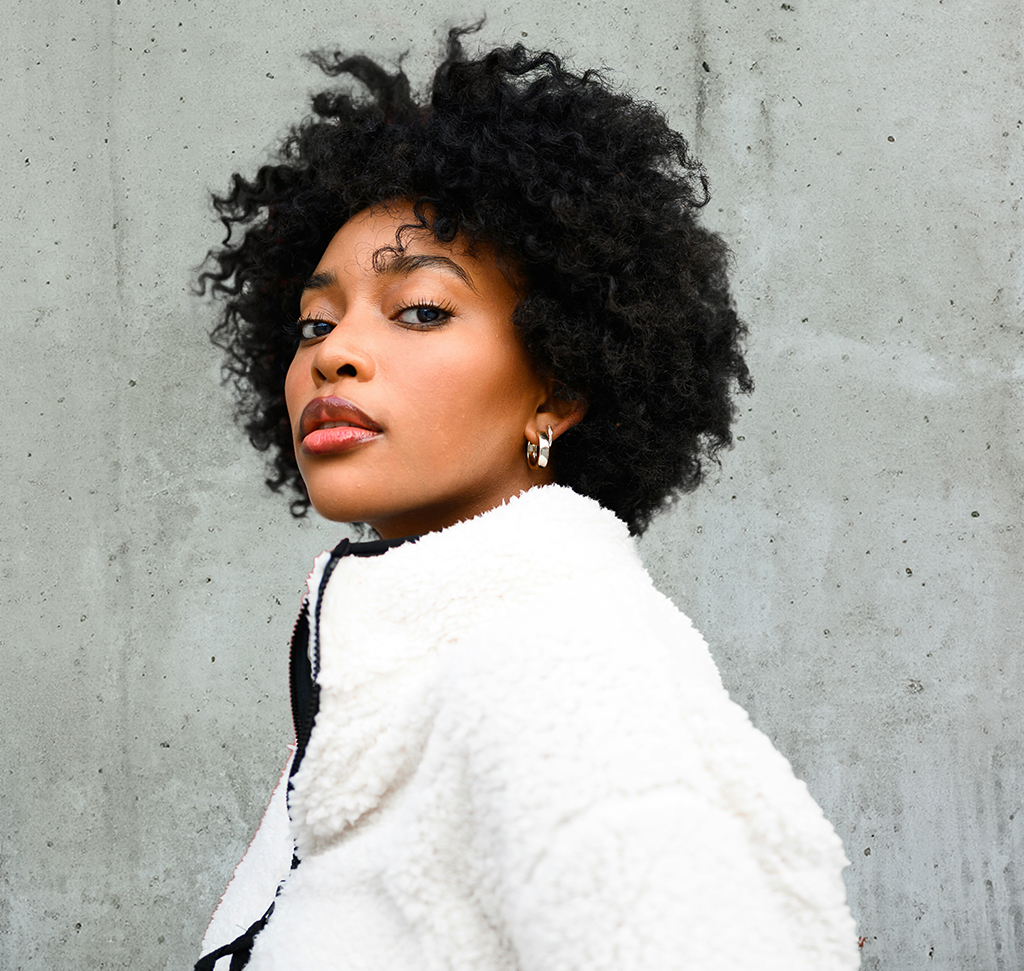
AFTER
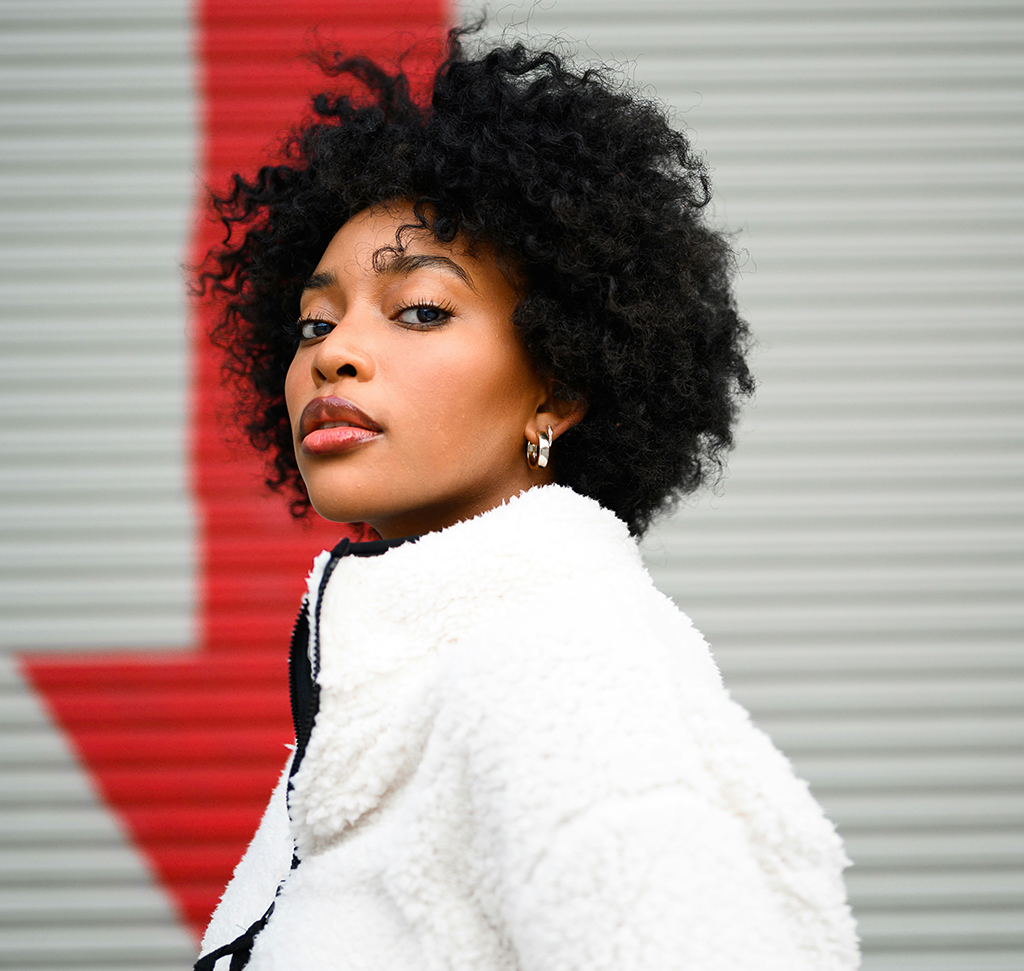
BEFORE
Select & Refine Like a PRO
Selecting and refining subjects in Photoshop can be a challenging task, often requiring patience and precision. Follow the step-by-step instructions and tips to effectively isolate subjects, refine edges, and seamlessly integrate them into new backgrounds.
Selecting and Isolating the Subject
1. Launch Photoshop and open the image you want to work with.
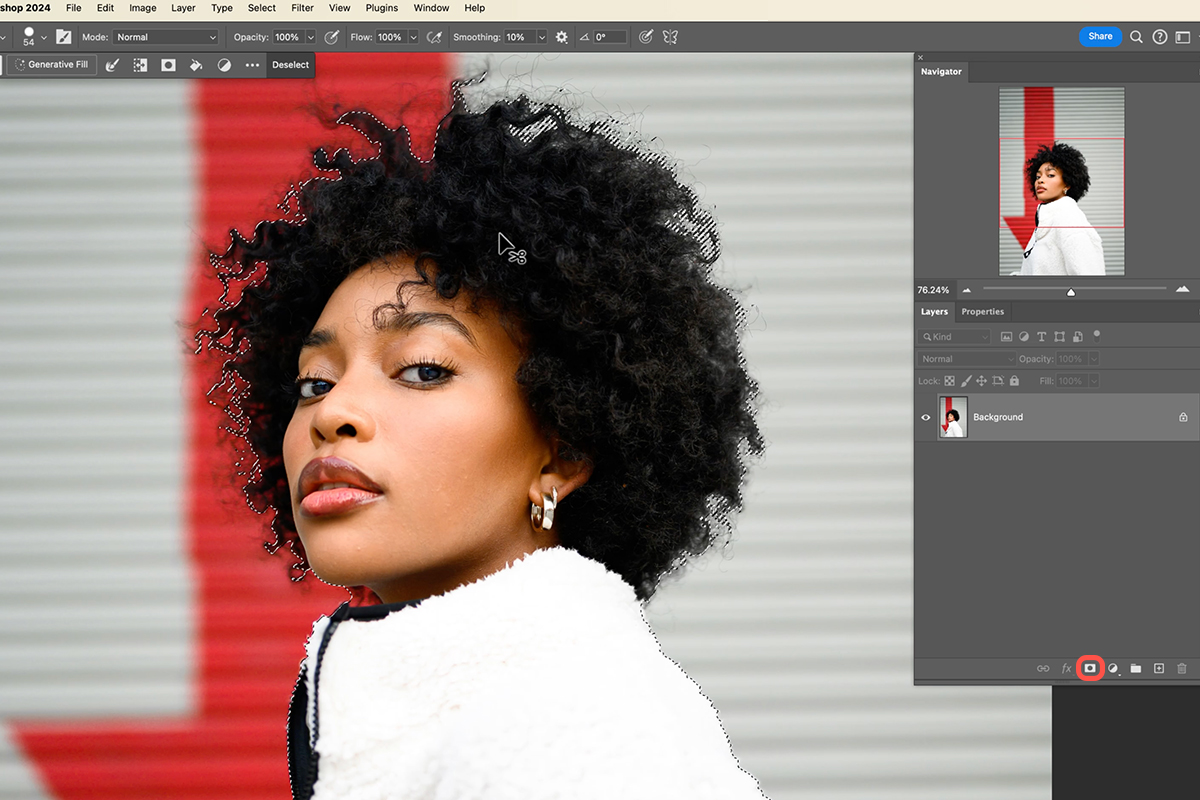
2. Use the Select Subject or Remove Background tools to automatically select the person in your image.
3. Click on the Add Layer Mask button at the bottom of the Layers panel. This will create a mask that hides everything outside the selected area.
Replacing the Background
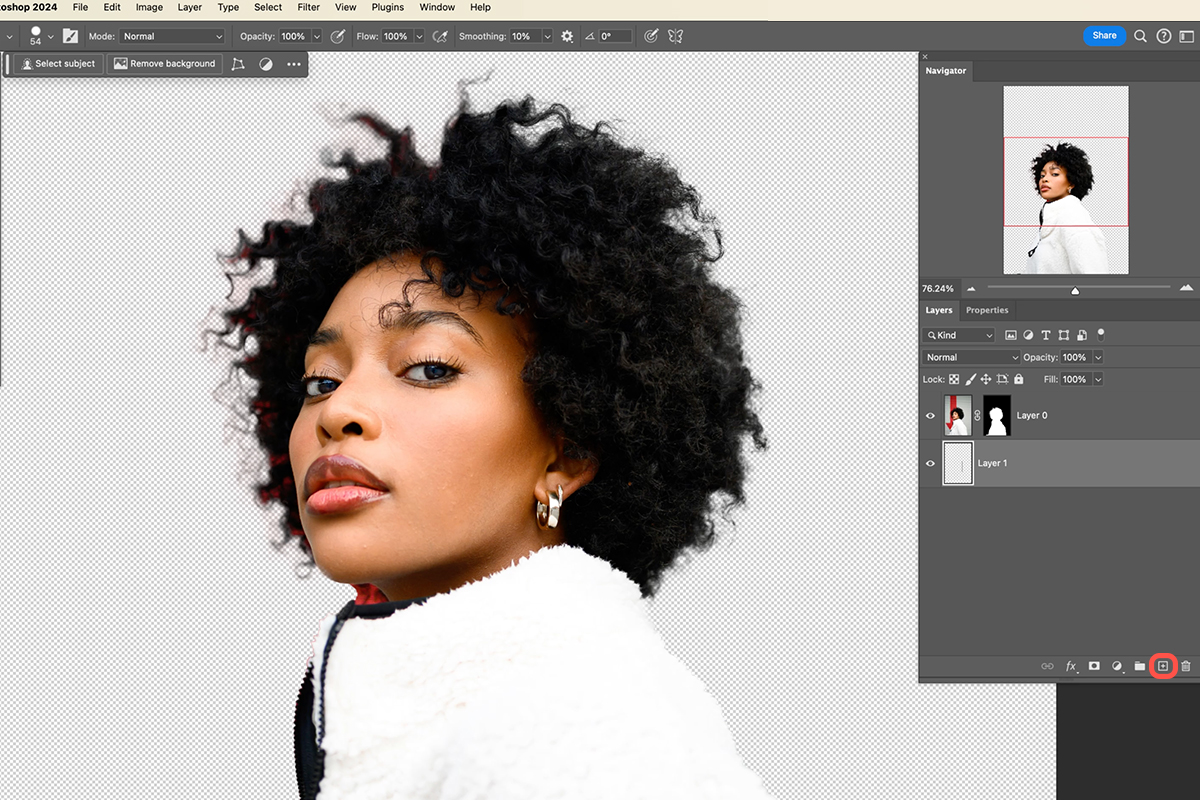
4. Click the Create a New Layer button at the bottom of the Layers panel.
5. Fill the new layer with the desired background color or image.
Refining the Edges
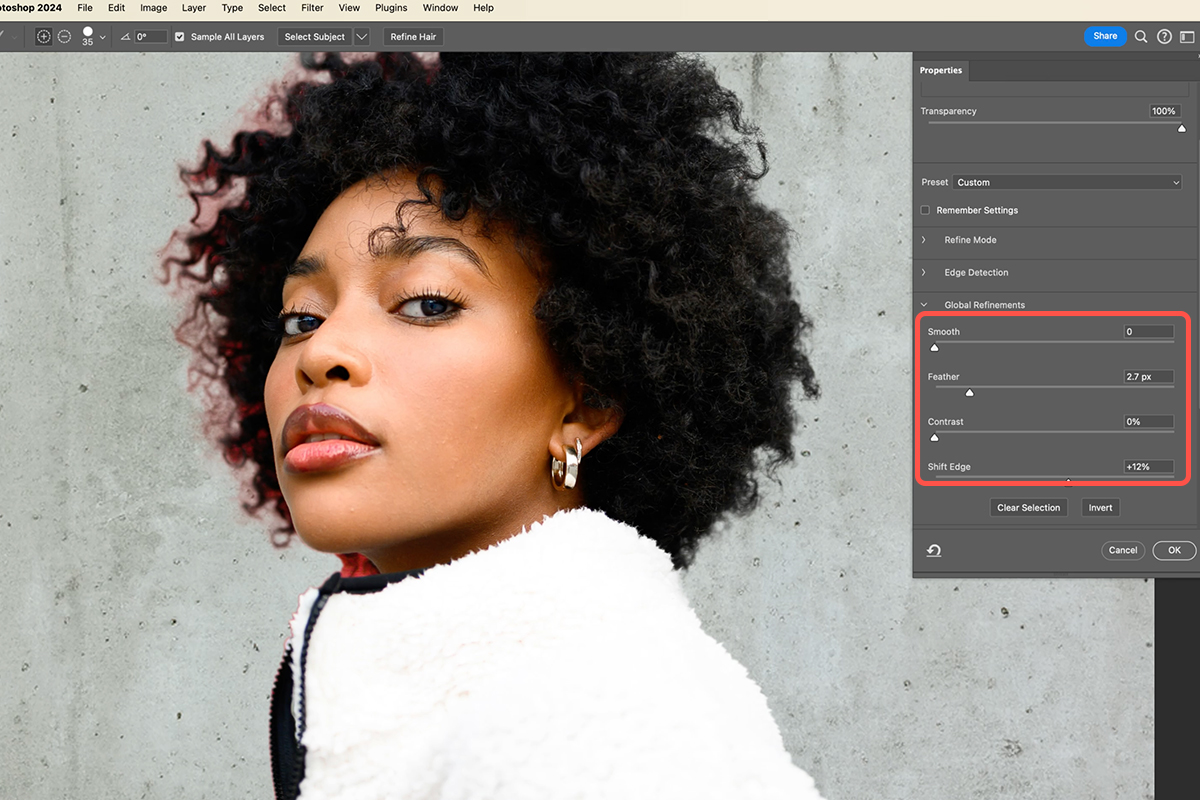
6. Click on the layer mask and then go to Select > Select and Mask.
7. Use the Refine Edge Brush to paint along the edges of the subject to refine the selection. Adjust the Edge Detection and Radius settings as needed.
8. Click OK to apply the refined selection to the layer mask.
Removing Color Fringing
9. Go to Select > Feather and enter a suitable feathering radius to soften the edges of the subject.
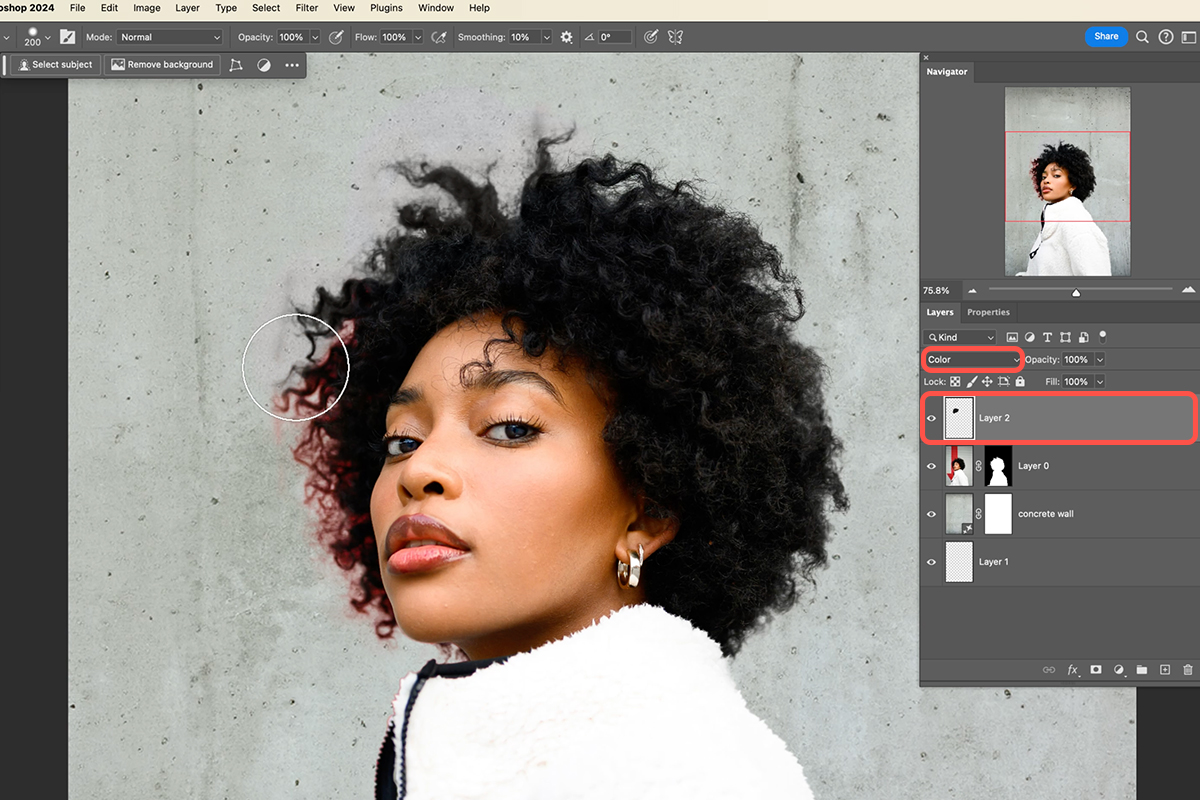
10. If there’s color fringing, create a new layer and use a soft-edged brush with the Color blending mode to paint over the affected areas.??
Final Touches
11. If the subject appears too harsh against the background, reduce the opacity of the layer mask.
12. Apply effects like Gaussian Blur or Shadow to integrate the subject more seamlessly into the new background.
13. Save your image in a format like .PSD to preserve the layers, or .JPEG for a final, flattened image.?
