
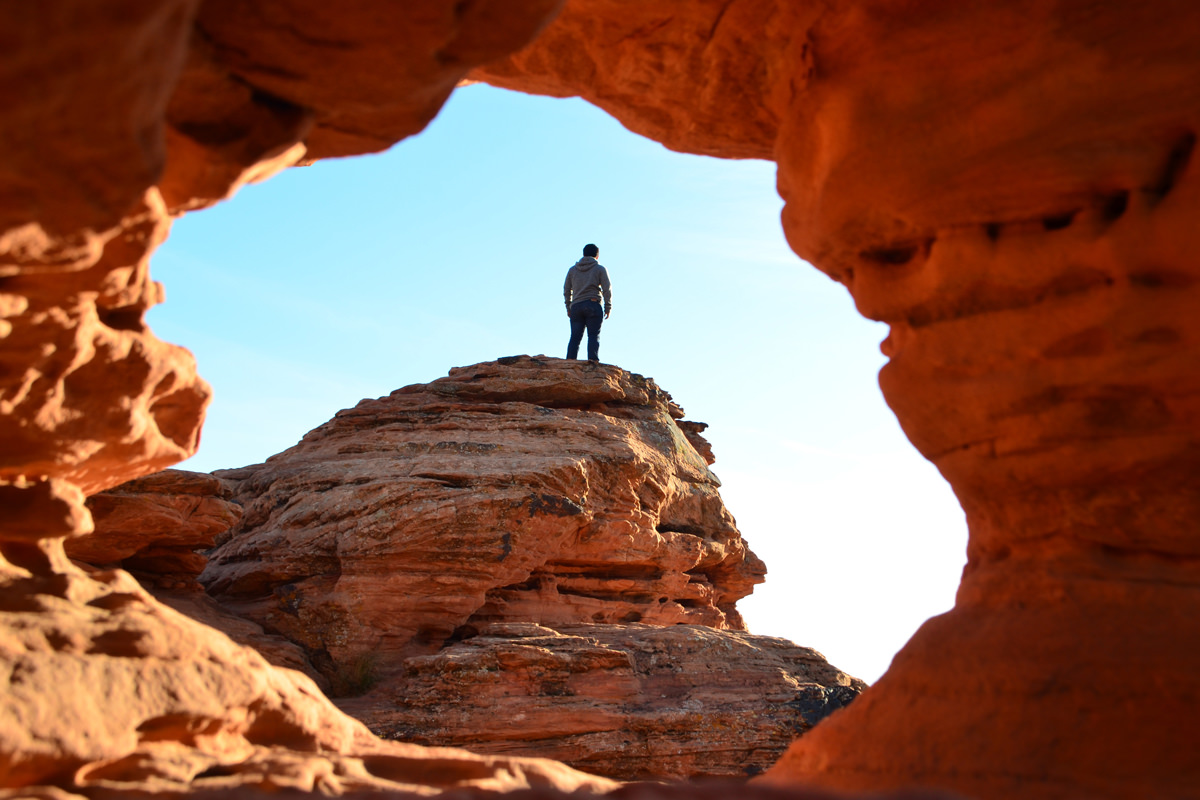
BEFORE
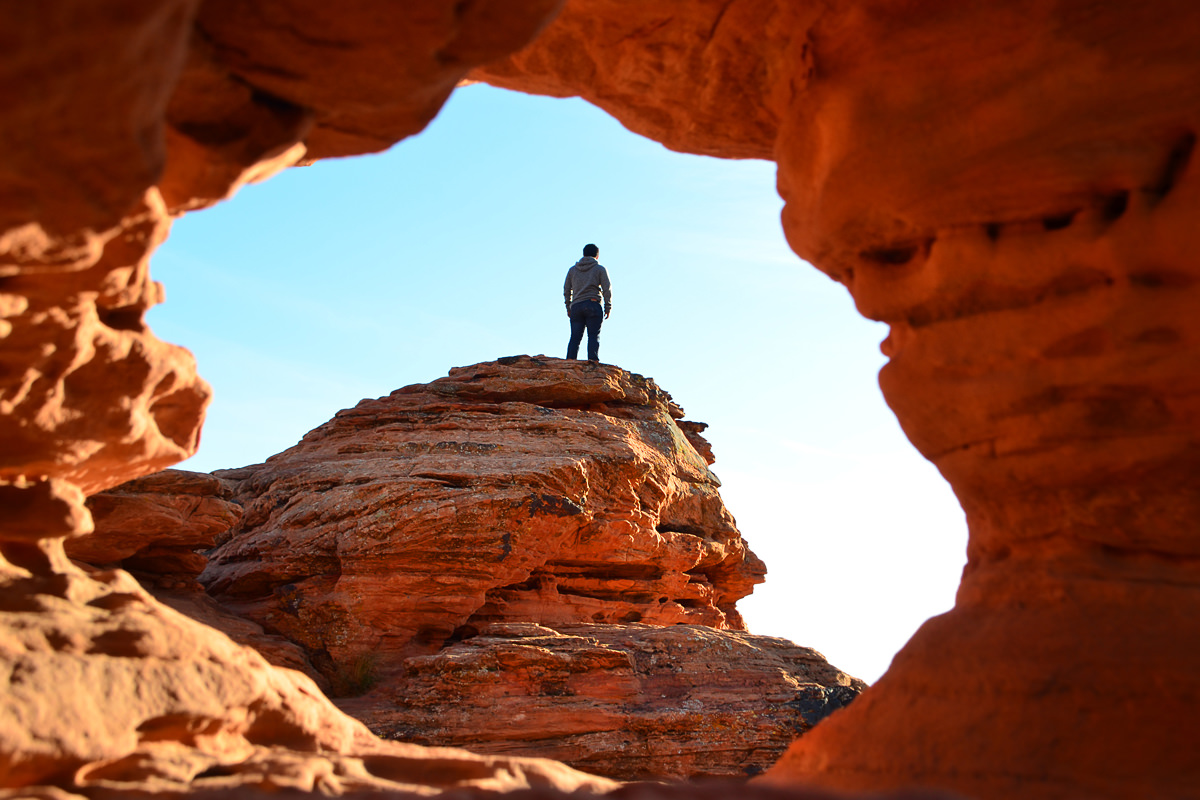
AFTER
Download Sample Images
Click the link below to download the sample images and follow along with this tutorial.
DownloadTutorial Description
It’s happened to all of us. You finish an edit that looks beautiful in Photoshop, but when you upload it to your website or favorite social media platform, the colors are off and the detail is lost. In this tutorial, you will learn how to resize a photo, apply sharpening, and preserve accurate color information when viewing in a web browser. Follow along, and make sure your photos look amazing no matter where you share them!
Time to Resize
You normally don’t want to upload your full sized images to the web. So once an edit is complete, it’s good practice to resize the image to the exact dimensions that it will ultimately be displayed at. For example, if you want to upload a square image to Instagram, 1080×1080 pixels is the recommended size and resolution.
It’s also important that you never resize your original image. We recommend creating a new Layer and using Apply Image to create a copy of your final photo, edits and all. Once the copy is created, you can right-click on the copy and select Duplicate Layer and set the Destination to New Document. This will open up your final image in a new Photoshop document that you can resize without affecting the original.
To resize, simply go to Image menu, Image Size, and then set the height and width to the resolution you want.
Sharpening
Now why are we sharpening at this point in the process? Shouldn’t we sharpen as part of our main editing workflow? These are common questions and an often misunderstood aspect of sharpening.
Sharpening should only be done when the image has been set to its final size. If you were to sharpen the photo at full resolution and the resize it later, you’ll notice that the sharpening often will look completely different. It will either appear over-sharpened, which will make the effect noticeable and unrealistic, or under-sharpened, where it will have almost no effect.
With this in mind, there a number of ways to sharpen an image once you get to this step. The quickest and easiest method involves Smart Objects and the Unsharp Mask filter. First, right-click on the image and select Convert to Smart Object. This will allow us to use Smart Filters which can be changed or edited at any time. Unhappy with the amount of sharpening you’ve applied? Now you can go back and fix it without any problems.
Once you’ve converted your image Layer into a Smart Object, you can go to Filters, Sharpen, and select Unsharp Mask. Adjust the sharpening to a setting that looks good to you, then select the Layer Mask and Invert it by hitting CTRL + I. Select the Brush Tool and paint with white on the Layer Mask where you want the sharpening to appear.
Remember, sharpened areas will draw the eye of the viewer, so be sure to only sharpen the most important areas and details of a photo.
Learn more about Photoshop sharpening with our PRO Tutorial “How to Master Sharpening in Photoshop.
Export
The internet awaits. We just need to export. It’s a common issue that the colors of an image in Photoshop are not accurately represented once they’re uploaded to the web. This is because photos need to be converted into a color space that’s supported by web browsers. In most cases, this will be sRGB.
To convert your photo to sRGB, go to the File menu, select Export, then Save for Web (Legacy). You can adjust the settings in this dialog to your liking – Aaron recommends a JPEG at a quality of 80 is a great balance between quality and file size. The most important step is the checkbox that says Convert to sRGB. This option will ensure that your photos display with all of the beautiful colors you see in Photoshop. There’s even an option to preview the final output in a web browser, just to be sure.
And that’s it! Remember to avoid resizing your original document, always sharpen after resizing, and, if you’re sharing your incredible work on the web, check that sRGB box.


