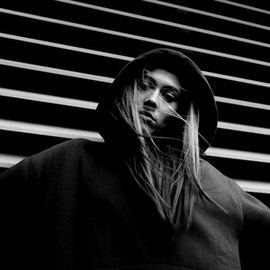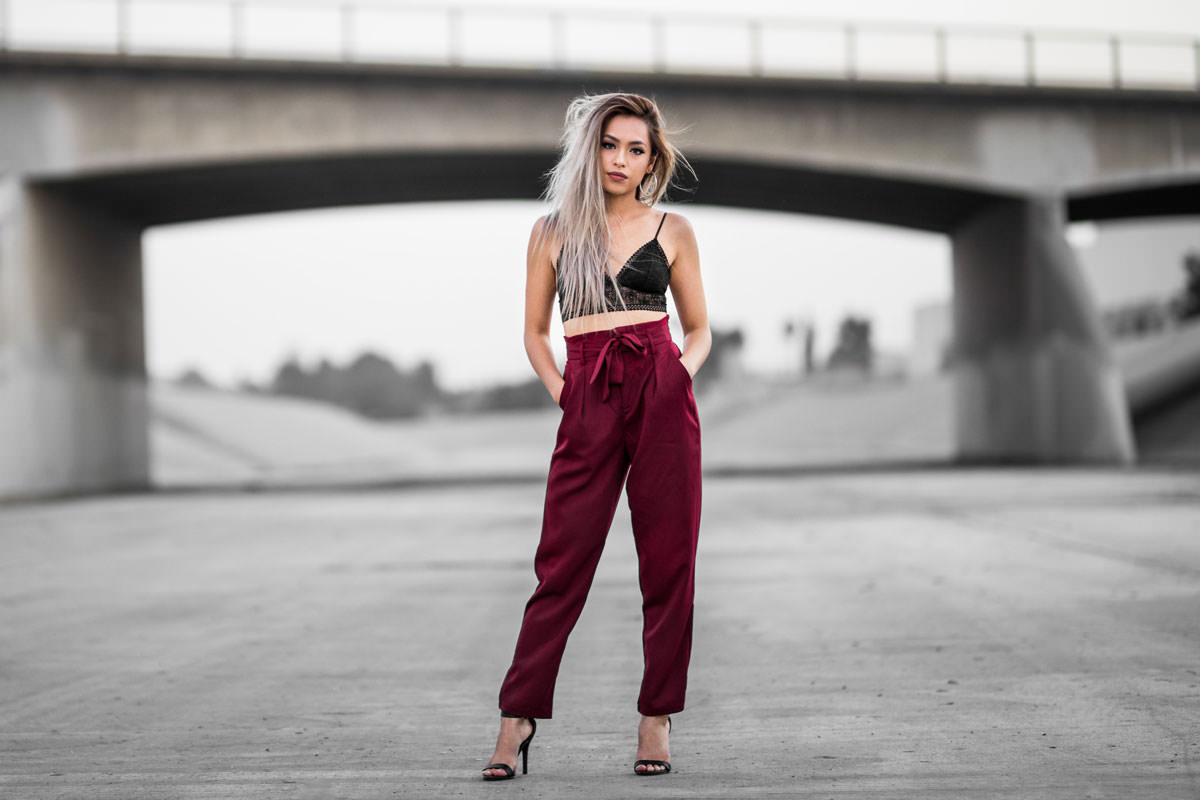
BEFORE
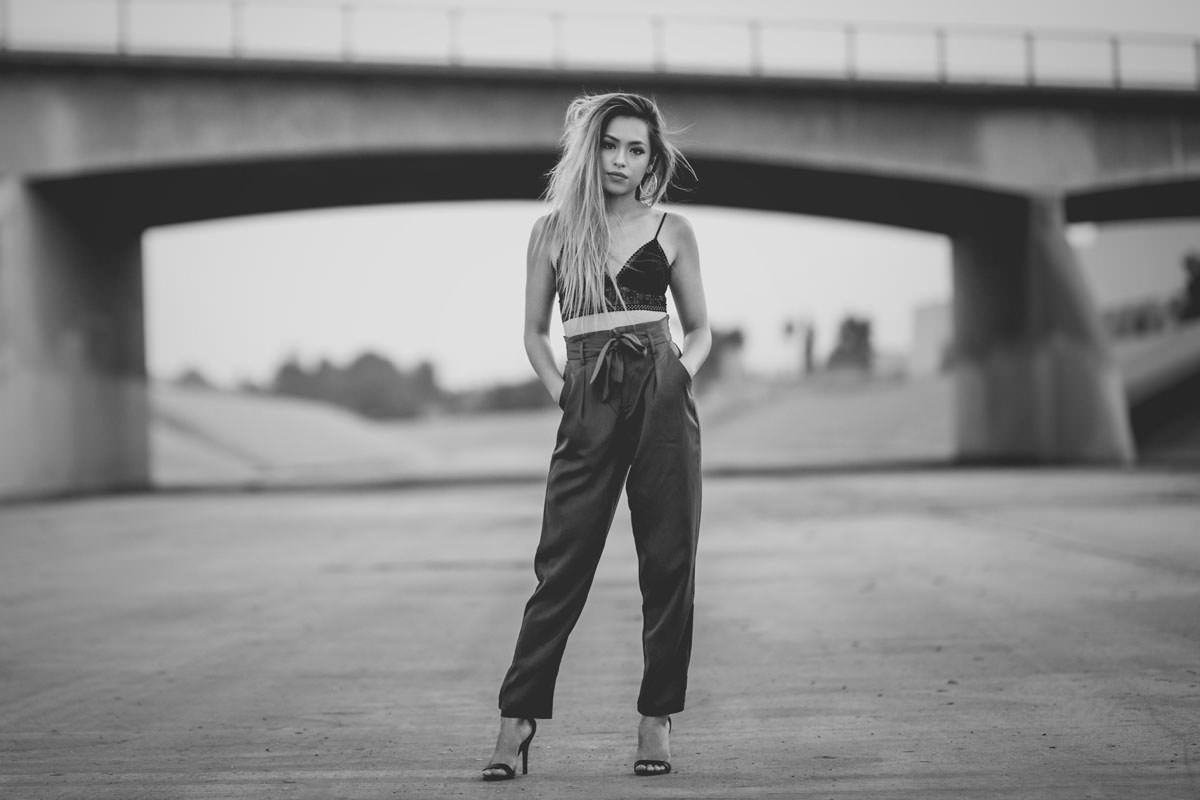
AFTER
Download Sample Images
Click the link below to download the sample images and follow along with this tutorial.
DownloadBlack & White Adjustment Layers
The appropriately named Black & White Adjustment Layer is the best tool for converting images to black and white in Photoshop. Not only does it instantly remove color, it also allows you to make fine adjustments to the tonal values of an image based upon the colors that were present. So if you want the reds and yellows of skin tones to appear brighter in black and white, simply slide the red and yellow sliders to the right until those areas are at a level of lightness that looks good.
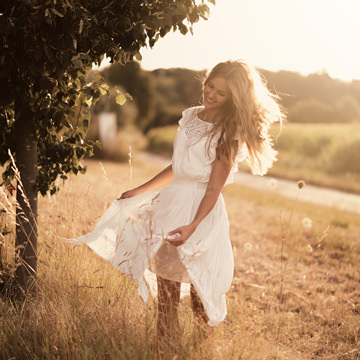
Depending on the colors in the background, you can use the other sliders to make adjustments to any other colors that might be present in a scene.
Levels Adjustment Layers
Now that our image is in black and white, we can go even further to bring out details and to get an artistic look that we like. Levels Adjustment Layers are extremely powerful and allow us to control brightness, contrast, and tonal range in an image. Looking at the Levels dialog, you’ll notice two sliders, one for input levels (under the histogram) and one for output levels (under the box containing a black to white gradient).
Adjusting the input levels allows you to select the black point, white point, or midtone point of an image and slide each to the left or right. When you slide the black point to the left, it will change all of the information at or to the right of the slider is to black, darkening the image. If you move the white point to the left, it will change all of the information at or to the right of the slider to white, lightening the image. The center midtone slider can be pushed to either the left or the right, which will lighten or darken the midtones of the image.
The output levels work a little bit differently. If you take the black slider and move it to the right, it will make the darkest parts of the image lighter. Moving the white slider left will make the lightest parts darker.
Add More Effects
Once you have a good foundation, you can continue to add adjustment layers to dial in the look that you want. In our example, we added a second Levels Adjustment Layer and used its Layer Mask and a blur to create a vignette effect which will help draw more attention to the subject of the photo.