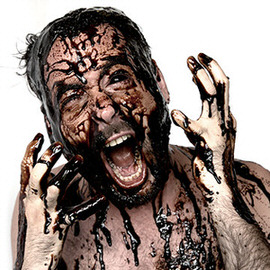
BEFORE
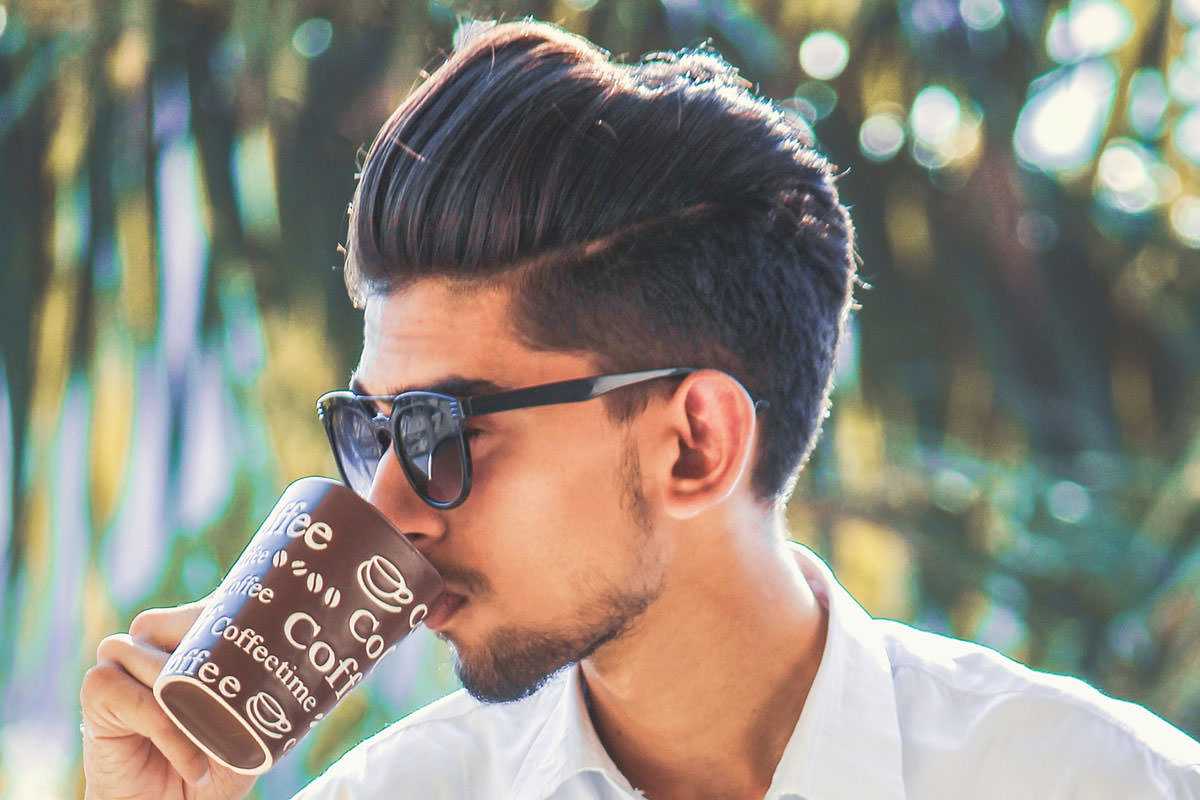
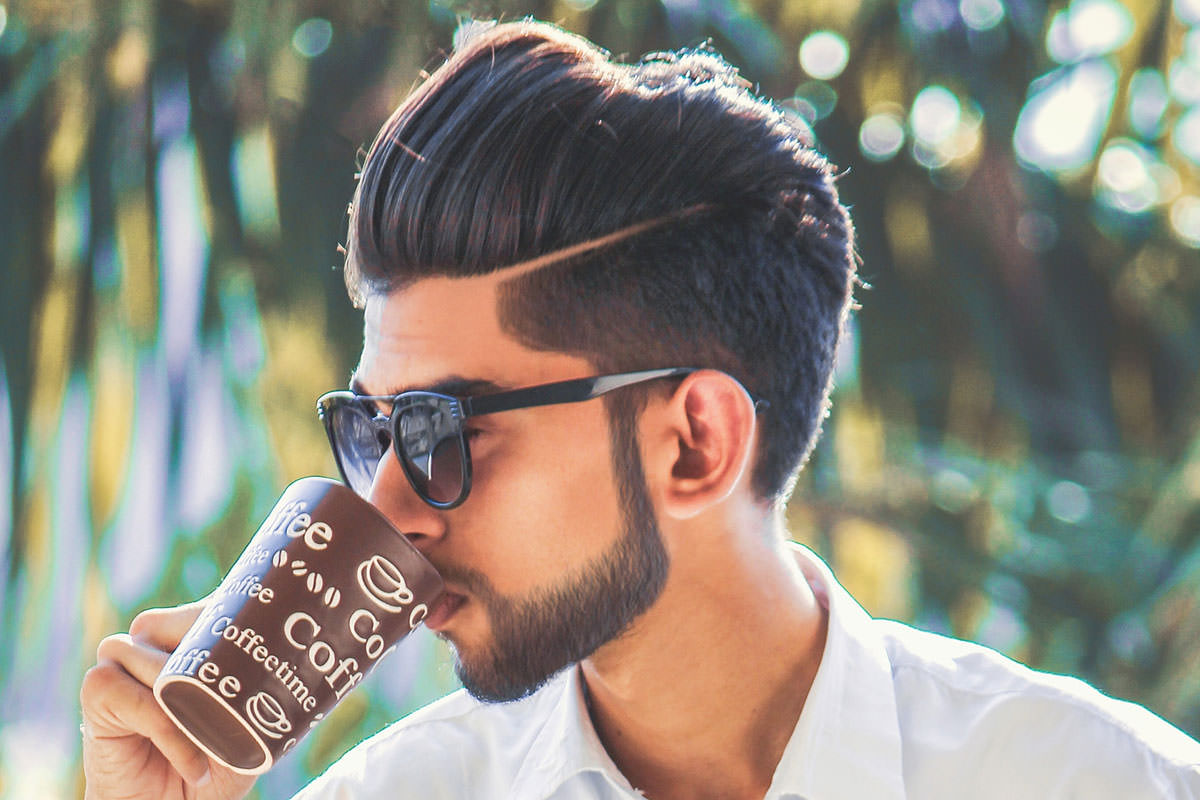
AFTER
Download Sample Images
Click the link below to download the sample images and follow along with this tutorial.
DownloadTutorial Description
With so much detail and natural variation, hair can be one the most challenging things to style and recreate in Photoshop. But not anymore! In this tutorial, we break down some simple techniques that will help you shape, fill in, and paint new, realistic hair in minutes.
Shape It Up
Before you begin the process of painting in new hair and facial hair, it’s important to first determine the shape you that you want for the hair. In our example image, to give the appearance of a straight-from-the-barber look, we want well-defined edges and a clean, natural-looking part. For smooth edges and curves, the Pen Tool is a great choice for creating the shape and selection.
We don’t go too in-depth with the Pen Tool here, but luckily we have several other great tutorials that will get you up to speed in minutes. Be sure to check out Master the Pen Tool in Under 8 Minutes to learn more!
Even though the Pen Tool makes incredibly accurate selections, it’s going to need a little help to make the edges look realistic. When you zoom into an edge in a photograph, there will almost always be a tiny bit of blur – no matter how expensive the camera and lens combination. Since our Pen path is such a hard edge, if we leave it as-is, our image will almost certainly appear Photoshopped. To create a more natural transition, we just need to add a bit of blur. By using the Quick Mask tool, which highlights your selection in red, in combination with a Blur Filter, you can create a natural looking blur and transition for any selection. With the correct amount of blur, we should see a realistic transition between the hair areas and the skin.
Creating Custom Brushes for Hair
Custom Brushes can save you valuable time while creating an ultra-realistic hair effect. The best part about this method, is that it can work for any hair type.
To get started, simply create a Pen path that is a similar length and shape as a single strand of the hair that you wish to recreate. By using the Brush Tool to stroke that path in black (also while simulating pen pressure to create realistic shape and contour) you should end up with a solid base that you can use to build a custom brush. Simply place your Pen path on a white background and make a selection around it using the Marquee Tool. Go to Edit, Define Brush Preset, give it a name, and we’re almost home!
All Natural
Painting with our Custom Brush as it is now, you might notice that it doesn’t look anywhere close to realistic. The most important aspect of painting in new hair is mimicking the natural variance and variation of natural hair. By opening the Brush Settings window, we can activate several settings which will add more variety and randomness as we paint.
For hair, we recommend activating Shape Dynamics and selecting Flip X Jitter, Flip Y Jitter, and add a bit of Angle Jitter. Then activate Scattering, select Both Axes, and raise the Scattering Slider. To control density, you can increase and decrease Spacing under the Brush Tip Shape tab. Lastly, activate Color Dynamics which will add variety to the lightness and darkness of the hair.
We’re including the Custom Brush that we made for this particular image in the Download above. Be sure to try creating your own! This brush is handy but all hair is different and might require different settings to get the Brush to match.
If the new hair looks too perfect, chances are that the final image will appear edited. Once you’ve finished using the Custom Brush to paint in the majority of the hair, try using a very small standard Brush at low opacity to sample some of the subject’s natural hair color and paint in additional flyaway hairs.
There’s one last step to make sure everything appears photo-realistic. Group or Merge each Layer of painted hair and apply both a Box Blur and some Noise to match the naturally-occurring noise and blur in the original image. This will ensure that your subject looks great and that the image looks like it came straight-out-of-camera!