Total Image Makeover in Photoshop
-

-
Add to
favorites
-
DifficultyMedium
-
Length2 hours
-
Software
Description
Follow along as we cover a variety of editing techniques that are sure to make any image better!
Learn skin retouching, object removal, sky replacement, noise reduction and more!
THIS COURSE INCLUDES
- 2 Sample Images
- 2 Sample PSDs
- 1 Photoshop Action
Share
Course Downloads
More Power than Ever
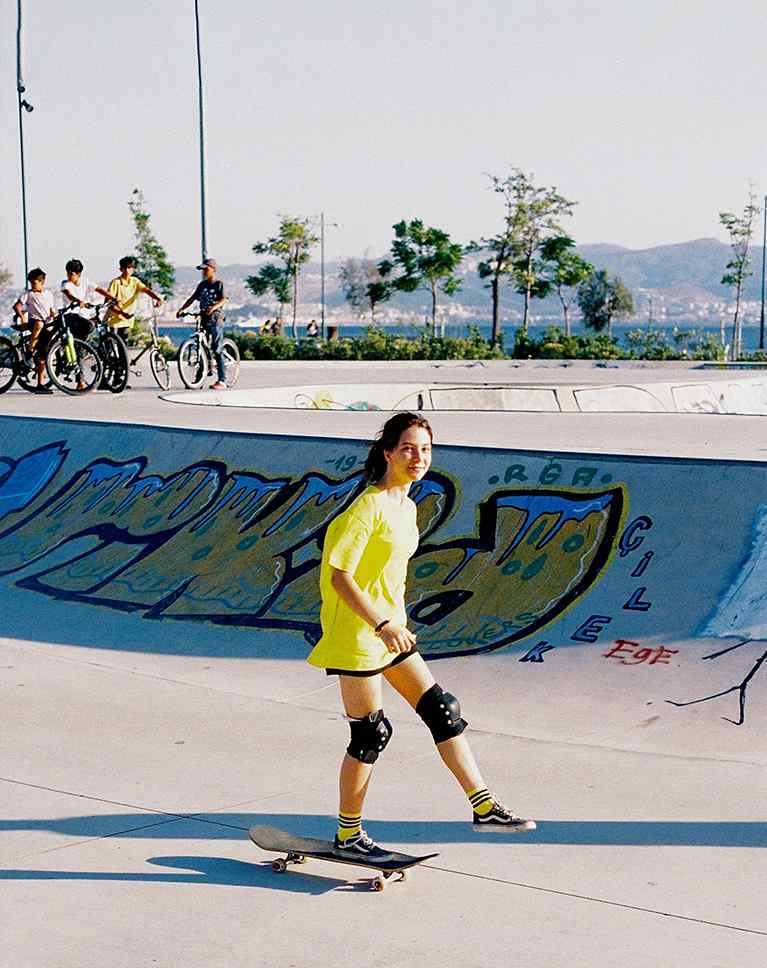
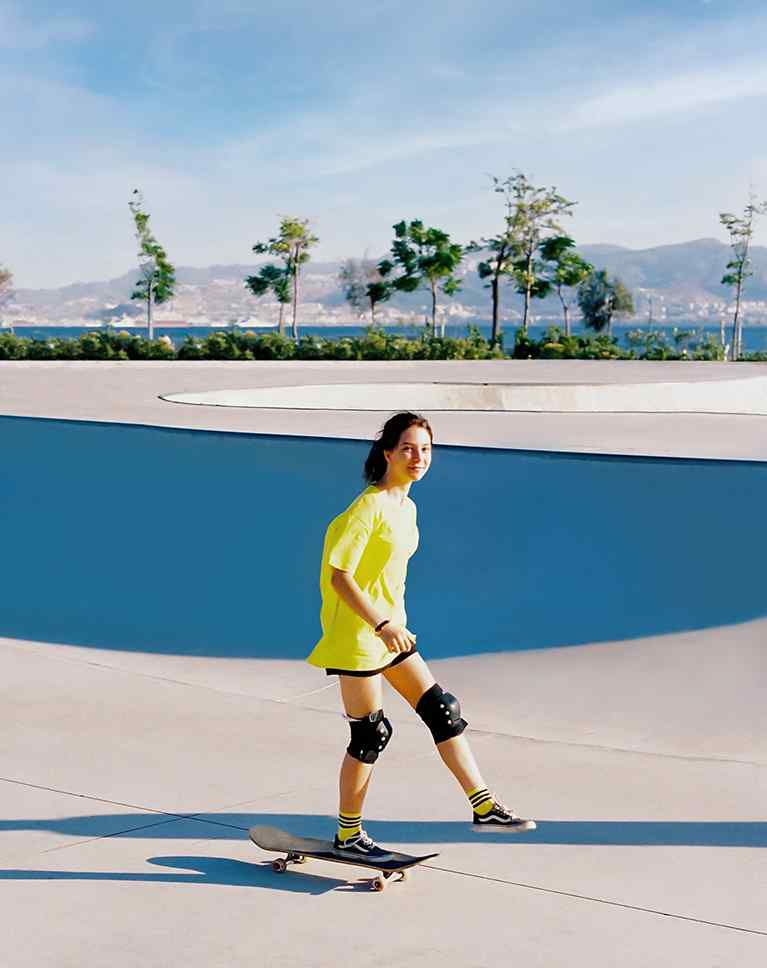
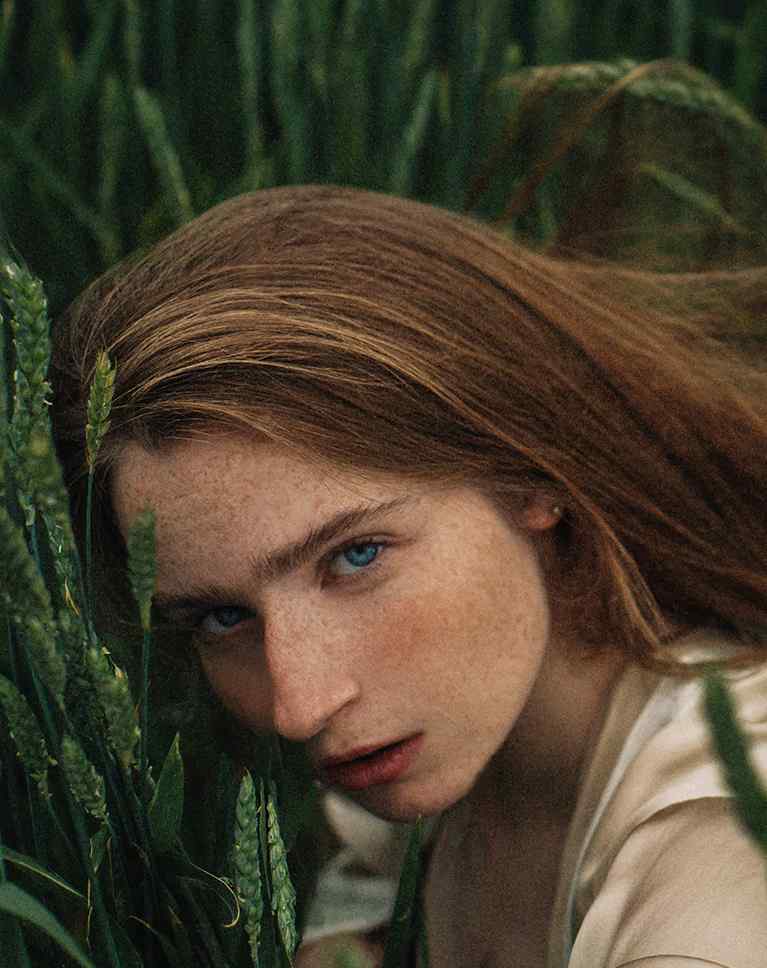
SKY REPLACEMENT, OBJECT REMOVAL & MORE
ORIGINAL
Advanced Object Removal
Learn to remove unwanted objects from your photos using a suite of tools and features in Photoshop. You will learn the fastest and most advanced methods that will work in any image.
Frequency Separation
Download the included Photoshop Action and learn to retouch images and remove distractions. Our exclusive action allows you to separate the color and texture of your images, giving you more editing flexibility and greater accuracy when retouching.
Sky Replacement
Adding a new sky can make a huge difference to your images, and Photoshop’s new tools make it easier than ever. Learn to use these tools and add your own adjustments to make seamless sky replacements on any image.
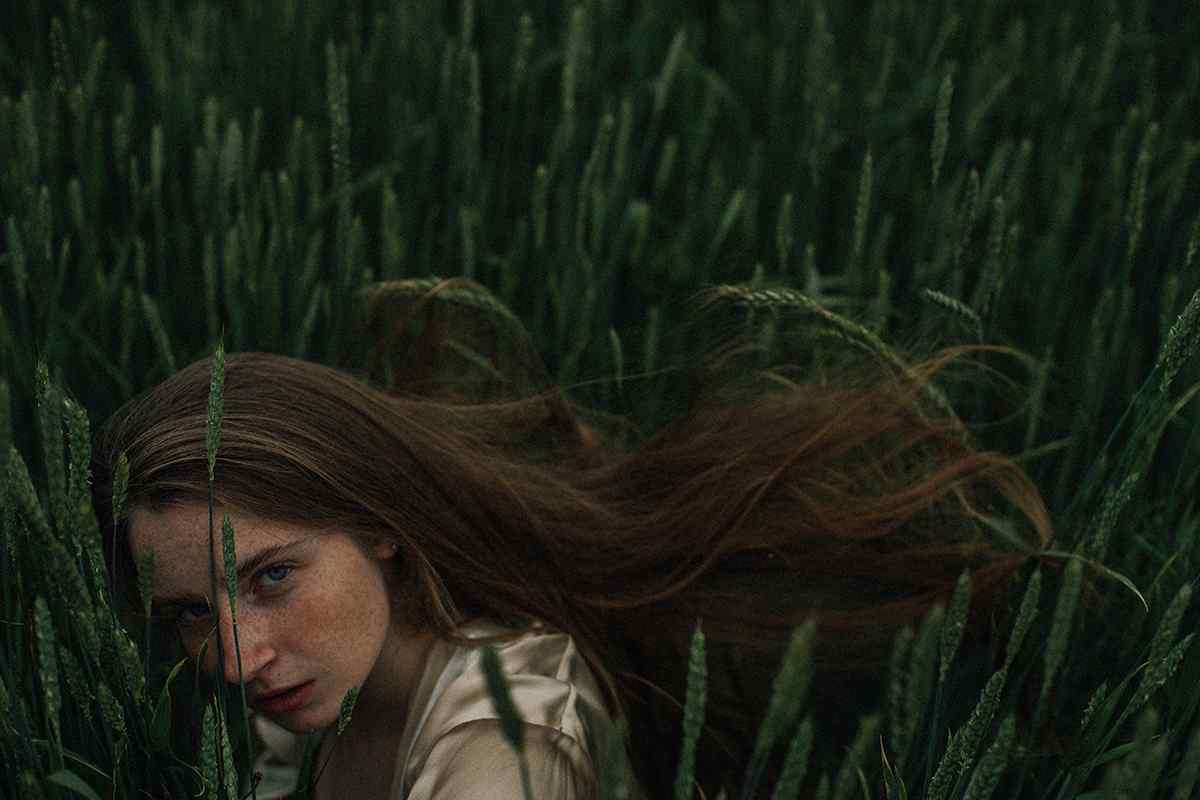
FREQUENCY SEPARATION RETOUCHING
ORIGINAL
Noise & Spot Removal
Use the most up-to-date methods for removing noise from your image as a part of a completely non-destructive workflow.
Draw Attention to the Subject
Some of the time images can appear as a bit flat and boring. Learn to add color and light to make photos more dynamic and make your subject POP!
Follow Along
Use the included sample images and .PSD files to follow step-by-step instruction so you don’t miss a thing!
Improve any Image!
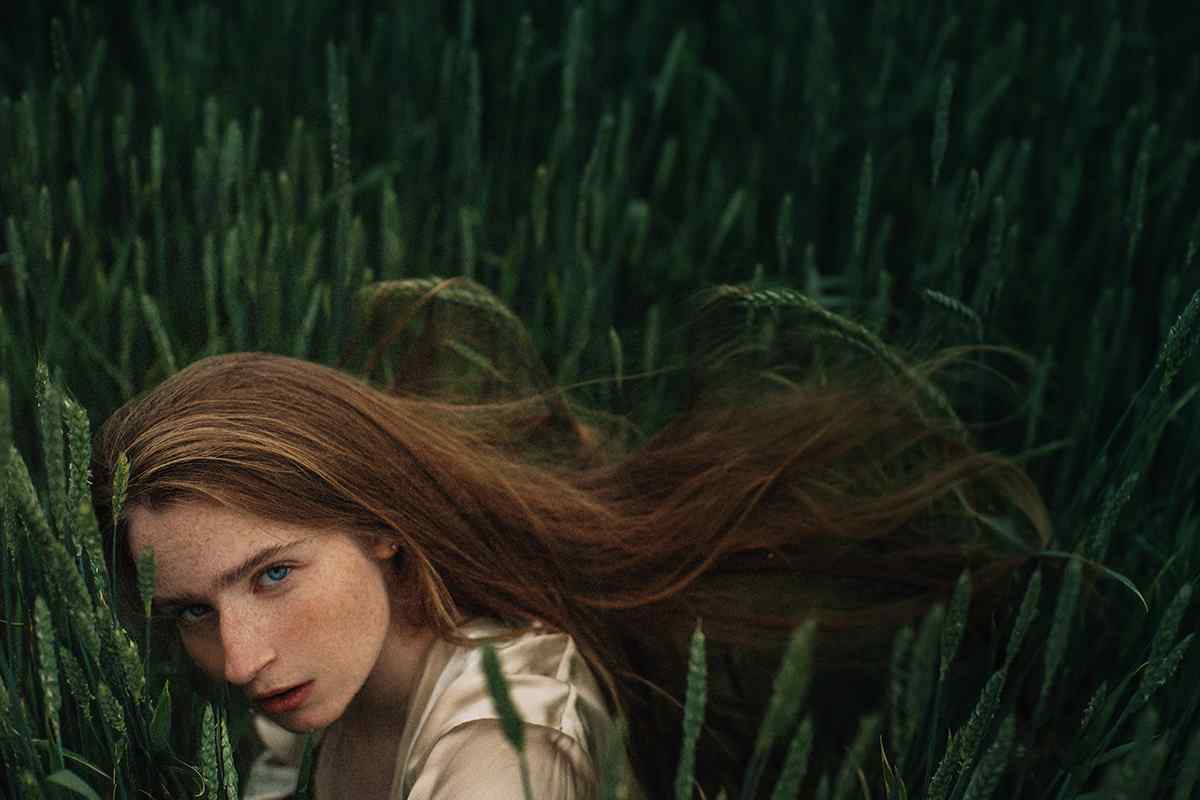
DRAW MORE ATTENTION TO YOUR SUBJECT
ORIGINAL

Aaron Nace
PHLEARN Founder – Class Instructor
Aaron Nace is a photographer, Photoshop artist and founder of PHLEARN. He is the #1 Photoshop instructor in the world with millions of YouTube subscribers.
Reviews


New & Popular Tutorials


Training Site in
the World
Tutorials!
Ratings
and Counting
Subscribers
Very Nice , I wish we can get more tutorials like this , as i struggle when i look at a new photo and my mid goes blavk as i dont know what to look for from the strat please can you help me with that ,,,,,, what to do as soon as you bring in a phptp into photoshop
You can never have too many start-to-finish examples, as it is a great format to see so many of the tools used. And it’s a plus when Aaron can explain the tools and demonstrate the applications so easily. I gave the first video 4 stars, only because I wish there were teaching notes on a PDF to accompany the video. It would make it so easy to add your own notes on top of the video’s script. Thank you !
Have watched your tutorials for years now and I go back or to techniques I think I’ve mastered and you always come up with new ways off editing which I haven’t tried. Like the new format. Keep up the good work Aaron…always look forward to ” Phlearning” more.
I really like this style of tutorial. Seeing multiple techniques and tools applied to a practical problem has a lot of value in my mode of learning. I had acquired the freq separation action in the context of some other tutorial but was never able to get much out of it but I’d say I really get it now. (And I’m glad, in having read the comments here to know the non-difference between stamped visible and apply image. 😉 )
I found both of the videos helpful. I encourage Aaron to regularly add images from a variety of subjects (nature, wildlife, landscapes, architecture–even macro) to this tutorial.
Just finished watching “Total Image Makeover – 1” – what a GREAT tutorial. I have been using Photoshop since it first came out… and over the years I have taken thousands o f hours of Photoshop training. But your tutorials always catch me up with the new editing features. Thanks for a great lesson!
This tutorial wins my “Worthy of My Precious Time” award. In particular, the Frequency Separation technique finally makes sense to me, and the Apply Image trick to fill a blank layer for Content Aware Fill and Sky Replacement was an aha! moment. Image makeover for everyday editing was a great topic for a video. Much appreciated!
I love this typo of new pro tutorial format, I hope we can have more of these. Especially after the awesome masking, selection and object removal series this is something I truly would like to se more and more. Also, you might want to include some references into the description about the tutorials that are prerequisite/recommended before taking this tutorial. This way you could also perhaps in future do a more compact pro tutorials for those that do have the required skills.
Fantastic as alwaysThe way you present it keeps me coming back for more. And the new format is great!!!!
I enjoyed the new format. Your explanations about tool use and retouching steps were excellent. I can’t judge color correction needed when you used curves and I’d appreciate how you know what combinations of the three colors to use. I’d also like to know why you felt a need to decrease the noise at the end.
Always learning something new. Speaking of, like my ante-reviewer, I am also wondering about the difference between Apply Image and Stamp Visible Layers in this particular context. The only time I use Apply Image is when manually Freq-Sep-ing layers, and now I am wondering what new layers of uses can this tool hide 🙂
Wonderful as always. Even when I think I’m out.. you pull me back in x
I always like the nature and presentation of all your tutorials. I have been a devotee for years and always see what I can improve in my skills with your expertise. Even the basics I go back to and find something that helps my work.
Part two completely lost me which was a shame after part one. A lot of jumping around and there are so many times that I can stop /pause and I still missed steps. Is there another video similar but perhaps simpler as a start?
I recommend starting with 30 days of Photoshop, it is a great place to begin!
https://phlearn.com/playlist/30-days-of-photoshop/
I love the new format. It’s makes easy concentration, no fast-forwarding or hitting the “next”-button impatiently. But I also like the “old” format. Especially for searching or revisiting a specific technique. Either way, thanks so much for your fabulous tutorials! (and I like the new video-production; different lighting, different camera, and a touch of LUT perhaps?)
Great tutorials! A strong takeaway is to keep making layers.
A really great tutorial. Learned some great new techniques here but I need to work on my layer and group management so it was a good nudge for me to put some extra work in there.
Awesome tutorial as always. The build up to the finished image is what amazed me the most. I sometimes thought during this tutorial “this isn’t working at all” and would have deleted the layer. How wrong I was! Aaron shows exactly where to start, how and what to do next even though in the moment it might not look right. I have now a lot more “how to” in my arsenal to get to the result I want. Thank you Aaron
The tutorial was great I enjoyed the format
Awesome tutorial, I loved it. I like when it comes down to real live scenarios. I enjoyed this format. thank you !
Great video. I went into it thinking I wouldn’t see anything new. Boy was I wrong! Already thinking of a photo that was given to me taken on a poor resolution smart phone. I had given up on it, but maybe I can rescue it yet. That would be a great video – working from a bad smart phone photo.
Fantastic tutorial as always Aaron! Thanks for sharing your amazing Photoshop skills with us. I do wonder why your using apply image while it seems easier to use a stamp visible layer with short cut “control alt shift E”. Pretty much the same and it saves time.