Download Sample Image & PSD
description
Learn how to cut out subjects and remove backgrounds with Select and Mask in Photoshop!
And if you’re looking for a more advanced look at cutting things out in Photoshop, check out How to Cut Out Hair in Photoshop and Photoshop Compositing: Masking and Cutting Out Subjects!
Share

MAKE ACCURATE CUTOUTS!
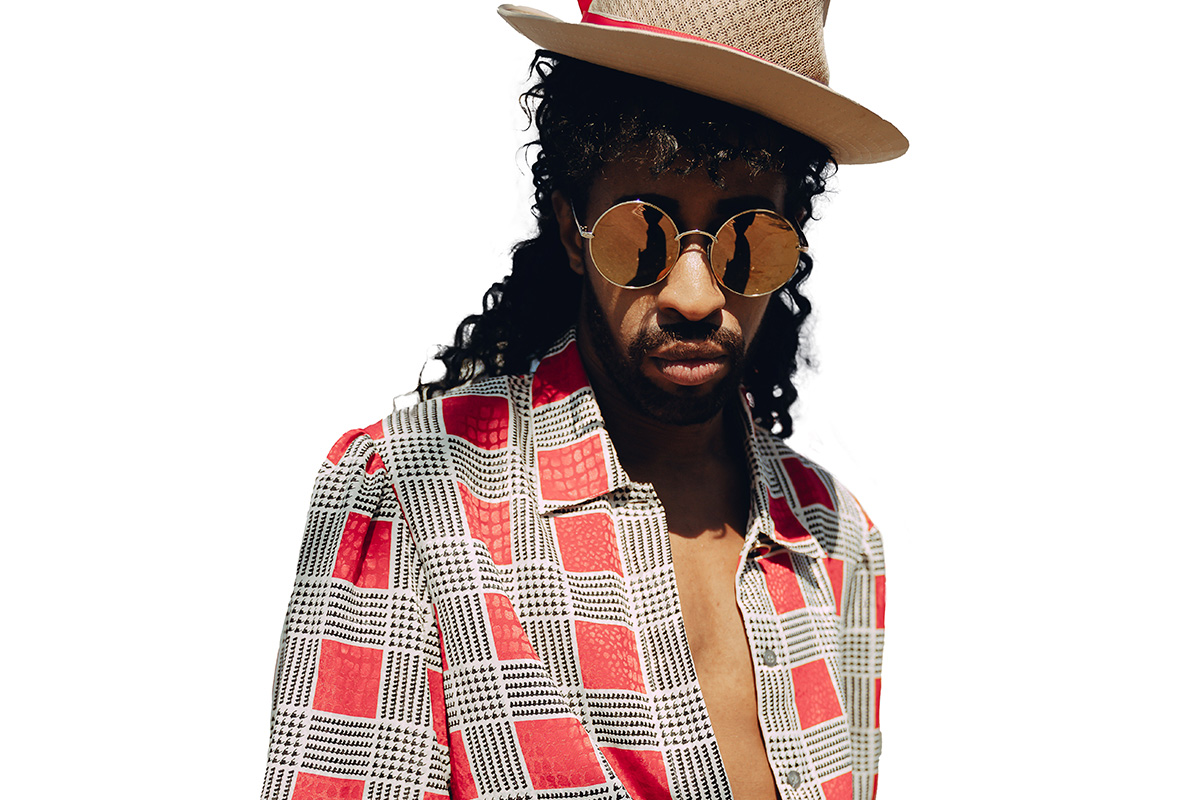
BEFORE
Quick & Accurate Cutouts
What is the Select and Mask Workspace?
There is certainly no shortage of tools for cutting things out of a photo in Photoshop. But the best tools are often the ones that make the job quick and easy while still providing a clean, professional result.
Select and Mask is a workspace designed to help you get the most out of automated selection tools, allowing you to make an initial rough selection, and then refine that selection until you’re happy with the end product.
Let’s explore how Select and Mask can help us make clean and accurate cutouts—even when working with a person in front of a bust background!
Getting Started with Select and Mask
You’ll find the Select and Mask option within the Select menu at the top of the screen.

If you’re following along, make sure that you’re using the latest version of Photoshop as we’ll be exploring some of the newer tools and features.
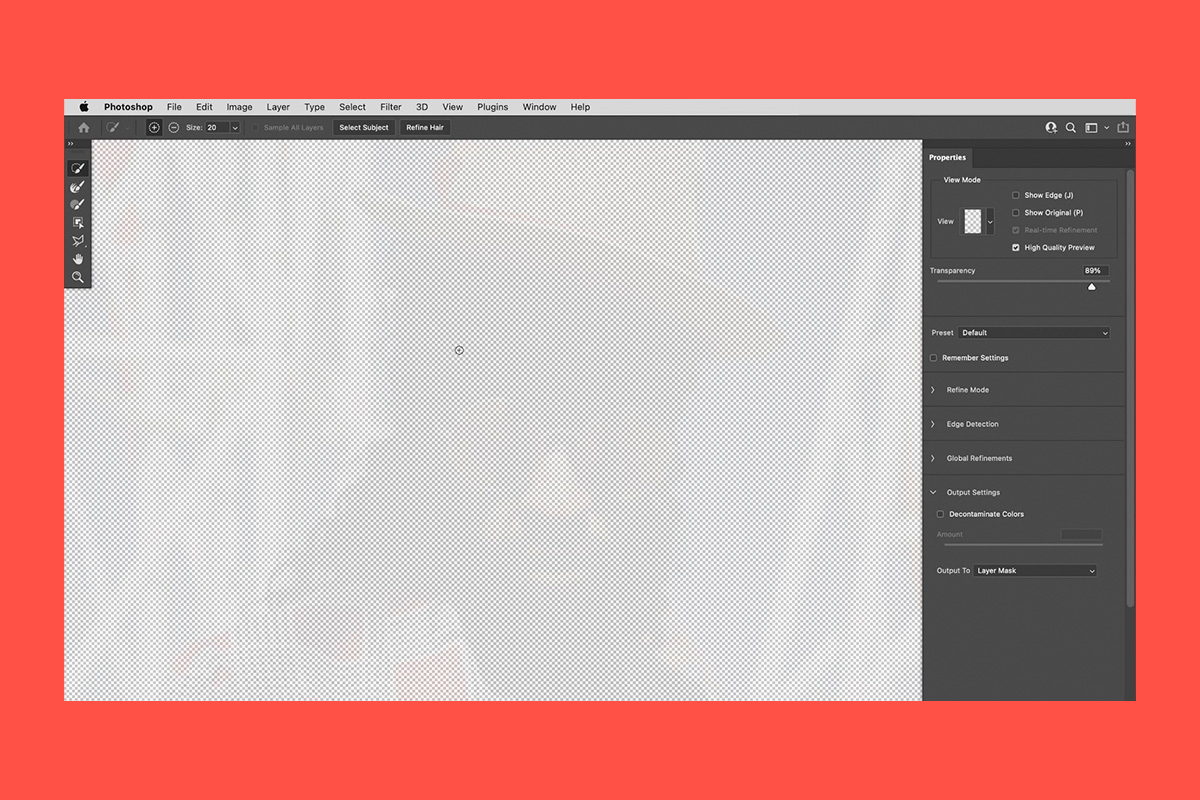
Once you click on Select and Mask, the Select and Mask workspace will open. This dialog provides a wide variety of tools and options that are designed to help you quickly select something in a photo, and then refine that selection so that it’s clean and accurate.
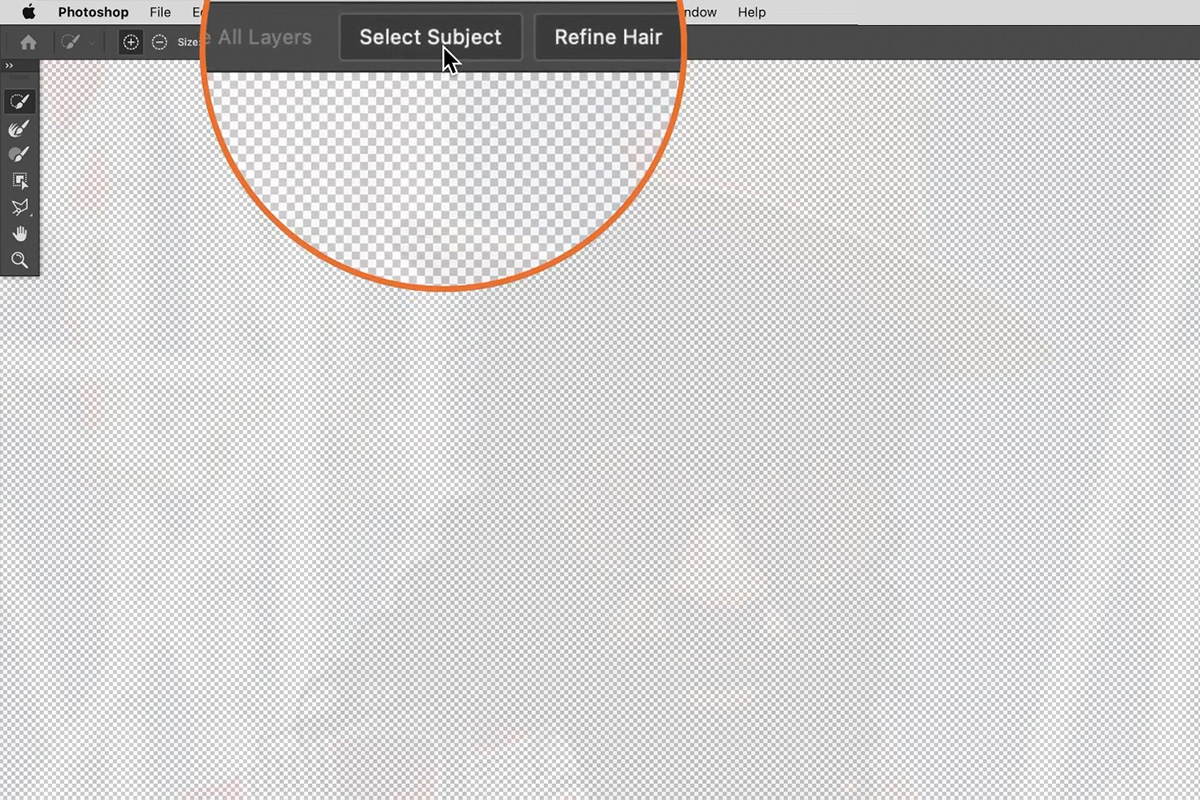
To begin, we’ll need a way to make a rough selection of the subject in the image. Fortunately, the Select and Mask dialog offers just that.
Click on the Select Subject button at the top of the panel.
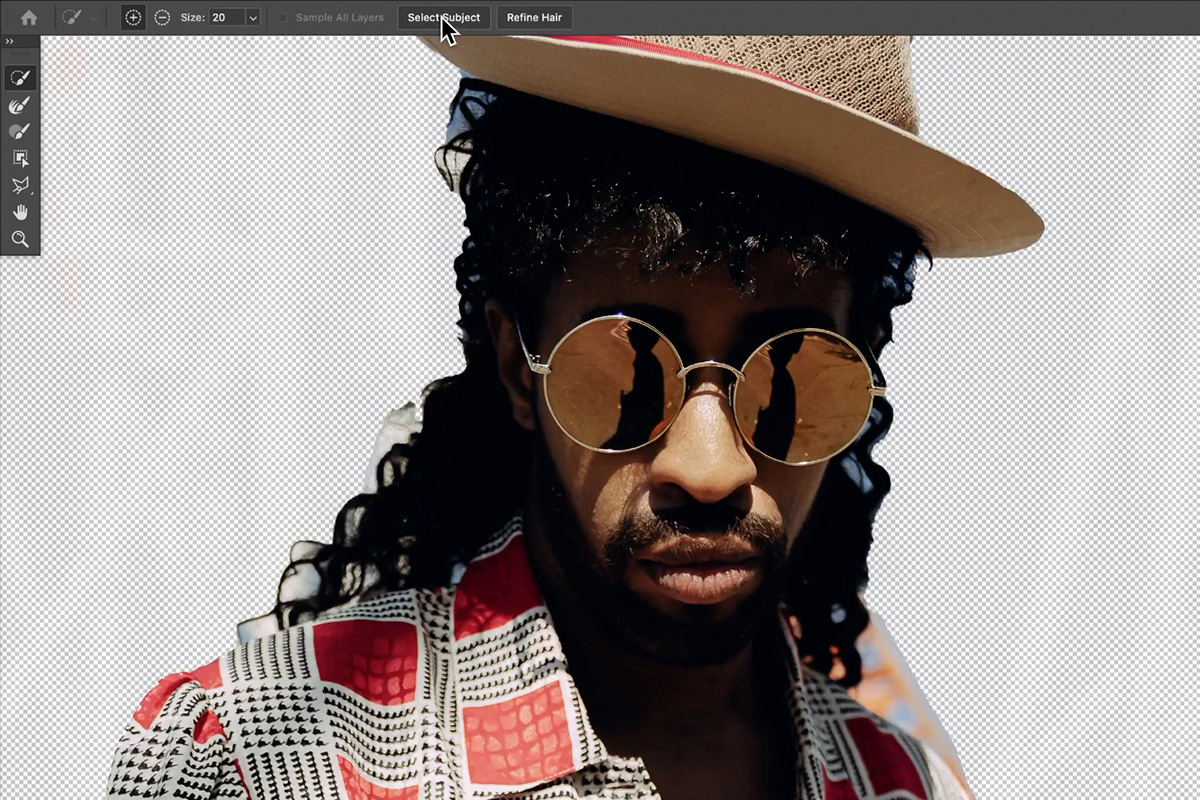
This will use Photoshop’s AI technology to try and identify the subject and remove the background—all in a single click!
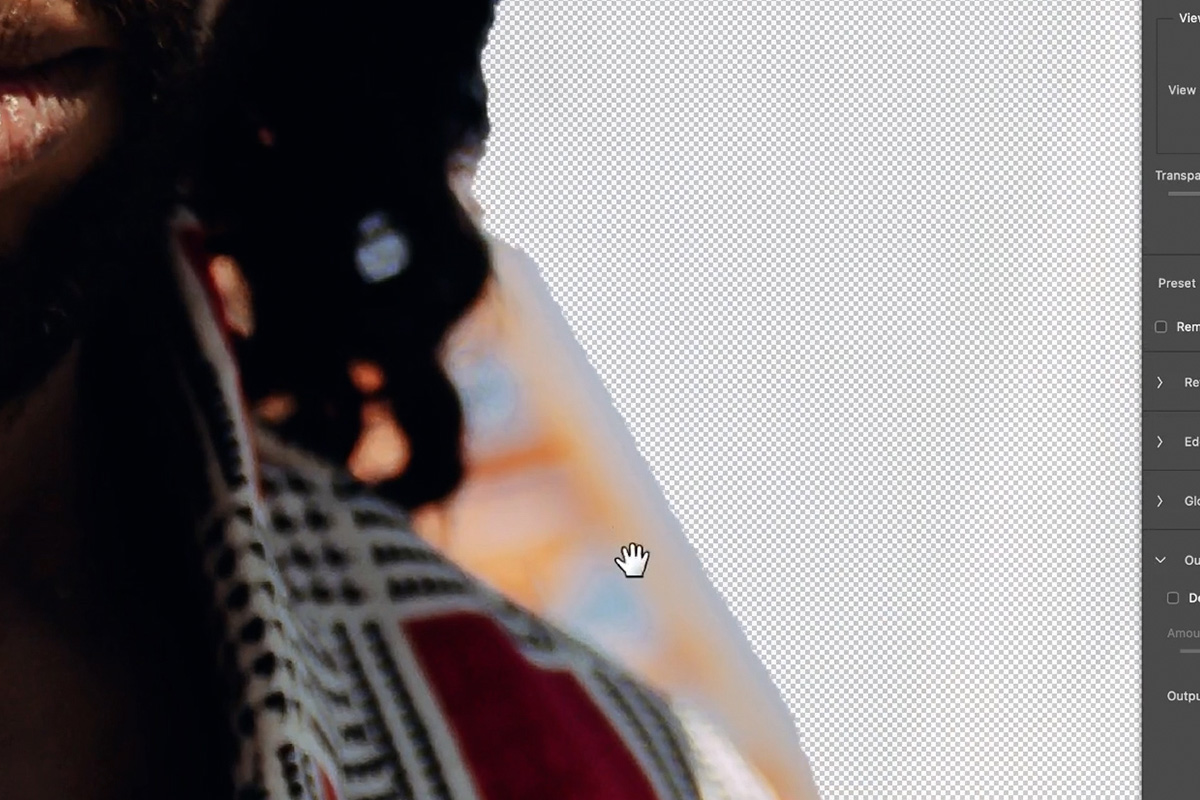
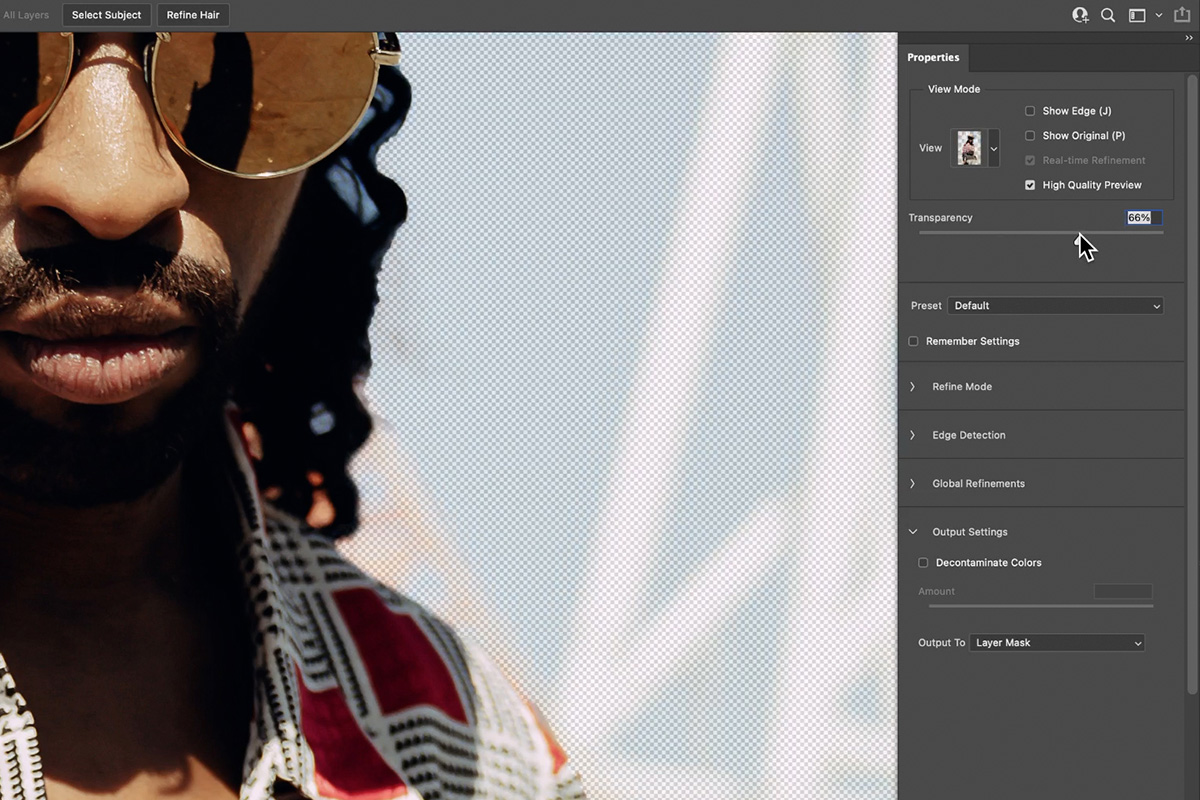
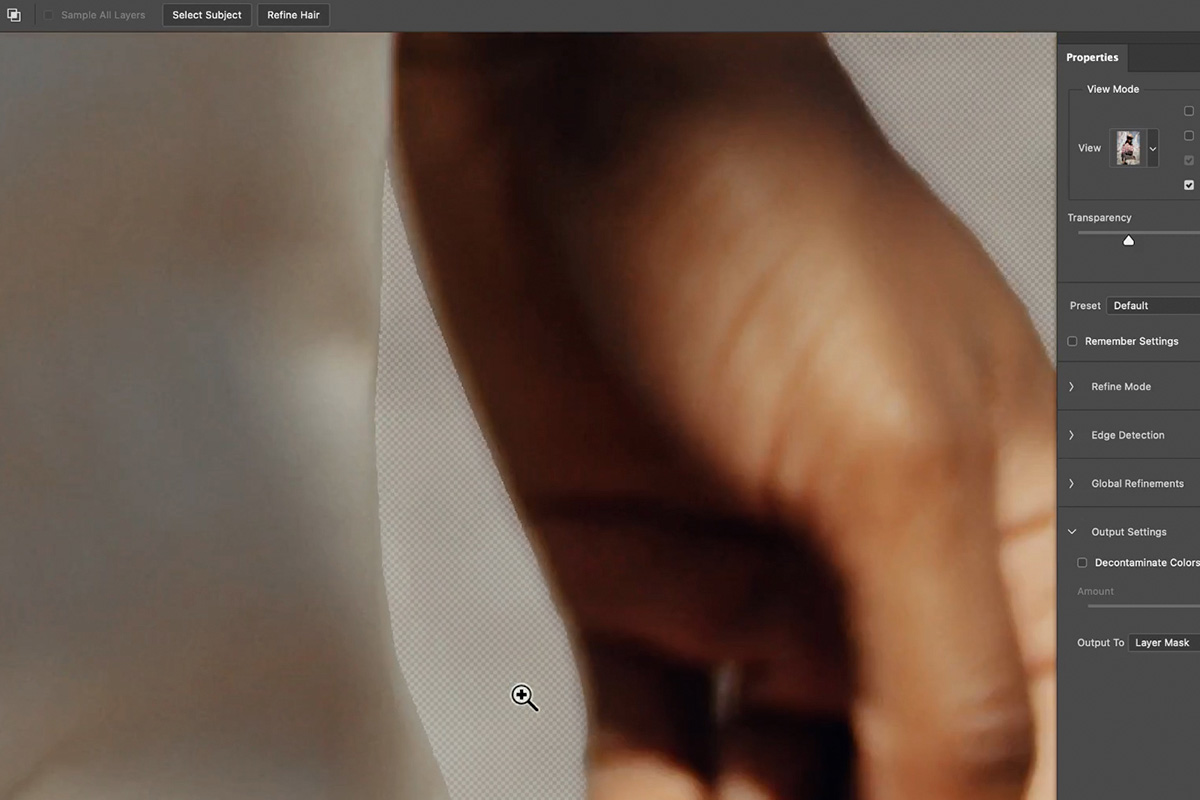
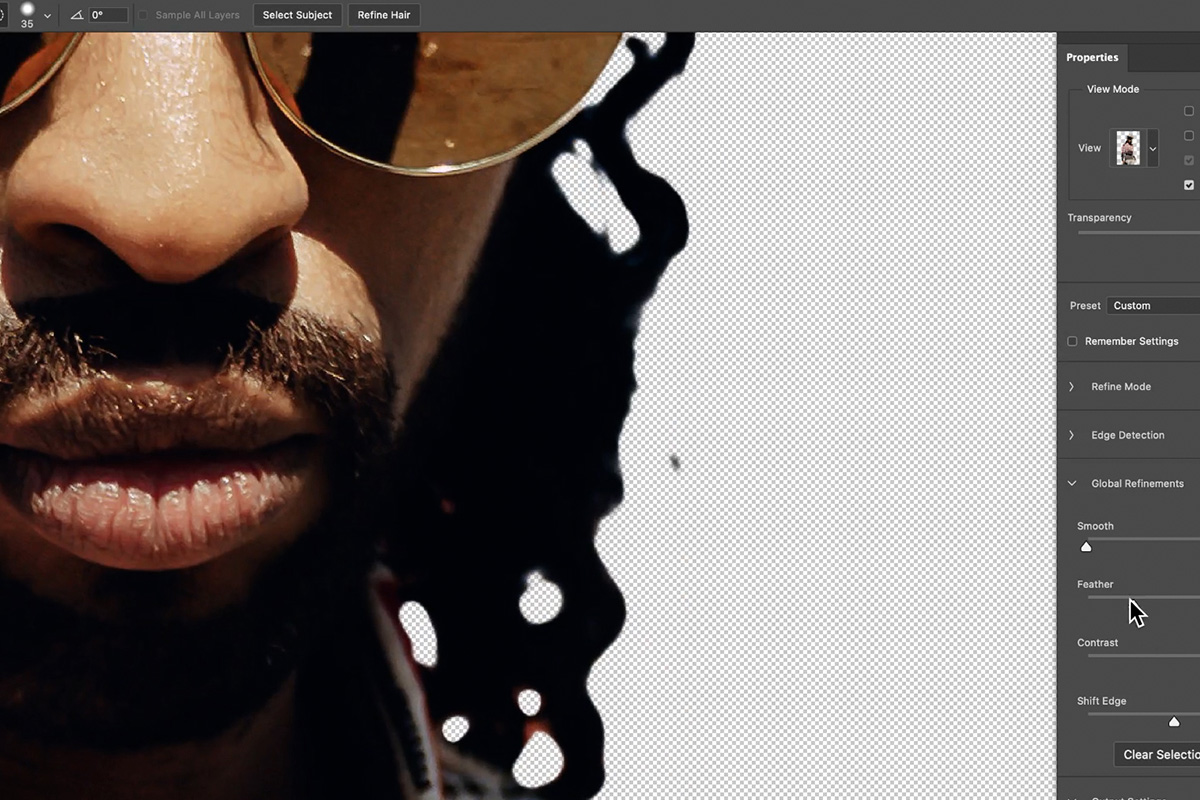
But we’re far from done. Notice that, when you zoom in, there are some obvious areas that Select Subject had trouble with.
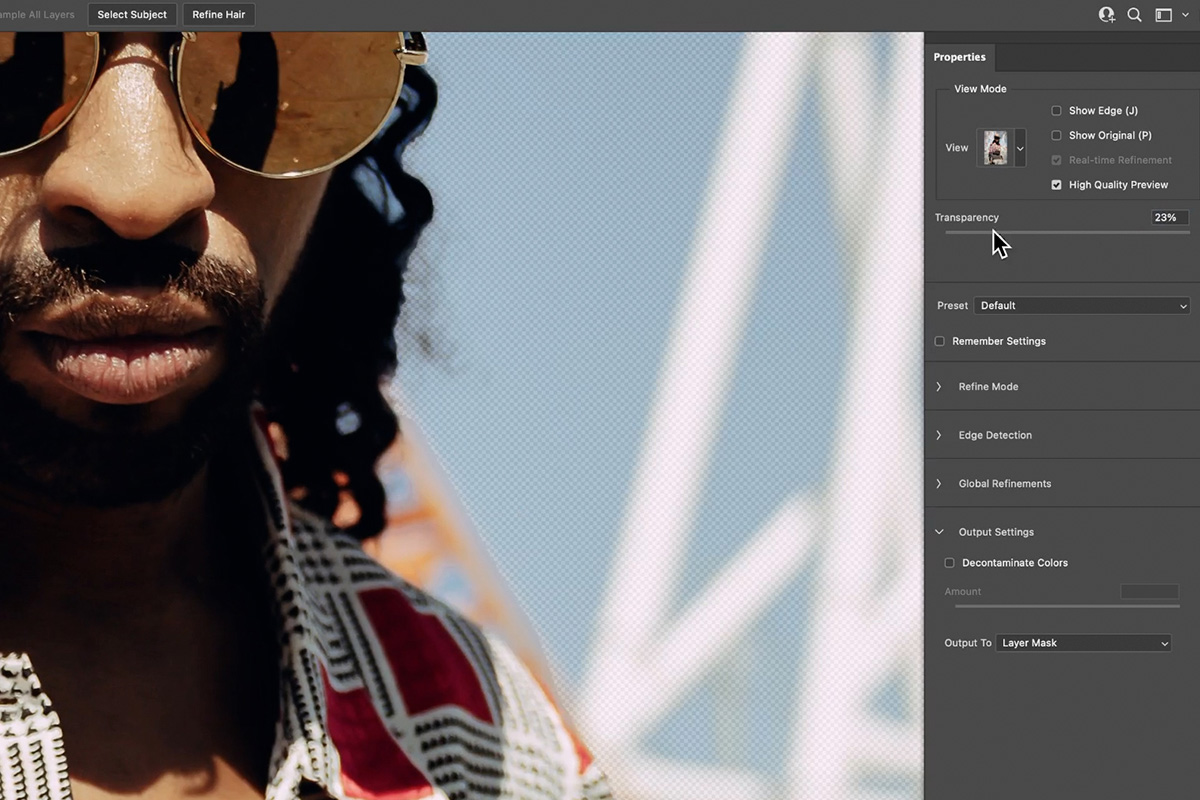
You can use the Transparency slider located in the panel on the right to increase or decrease the visibility of any areas that were removed from the photo.
This can be helpful as you refine a selection, allowing you to more easily determine what’s part of the background and what’s part of the subject.
Now that we’ve made our initial selection, let’s start cleaning it up!
Refining Selection with Select and Mask
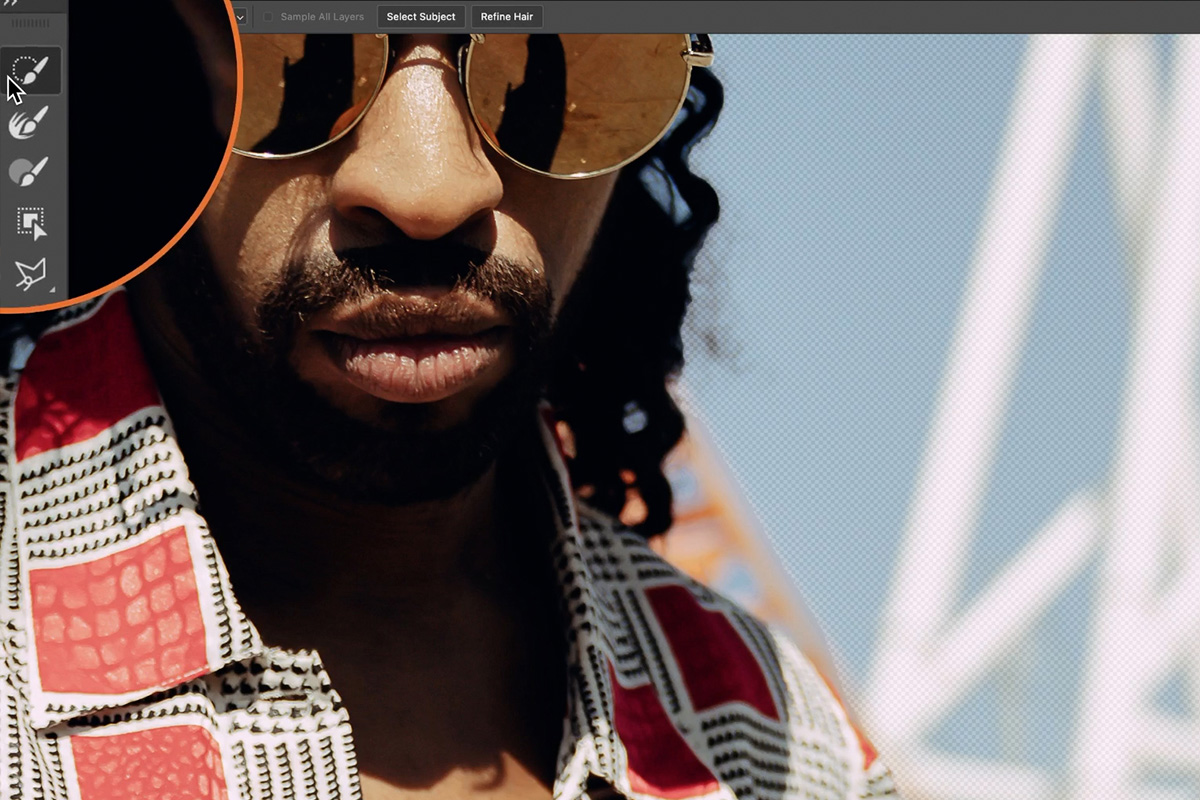
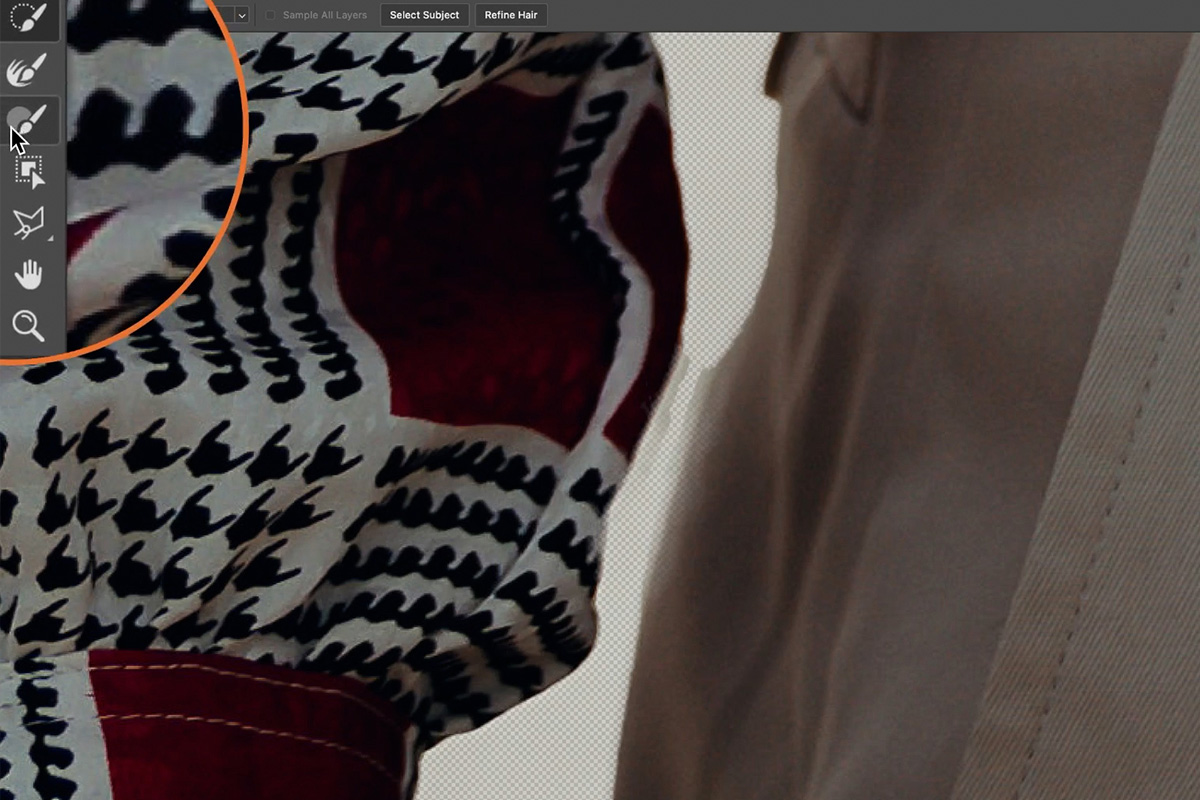
Locate the toolbar near the top left of the Select and Mask dialog. Here you’ll find a variety of tools that can help you add or remove areas from a selection.
Here’s a list of the available tools:
- Quick Selection Tool
- Refine Edge Brush Tool
- Brush Tool
- Object Selection Tool
- Lasso Tool
- Polygonal Lasso Tool
- Hand Tool
- Zoom Tool
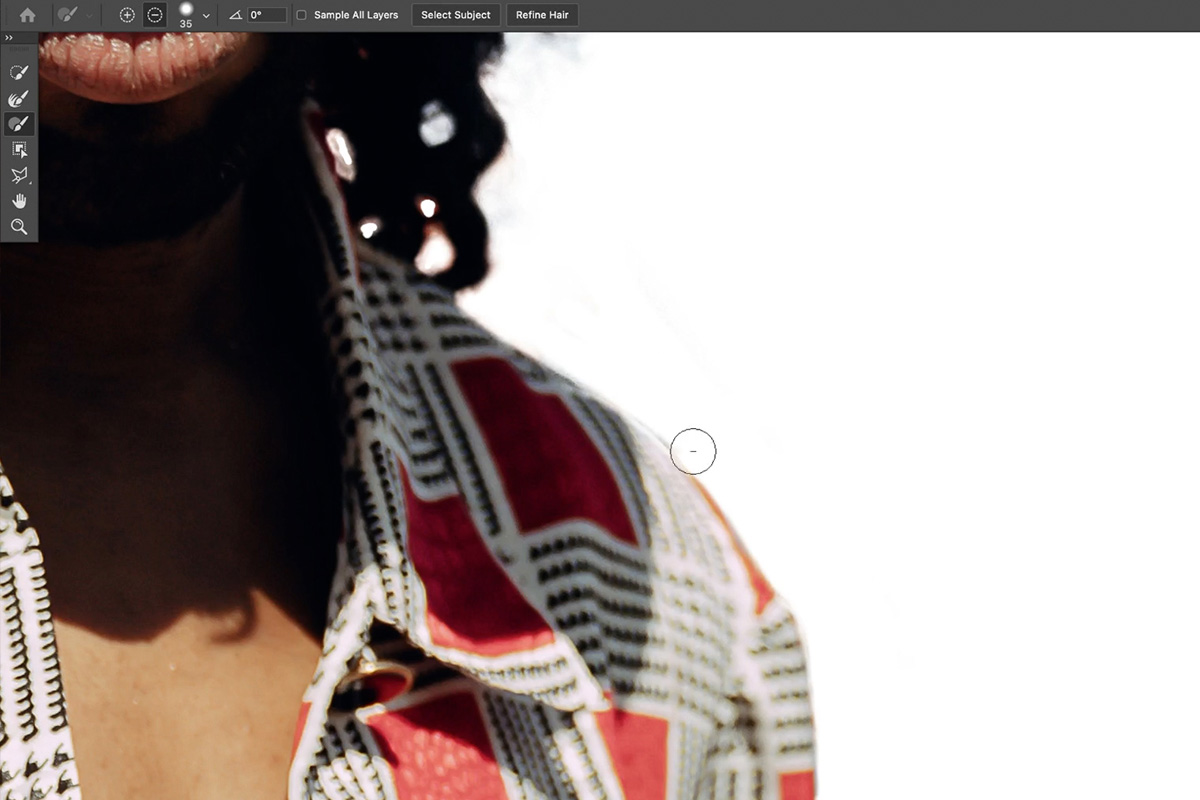
Since our goal is still to work quickly, let’s start with the Quick Selection Tool.
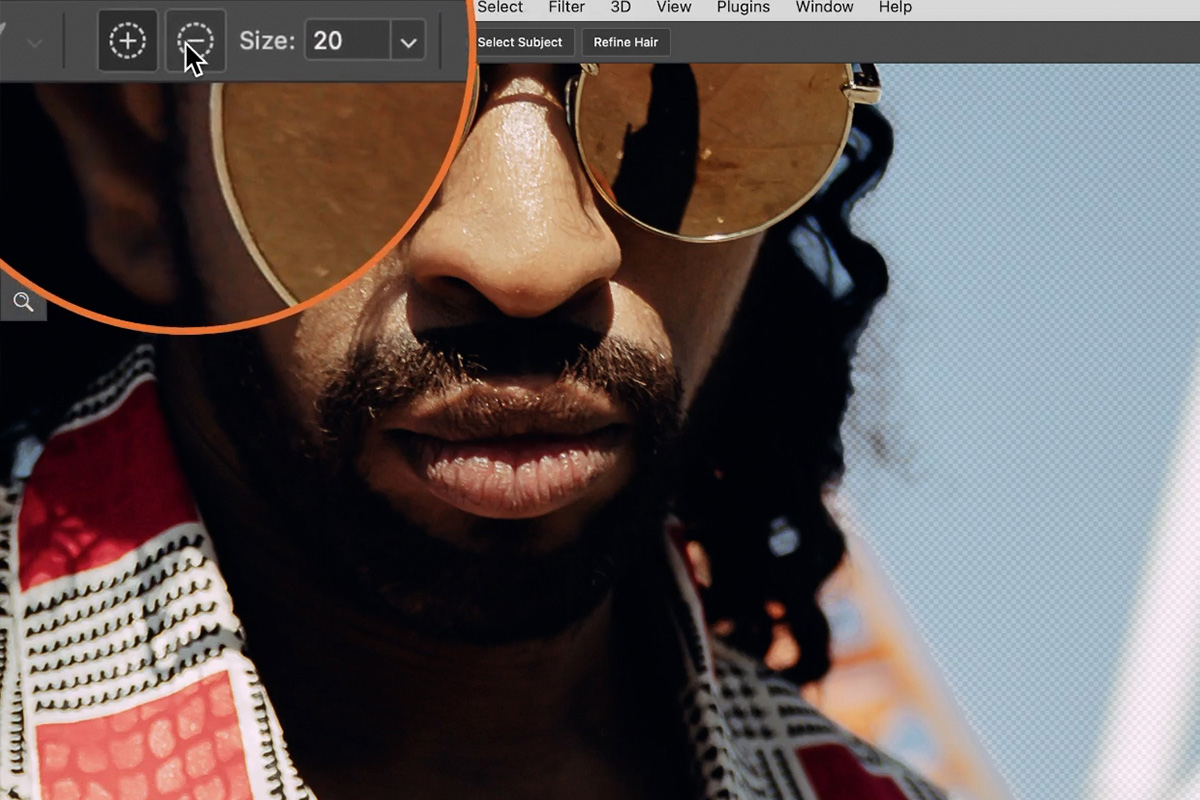
This tool works very simply. Just paint over an area to either add or remove it from the selection. You can use the + and – buttons in the top toolbar to toggle between adding elements and subtracting elements.
For example, if we want to remove that problem area we looked at earlier, we can use the Quick Selection Tool, with the – option toggled, to simply paint over it.
Don’t forget that you can use that Transparency slider to make it easier to see what you’re removing!
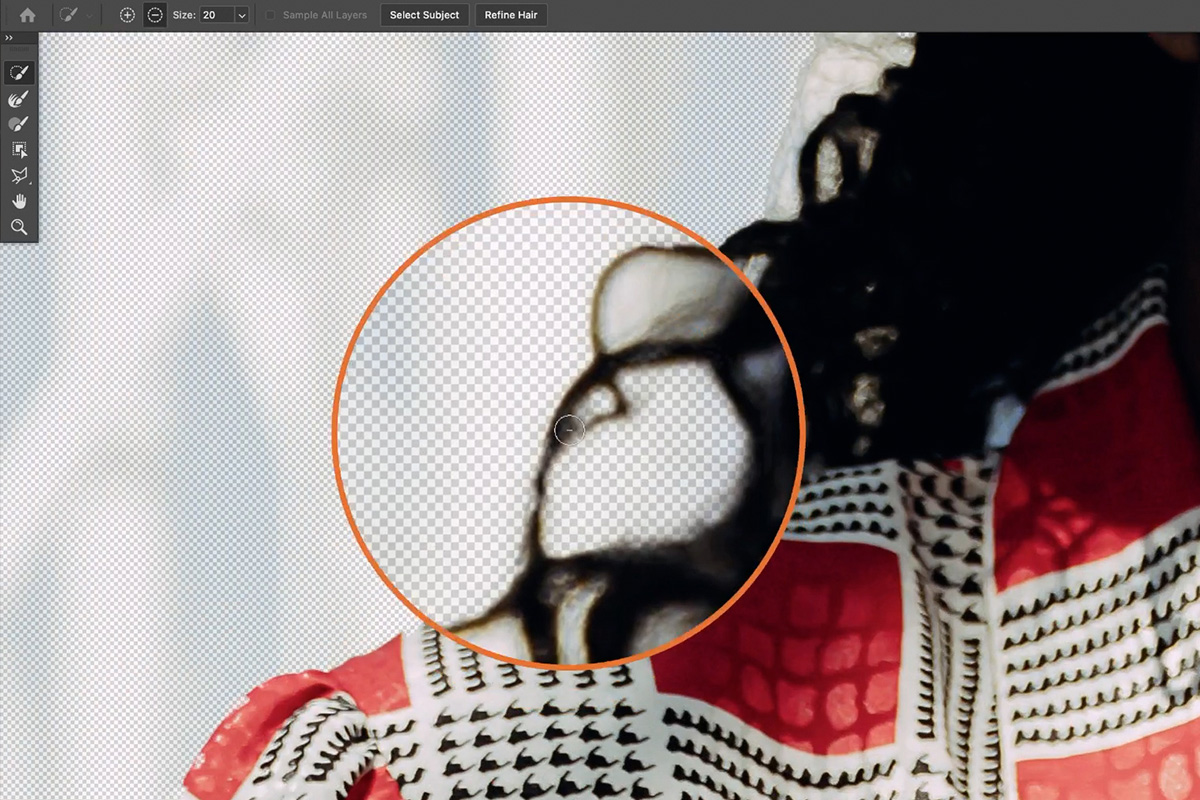
Scan around the image and see what other areas the Quick Selection Tool can help clean up. Try using it in any gaps in the subject’s hair where the original background is still visible.
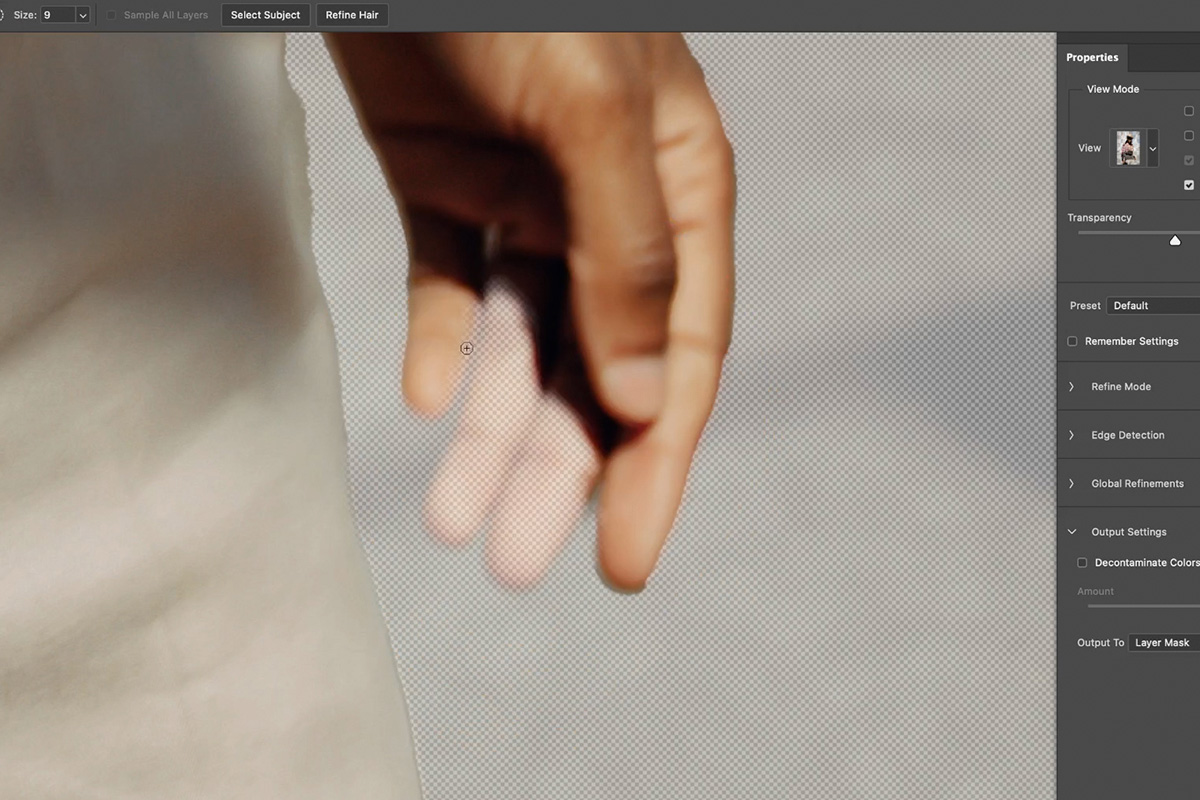
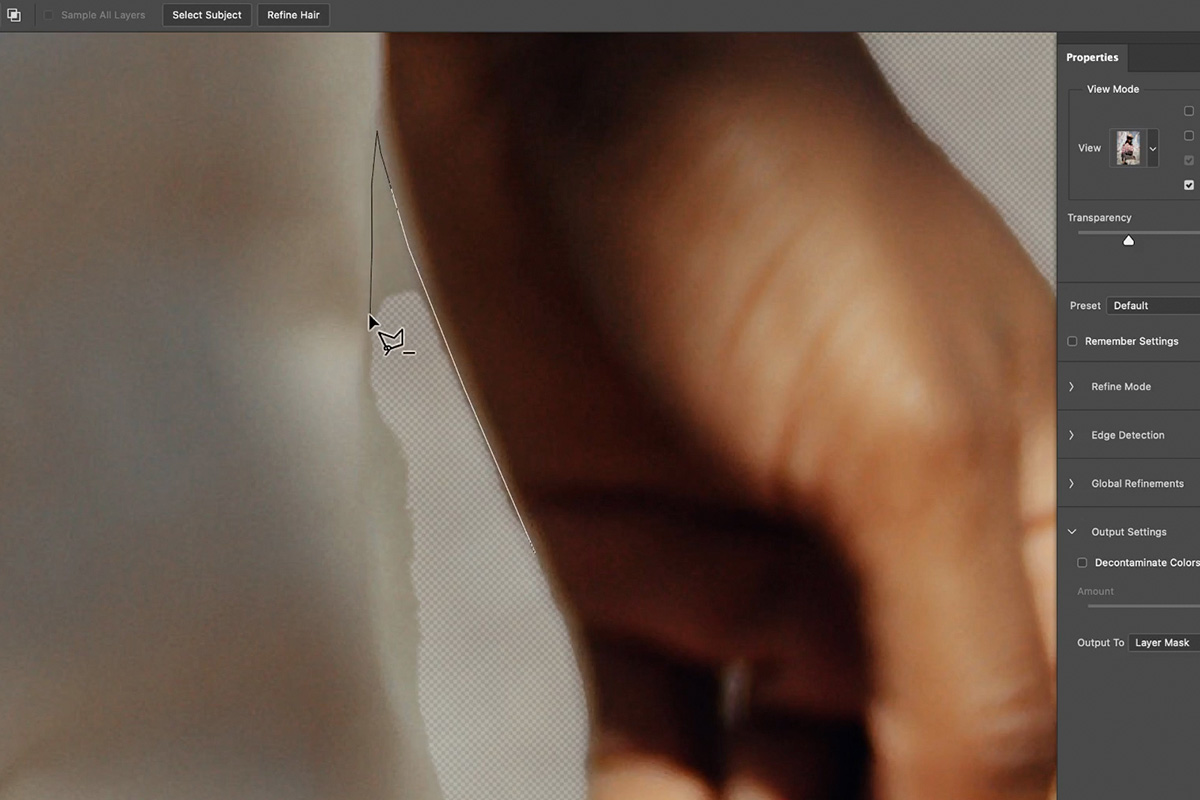
You might also discover that Select Subject also removed parts of the subject. For example, it missed a couple of the subject’s fingers.
To fix this, just hit the + icon within the Quick Selection Tool toolbar, and paint over the fingers.
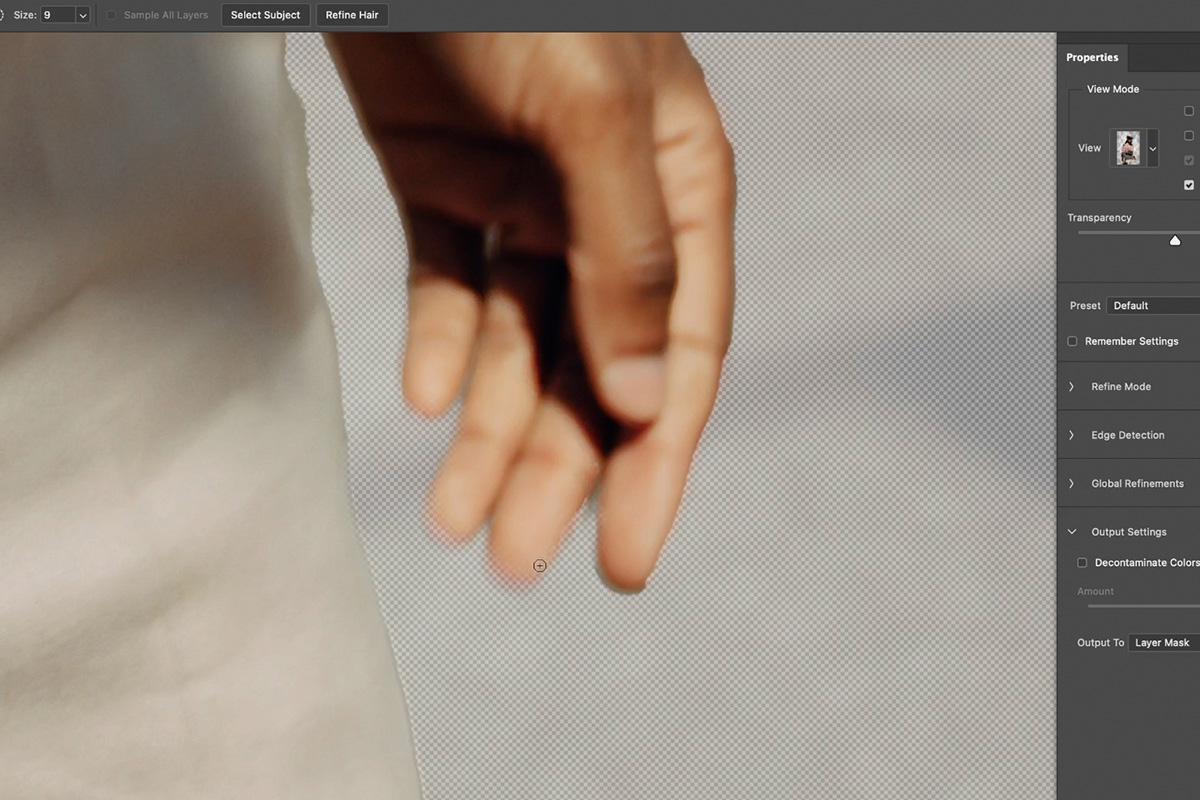
It might take a couple of passes, but this should allow you to restore any areas that you don’t want to be cut off.
Some Additional Tools to Try
We’re not going to cover every tool in-depth, but there are a select few that we find ourselves using often within this workspace.
Select and Mask has its own regular Brush Tool that provides the manual control you might need to restore or remove the trickiest of areas.

There’s also the Polygonal Lasso Tool, which is great for adding or removing areas that have hard edges.
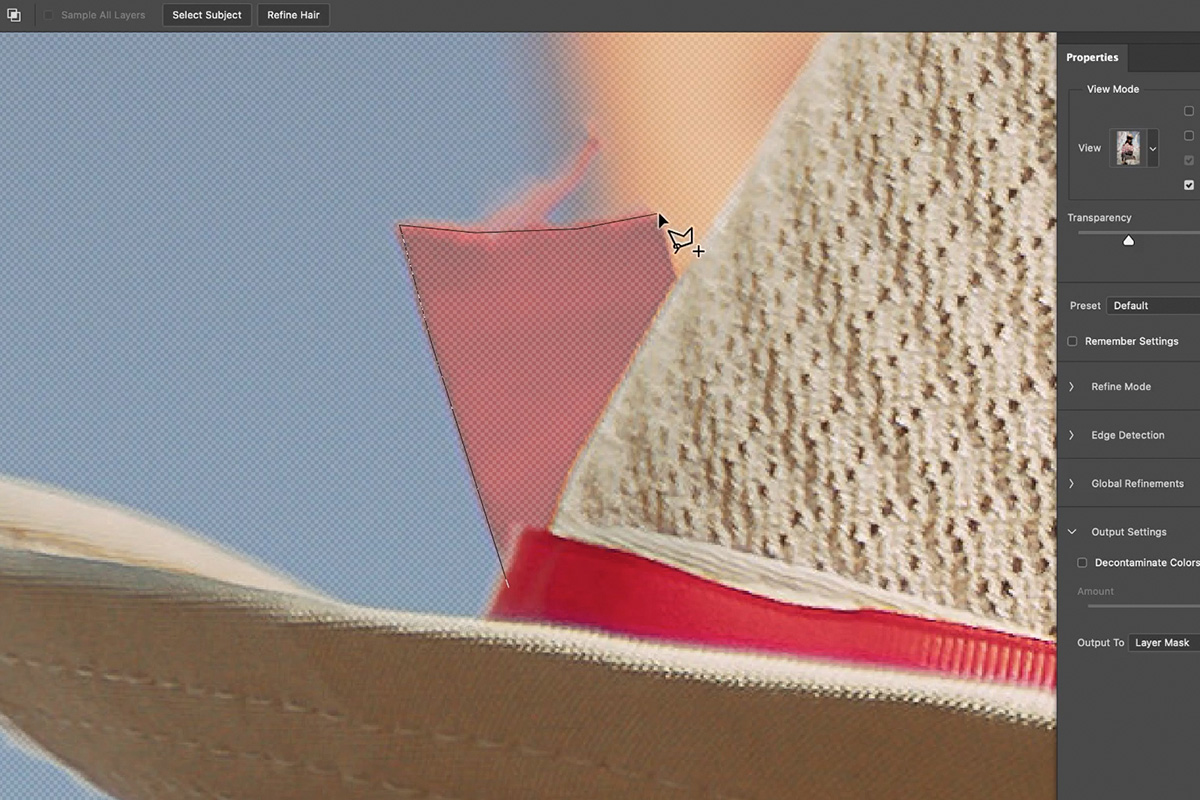
Simply trace around an object.
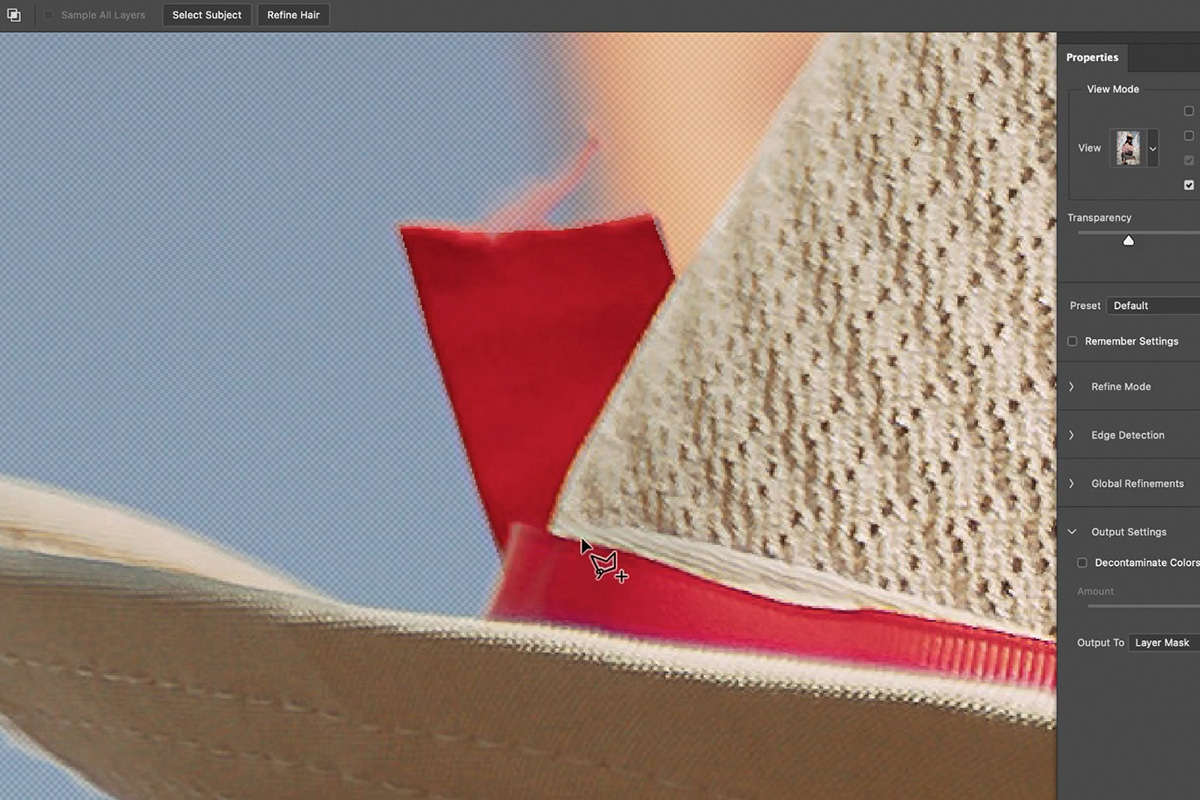
And you can quickly add it back into the selection!
This is also extremely helpful for larger areas and gaps in between limbs and appendages. Select Subject had a difficult time in the area between the subject’s hand and their body.
But the Polygonal Lasso Tool allows us to very quickly define the edges of their skin and clothing, creating a much cleaner result.
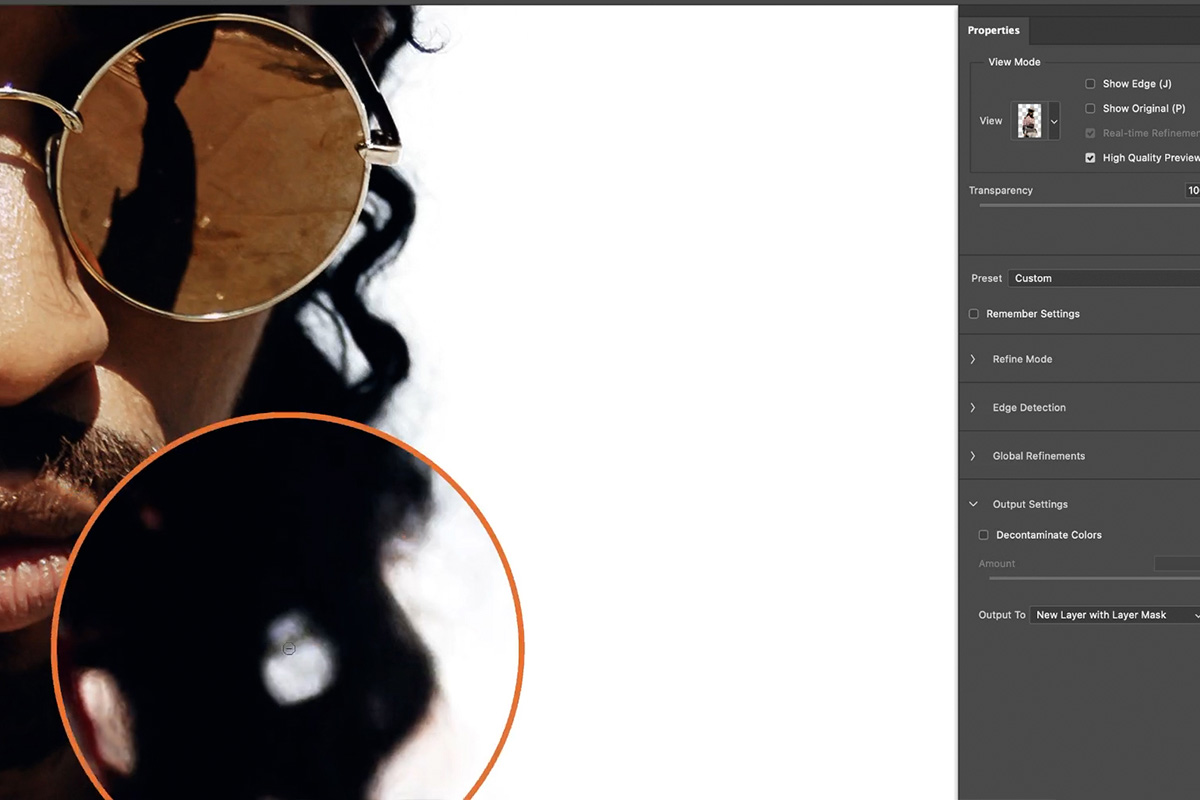
Working with Hair in Select and Mask
Hair continues to be one of the most challenging areas to select in Photoshop. We even have countless PRO courses that demonstrate all of the advanced methods for capturing and recreating hair detail in your selections.
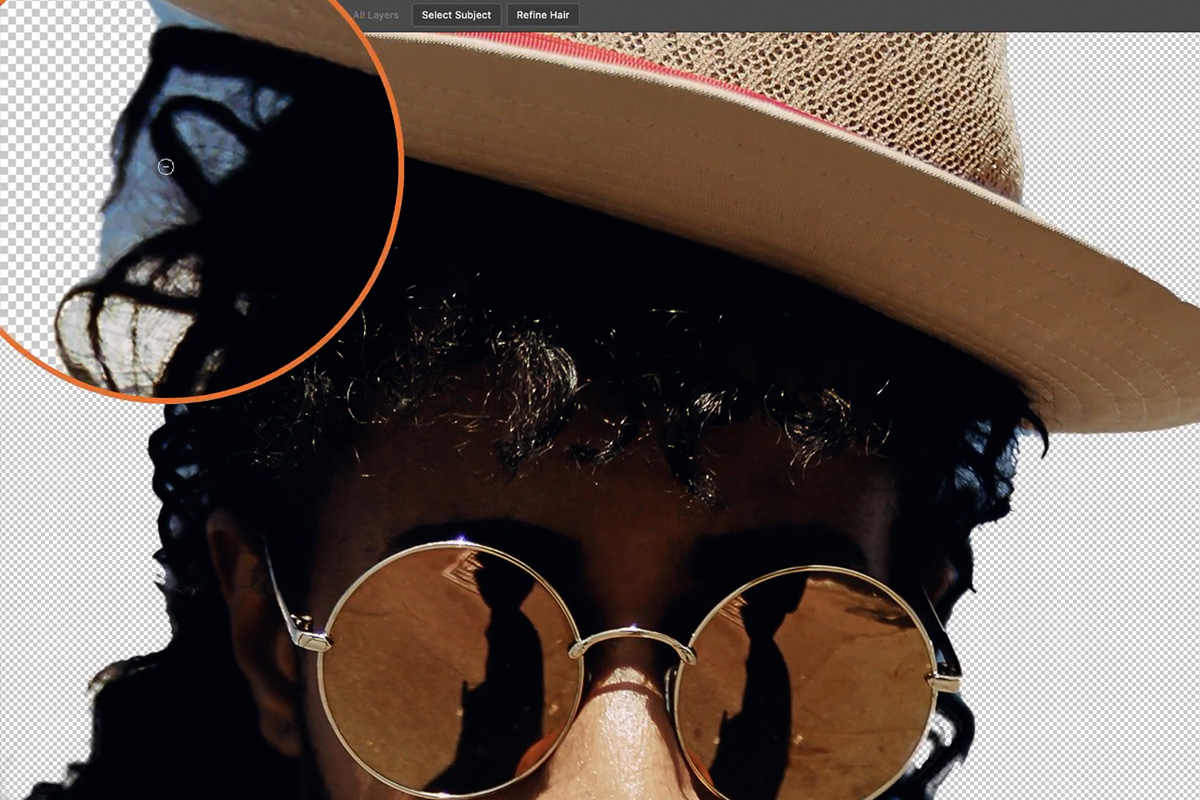
But Select and Mask has come a long way, and there are some new tools that make selecting hair less of a hassle.
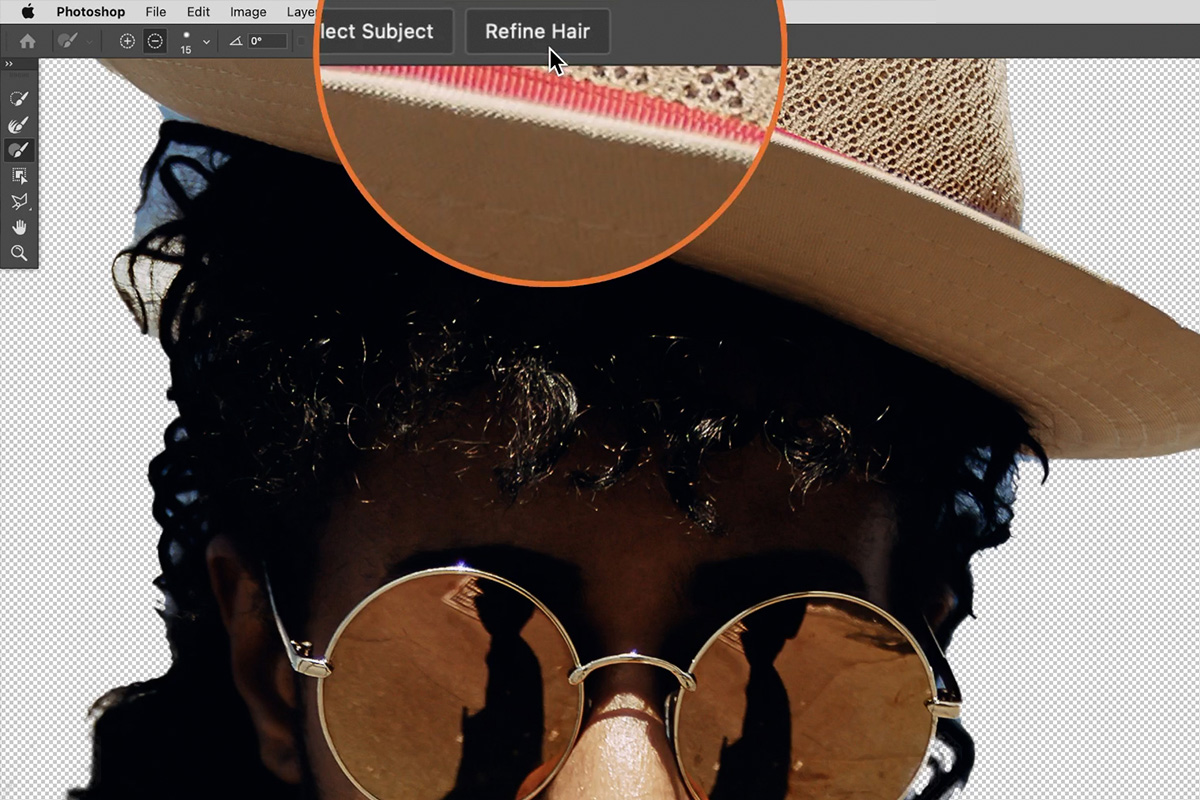
And what could be more hassle-free than a single button? Try clicking on the Refine Hair button at the top of the Select and Mask Workspace.
Wow! Pretty impressive for a single click. We’ll explore a little bit more with hair in a bit. But let’s first take a look at some of the other tools available to apply more general changes to our selections.
Shift Edge, Radius, and More
The panel on the right side of the Select and Mask Workspace is packed with sliders that can help you instantly apply more general changes to your selections.
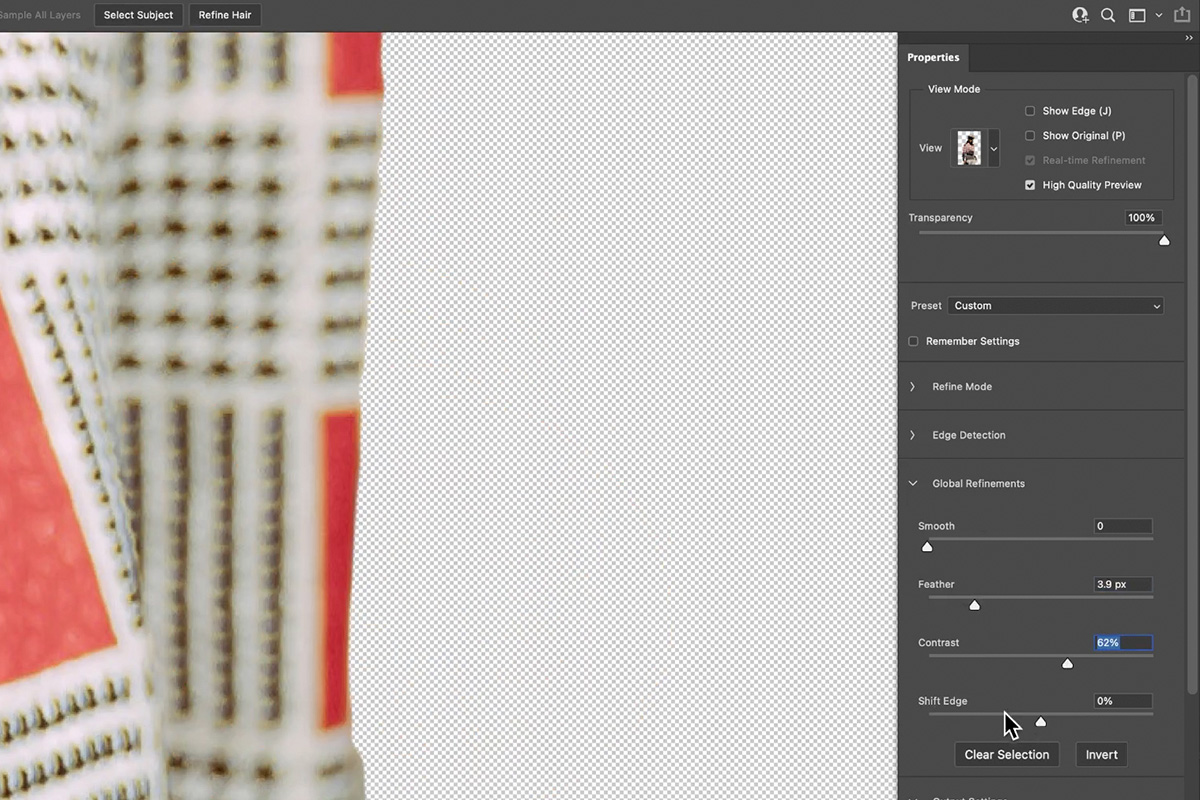
You can increase the amount of feathering along the edges of the selection, increase the amount of contrast for a sharper look, and even shift the entire edge in or extend it outward if you notice fringing.
But be careful! Remember, that these sliders will affect the entire selection. Notice how our changes, mainly the Shift Edge adjustments, affected the subjects hair. Because the hair detail is so thin, shifting the edge of the selection in will completely remove that detail.
Back to Photoshop
Once you’ve completed most of your selection work within the Select and Mask dialog, you can output your work in a variety of ways.
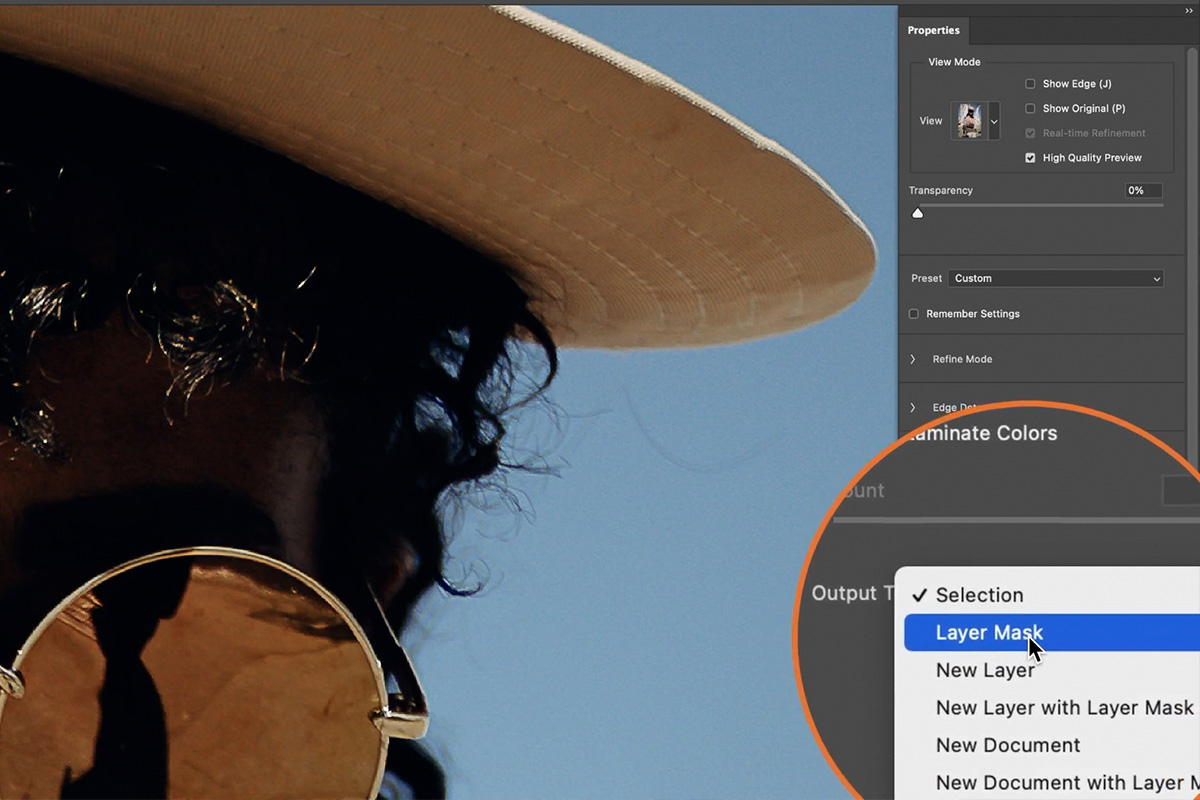
In general, we prefer to output to either a Layer Mask, or a New Layer with Layer Mask. These options provide the most flexibility while allowing us to continue working non-destructively.
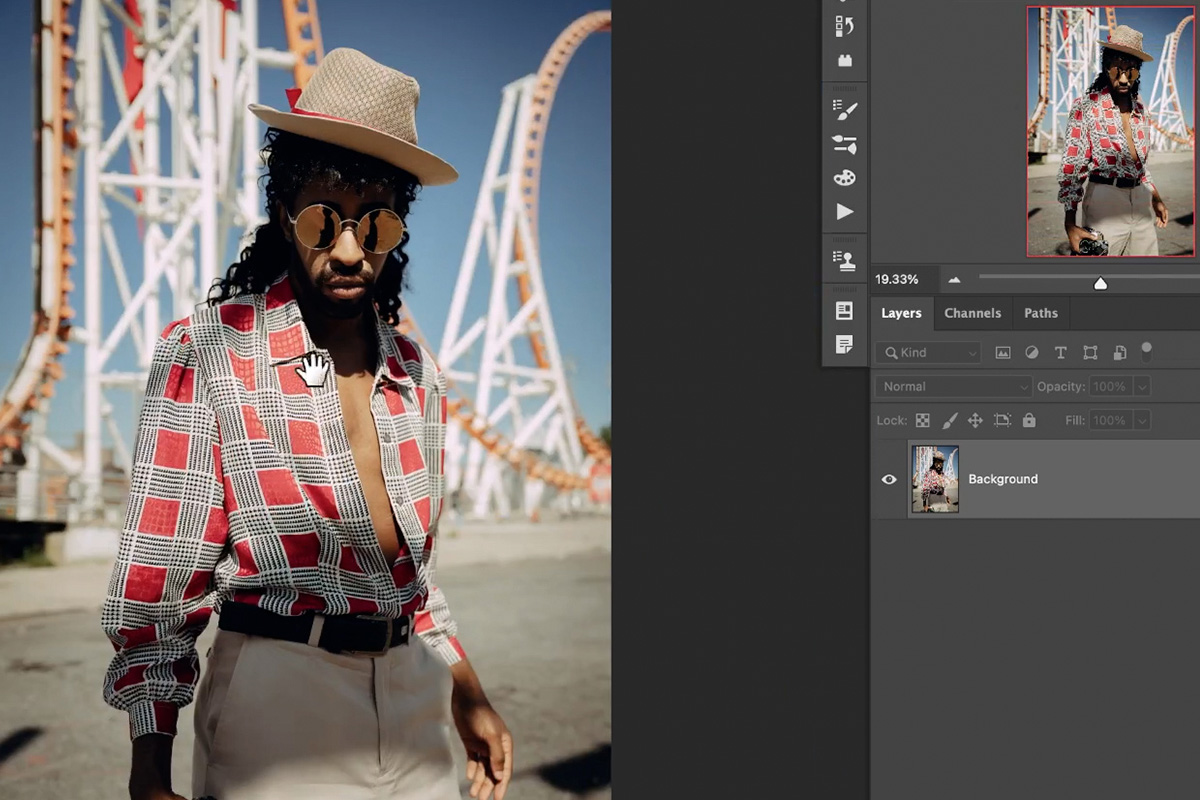
Once you hit OK, Photoshop will apply your selection using the method you chose. In our case, it applied our work as a Layer Mask on our existing background image.
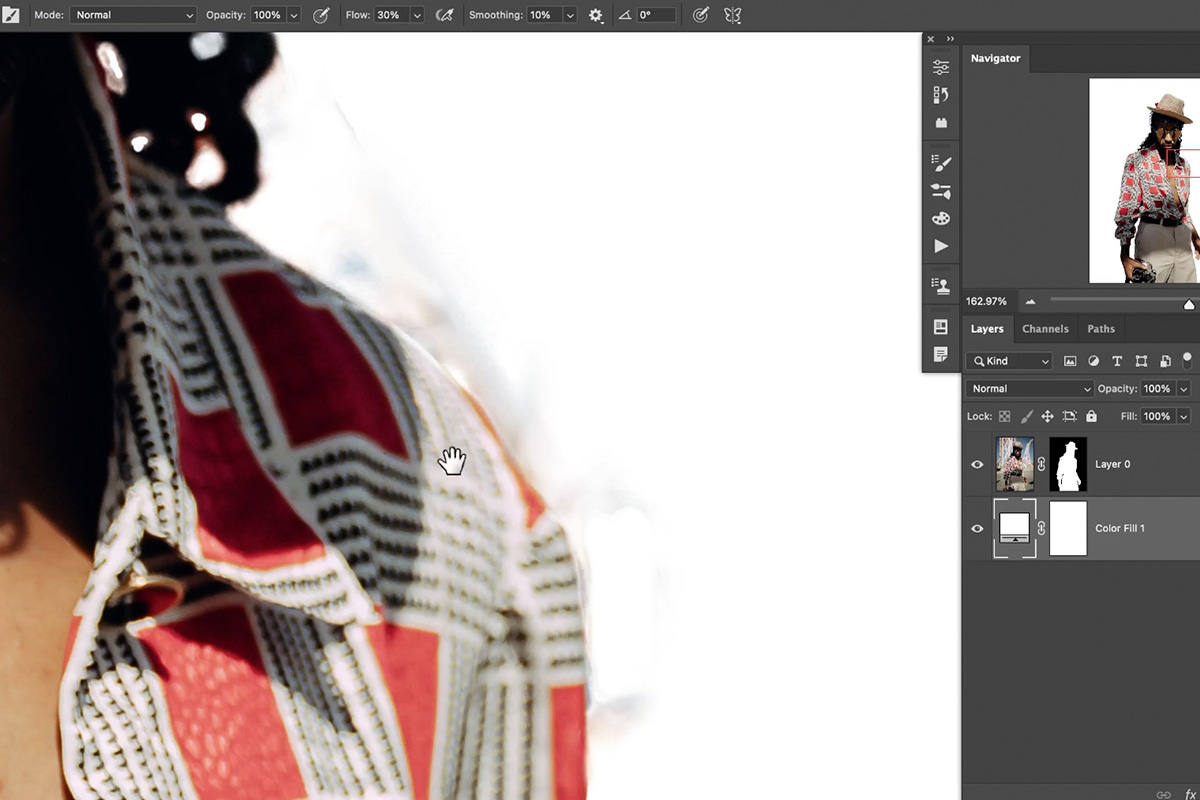
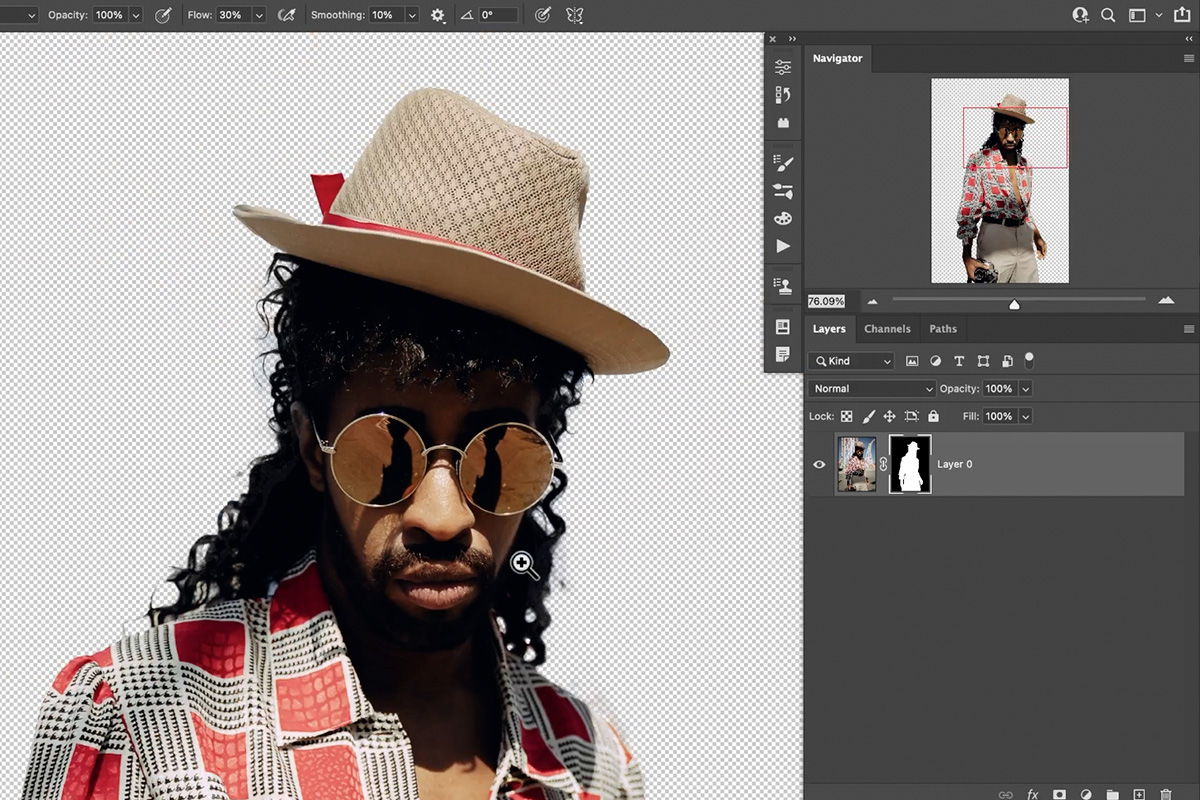
We’re Not Done Yet!
From a distance, it may look like we’re done. But there are still several unwanted areas of background still visible around our subject.
This is pretty common! Layer Masks are something that you’ll constantly be tweaking and fixing throughout an edit. And Select and Mask is always available, allowing you to go back in and pick up right where you left off.
Don’t get discouraged if you’re constantly finding spots you missed. Just hop back into Select and Mask and use your preferred tools to fix and refine the mask until it’s as close to perfect as it can get.
You also may notice some of the original background colors sticking around along the edge of whatever you’re cutting out. Depending on what you’ll be using for a new background, this may or may not be a problem.
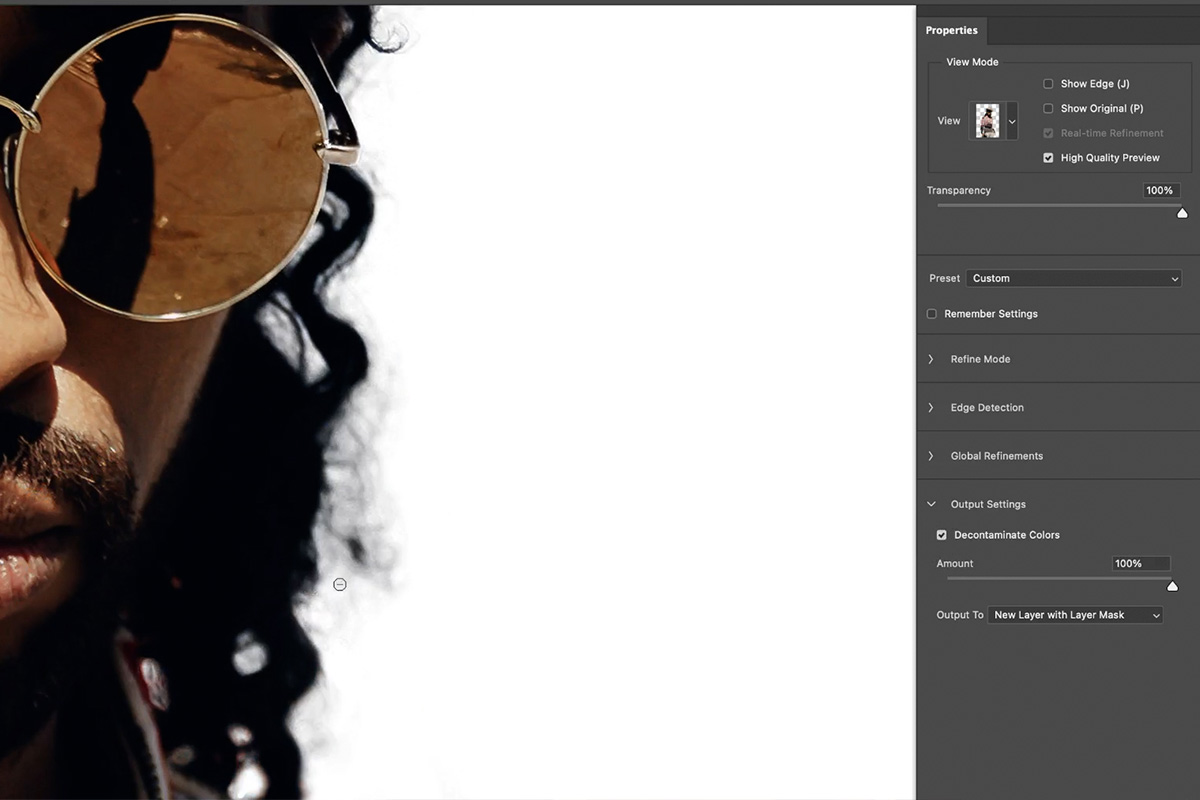
In any case, there’s a tool specifically designed to fix this issue. Simply check the Decontaminate Color box near the bottom of the right panel, and Photoshop will extend the colors inside the selection out towards the edges, covering up any linger background color.
Additional Cleanup with the Brush Tool
We’re just about finished, but there are some still some spots that could use a little extra care and attention.
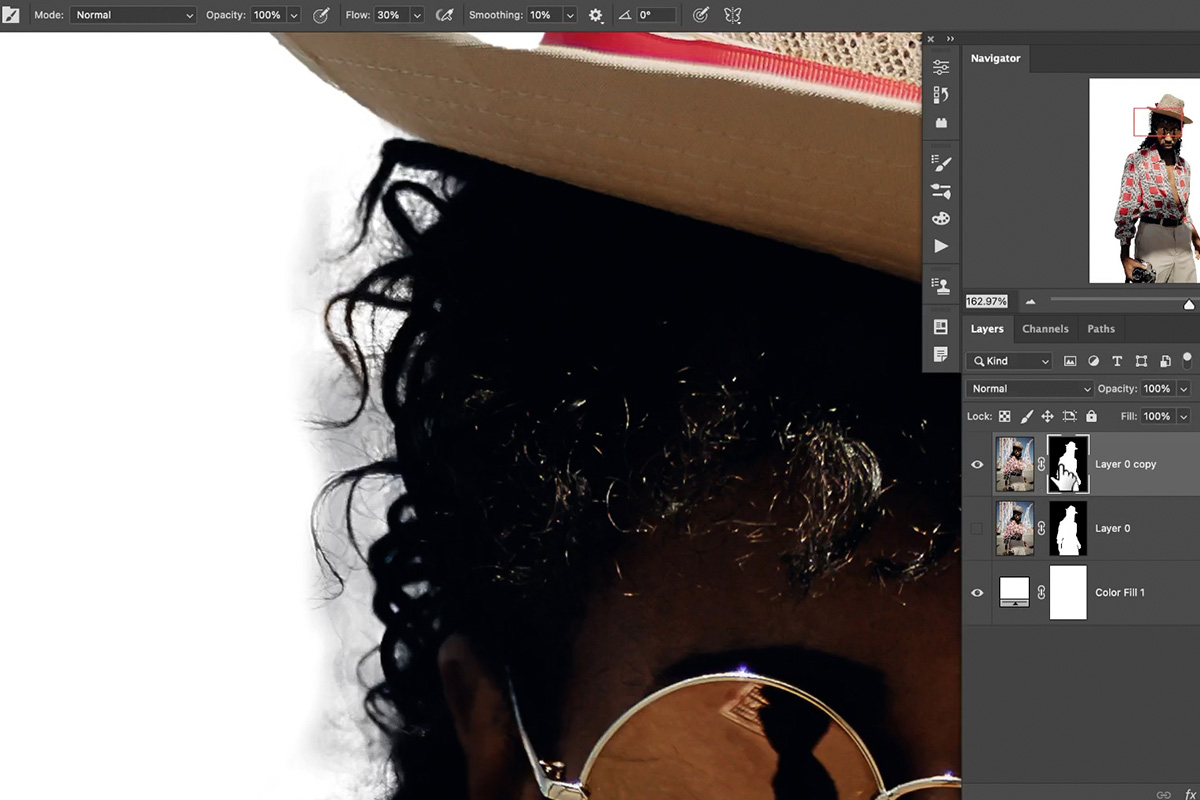
Notice the dark, foggy areas in between the subject’s hair. Sometimes these spots might be a little too tricky to tackle in Select and Mask. But fortunately, it’s relatively quick and easy work with the regular old Brush Tool.
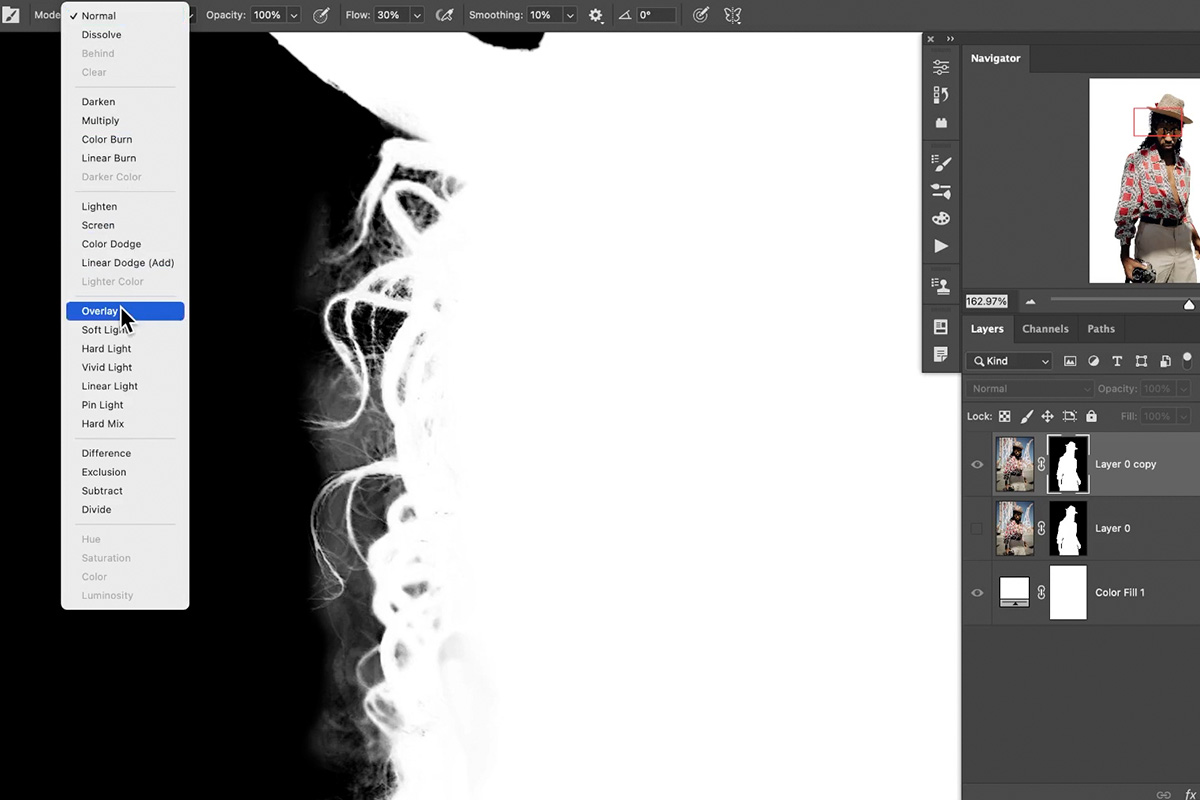
To fix these areas, first switch to a view of the Layer Mask by holding ALT or OPTN and clicking on the Layer Mask.
Select the Brush Tool and set the color to black. Then, set the Blending Mode of the brush to Overlay.
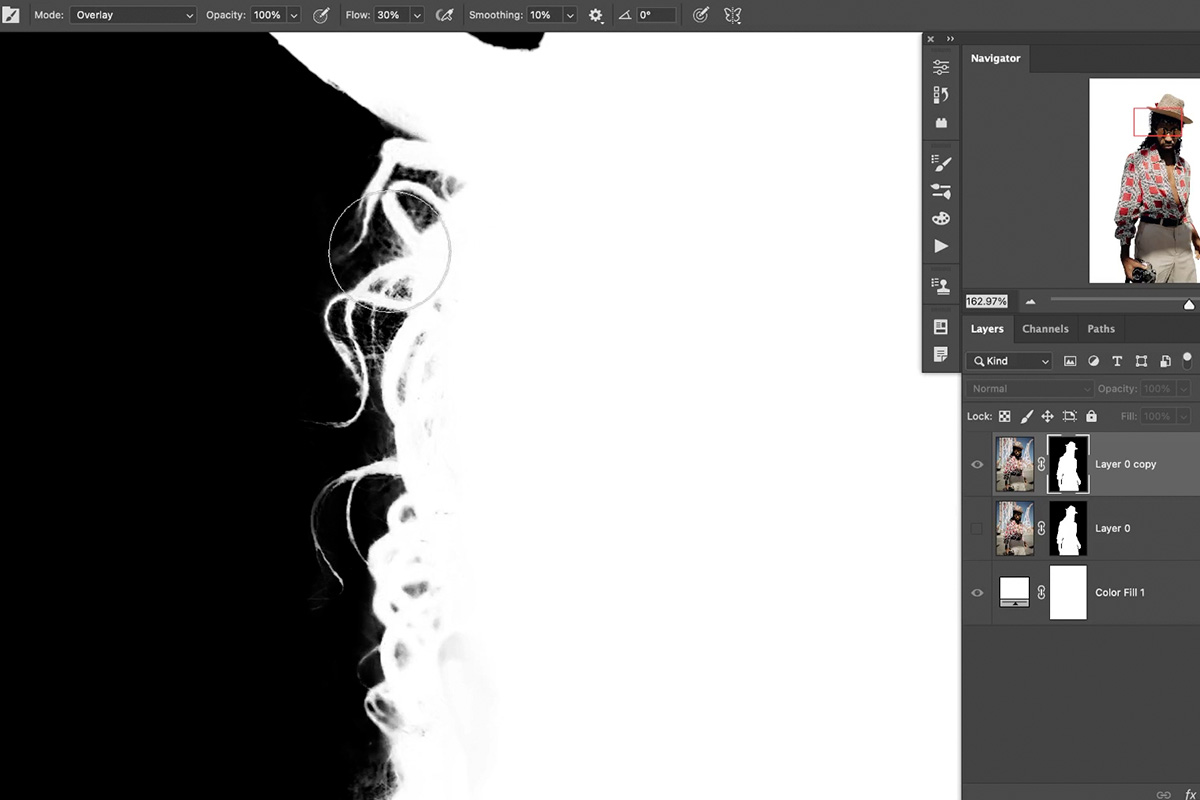
Paint over any spots where there you see those foggy details and watch them disappear!
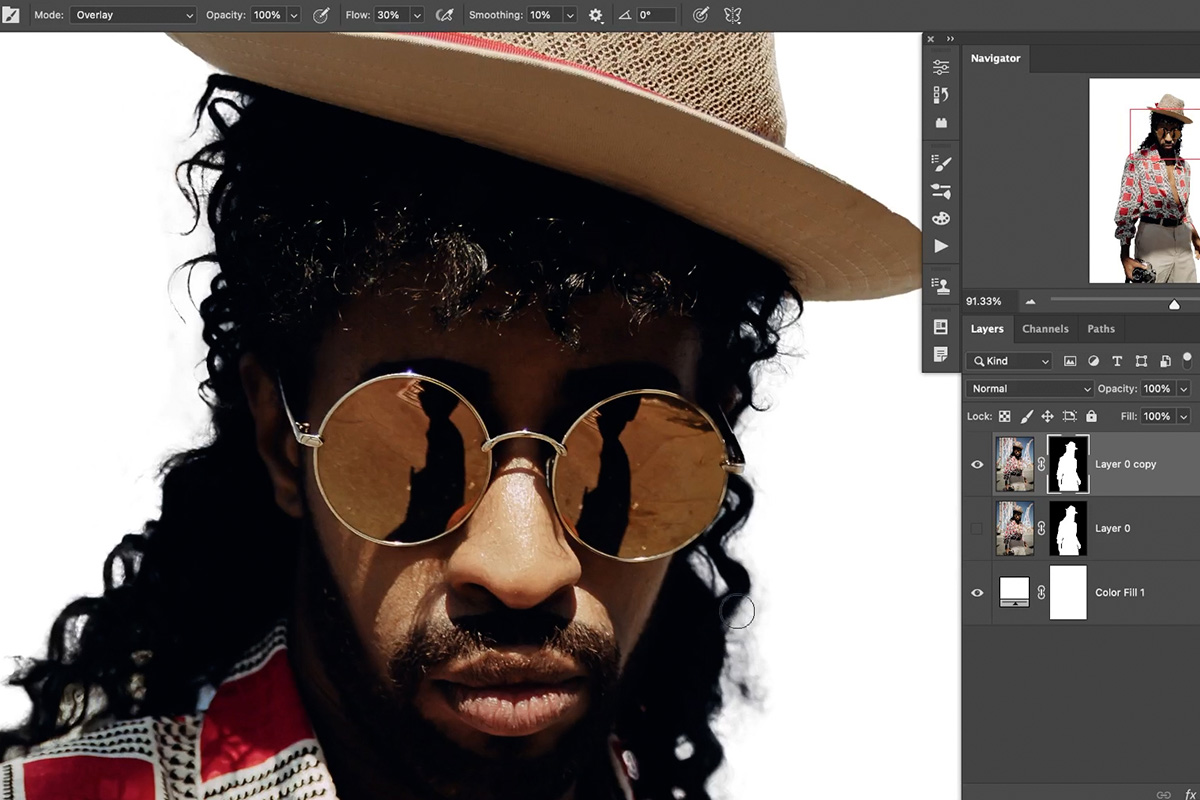
And just like that we have a nearly perfect cutout of our subject, complete with fine details in the hair!