
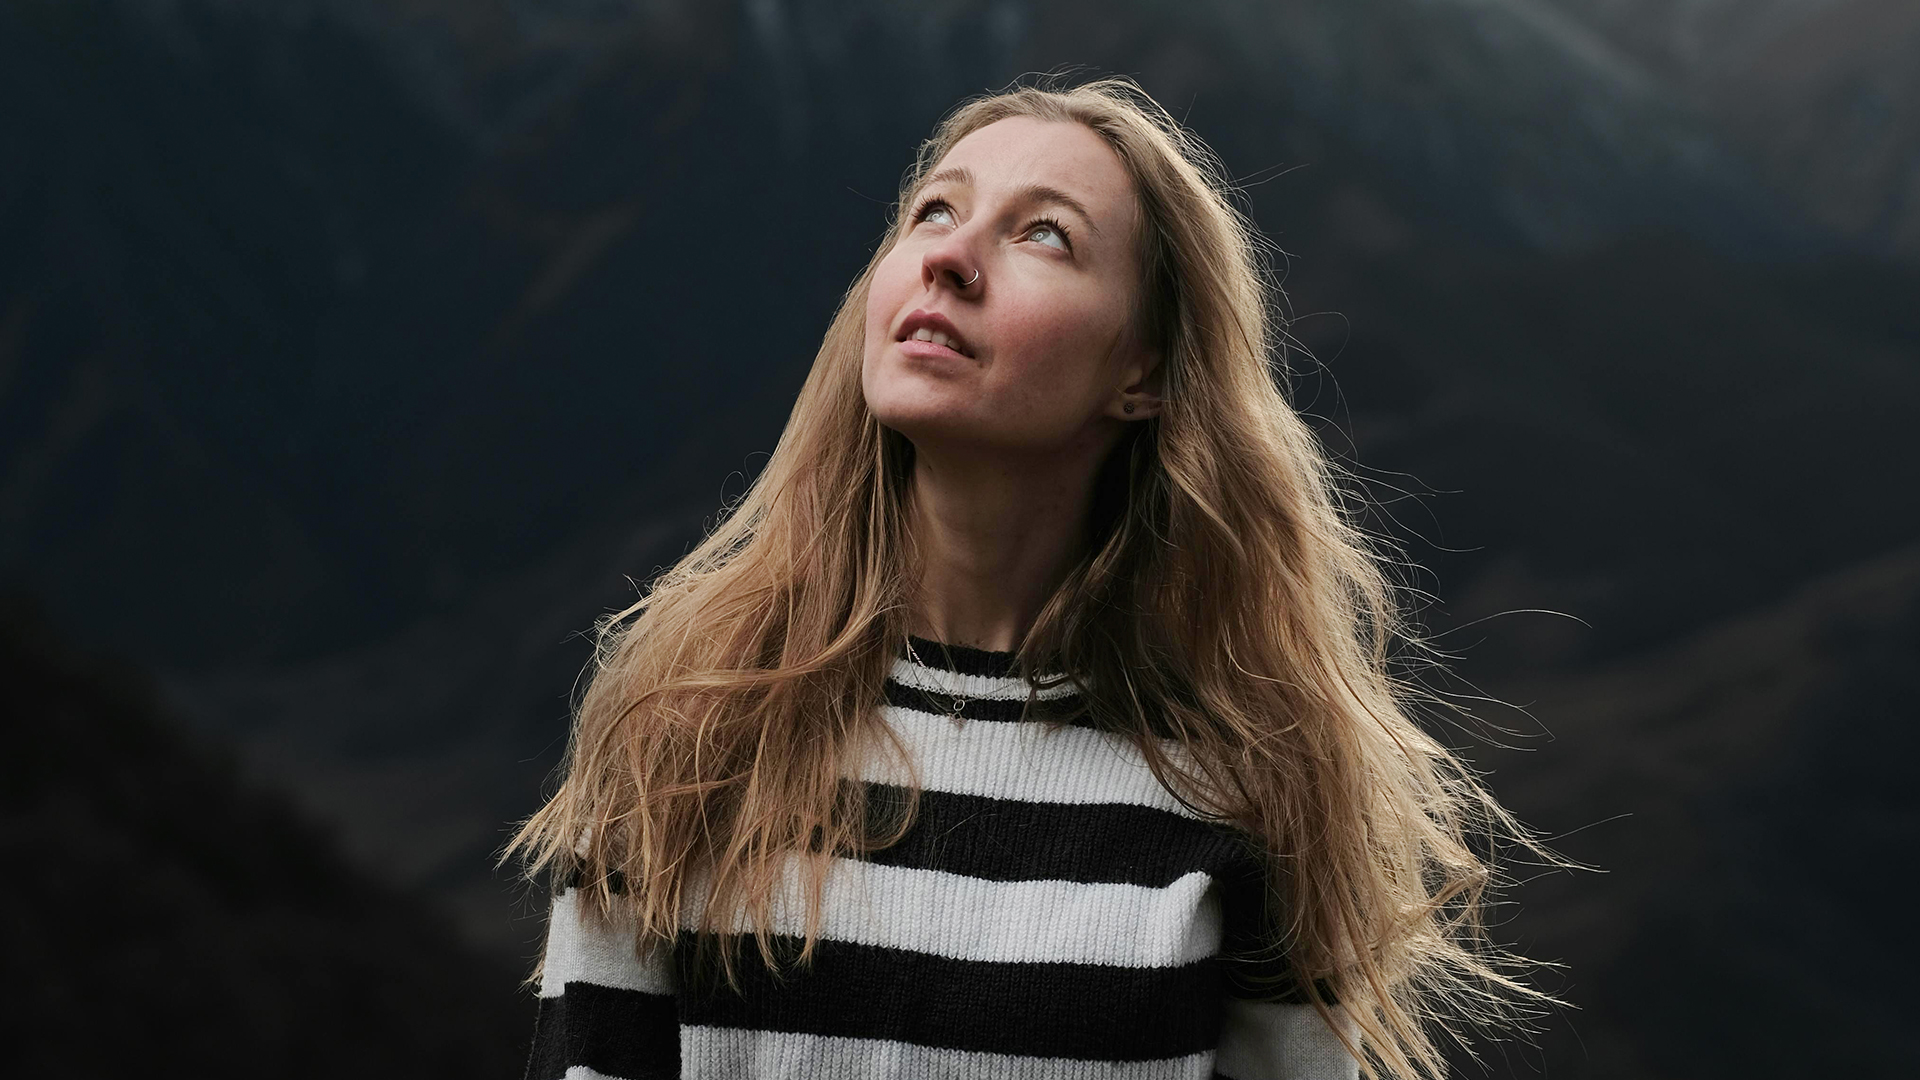

Download Assets
Download Assets
This tutorial includes 3 sample images, 3 sample PSDs and 1 PDF guide. Downloads are free with a PHLEARN account.
- Download the sample images and PSDs from every free tutorial on PHLEARN
- New free tutorials published every week
- One free account — sign up once, then download anything
Free PDF Guide · 4 Pages
This Tutorial as a Step-by-Step PDF
Walks through all three examples: Brightness/Contrast on the subject with Blend If on the Underlying Layer to protect the highlights, Hue/Saturation set to Blues with the eyedropper to turn blue hair green, and two Exposure layers, one inverted to darken the background to -0.7. Keep it next to your keyboard.
description
The Adjustment Brush Tool in Photoshop Beta was the first version of this tool, and it changed how adjustments get applied: you paint them straight onto the image. This innovative tool lets you paint adjustments directly onto your image, making local edits a breeze. In this tutorial, we’ll unlock its potential by walking you through its features and showing you how to apply adjustments for different portrait styles.
Enjoying This Free Tutorial?
We publish a new free tutorial every week, each one with sample images and PSDs you can download and follow along with. Sign up and they land straight in your inbox, along with early word on sales, events and subscriber-only offers.
Artist Credit


How to Use the Adjustment Brush Tool in Photoshop
Adjustment layers have always worked the same way: create the layer, get the adjustment applied to everything, then mask it back to the area you actually wanted. It works, but it is backwards — you spend most of the effort undoing an effect you only ever wanted in one place.
The Adjustment Brush inverts that. You pick an adjustment, then paint it exactly where you want it. Photoshop creates the adjustment layer and builds the mask from your brush strokes as you go.
A note on versions: this was recorded when the Adjustment Brush arrived as a beta feature. It may have moved out of beta, gained adjustments, or changed its panel layout in your version of Photoshop. The way it works is unchanged.

Where to Find It
It sits in the toolbar underneath the standard Brush Tool. Press B for the brush group, then select the Adjustment Brush from the nested options, or click and hold the Brush icon to reveal the group.
With it active, the contextual task bar changes to show a dropdown of available adjustments.
The Adjustment Brush Tool in Photoshop Beta: Basic Workflow
-
Select the Adjustment Brush
From the brush group in the toolbar.
-
Choose your adjustment from the task bar
Pick before you paint — this determines what kind of adjustment layer gets created.
-
Paint over the area you want affected
Photoshop creates the adjustment layer and masks it to your strokes automatically.
-
Set the amount in the Properties panel
The usual controls for that adjustment type appear there, and stay live afterward.
-
Refine with the add and subtract brushes
Extend the affected area or pull it back without leaving the tool.
The result is an ordinary adjustment layer with an ordinary layer mask. Nothing about it is special or locked — you can edit the mask conventionally afterward, change the adjustment amount, or delete it. The tool is a faster way to arrive at the same thing you would have built by hand.
Which Adjustments Are Available
What is included
Brightness and Contrast, Exposure, Vibrance, Hue/Saturation, Black and White, and Photo Filter.
That covers a lot of practical retouching: brightening a face, desaturating a distracting background, warming one side of a scene, shifting the color of a single object.
What is missing
Curves and Levels are not in the list, and their absence is worth noting because they are the two adjustments most serious retouchers reach for first. Nor does it offer the Camera Raw-style sliders — texture, clarity, dehaze — that Lightroom’s masking gives you.
So this does not replace conventional adjustment layers. It handles the quick, local, obvious corrections, and you still build the important tonal work with Curves on a mask you make yourself.
Select Subject Is Built In
There is a
— the full portrait workflow this sits inside.
The Eyedropper for Color Ranges
With a Hue/Saturation adjustment, the Properties panel includes an eyedropper and a color range dropdown. Instead of affecting everything you painted over, you can target a specific color within it.
This is how you change the color of one object cleanly. Paint roughly over the area, sample the color you want to shift, and the adjustment applies only to pixels close to it — so a red jacket can become blue without dragging the skin tones along with it.
Combining a painted mask with a color range selection gives you two independent constraints on the same adjustment, which is far more control than either alone.
Where It Fits
The honest assessment: this is a speed tool, not a capability tool. Everything it does was possible before — it just took four steps instead of one.
That is not a criticism. Most retouching is a long series of small local adjustments, and cutting each one from four steps to one changes how the work feels. It also lowers the barrier for people who find masking intimidating, since painting where you want an effect is a much more intuitive mental model than applying it everywhere and hiding most of it.
Use it for quick local corrections: brightening a face, knocking back a distracting background, warming a foreground, shifting one object’s color. Reach for conventional Curves adjustment layers when the tonal work actually matters, and remember that anything the Adjustment Brush creates is a normal layer you can develop further with Blend If, blend modes, and hand-refined masks.
Quick Reference: Keys, Menus and Settings
- Open the toolB, then click and hold the brush icon for the Adjustment Brush Tool
- Pick and applyChoose the adjustment in the task bar, then paint or click Select Subject
- Set the amountProperties panel: reset the default (Contrast 50, Saturation +30) to 0, then set your own
- Protect highlightsDouble-click beside the layer for Layer Style; Blend If, Underlying Layer, Alt/Option-drag to split the marker
- One color onlyHue/Saturation: Master to Blues, eyedropper the hair, drag Hue
- RefineAdd and subtract brushes, or paint black on the mask with the Brush Tool
- Darken the backgroundClick the Background layer, Exposure, Select Subject, invert icon, Exposure -0.7

Free Downloads
Follow Along on the Same Photos
Get the three portraits, the three finished PSDs with every painted adjustment layer and the 4-page PDF guide. Free with a PHLEARN account.
The Adjustment Brush Tool: Common Questions
What does the Adjustment Brush Tool do?
It paints adjustment layers. Pick an adjustment, then brush it on or click Select Subject, and Photoshop builds the adjustment layer and its mask for you.
Where is the Adjustment Brush in Photoshop?
In the toolbar, nested under the Brush Tool. Press B, then click and hold the brush icon and choose the Adjustment Brush Tool. It was recorded in the Photoshop beta, so your version may differ.
Which adjustments can it paint?
Brightness/Contrast, Exposure, Vibrance, Hue/Saturation, Black & White and Photo Filter, chosen in the contextual task bar before you paint. Curves and Levels were not included.
Can I apply an adjustment to just my subject?
Yes. Click Select Subject in the task bar and the adjustment is applied to the subject instantly, with the subject loaded into the layer mask.
Why does the first result look too strong?
The tool starts with a visible change, such as Contrast at 50 or Saturation at +30, to show it did something. Set that value back to 0 in the Properties panel and dial in your own amount.
How do I brighten shadows without blowing out highlights?
Double-click the gray area beside the adjustment layer to open Layer Style. Under Blend If, Alt/Option-drag the left half of the Underlying Layer’s right marker to the left while watching the face.
How do I change only one color, like hair?
Choose Hue/Saturation, click Select Subject, switch Master to Blues and click the hair with the eyedropper. Then move the Hue slider; the blue hair went green.
The adjustment hit an area I didn’t want. How do I remove it?
Stay on the same layer and paint with the subtract (minus) brush from the options bar or task bar. You can also paint black on the layer mask with the regular Brush Tool.
Why did Select Subject disappear from the task bar?
With an adjustment layer active, the bar shows + Adjustment instead. Click the Background layer to reset the tool, then Select Subject and the invert icon to affect the background.
Are the sample files free?
Yes, with a free PHLEARN account. You get 3 sample images, 3 sample PSDs and 1 PDF guide: the three portraits, the finished files and a 4-page step-by-step guide.
From the Magazine View all
Stories, interviews and guides for photographers, new every week.
 EditingLightCraft vs Lightroom: I Edited the Same RAW Files in BothThe free clone on the same RAW files: what matches, what breaks and who should switch.
 InspirationRare Historical Photos: 13 of the Rarest Pictures Ever TakenFrom the earliest surviving picture of a person to the last passenger pigeon: who took each one and why it survives.
 EditingArtCraft: Photoshop Cloned by AI in Two Weeks. Is It Legal?ArtCraft cloned Photoshop and Lightroom with AI and gave them away. Any good? Legal? Safe?
Master Photoshop, Lightroom and Photography
Join PHLEARN PRO for $12.99 a month, or $99.99 a year (save 36%). Cancel anytime, with a 100% money-back guarantee.





