
Creating a Black and White Photo
In this episode you will learn 3 different methods for creating a Black and White in Photoshop as well as the pros and cons of each.
Getting Started
We start off with the most simple approach to creating a Black and White – desaturate. To Desaturate an image, make a Stamp Visible Layer by hitting Ctrl+Optn+Cmd+E and go to image-Adjustments-Desaturate or press Shift+Cmd+U. This is the fastest way to turn an image Black and White but lacks the control of other methods.
Next we use the Black and White Adjustment Layer which will allow you to adjust the Brightness of your image based on Color, for instance you can make the reds lighter and the blues darker.
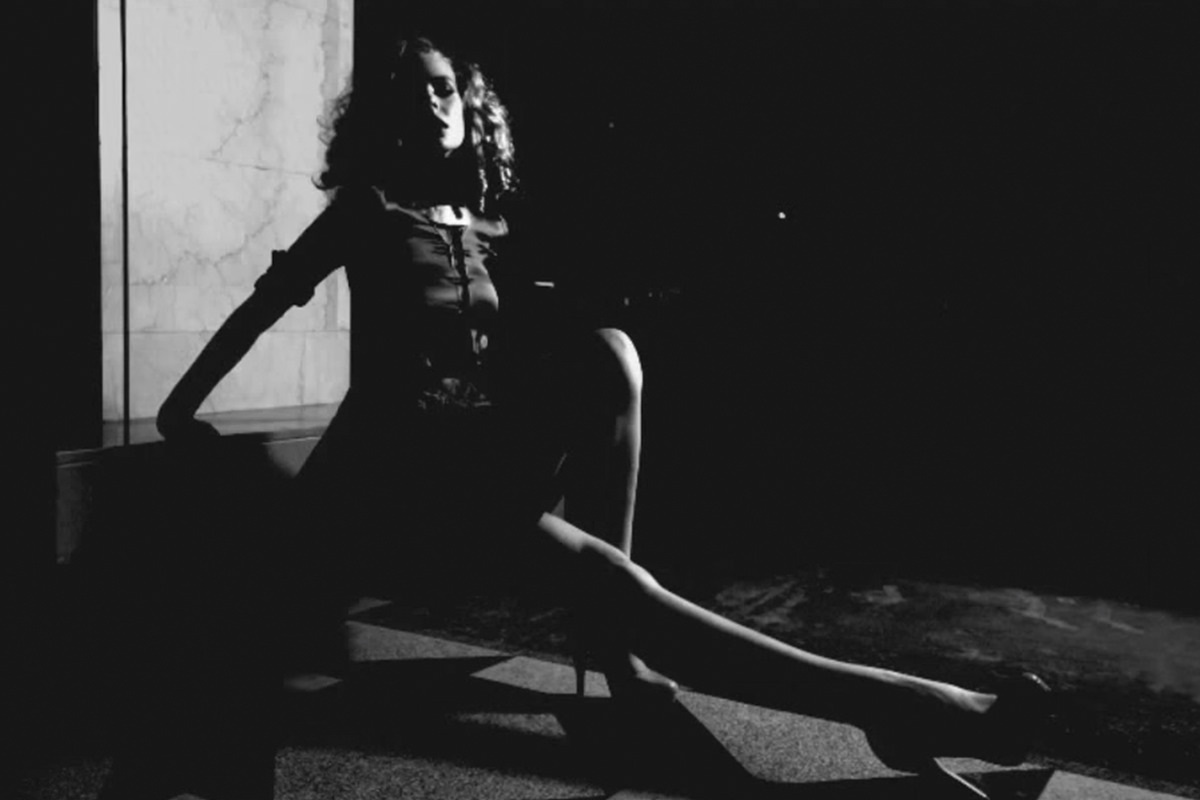
The final method we use is the Channel Mixer, appropriate for when you want to create an image with a ton of Contrast.
Additional Effects
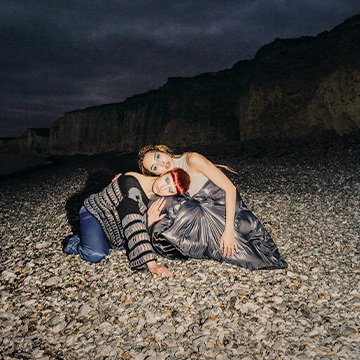
After we turn our image Black and White we apply a Field Blur to Draw more focus to the subject’s Face and top it off with a little Grain to make the blur a bit more realistic.
If you thought this episode was great our “Pro Tutorials” are about 10 times better, more in-Depth detailed information, and are priced perfectly for the photographers and photoshoppers wanting to become the best. Of course we teach it the right way, you just have to get access to the lesson check out http://phlearn.com/product-category/pro-Photoshop-tutorials.
Make sure to subscribe to our Youtube Channel for great videos, hangout with us on Google+, like us on Facebook, chat on Twitter, and capture moments on Instagram. All of our accounts have something fun to offer.