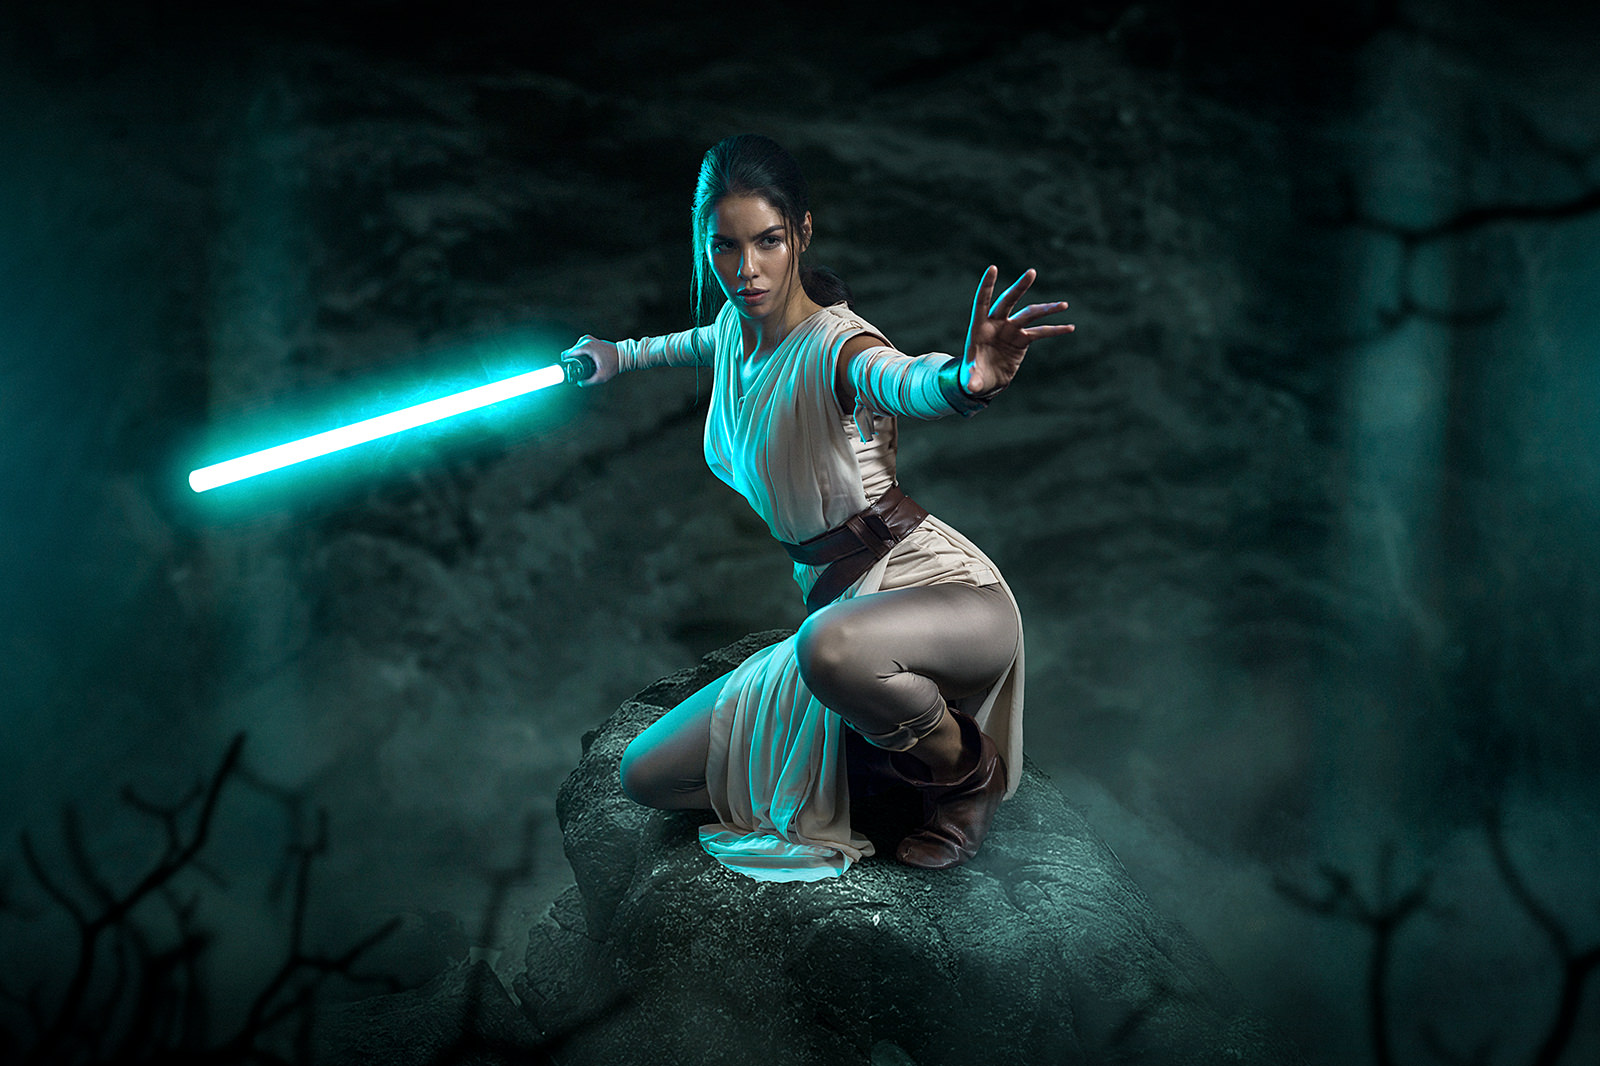
Composite Master Mario Olvera Molinar Shares What’s in His Bag
Sure, mastering the skill of realistic compositing requires a whole other bag of tools, besides camera equipment. The tools you use in Photoshop and Lightroom will allow you to add elements to the scene and match lighting to make the final image look completely realistic. But, what about capturing your own images to use in the composite? From shooting a background to add to your image bank to photographing a model in studio for a specific project, the gear you’ll need will vary.
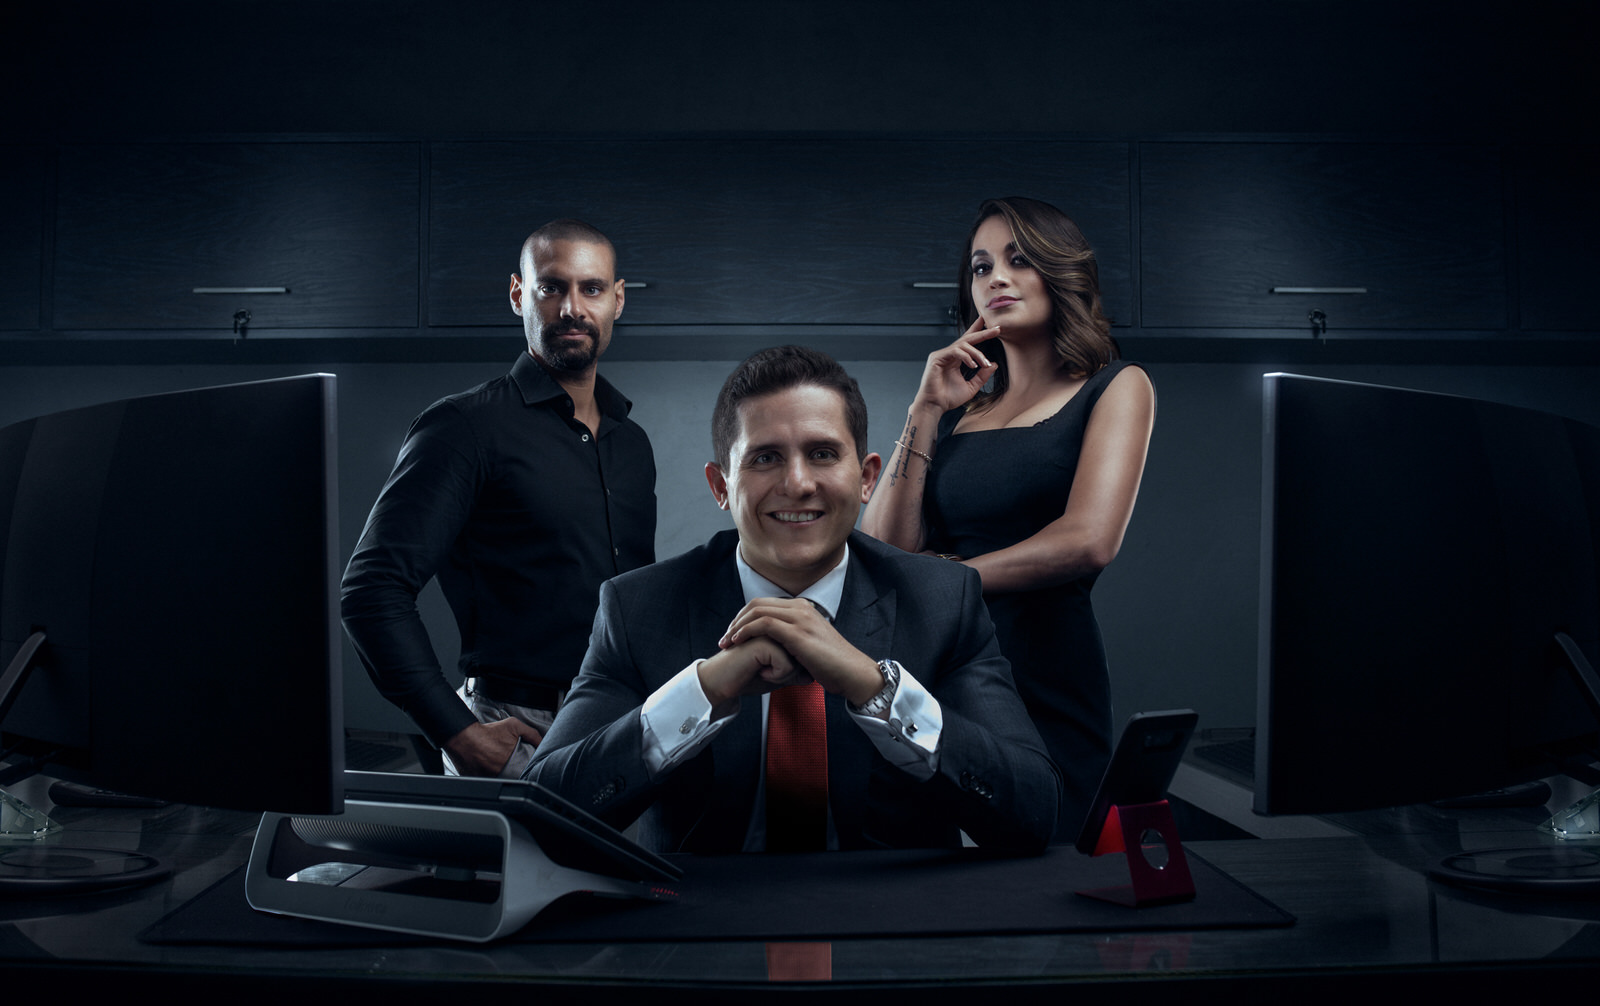
To give us some insight into what’s needed to capture the different elements that will ultimately make up an artistic, realistic composite, we talk to Mario Olvera Molinar, a true master of the composite. Here, the commercial photographer gives us a breakdown of what’s in his camera bag and how he uses each piece of gear.
I’ve used a lot of different gear, and the specific needs of each project is what decides which equipment is best to overcome certain obstacles.
CAMERA
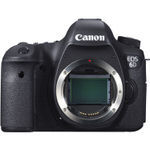
I use a Canon 6D – my first and only full-frame camera. I used to use a Canon T3i, but when I got the 6D I instantly fell in love with the colors and dynamic range of it. I know there are several better cameras with wider dynamic ranges, but this one meets my needs very well.
LENSES
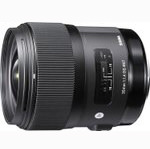
Sigma 35mm F1.4 DG HSM Art
35mm art lens with f/1.4 maximum aperture for Canon SLR cameras, Lens Type: Fast Prime Lens
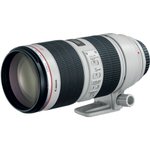
Canon EF 70-200mm f/2.8L IS II
70-200 mm focal length, inner focusing system with USM and full-time manual focus option
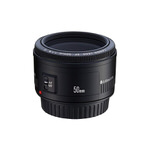
I use a Sigma Art 35mm 1.4. If the space where I’m doing the shoot allows it, I would use a Canon 50mm 1.8 ll at f/5. This lens at f/5 is so sharp that I have enough depth of field in focus for my character without being too close, so I’m able to capture more light and that means I use less power/battery.
I also have a Canon 70-200 2.8, which I sometimes use in the studio for product photography if I want to create shots that are close to “orthographic” for my client’s product.
LIGHTING
I use a lot of studio lighting for my projects, especially the ones for clients and commercial work.
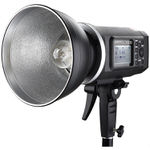
I normally use three Godox AD600B flashes for my lighting setup, which are pretty impressive and not that expensive. I got them brand new from Amazon for a very good price. They offer up to 600Ws at full power which is more than enough for what I do most of the time. Also, they don’t have cables. Instead, they have an external battery which connects to the head and that is awesome because I can travel without problems.
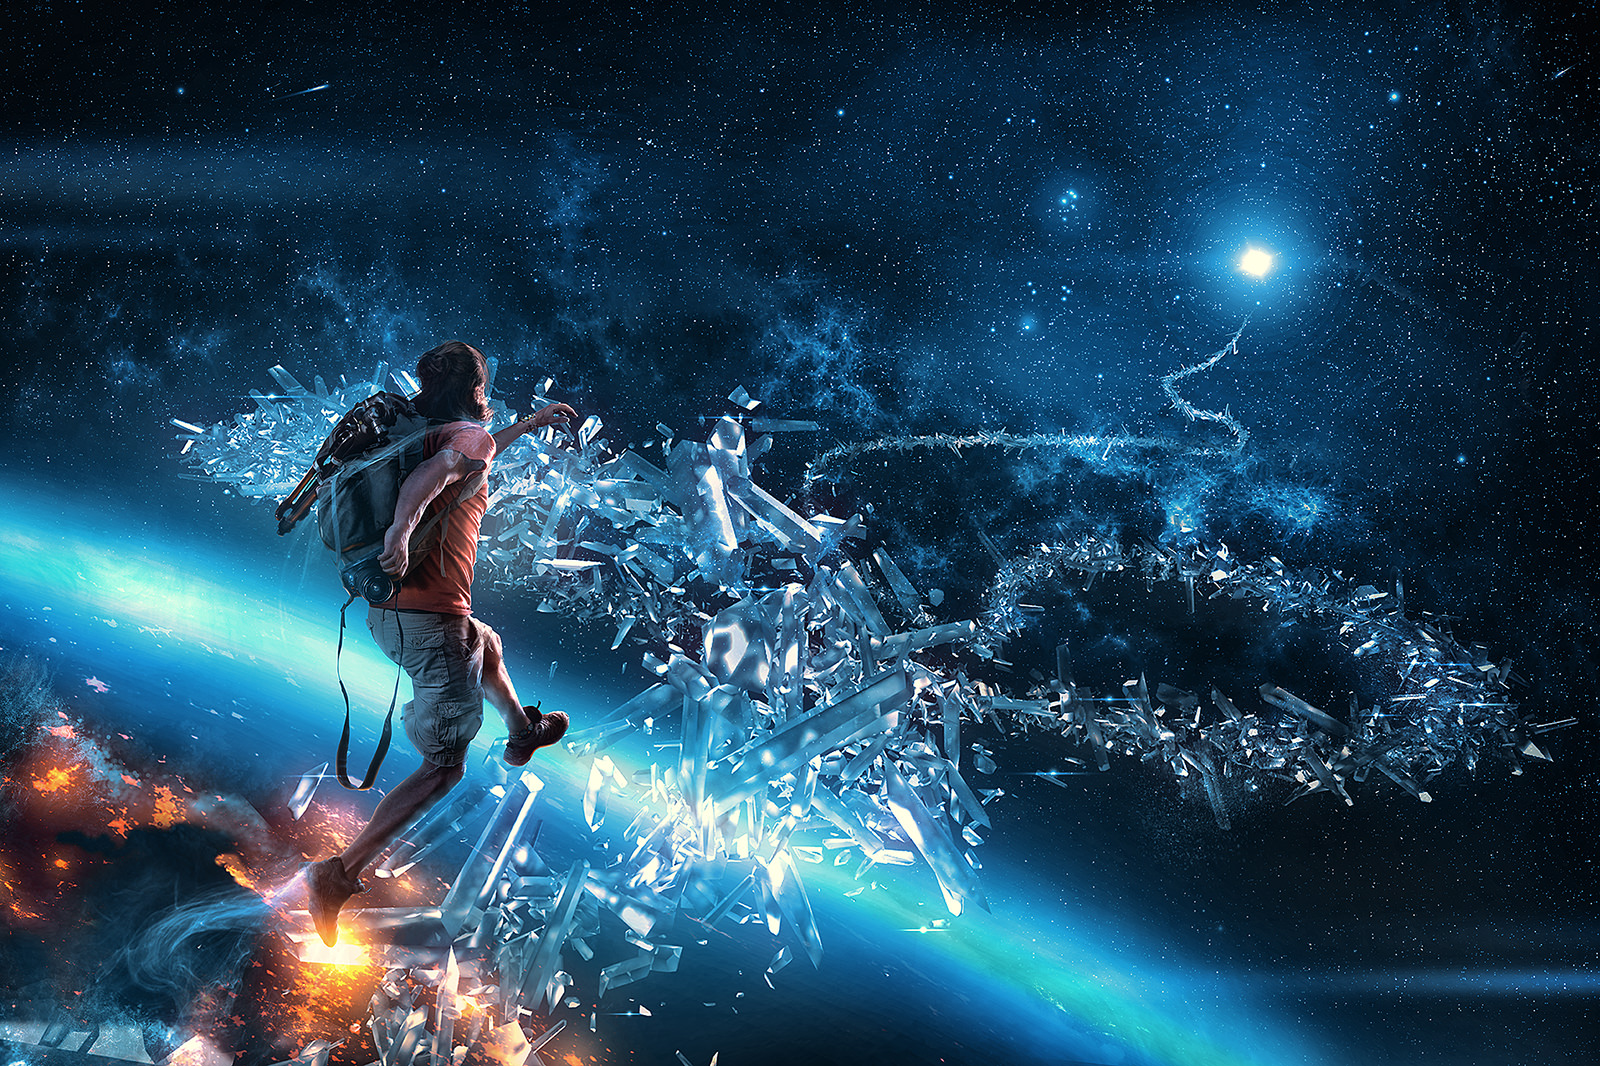
I normally photograph my characters in the studio and then I compose them with a digitally-built scene or a picture with light that matches the lighting used to shoot my characters.
BAG
When I bought my Sigma 35mm 1.4, I got an Altura bag as a gift. It has enough space for my camera body, lenses, charger, cables and flash trigger. It is a really good bag for traveling. I don’t know the model of it, but it’s exactly what I need and lightweight.
Sometimes when I travel long distances and I need to bring my laptop, I have another backpack from PORT Designs that I use. It fits my laptop, cables, camera and lenses, charger, flash trigger and also my Wacom Cintiq. A lot of people ask me how I fit all that stuff in there haha. It has the PERFECT amount of space for my gear if I’m on the go. It’s not that recognized as a brand but a lot of my friends have the same backpack.
MISCELLANEOUS ITEMS
Sometimes I use extension tubes for macro shooting. I bought them from Amazon for $17 USD! They are made of metal and solid enough for traveling. The only thing is that these ones are not electric, which means I have to lock the aperture of my lens manually and then attach them to my camera and lens. In the next week or so, I’ll be buying the electric ones.
To see more of Mario’s incredible composites, visit his Behance, 500px and Facebook pages. And to get to know the photographer a little more and learn about his creative process, read our interview with Mario.

