Exposure Compensation: Automation with Creative Control
Exposure settings are among the most basic of camera controls and yet many photographers, especially new photographers, have anxiety over taking control from the camera’s automation. I have also seen posts or memes that suggest a person is not a real photographer if they don’t use manual (M) exposure settings.
The issue I have with both of those situations is that they really don’t help any photographer to grow, to actually get better at their craft. Exposure compensation is a solution that can be used to fix both of those conditions. This solution gives photographers the best of both worlds – exposure automation with creative control.
The Full Manual Misconception
Especially in this digital age of photography, no beginning photographer needs to be too anxious about taking some control from the automatic modes of your camera. Besides exposure automation, this can also apply to focusing and to electronic flash.
Unless you’re in a fast moving once-in-a-lifetime situation, you can always review your images in order to make sure they look okay. If the image is too dark or too light, you have options to take care of that. One of the options is exposure compensation.
As for the thought that you can’t be a real photographer without using your camera on full manual, it isn’t completely true. Sure, many times I do have to take complete control of every setting on my camera for a particular image or process, such as when making HDR spherical panoramas for virtual tours. I meter meticulously, average out readings, use tables for exposure and hyperfocal distances, relate it all to my experience in similar conditions, and bracket several shots.
In that situation, you bet I am using manual. A primary reason is because I don’t want the settings to change as a pan around to take all the images for stitching together.
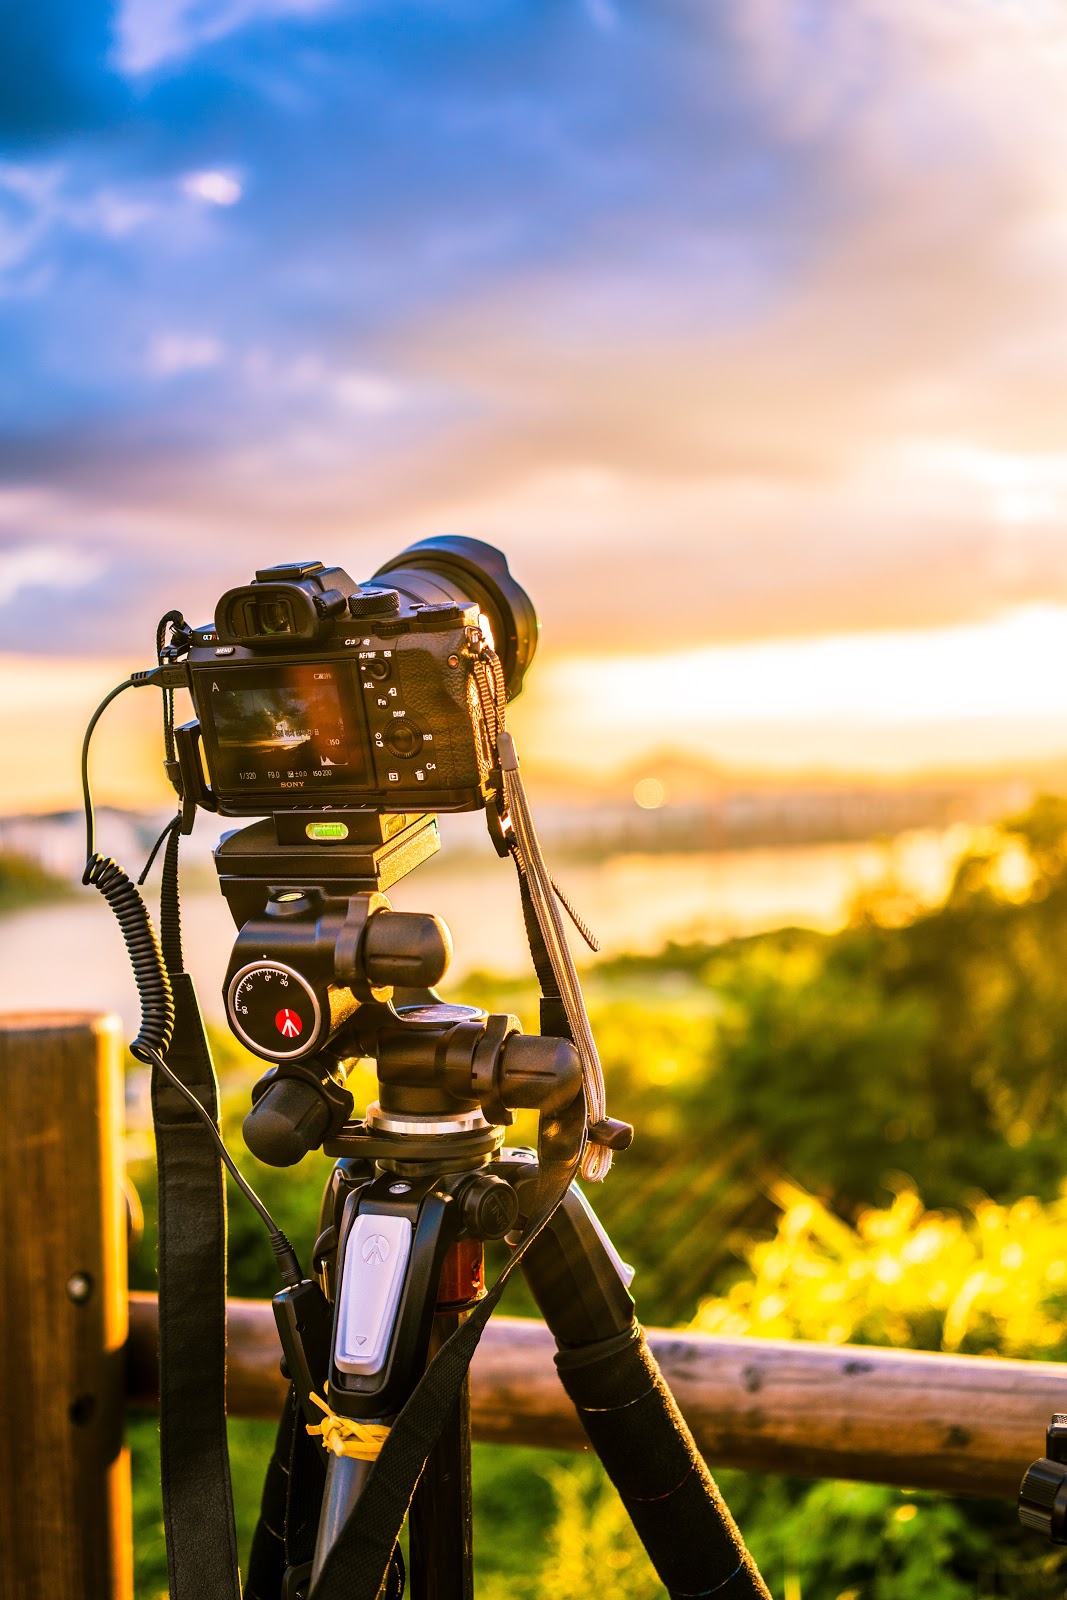
Photo by Michael Soledad on Unsplash
Another imaging situation in which I prefer manually controlling settings is studio photography. Either for portraits or small products. In my home studio, I tend to do the same thing over and over again. From experience, I have learned what ranges of flash power, shutter speed, aperture, and focusing distance result in good images.
So, there are often very good reasons for a modern digital photographer to decide to choose manual exposure, focus, or flash options.
The Case for Automation
However, exposure, focus, and flash automation have improved to the point that virtually anyone can come away with a decent image without figuring out a bunch of variables for themselves. That old Kodak motto from Mr Eastman of “you push the button, we do the rest” is actually a reality much of the time.
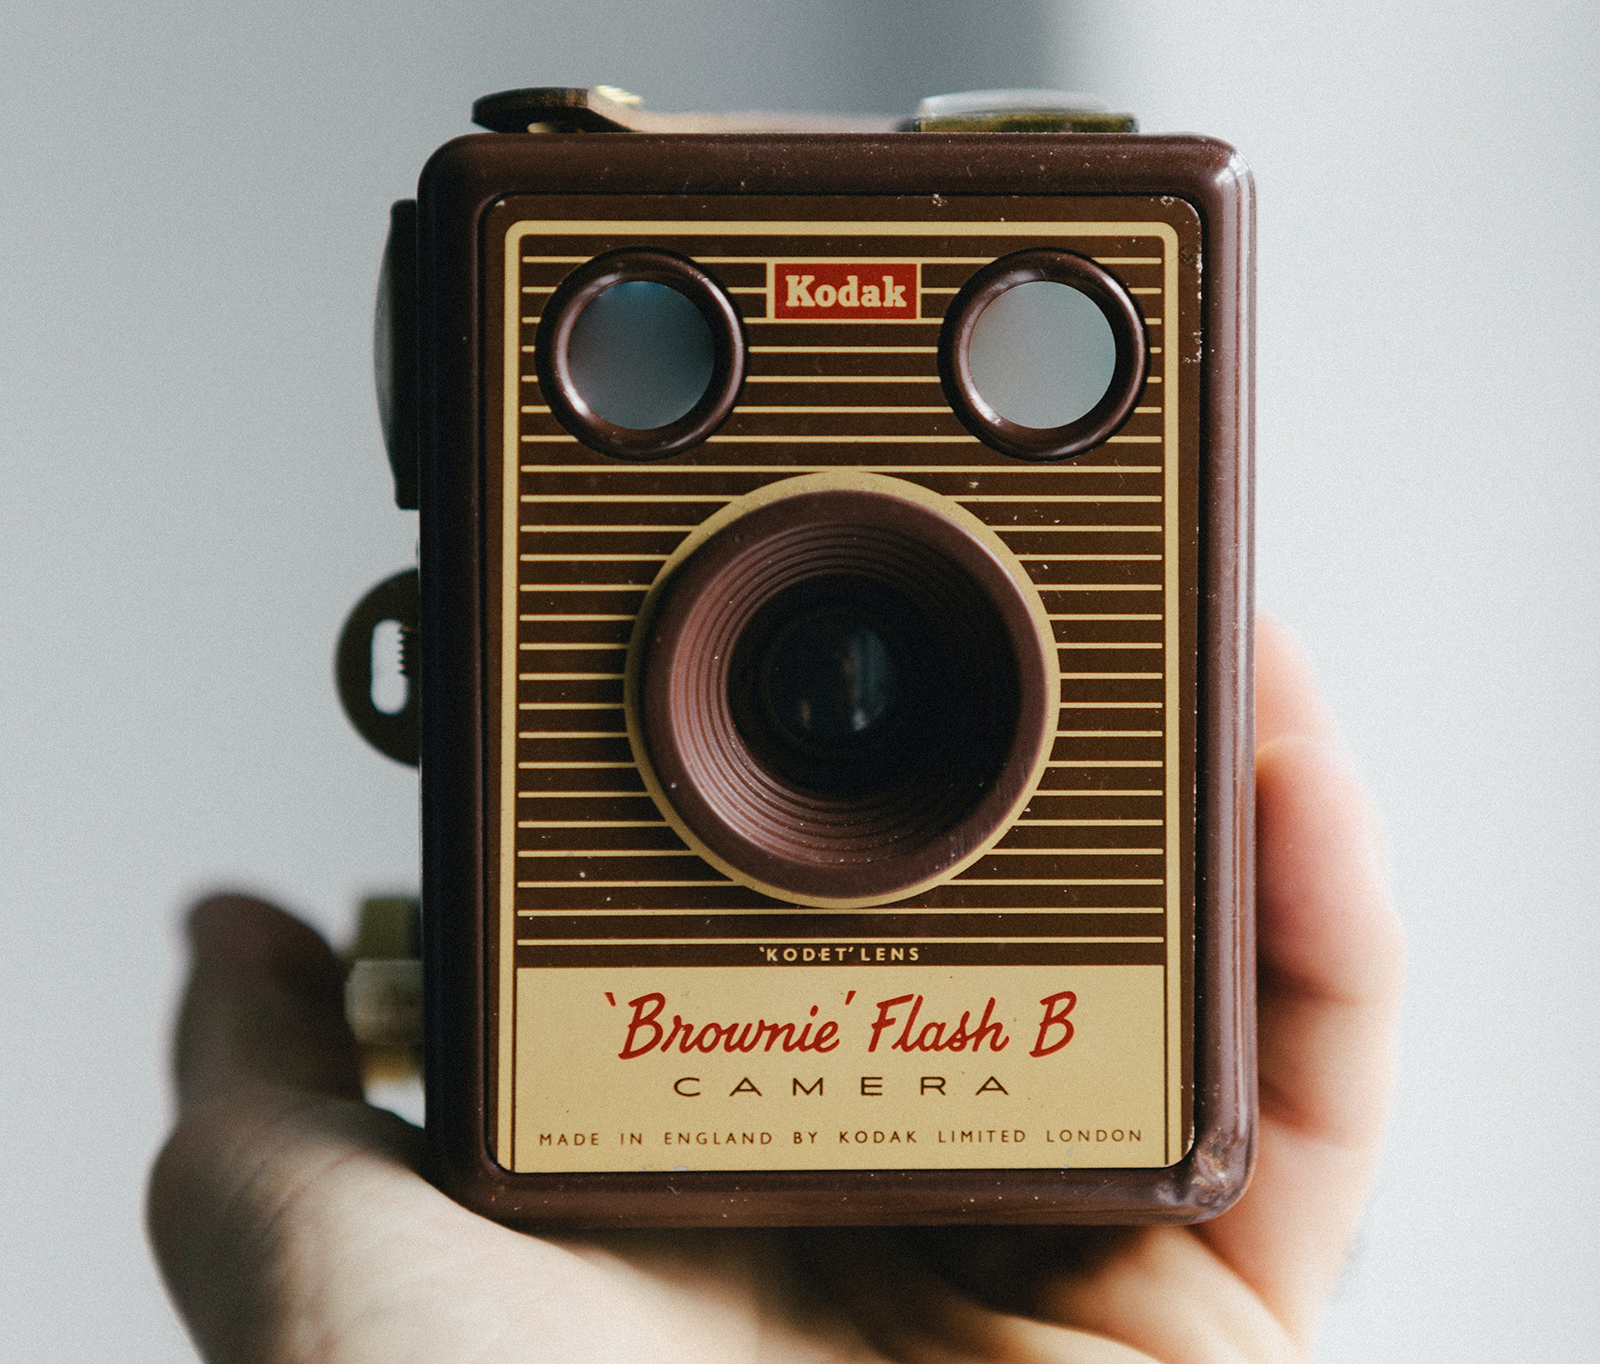
Photo by Little Visuals from Pexels
As a professional photographer, I can tell you that there are good reasons to take advantage of the automatic modes of your cameras and other photographic equipment. It depends on the situation.
For instance, many times, using the very swift and accurate autofocus of modern cameras is a boon for wildlife and sports photographers. Other techniques help you use that automation properly.
In low-light levels, using autofocus may even sometimes be more accurate than you could achieve by eyeballing the viewfinder.
Automatic flash exposure control was revolutionized in the 1970s and 80s, with many camera systems adopting off the film (OTF) plane through-the-lens (TTL) flash metering. For serious photography of many types, this has been of tremendous value. Frankly, I can’t imagine my current photography without this feature being available.
Evaluative metering has increased the accuracy of regular exposure automation. Whatever name it goes by – matrix metering, smart metering, evaluative metering – it is based on preset computer programs that examine a scene for the common metering issues that would normally be poorly exposed.
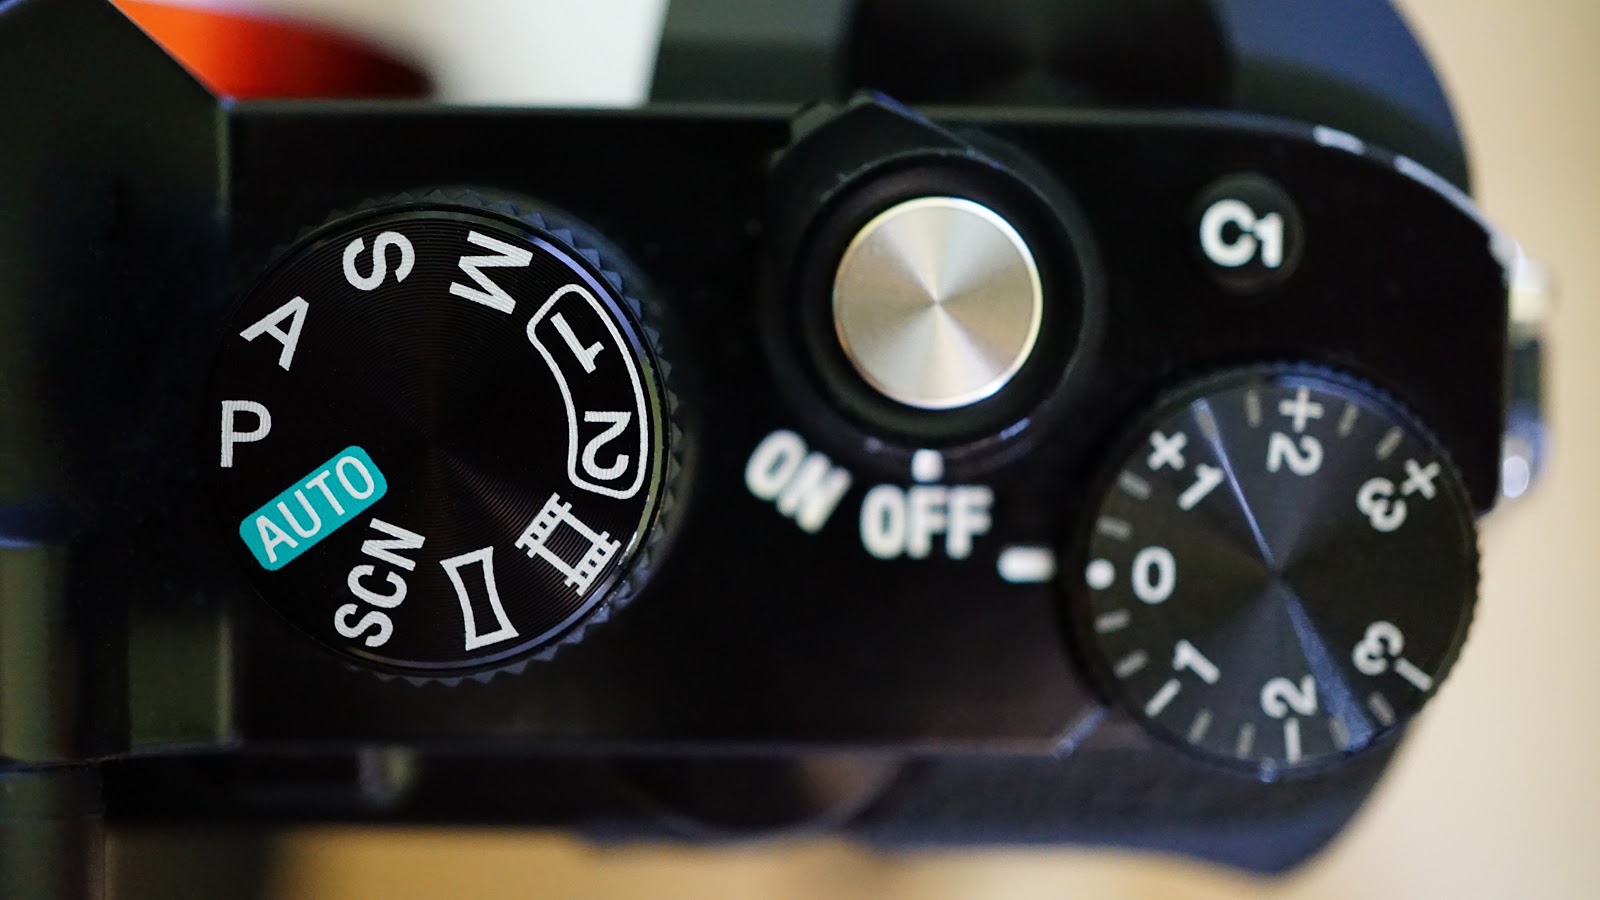
Your camera likely also has several modes that are automatic metering modes. Programmed (P) controls both shutter speed and aperture from the camera. Shutter priority (Tv or S) lets you set the desired shutter speed, while the camera chooses the f-stop or aperture. Aperture priority (Av or A) means you pick an aperture for the lens and the camera matches up the shutter speed.
Why Use Exposure Compensation?
There are times, though, that the capabilities of modern exposure automation are strained to their limits. No matter how advanced and well-designed a photographic metering system may be, there are situations and conditions that demand that you, the photographer, take control.
Manually adjusting the exposure controls is a time-proven method that has existed since photography was invented and developed some 200 years ago. Based on experience, using the Sunny 16 Rule or a handheld meter, you can figure out and decide for yourself what settings to use.
There are imaging techniques and methods that you may be using that require what would otherwise be an incorrect exposure, but the final image you previsualized needs this exposure. However, while keeping your camera in one of the automatic modes, you can skew the exposure up or down by telling the camera to either over- or underexpose the image. This method is what camera manufacturers call exposure compensation.
Thus, you can still take advantage of the built-in metering and computer exposure calculations of your modern digital cameras and yet be ultimately in control of the final exposure.
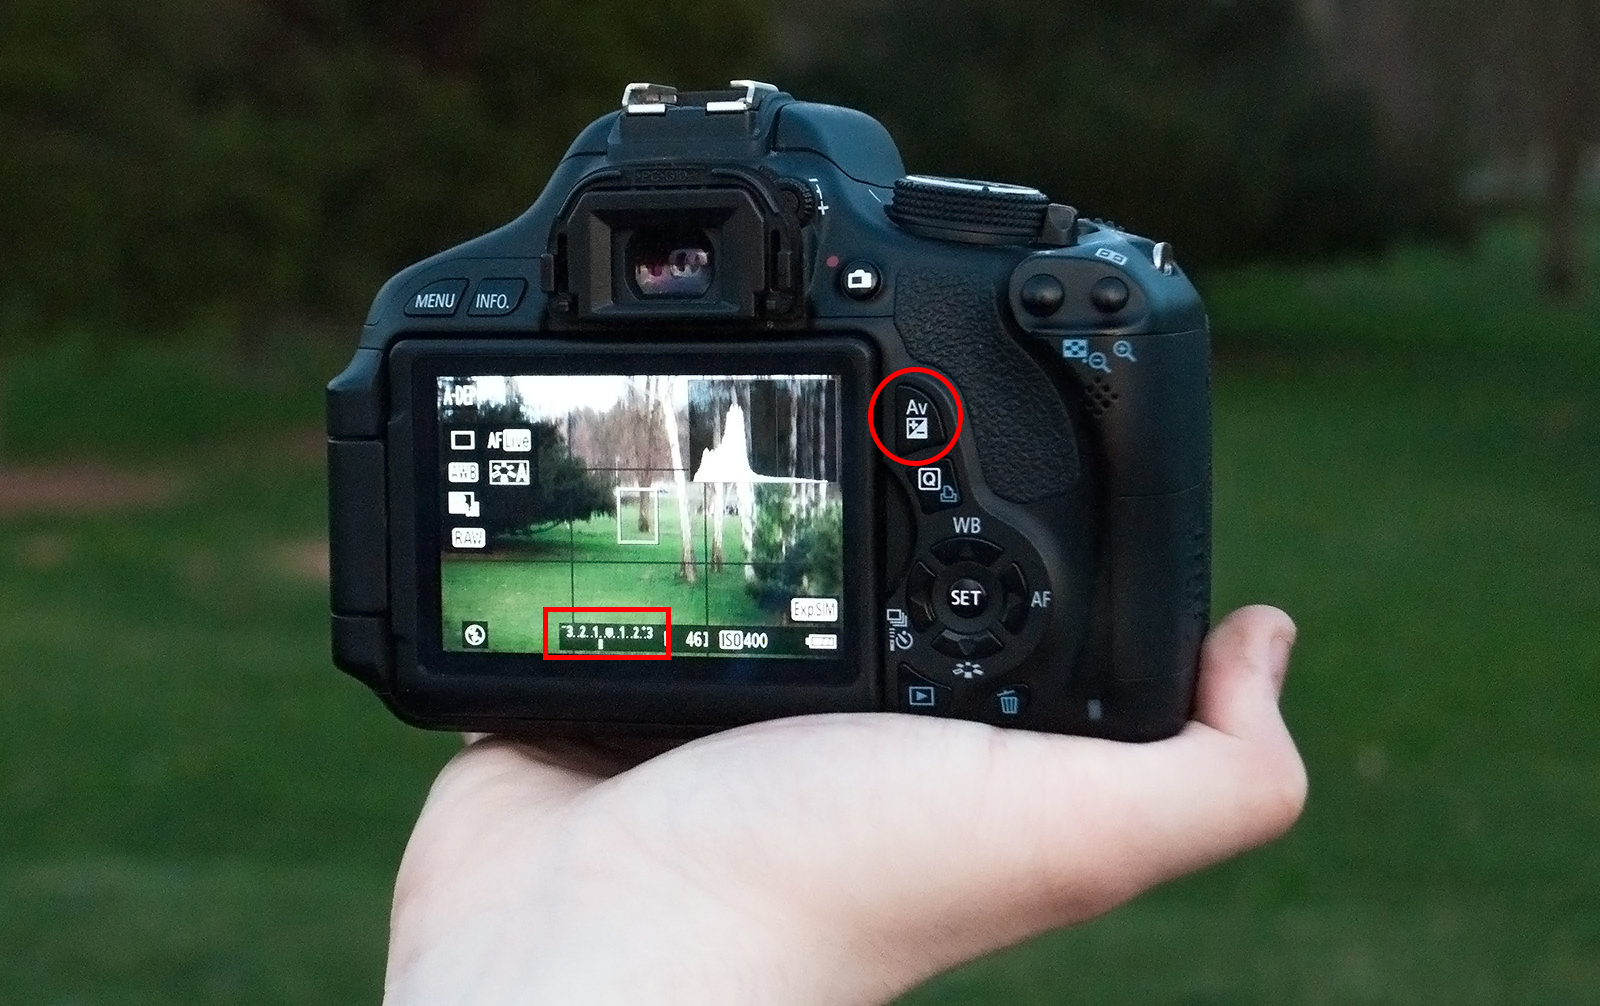
Photo by John Dubanek from Pexels
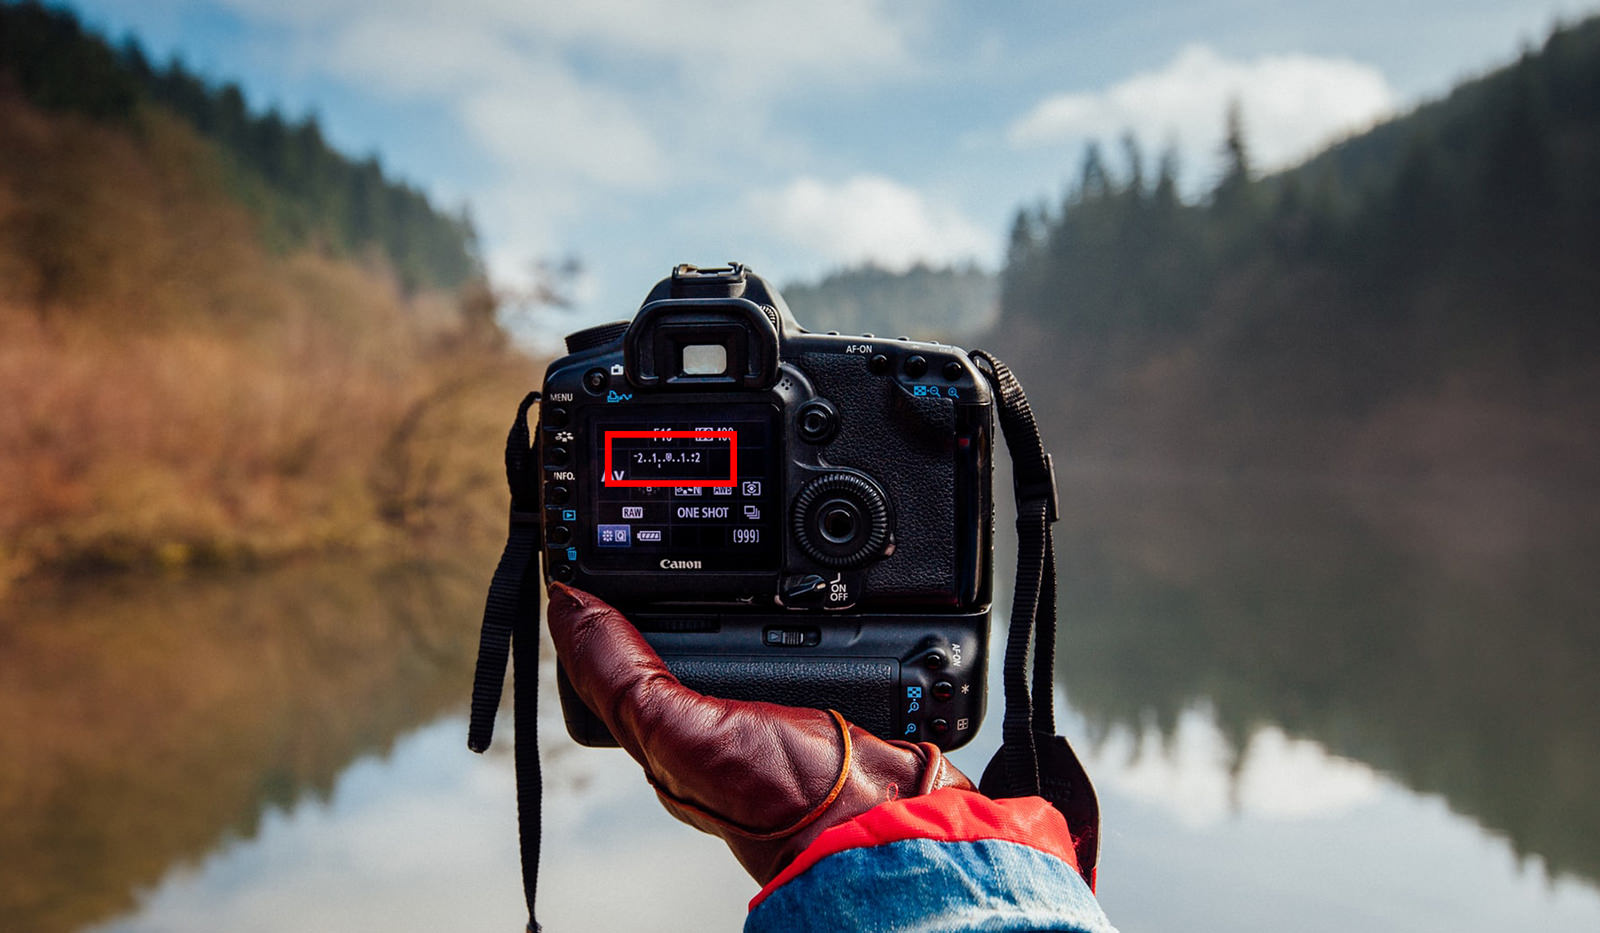
How to Use Exposure Compensation
Exposure Compensation is generally accessed on camera with a button, dial, or menu control labeled (+-) or (-+) or simply ExpComp. The numbers +1, +2, -1, -2, and so forth refer to how many stops of exposure value we are changing. Some cameras will change only in full stops, while others offer finer control such ½ stops or ? stops.
A stop of exposure value is a measurement of the scene brightness and your control methods. A scene may be brighter or dimmer in total exposure value. Meters see this and make adjustments in readouts or output to compensate.
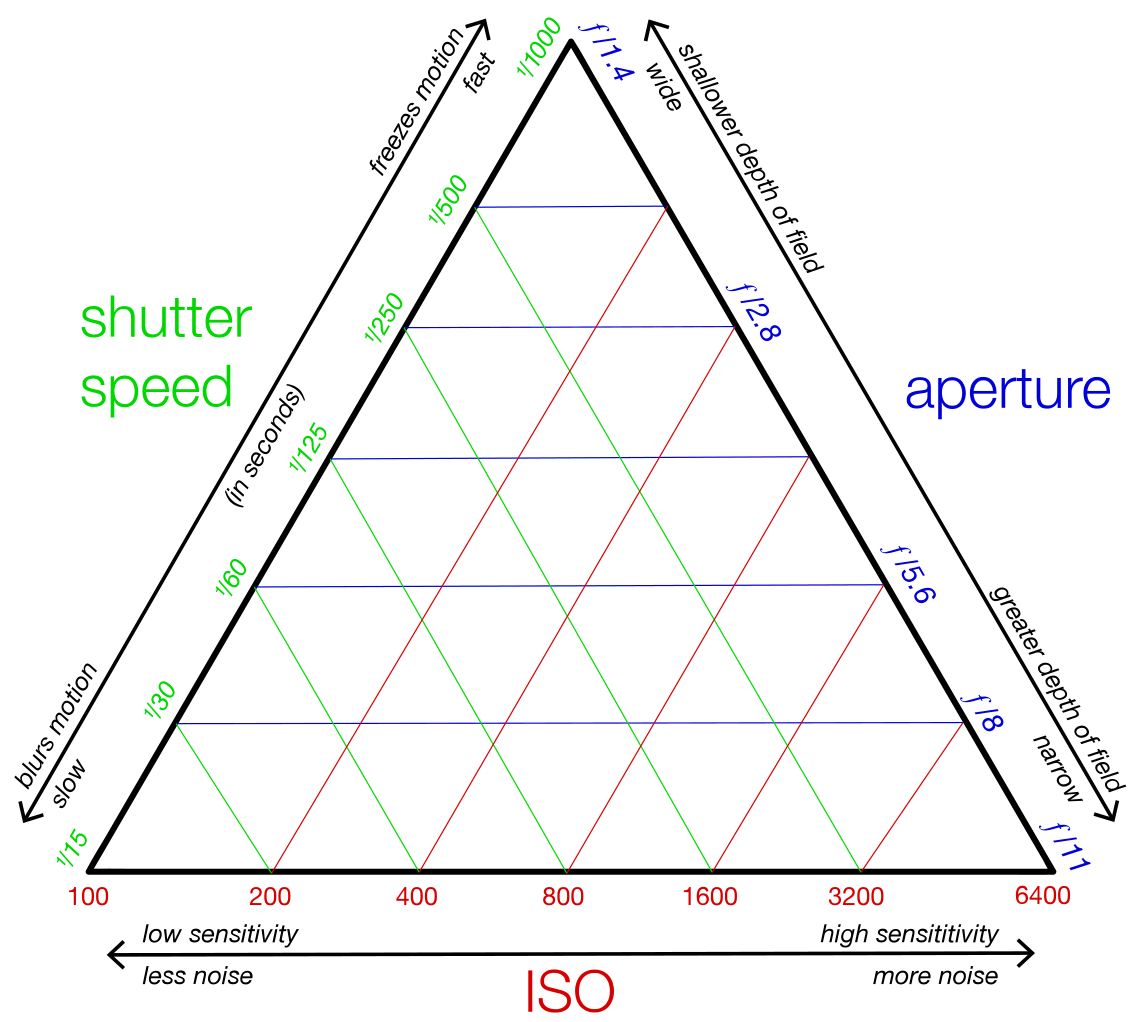
Camera exposure settings – ISO, shutter speed, and aperture (the Exposure Triangle) – control how that scene brightness gets transferred to the imaging medium. This works similarly in both film and digital.
An interesting aspect of photographic metering and exposure control is the science behind it all. In a nutshell, the world is 18 percent gray to camera meters. Exposure control settings are calculated on a Base 2 logarithmic scale. What that means to you as a photographer is that the camera meters attempt to average out scene brightness and then each full stop you make in the Exposure Triangle either halves or doubles what reaches the film or sensor.
When to Use Exposure Compensation
The metering systems in modern cameras are able to handle many challenging lighting conditions. Compared to early camera meters, modern cameras can get good images from scenes that would normally fool a meter. Still, they can’t cover every situation perfectly.
A couple of common scenarios in which you would likely employ exposure compensation include scenes with very large areas of bright or dark that compete with your main subject, or scenes with very large bright or dark areas in which those areas are the actual subject.
At the beach on a sunny day, the sun is high in the sky, the water is clear and blue, and the white sand dazzles your eyes. A beautiful scene. Yet all of those aspects of the scene could fool the camera metering system. Especially that dazzling sand. Same thing with photographs of snowy landscapes.

Photo by Daniel Frank from Pexels
What tends to happen is that the meter will attempt to pull down the exposure to that 18 percent (or middle) gray. The result is an overall underexposure of the entire scene. The meter basically wants to turn the bright white sand to a middle gray value.
Exposure compensation can be added on the plus side to help. You would add exposure compensation on the plus side because the camera wants to underexpose. How much to add is open to consideration.
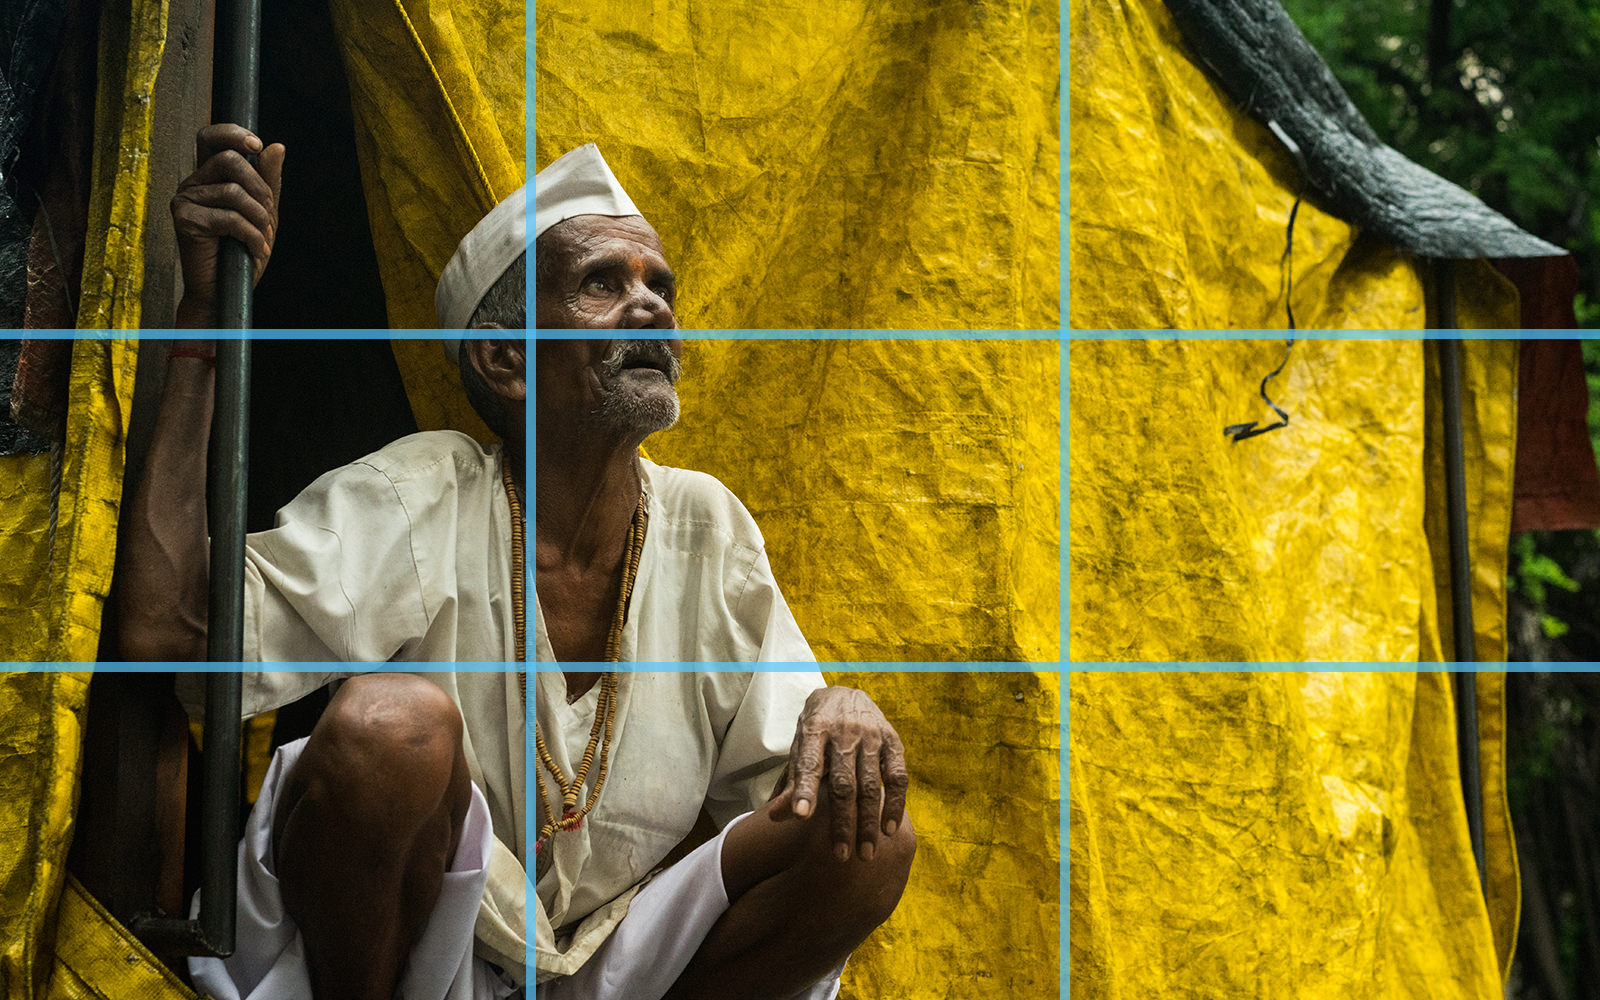
Another picture-taking scenario that often needs exposure compensation is when a bright light source is behind the main subject. Depending on how much of the main subject fills the frame, the camera meter may end up giving you an exposure that looks about halfway between a silhouette and a proper exposure.
Dialing in a stop or two of plus value exposure compensation will compensate and result in an image where the main subject is properly exposed and the background brightness will pretty much be blown out, showing little detail.
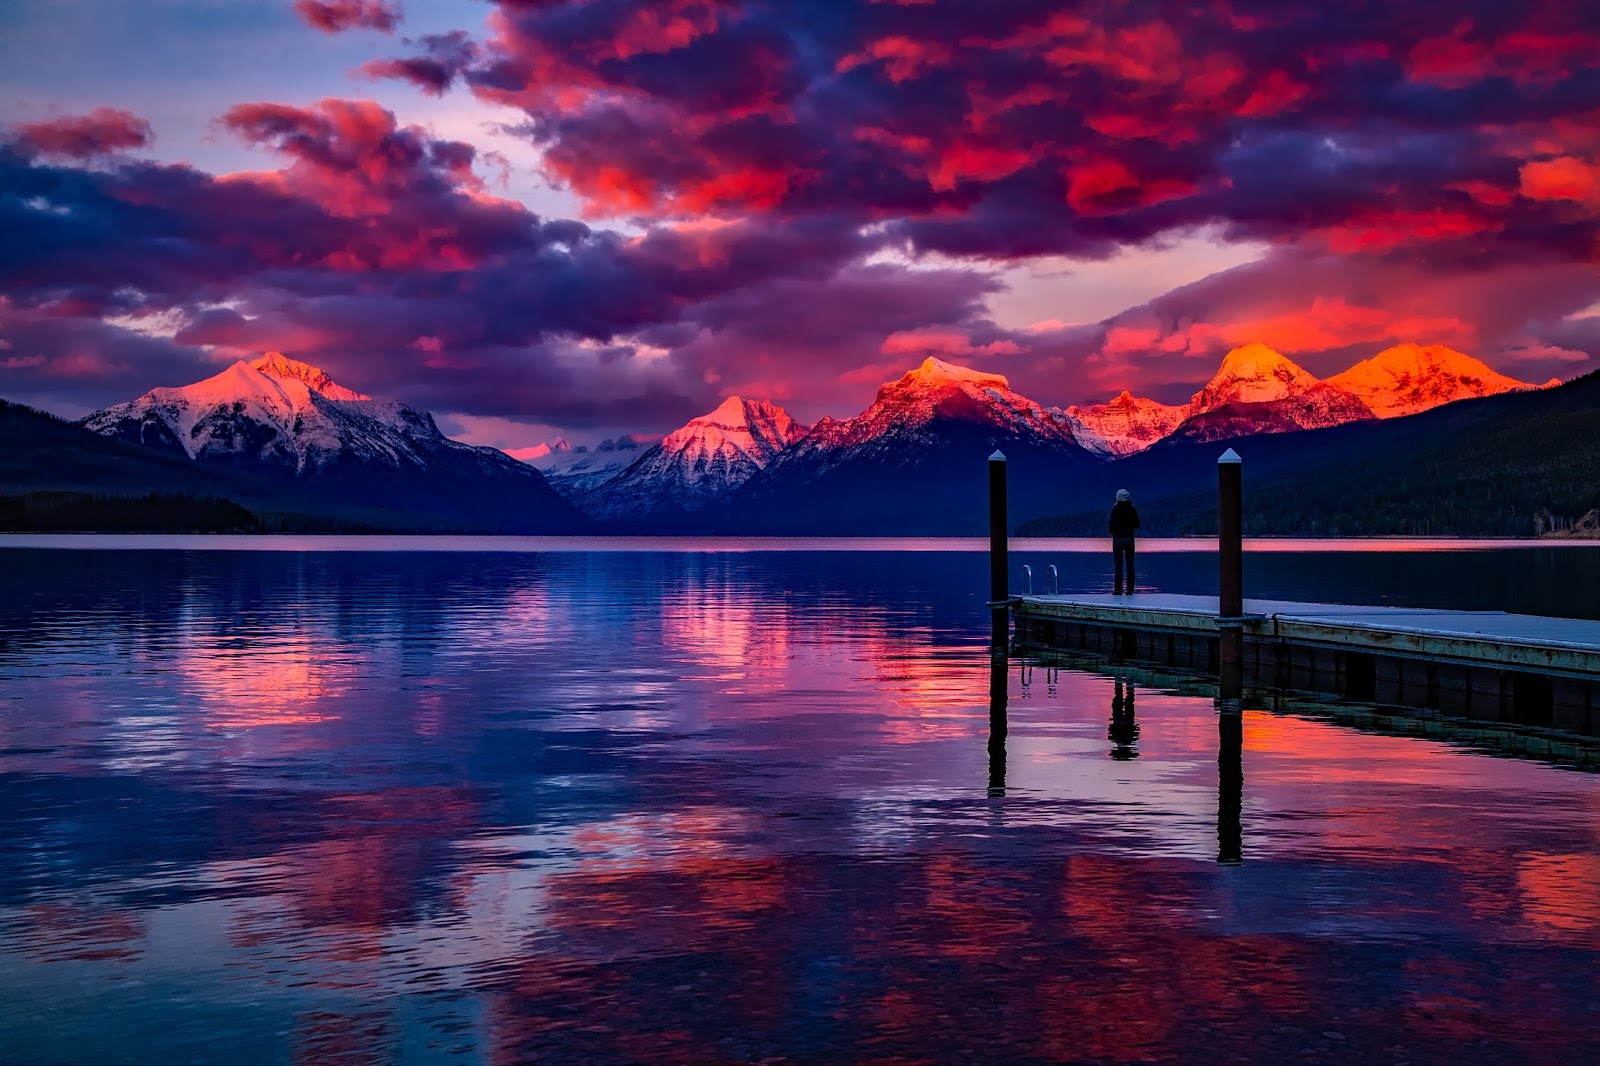
Dialing in underexposure may be needed when shooting dark scenes, such as a cityscape at twilight, or a black bear in a dark forest. In that type of lighting or darker subject matter, the camera meter may try to add exposure to get back up to that middle gray 18 percent value.
This would give you an image that looks washed out, uninteresting. So, you subtract exposure value. Dial in -1 or -2 stops of exposure compensation. To the camera metering brain, you’re underexposing, but the final image has the look you wanted.

Photo by Haley Black from Pexels
Taking Creative Control
Besides using exposure compensation to get back to what you determine as correct exposure, you could also employ exposure compensation to creatively control the exposure of your images.
Depending on your intended final image, you may not want to keep what the camera is telling you as the suggested correct exposure. Previsualization is the key.
What Is Previsualization in Photography?
Previsualization is exactly what it sounds like. You have an idea of what you are aiming for and what you want the image to look like. You can visualize ahead of time and then work your methods and settings in order to achieve that intended result.
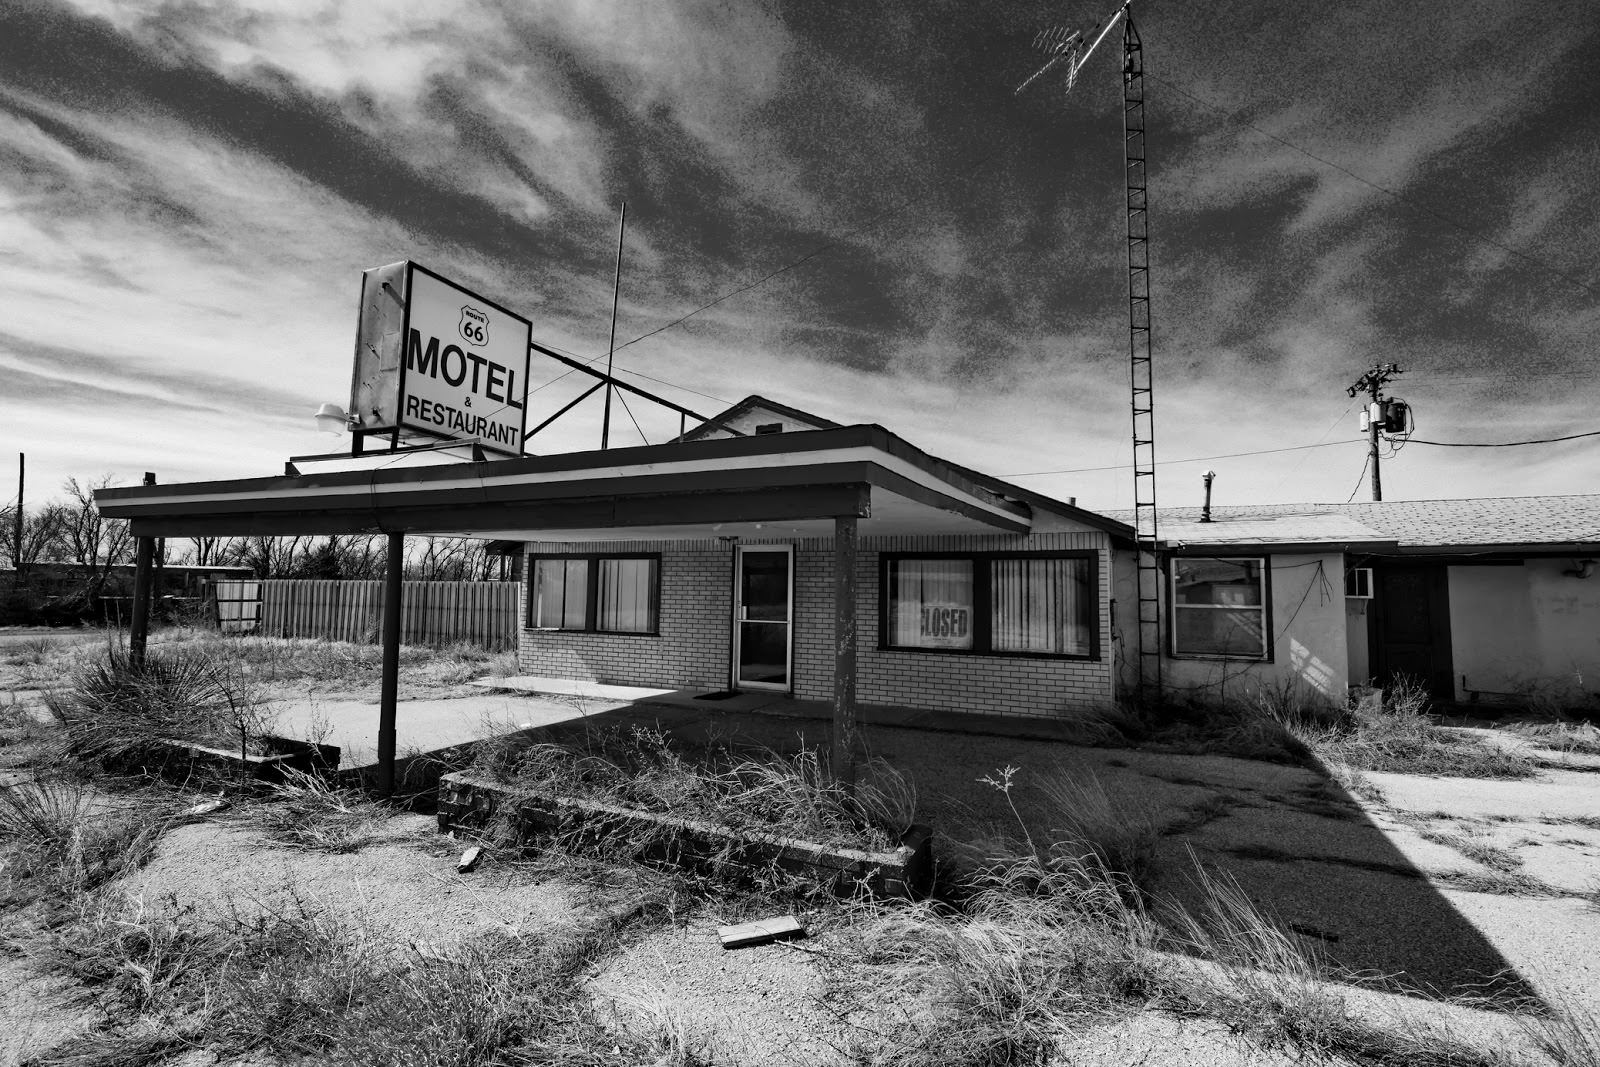
Some of the old masters of film photography used this method to great advantage. We might especially observe the black and white imagery of Ansel Adams.
As a photographer, you probably are at least somewhat familiar with the black and white scenic landscapes of Ansel Adams. If not, take some time to look him up. If nothing else, you’ll enjoy his work. It’s his method that we really want to examine. He devised a system of previsualization called the Zone System.
You can learn about the Zone System in three books authored by Ansel Adams: The Camera, The Negative, The Print. These are well worth reading for an insightful view of the photographic process that is still relevant for digital imaging.
In simplest terms, Adams divided deep black and bright white and everything in between into 11 different discrete values or zones. Zone 0 is deep black, Zone V (5) is middle gray (18 percent gray), Zone X (10) is pure white. By the way, these light values are legitimate in color imaging, too.
As you can readily determine right away, Zone 5, middle gray, is what your camera meter is trying to capture most of the time.
What Ansel Adams and others would do is select an element of the scene and say to themselves that they want that to end up in the final image at a particular Zone System value. Then, they’d do all their exposing and processing to make that happen. In addition to individual parts of the scene and their exposure values, you could also choose several different subject elements and a range of Zone System values you want them to encompass.
You can still do this in digital imaging. In fact, you actually have more control now because of how much more exposure detail your camera sensors and computer processing can hold and reveal.
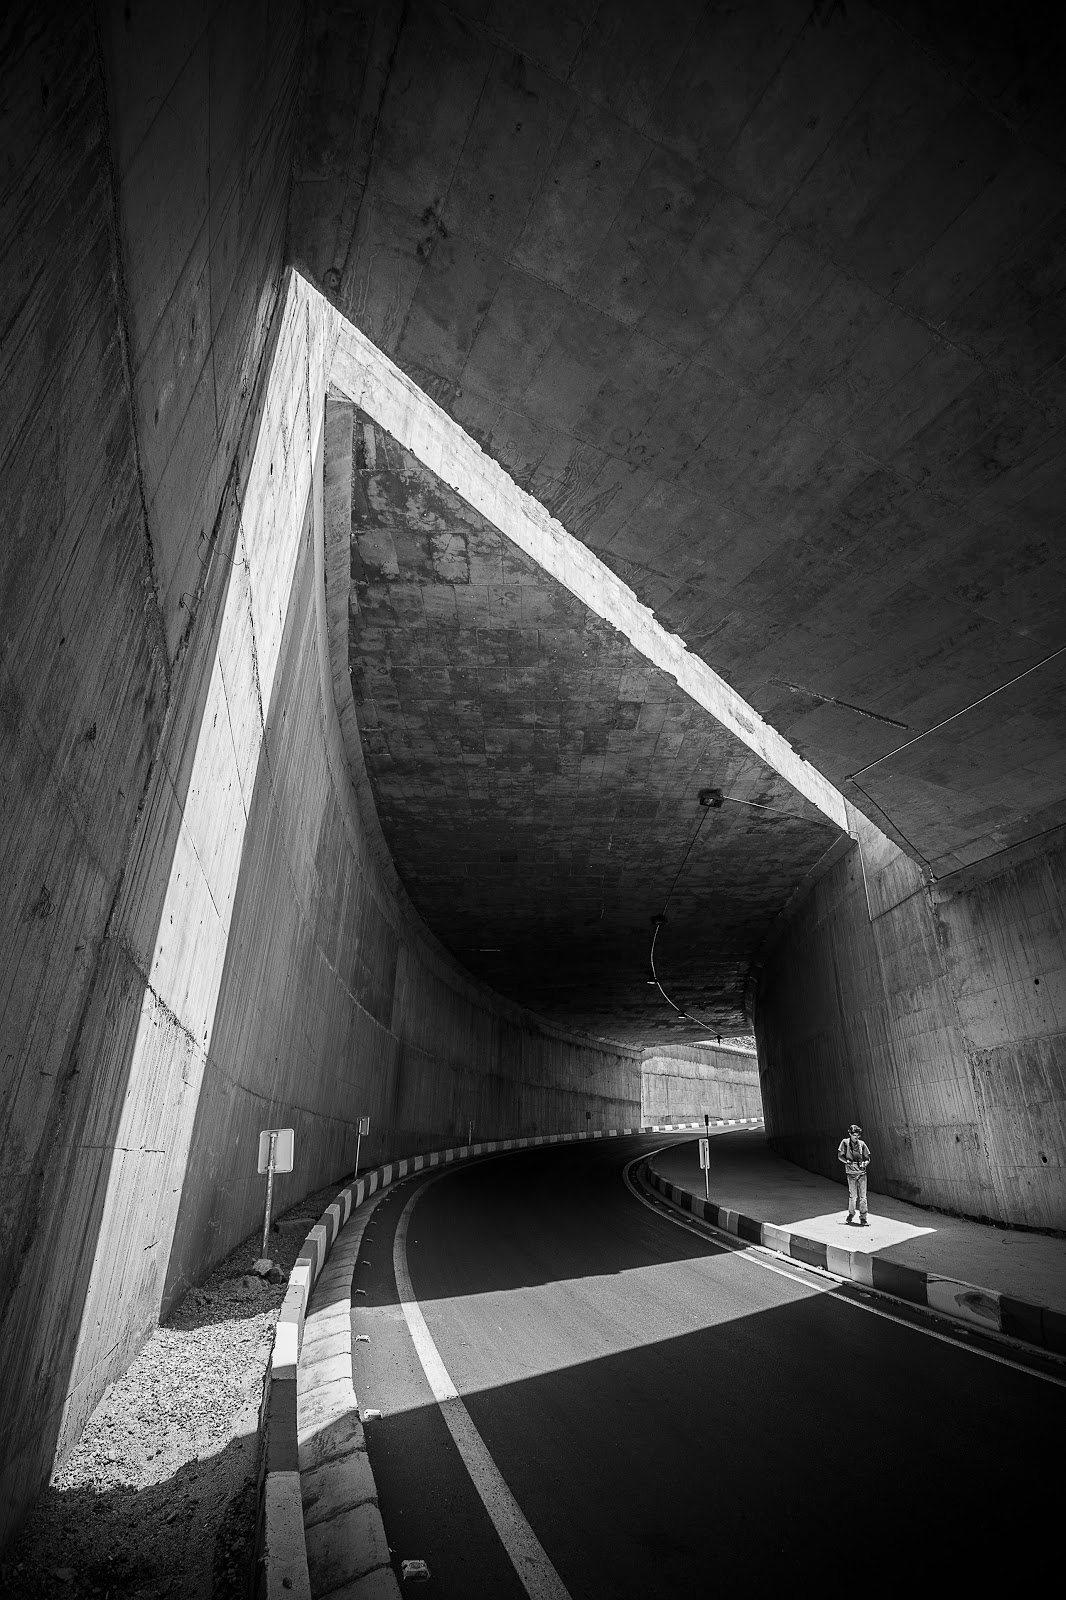
Photo by Parviz Besharat pur from Pexels
For your creative digital imaging, you could use the Zone System to take the scene in front of you, pick what details you want to emphasize in one way or another, determine ahead of time (previsualize) what zone those parts of the scene would look best as, and then use your exposure compensation dial to shift everything up or down one or two zones.
A similar thought applies if you wish to create high key or low key photos. An easy way to achieve high key is to dial up the exposure. For low key, dial it down towards the minus side. Of course, there is much more that can be done for high or low key, but exposure compensation is an easy start to those effects.
Exposure Compensation Tips
If you’re shooting digital, you have an option that didn’t exist in film cameras. You can review your images right after taking the picture. Some people call that “chimping.” Chimping can be distracting to the shooting experience when you overdo it. On the other hand, chimping, or reviewing images as they are shot, is good practice in challenging lighting conditions.
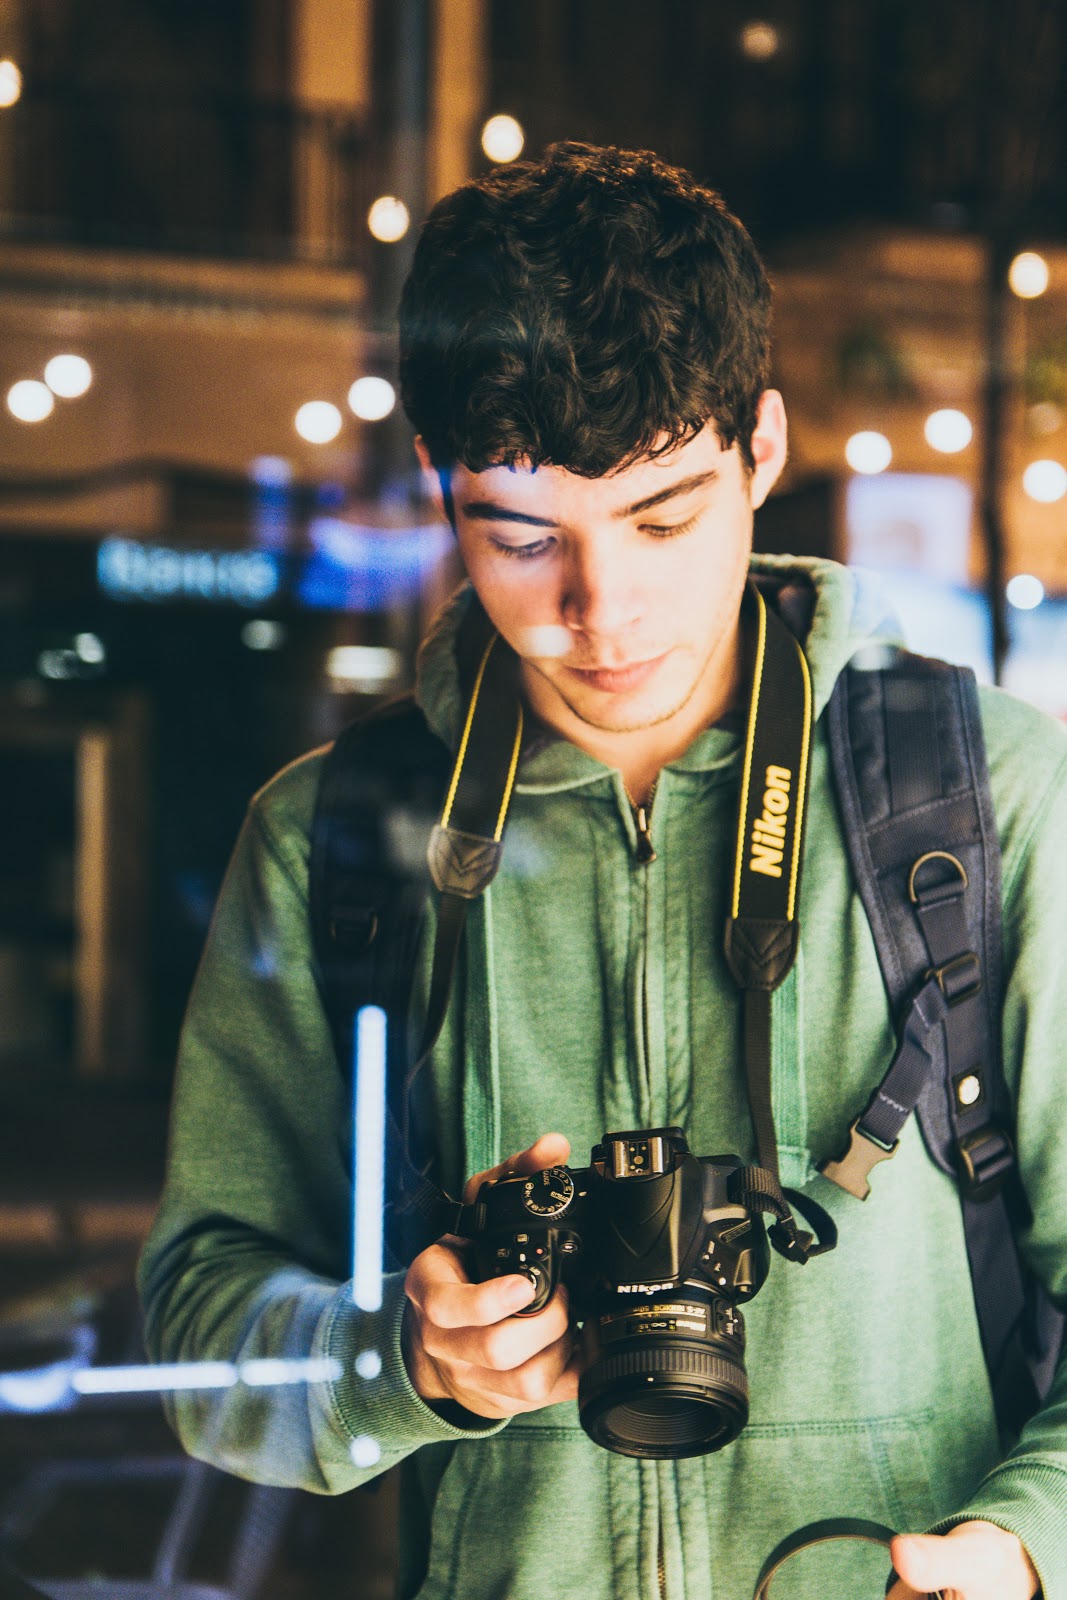
Photo by Pablo Guerrero on Unsplash
Are you old enough to remember Polaroid cameras? When the developed image showed, you could see if it was correctly exposed. If not, you moved the Brighten/Darken dial one way or the other and reshot. The same idea works for on-camera image review and using exposure compensation.
Another helpful practice is having your camera viewscreen image review also show you the histogram. The histogram exposure value display is one of the more useful tools to have come to cameras in the change from film to digital imaging. Once you know what the histogram is telling you, you can use it to great advantage in all of your digital photography.
What changes in each automatic mode when you change the exposure compensation? It may vary slightly from brand to brand, but generally, it works the same way as the exposure modes.
If you are in shutter priority, the exposure compensation changes the f-stop. In aperture priority it changes the shutter speed. For programmed mode, it changes both shutter and aperture.
One important thing to remember is that with most cameras, if you are in what I call the Green Dot Auto Mode, exposure compensation is disabled. Green Dot Auto Mode takes full control of all settings. The only things it allows you to change is where you point it, how much zoom, and when to click. Useful for quick snapshots, but not the default mode for serious shooting.
Related Exposure Method – Bracketing
Closely related to exposure compensation is another method of exposure control: exposure bracketing. This technique takes extra images at different exposure values. You can set many current cameras to bracket exposures in all auto modes (except Green Dot) and also in Manual (M) mode.
Typically, you can set the camera to fire off three, five, or up to nine shots, changing exposure up and down from one to three stops, sometimes with incremental values allowed.
For instance, if the metered correct exposure for the scene at ISO 400 is 1/125th at f/8.0, the camera could expose extra frames at 1/60th and f/5.6 and 1/250th and f/11.0 if you were in P mode and selected three frames bracketed at +- 2-stops.
Likely, one of the bracketed shots will be a usable image file for what you have previsualized as your final photograph. Obviously, you can adjust your bracketing settings and what mode you’re in depending on your specific camera.
Bracketing is also related to another advanced new method made possible by digital imaging: HDR.
HDR Photography
High Dynamic Range photography, or HDR, is a method of either evening out or enhancing the exposure value or range of values within a scene.

When doing HDR, you take a series of bracketed images of differing exposure values and use a computer post-processing program to blend them together for a final single image. The end photograph can either have exaggerated exposure and color for artistic effect, or it can be processed for a natural appearance.
This method is related to exposure compensation in that you can adjust the blending of values to lean one way or the other, towards lighter or darker, during the computer processing. Most of the time, however, you would probably be using natural looking HDR to expand in both directions.
Natural looking HDR is widely used in real estate photography, virtual tours, and spherical panoramas. You can use HDR in any situation, even portraits, if you can keep the camera still for all of the images to register together properly.
Shoot In RAW – Post Process
Another method that is related to the idea of exposure compensation is to shoot your digital files in RAW and use a good post-processing program such as Adobe Photoshop, Lightroom or ACDSee Photo Studio Ultimate to enhance or adjust what is contained in the file.
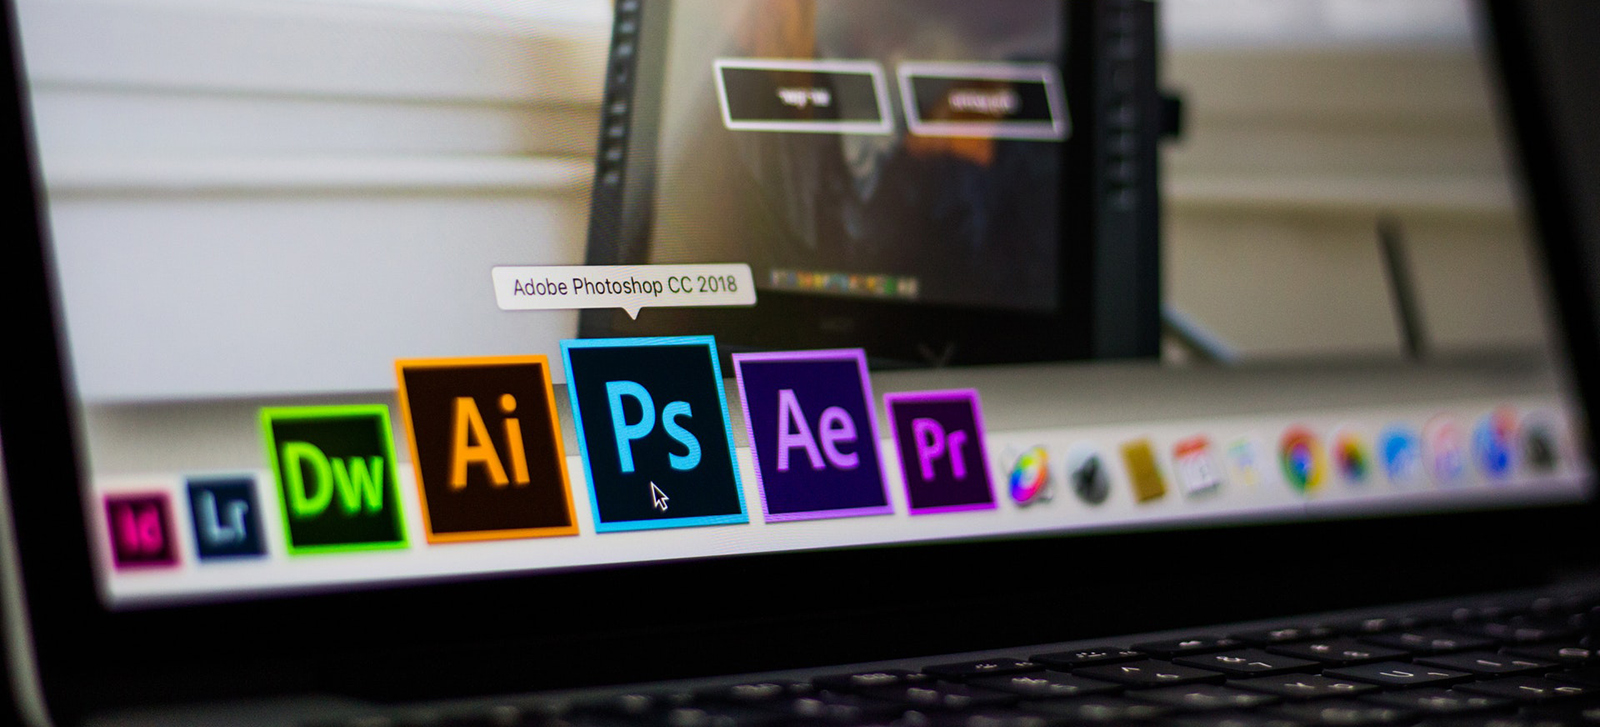
Photo by Matan Segev from Pexels
We constantly highlight the advantages of shooting in RAW because of how much extra exposure information is captured in an uncompressed RAW file as opposed to a compressed image file format such as JPEG.
Using these editing programs, you can take an exposure of that beach with bright sand and apply corrections to specific brightness values, colors, or areas of the image. Or adjust the entire image one way or another. This is possible because of the extra exposure information captured in RAW format.
Especially within shadows does RAW seem to have extra info, at least according to my personal experience. If a RAW image file has the highlights blown out, there isn’t much you can do to fix it and see detail. But a subject in shadow can often be enhanced to see detail. Of course, there’s only so much you can do with a file. Post-processing is best used to enhance a decent image rather than to try to save a less than perfect picture.
Taking Advantage of This Useful Tool
Exposure compensation is an extremely useful photographic tool for photographers from absolute beginners to advanced and professional level. But at the end of the day, it is just that – a tool.
Modern cameras are incredible imaging machines. The modes and features that have been invented, developed, and enhanced allow us to take full advantage of the incredible capabilities in the art and craft of digital photography.
Whether you are on vacation at the beach or ski lodge with your brand new mirrorless or DSLR camera, or if you are a product or portrait photographer working on location or out of your own studio, exposure compensation is a good method of controlling how your desired final image turns out.