15 Things You Should Do for Every Photo Shoot
In another life when I was a mainstream teacher, I was trained to always use a lesson plan. This wasn’t just a plan of what to do when in a lesson, it was also referred to as our ‘autopilot.’ In other words, if we got lost in the process we could just refer back to our lesson plan, find out where we were and go from there.
I’m not prescribing a lesson plan for every photo shoot, but rather your own ‘autopilot.’ A general or specific list which will take you from A to Z in any photo session. The whole point of this exercise is to automate the structure of your workflow. So, the process becomes just a given that you do one step after the next. This will not only help you in how you work, but will also come across as being more efficient to the client and make sure you aren’t lost anywhere in the process.
You can take all the steps below as they are or refine them to your own needs. The results should be the same, in that you carry out an order of occurrences of what you feel are the most important check points on a given photo shoot. You know you can follow these steps verbatim without thinking about them and cover all the bases you need.
Schedule the Date of the Session
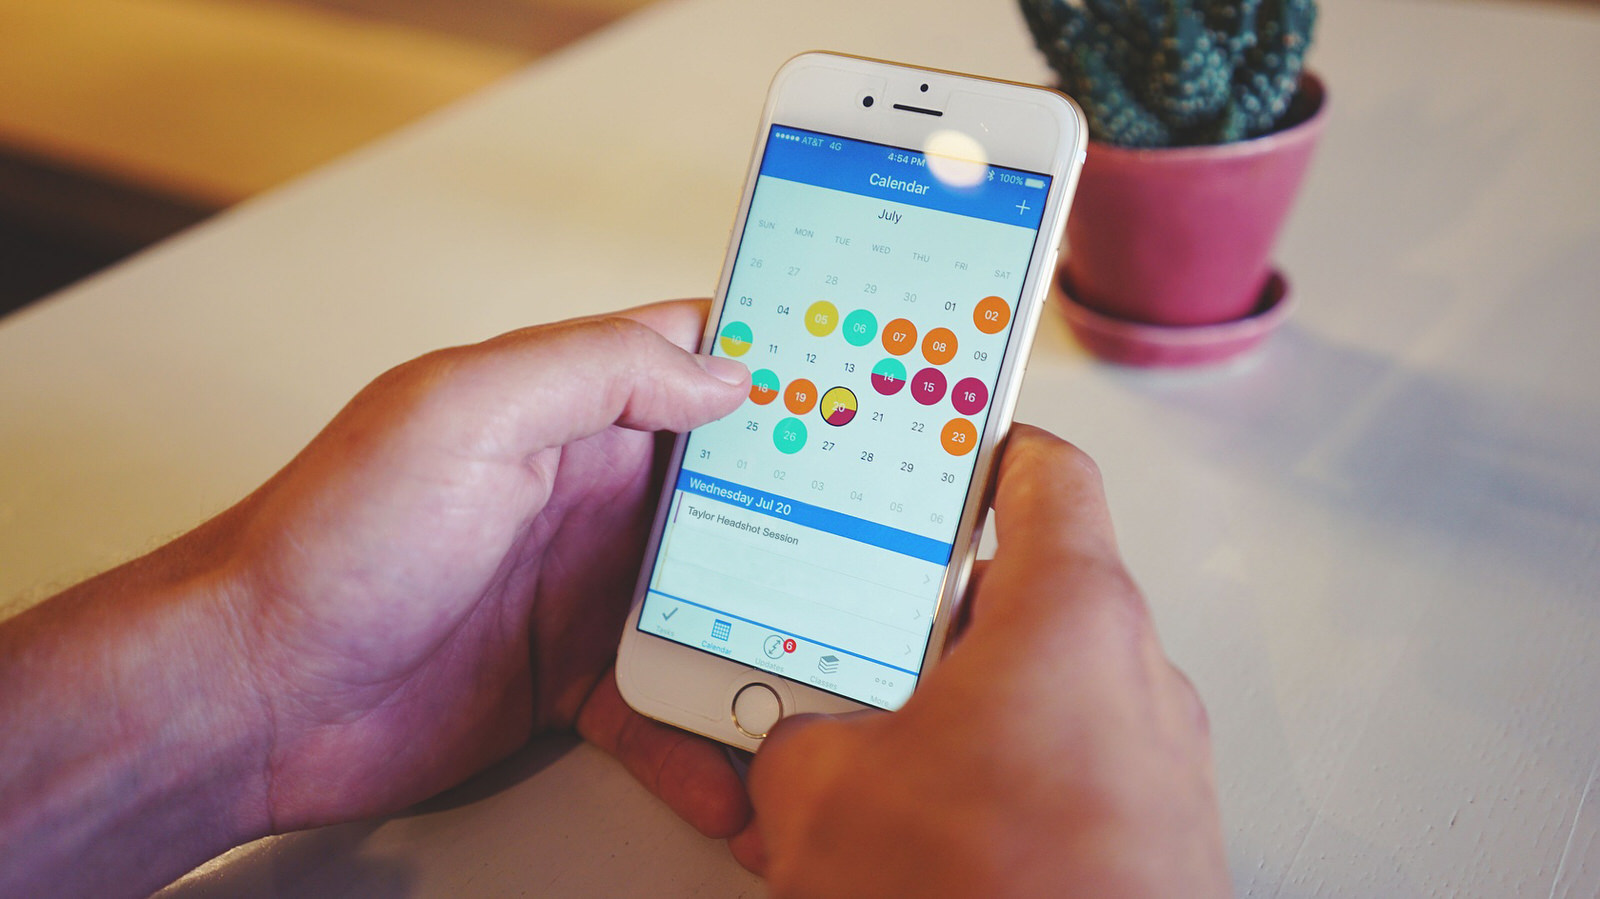
Once you get the client to say yes to a photo session, be it a headshot or multiple bookings, it’s a won job ready for the next phase. Not so great if they change their minds, but pinning them down to a day and time is the number one priority. All things lead from here.
Having some form of calendar system is essential. I use Microsoft Outlook, simply because I use a PC, but you can use Apple Calendar on a Mac or an app like Google Calendar. Ideally, you want to use software that you can also check on your smartphone.
Putting every conceivable detail about the client and the job into a calendar date and having that information accessible on your phone means you will have the client’s contact details, address for the sat nav and anything else you need at your fingertips. This will allow you to go through all the client’s requirements as they sent them to you on the day of the shoot. It’s also helpful in case something happens on the way to a session, so you can quickly contact the client. I sometimes even add example images, example lighting setups and any other thoughts and ideas into a calendar date.
Adding a calendar that you can use on a desktop, tablet and mobile phone is the best. Software that can be used in multiple locations is the key.
Email the Client

It’s likely that you’ll have to send emails to the client – ranging from a few simple communications to various forms for them to fill out. To stay prepared and consistent, you should have your own checklist of forms you need to send to a client. For example, your checklist could include any of the following:
- payment for the session
- client information forms
- copyrights
- session fee policies
- model release forms
For emailing clients, you can use Microsoft Outlook on a PC or Apple Calendar. It will make things a lot easier if you use email software that deals with emails, calendars, contacts, notes and plenty more. There are third-party and open source email clients out there, but the big two above never fail for an all-in-one email/calendar/contact solution. I make sure I tick the email delivery and receipt to make sure my email has at least landed in their inbox.
If you have group emailing software such as Mailchimp (for mass emailing), you can add your new client as a contact and send them a personal email. However, I find it easier to individually email from my usual desktop email client rather than any group email sent out through Mailchimp.
Collect Forms and Fees

Photo by Henrik Dønnestad on Unsplash
This is all about collecting those deposits, full fees and all that paperwork you just love to go through. I always create a new folder on my hard drive for a new client, with a subfolder called ‘admin’ for all paperwork and details. Try not to overwhelm your clients with paperwork, but in some cases this is unavoidable.
I always mark down a deadline for anything to be sent back to me. Clearly state a deadline on any of your own paperwork and emails. It doesn’t have to be, “The world will come to an end as we know it unless you send me a model release form in two days,” just a polite way of saying, “Please can you get this back to me ASAP and then we can progress?”
Clearly, give the client the terms of payment. Sticking to this is paramount. All payment options should be clearly stated in the paperwork and delivered to the client.
If you don’t have a bunch of forms covering all the bases for a photography shoot already, then PetaPixel has a good selection which you can download from their website. You can keep things very simple and have all the standard release forms for a client on your website. However, having versions in PDF or Word for a client to fill out is usually preferable.
Confirm Receipt of Emails

Never presume that a client has received something. As above, make sure you tick the delivery and receipt of all emails where you definitely need to know the emails got through.
A quick phone call is also a good idea to not just check if the client has received all the required paperwork, but to make sure everything is okay with the client up to this point. It also adds to the client’s peace of mind that you are clear in every step of the way on your side of things.
Call the Client
Always call the client a few days before the session, even if it is just a courtesy call to say, “Still okay for Saturday?” On a basic level, this is always a reassuring phone call for the client, as it lets them know you will turn up on the day and you know exactly what to do and when. It’s also a great way to go over last-minute ideas and any other little details that need to be covered.
If it’s a wedding shoot, it’s inevitable that the client will have some more ideas for what they want, even if it’s a few simple headshots or they want you to provide black and white images. It also saves some time on shoot day if you cover anything that hasn’t been made note of up to now in the phone call. Last-minute changes, new ideas – the list can be endless.
Be Ready on Shoot Day
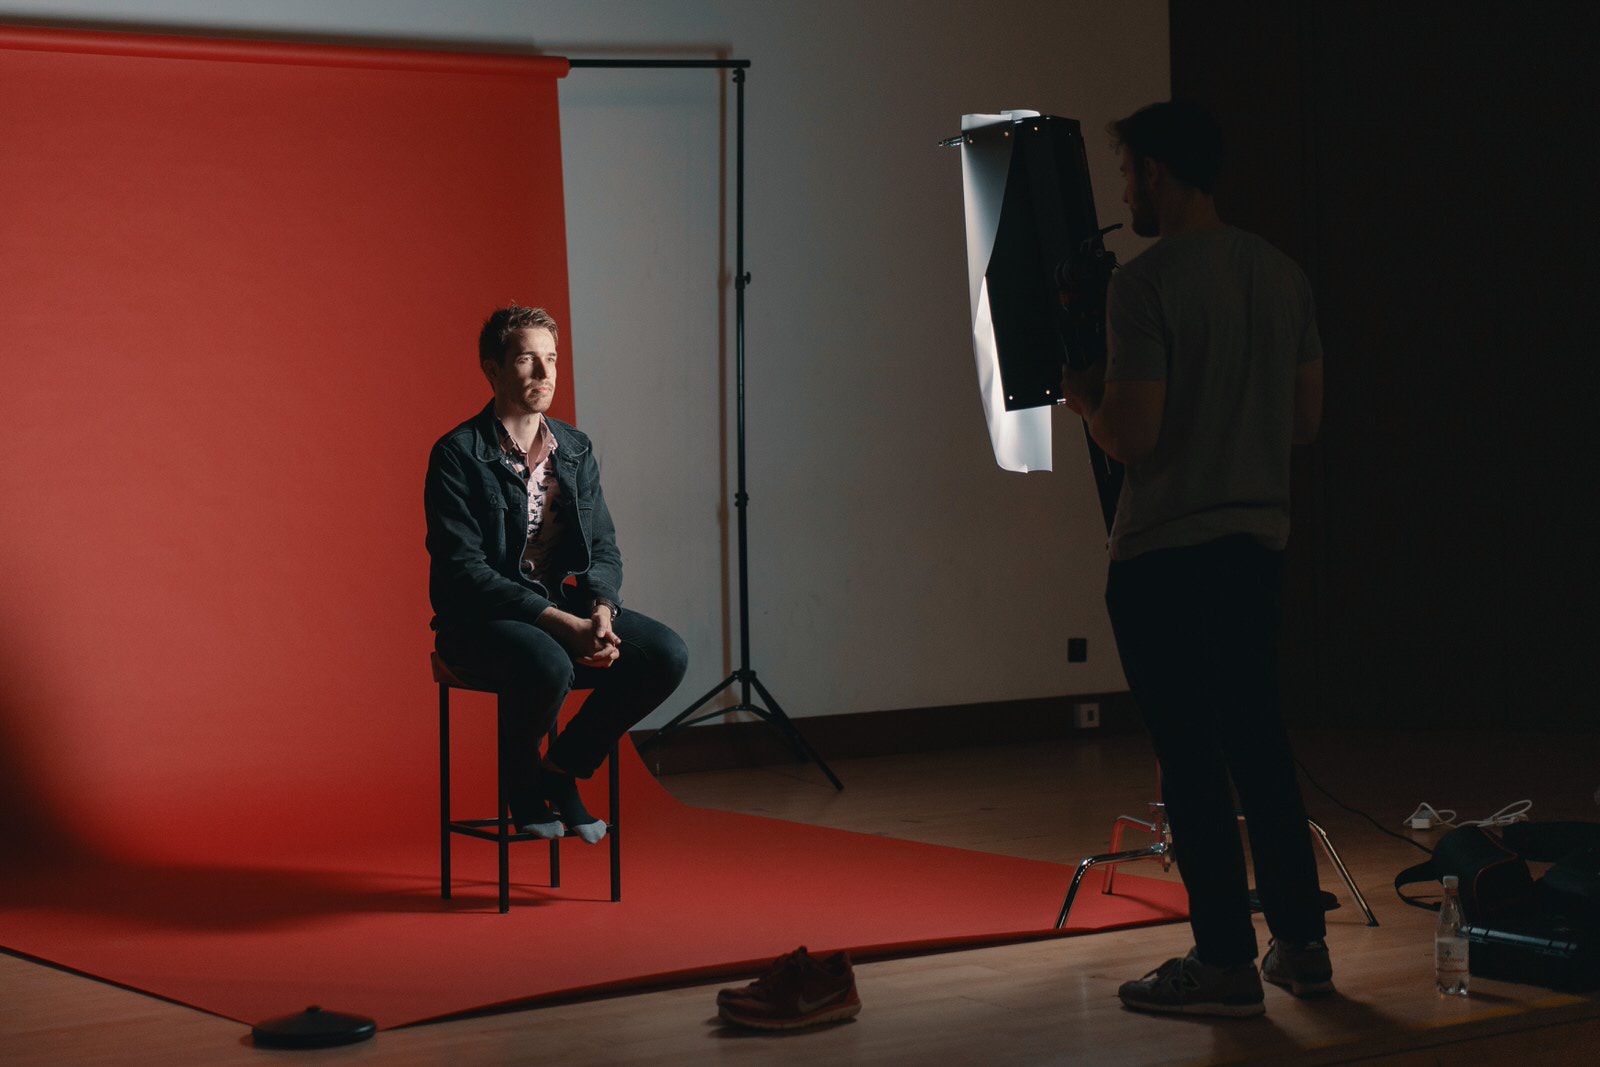
Photo by Ross Sneddon on Unsplash
Everything up to this point should be in place and documented, so it’s now on to the creative bit. Having access to your calendar on your phone will allow you to view all the images you need to cover in the shoot, any other details and the general schedule of the day.
Spending just a few minutes going through the needs of the day as bullet points can save lots of embarrassment later on. This is just to make sure you’ve got every base covered from kit needed, lighting setups, order of the day, and to make sure you get the must-have shot of the bride with the long lost cousin who’s been travelling for 10 years.
Back Up Photos

Photo by Markus Spiske on Unsplash
Once you have all those precious images, it’s now time to make backup copies. Just like any other data on your computer, the ideal is to have backup copies in multiple places. One option is a copy on a hard drive and the other as an online backup. Cloud storage is still relatively expensive per terabyte compared to hard drive equivalents. Therefore, you can back up your most precious images online if needed, but having two hard drives is just as good. Solid-state hard drives are robust and, personally, are preferable to online storage, especially if you have a library that runs into many terabytes.
There’s always the big fear that backing up to your own hard drives means there’s potential for hard drive failure in the future. This may have been an issue in the past, but hard drives are far more robust these days and having the peace of mind of two backups locally also means quicker exporting to backup. The only downside to this solution is you won’t have access to your images from anywhere. But, you can install a remote access client to your computer to access any files.
Post-Process Images

This part of the process can be one of the most enjoyable if you love post-processing. A few tweaks to exposure, white balance and/or cropping can do wonders to an image. Having all the images in the correct format for the client and correct crops for printing are done at this stage. Any particular requirements from the client documented in your previous forms should be addressed – for example, black and whites or a few images cropped for Instagram.
I always throw in a few alternate takes on an image as freebies, but it’s not essential. Providing a few black and whites and high contrast versions can make the client feel like you tried that little bit extra.
Post Session Preview Images

Photo by picjumbo.com from Pexels
Clients will always have high expectations for their images. Depending on your timescale from the shoot date to delivering the images, you can post a few preview images, even if it’s just to whet their appetite. If it’s a wedding shoot I will post a few images that spread throughout the day. Not the best ones, but almost the best. This way, the client gets an initial ‘wow’ factor from how great your images look, but when they receive the full lot of images, they are hopefully even more impressed.
Depending on where you upload the preview images, make sure they are uploaded in the aspect ratio or crop required by each website. Many social media platforms should list the dimensions needed for their online images in their help files. It’s always worth checking this feature as images like portraits can easily look stretched when not correctly proportioned.
Send Out Thank You Notes

Being front of mind with the client is paramount for the next steps in the process and sending out thank you notes with follow-up material is a good course of action. If you make these hard copies, with your own branding and even personal touches, it’s more memorable. Simple things like colored envelopes and paper make a difference; even handmade paper signed with a fountain pen stands out.
This is also the chance to set up the ordering consultation and discuss possibilities of future work.
Order the Proof Book

Photo by Toa Heftiba on Unsplash
The proof book is a collection of your images in hard copy for presentation at the ordering consultation. It’s pretty easy to make a photo book with the Adobe Lightroom Book Module. There are also other third-party softwares, which you can buy and produce proof books, but they are usually the cheapest options and rely on you to print and produce the final book.
It will cost more, but third-party companies can produce proof books that will not only look professional, but give you a choice of papers and many other options to help make your proof book stand out. It will initially feel more expensive, but you should factor in this cost to the rest of the shoot and hopefully your print orders.
Having a professionally-made proof book also comes in handy if you need to quickly show off some images to a new potential client. Having a book already printed is a great time saver.
Email the Client – Again

Touching base with the client again in a few days to get feedback on the preview images and schedule the ordering consultation is the next step. From here on out you have to be photographer, account manager and sales rep.
You can show and discuss the preview images, which in turn should lead to scheduling the ordering consultation. “Want to see more? Of course you do…”
Email the client and follow-up with a quick call. If a quick response from the email gets the job done, then you can skip the follow-up call.
Meet Client for Order Consultation Session

The ordering consultation shouldn’t be a hard-nosed sales pitch. It should be about getting the client excited about the images and how they’re going to look even more fantastic in print form. It’s also a good idea to outline why getting quality prints from you is the best option. Let the client know about the different types of paper, accurate colors, and all the ways that will make their images look better than having them stock printed on whatever paper they are given.
Although it’s not a hard-nosed process, you still have to think about doing some upselling. If they order a certain amount of 10×8 prints, maybe you offer them a large print for free. For every canvas print they order, they can get two for the price of one. Offers will depend on each individual client. Some clients may want only certain images and no more.
Place the Print Order

Photo by samer daboul from Pexels
This is where you need to make sure you get all the details for what images you need to print, types of paper, sizes and anything else required by the client. Many quality print outlets are used to this process, so if it’s your first time and you’re unsure of the process, find out what information your print outlet requires before the ordering consultation and this will dictate how you take the order from the client. Once you have this process down, it’s just a matter of rinse and repeat each time.
Package and Deliver

This can be the most boring part of the process, but just as important as any other part. It can also be very time-consuming, so have the processes as automated as possible. Always have more packaging than you need. Paper, envelopes, stamps, labels, delivery notes – everything prepped so it’s instantly at hand.
‘Chunking’ or repeatedly doing the same task is more efficient than switching between lots of different tasks when trying to complete a project. In other words, do all your printing, then do all your wrapping, then the labeling. This should hopefully cut down the time spent on packaging and delivery.
Most of the points outlined here come down to a process. A set of procedures that you can follow time after time and in the long run, know where to tweak depending on the individual client. Document the procedure, add notes under each step, then print a copy and stick it on the wall for quick reference.
When you follow everything step by step, after a few times, the process will start to become automatic and that’s the end goal. It will seem like a chore at first to nail down all the procedures and resources needed for each step, but once in place and regularly practiced, the process will make your life more efficient and save you loads of time.