

description
Learn how to make a pure white background in Photoshop so an image sits seamlessly on a white page with no visible edge. A Threshold adjustment layer confirms whether true white is actually present, a masked Hue/Saturation layer clears any color cast from the backdrop, and white painted along the border is blended back with Blend If so shadow detail survives in the middle. The same check works in reverse with Levels for a pure black background.
Enjoying This Free Tutorial?
We publish a new free tutorial every week, each one with sample images and PSDs you can download and follow along with. Sign up and they land straight in your inbox, along with early word on sales, events and subscriber-only offers.
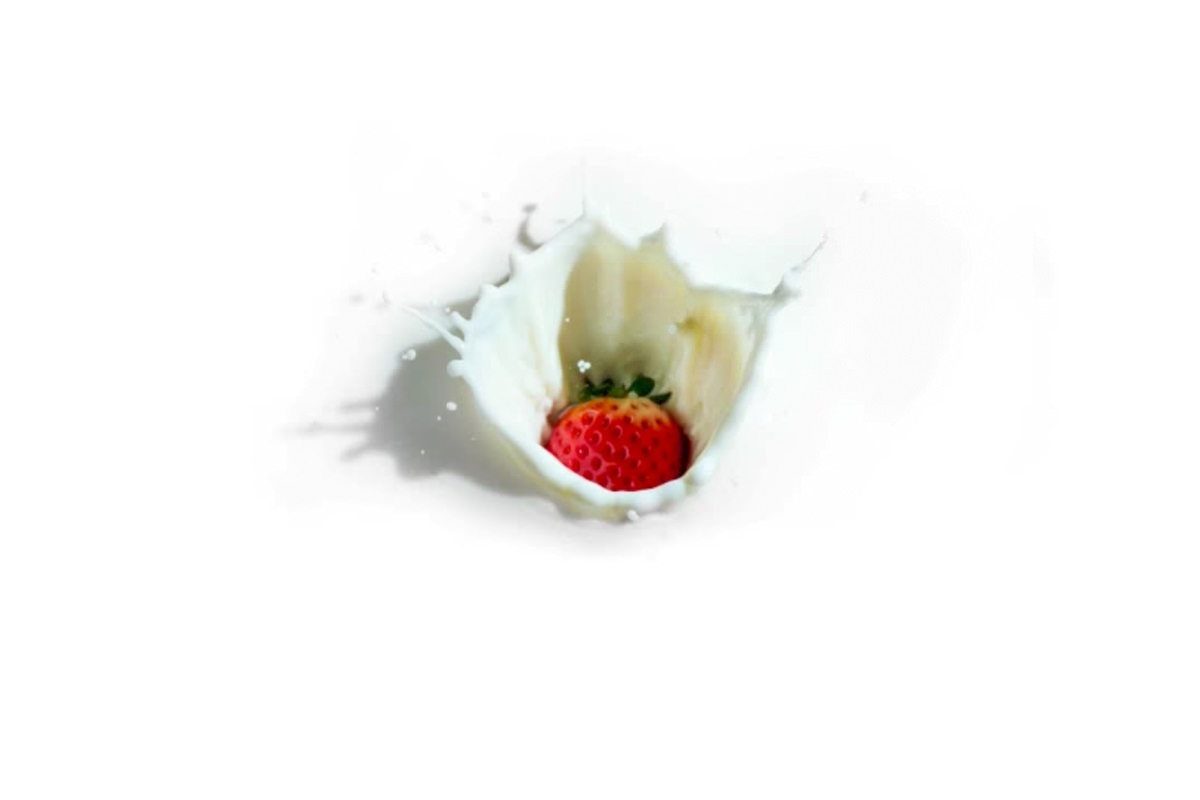
How to Make a Pure White Background in Photoshop
A backdrop that looks close to white in Photoshop can still fall short of pure white, which shows up as an unwanted border the moment the image goes online or gets printed on a white page. This tutorial uses a Threshold adjustment layer to check for true white and black mathematically, then combines Hue/Saturation, painted white, and Blend If to push a background to pure white (or pure black) without losing the image’s detail.
Checking for Pure White With a Threshold Adjustment Layer
Threshold isn’t an adjustment meant to be applied to a finished image, it’s a way to check exactly where true white and true black already exist in a photo.
-
Add a Threshold Adjustment Layer
Add a Threshold adjustment layer above the image.
-
Slide to the Right to Check for White
Drag the Threshold slider all the way to the right; any area that still shows up as black means there’s no pure white in the image yet.
-
Confirm With a Test Swatch
Paint a swatch of pure white on a new layer just beneath the Threshold layer to see it register as a spike on the Threshold layer, confirming what pure white looks like when it’s actually present.
Desaturating the Background While Protecting the Subject
A background with a color cast, such as a bluish tint on what should be a milk-white surface, needs that color removed before it can be pushed to pure white.
-
Add a Hue/Saturation Adjustment Layer
Add a Hue/Saturation adjustment layer and drag Saturation all the way down to zero.
-
Mask Out the Subject
Paint black on the layer mask over the subject so the desaturation only affects the background.
-
Fade the Mask’s Edge With Low Flow
Lower the brush’s Flow to around 20% and use a soft brush to let a small amount of the original color fade back in near the center, keeping the transition natural.
Why the Closer an Image Starts to White, the Less It Needs to Change
An image photographed on a backdrop that’s already close to white only needs small pushes to reach pure white, preserving nearly all of its original detail in the process. A background that starts far from white requires much more aggressive painting and blending to get there, which naturally sacrifices more of the original detail along the way.
Painting Pure White Along the Edges
The border of the image is the part that matters most, since that’s the edge that will show if it doesn’t match the white of the page or website it’s placed on.
-
Create a New Layer for White
Create a new layer above the desaturated background.
-
Paint White Around the Border
Use the Brush tool to paint pure white specifically along the outer edges of the backdrop.
Blending Shadow Detail Back In With Blend If
Painting flat white erases any shadow detail in the backdrop, so Blend If brings some of that detail back without undoing the white along the edges.
-
Open Blending Options
Double-click the white paint layer to open Blending Options.
-
Split the Underlying Layer Slider
Hold Option/Alt and drag the underlying layer’s dark slider to split it, letting darker shadow detail from the layer beneath show back through.
-
Repeat With Additional White Layers
Add further white-painted layers with their own Blend If settings, allowing progressively more shadow detail to reappear closer to the center while the border stays pure white.
Why Use Blend If Instead of Just Painting Solid White Everywhere
Painting solid white across the entire backdrop would erase all of its shadow detail and texture, leaving a flat, lifeless surface. Blend If instead only lets the white take over in the specific tonal range being targeted, so shadow detail in the midtones can survive even while the border reaches pure white.
Verifying No Black Reaches the Border With Threshold
The real test of a pure white edge is whether Threshold shows any black touching the border, since that black is exactly what would show up as a visible line once the image is placed elsewhere.
-
Turn Threshold Back On and Check the Border
Turn the Threshold layer back on, slide it all the way to the right, and inspect the entire border for any black touching the edge.
-
Paint Additional White If Black Reaches the Edge
If any black reaches the border, create another white layer beneath and paint white specifically over that spot until Threshold shows a clean edge all the way around.
Why Check the Border Specifically, Not the Whole Image
Pure white doesn’t need to extend across the entire backdrop, only the outer border actually needs to reach it, since that’s the part that will visibly meet the white of a web page or print. Focusing the check on just the edge with Threshold means the rest of the backdrop can keep more of its natural shadow detail without any risk of a visible line appearing.
Previewing the Result on a Custom White Background
Photoshop’s canvas color can be set to pure white directly, which is the most accurate way to preview exactly how the finished image will look once it’s placed somewhere else.
-
Right-Click the Canvas and Choose Custom Color
Right-click the gray canvas area outside the image and choose Custom Color.
-
Set the Color to Pure White
Drag the color picker all the way to the top left corner to select pure white, then click OK.
Removing Photoshop’s Canvas Border for an Accurate Preview
A thin border that Photoshop draws around the canvas itself can make an otherwise pure white background look slightly off, so turning that border off gives a truly accurate preview.
-
Open Interface Preferences
Go to Photoshop > Preferences > Interface.
-
Set Border to None
Set the border option to None for Standard Screen Mode, Full Screen with Menus, and Full Screen, then click OK to remove the visible border around the canvas.
Checking for Pure Black and Setting the Black Point With Levels
The exact same Threshold check works in reverse for pure black, and a Levels adjustment layer’s black point slider is what actually pushes an area to true black.
-
Slide Threshold to the Left to Check for Black
Drag the Threshold slider all the way to the left; if the image goes entirely white with nothing showing, there’s no pure black present yet.
-
Add a Levels Layer and Raise the Black Point
Add a Levels adjustment layer above the background and raise the black point slider until the target area registers as pure black on the Threshold layer.
-
Verify on a Custom Black Preview
Right-click the canvas, choose a black background color from the preset options, and confirm the target area disappears seamlessly into pure black.
Why This Approach Works
Checking with a Threshold adjustment layer, rather than trusting the image visually, is what confirms with certainty whether an area is truly pure white or pure black rather than just very close. Painting white along the border and using Blend If to bring shadow detail back in the interior is what balances a clean, seamless edge against keeping the rest of the image from looking flat. Turning off Photoshop’s own canvas border and previewing against a matching background color is what makes it possible to judge the result the way it will actually appear once placed on a real web page or print.
Final Thoughts
An image that starts close to white or black needs only small, targeted adjustments to reach true white or black, while one that starts far off will lose more detail in the process, so it pays to shoot with that in mind whenever possible. The same Threshold-and-Blend-If combination shown here also comes in handy anytime an image needs a clean seam against a solid background, which is exactly the kind of problem our tutorial on how to change and remove backgrounds in Photoshop goes into further.
Quick Reference: Keys, Menus and Settings
- Check for whiteThreshold adjustment layer, slider all the way right; black means not pure white
- Remove a color castHue/Saturation: Saturation 0, mask the subject with Flow about 20%
- Paint the borderB, white on a new layer around the edges
- Bring back shadowsDouble-click the layer, Alt/Option-drag the dark Underlying Layer slider
- Preview on whiteRight-click the canvas area > Select Custom Color, top left corner
- Hide the canvas borderPhotoshop > Preferences > Interface: Border None for all three screen modes
- Pure blackThreshold slider left to check; Levels layer, raise the black point
Pure White Backgrounds: Common Questions
Why does my white background show a border online?
A backdrop can look white and still be slightly gray or tinted. On a pure white web page or print, that small difference shows up as a visible edge around the image.
How do I check if an area is pure white?
Add a Threshold adjustment layer and drag the slider all the way to the right. Anything still black is not pure white.
What do I do about a color cast on the background?
Add a Hue/Saturation adjustment layer, drag Saturation to zero, and paint black on its mask over the subject. A soft brush at about 20% Flow lets a little color fade back in near the center.
Why not just brighten the whole image with Curves?
Cranking a Curves layer brightens everything, so the background may reach white but the rest of the image is ruined. Painting white on the edges keeps the subject untouched.
Does the whole background have to be pure white?
No. Only the border needs to be pure white, so it meets the page with no line. Closer to the center the backdrop can keep some shadow detail.
How do I keep shadow detail when painting white?
Double-click the white layer for Blending Options, hold Alt/Option and drag the dark Underlying Layer slider to the right. The white then gives way where the layer below is dark.
How do I preview my image on white in Photoshop?
Right-click the gray area around the canvas, choose Select Custom Color, drag the picker to the top left corner for pure white and click OK.
How do I get rid of the line around the canvas?
Go to Photoshop > Preferences > Interface and set Border to None for Standard Screen Mode, Full Screen with Menus and Full Screen.
Does the same trick work for pure black?
Yes. Drag Threshold all the way to the left to check for black, then add a Levels layer and raise the black point until the area reads black. Right-click the canvas and choose Black to preview it.
Master Photoshop, Lightroom and Photography
Join PHLEARN PRO for $12.99 a month or $99.99 a year. Cancel anytime, with a 100% money-back guarantee.





