Download Sample Images
description
Lightroom Presets are a powerful tool that can help you color your photos while saving you valuable editing time. Follow along as we show you how to create your own Presets in Lightroom Classic. We take you through the entire process while explaining our best practices that will help your color settings look great on any photo.
And if you’re not convinced that Lightroom Presets are the best, take ours for a spin! Not only do we have an extensive library of beautiful looks, we have a free sample pack that you can download and use right away.
Our entire Lightroom Preset catalog is included for PHLEARN PRO subscribers. Not a PRO member? No problem! All of our Presets Packs are available for purchase individually on our PHLEARN Etsy store.
Share

AFTER
BEFORE
Beautiful Color in a Snap
What are Lightroom Presets?
Lightroom Presets are a way to save all of the adjustments you’ve made to an image in Lightroom’s Develop Tab. So if you raised the exposure a bit, lifted the shadows, added some contrast, warmed up the color temperature, added cool blues to the shadows, and yellows to the highlights, you can save all of that work to use on another image! Presets can be a great way to add a consistent look across multiple images, but they’re also a handy tool that can help you save time during the post-production process.
While they’re a wonderful tool, there are some important things to consider when making Lightroom Presets. Not all images are going to work with a single set of adjustments, so we’re here to share some best practices that will help you make Presets that are as versatile as possible.
Choosing Test Images
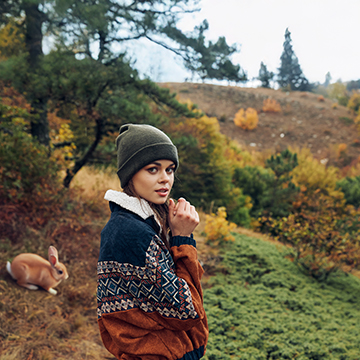
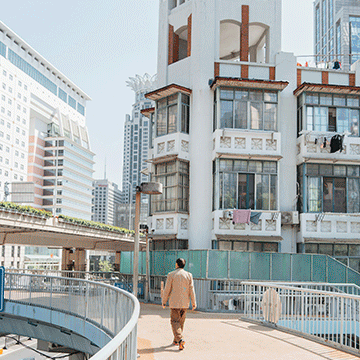
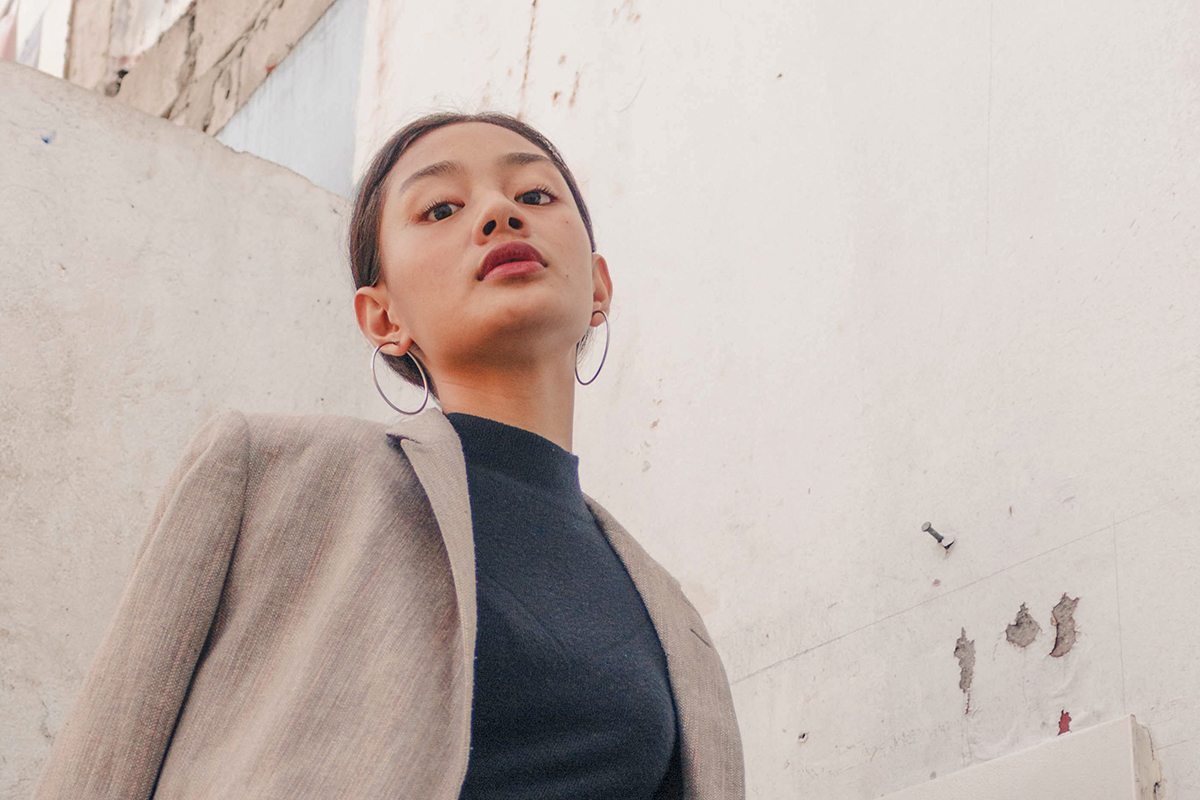
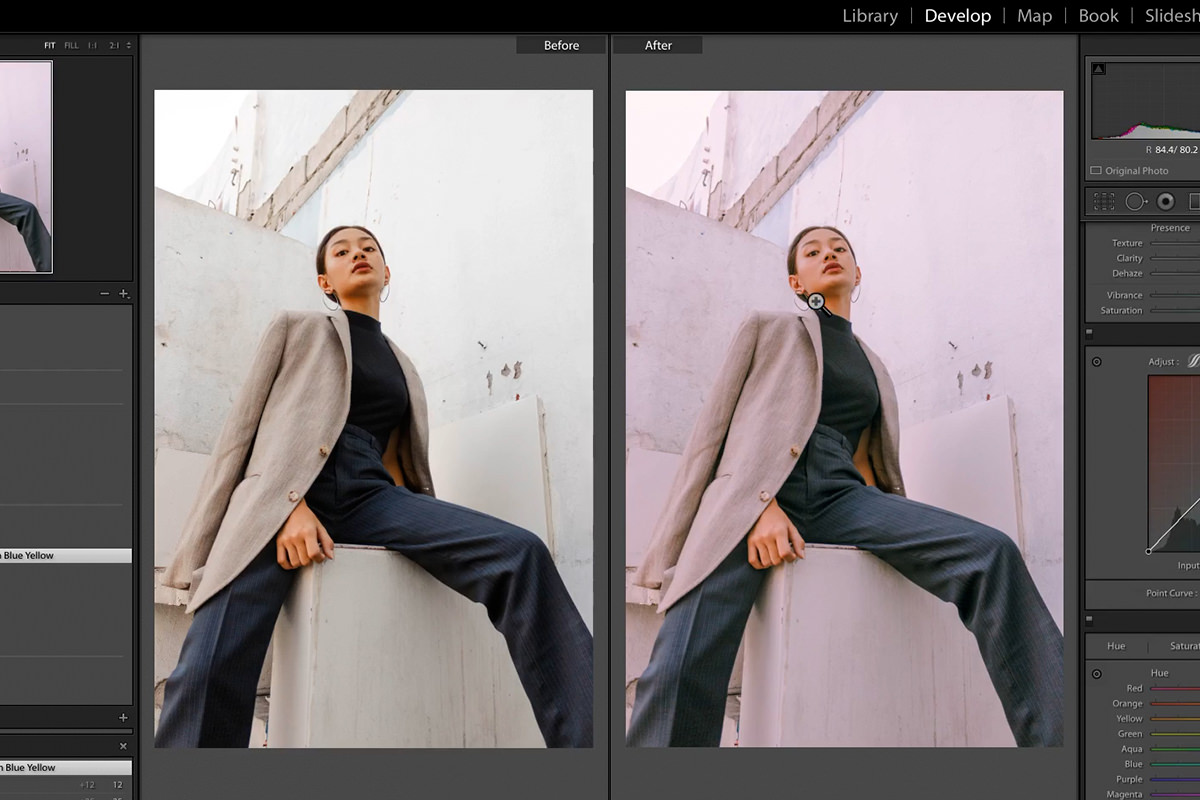
When you first sit down to make your own Lightroom Presets, you’re going to want to have some initial images to edit. We recommend trying to choose multiple images, making sure that they’re pretty different in terms of exposure, color, and overall content. For example, the images we chose aren’t night and day different, but they’re different enough to give us a good idea of how well our Presets will work under different circumstances. The first image is an image of a woman in front of a plain, light background. The second is a woman sitting in front of a darker, busier background.
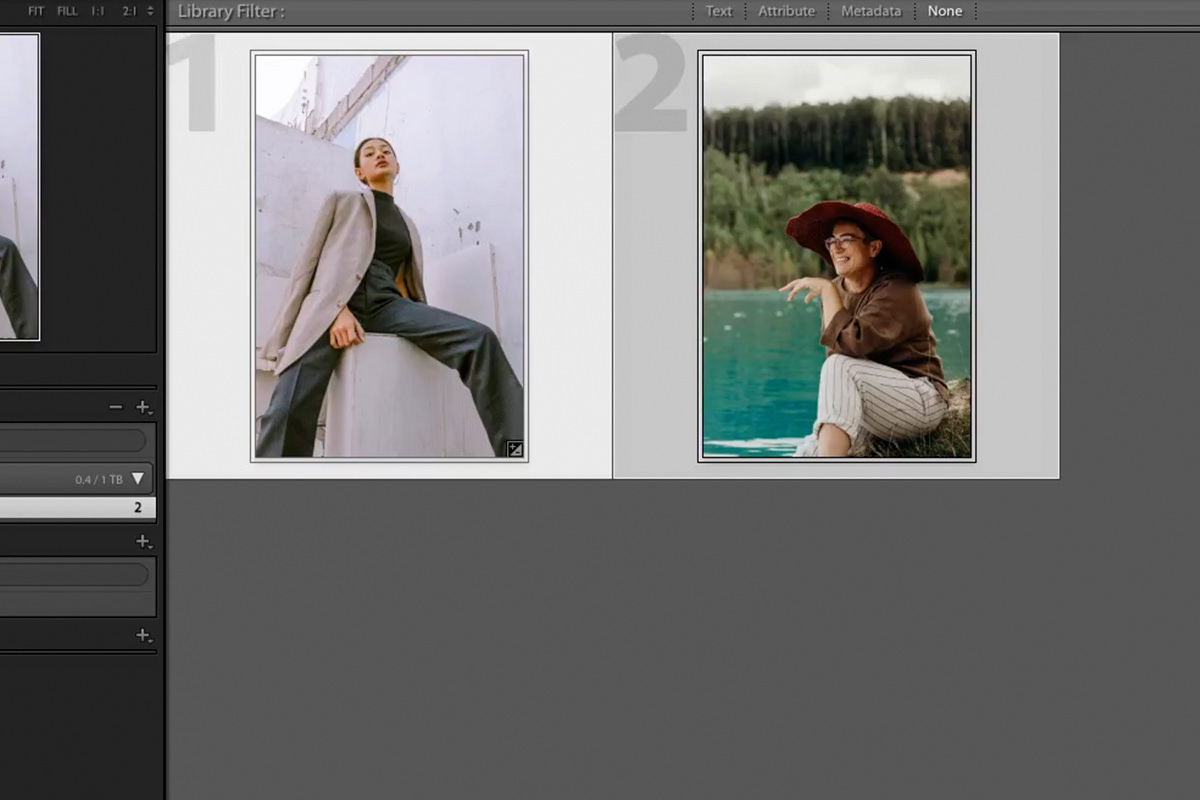
They’re close enough that it’s reasonable to use the same Preset on them, but different enough that we need to be careful that the adjustments we make for one, work for the other.
Color Temperature & Exposure
Our first tip for creating Presets that are both beautiful and versatile is to leave the Exposure and Color Temperature adjustments out. Ideally, you only want to apply Presets to an image that is already properly exposed and already set to a natural-looking white balance. This can either be done in-camera when the photo is taken, or in post-production before moving on to the creative coloring process.
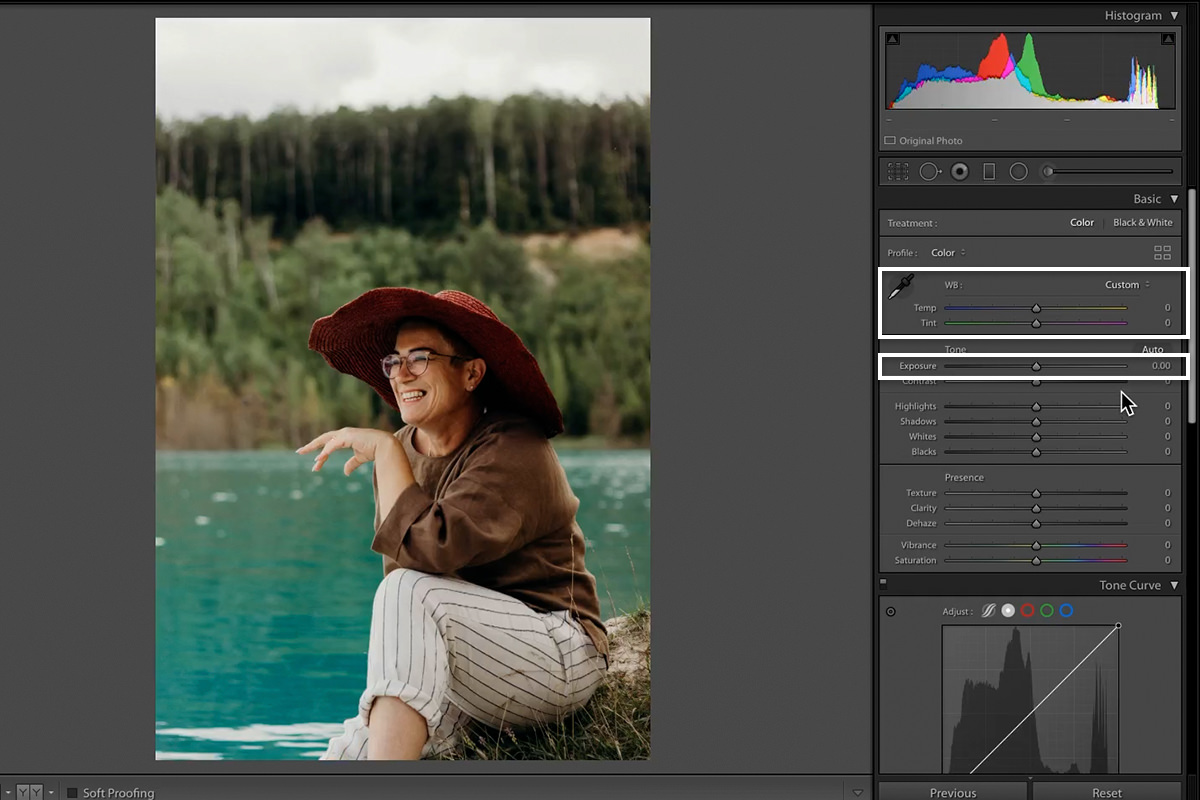
Exposure and Color Temperature are extremely important settings, but they should be adjusted on a photo-by-photo basis. They’re two of the most fundamental things for a natural, balanced image, so be sure not to rely on a Preset to get the job done.
Natural Skin Tones
One of the easiest mistakes to make when color grading is pushing skin tones too far into colors that look unnatural. All human skin will have reds, oranges, and magentas. So if you push those colors too far into cooler tones, it can leave your subjects looking a little off.
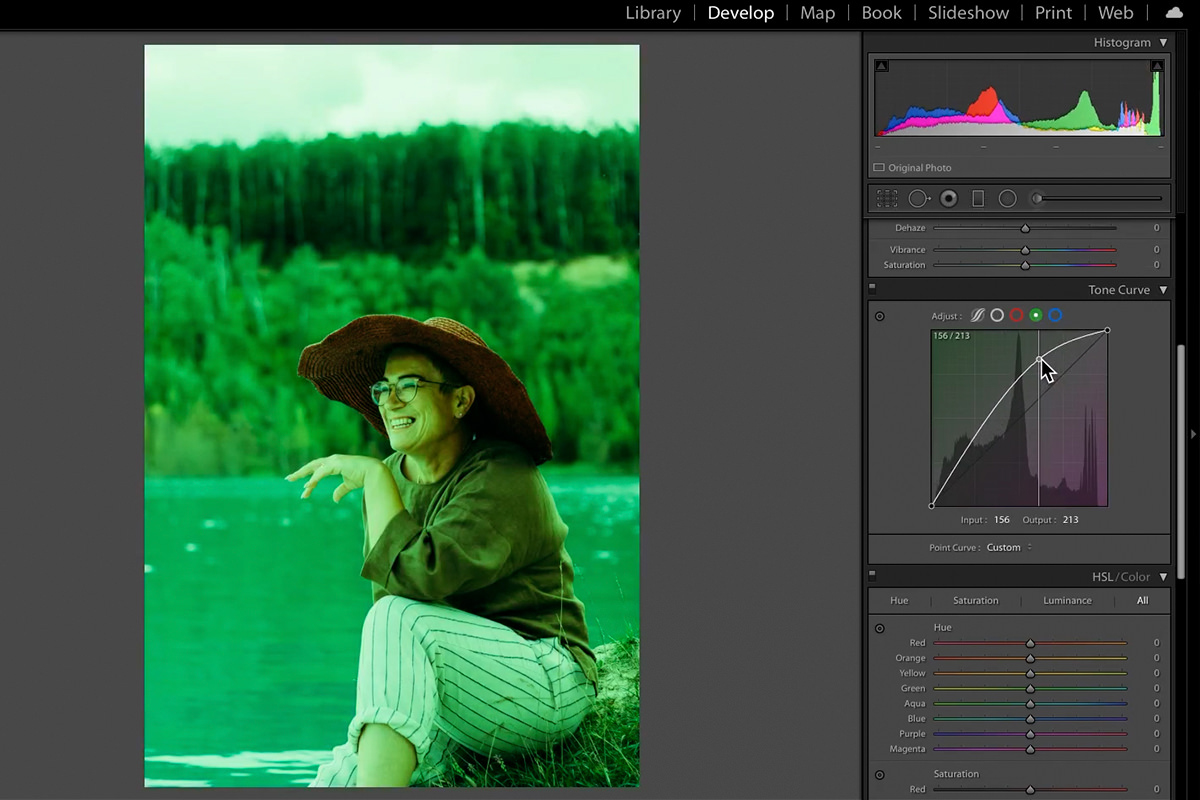
This is pretty common when editing photos with people in front of colorful landscapes. As editors, we have a tendency to want to bring out the colors in the trees, sky, and water. But those blue and green hues can have a not-so-flattering effect on the natural warm tones in skin.
One easy way to avoid this issues, is to adjust the color settings so that any highlights in a photo stay in a warmer color range. Most properly exposed photos of people will have the subject’s face and body well-lit, keeping those areas in the highlights.
That means when you make any changes to the highlights of a photo in post-production, chances are high that those edits will affect any skin tones in the image.
Keep it Simple
Lightroom Presets are great, but they’re not the be-all end-all of the editing process. The more you try to do and the further you try to push the settings in your Presets, the less likely that they’re going to work on a wide range of photographs. We recommend keeping things subtle. Small changes that are visible, but not overly stylized.
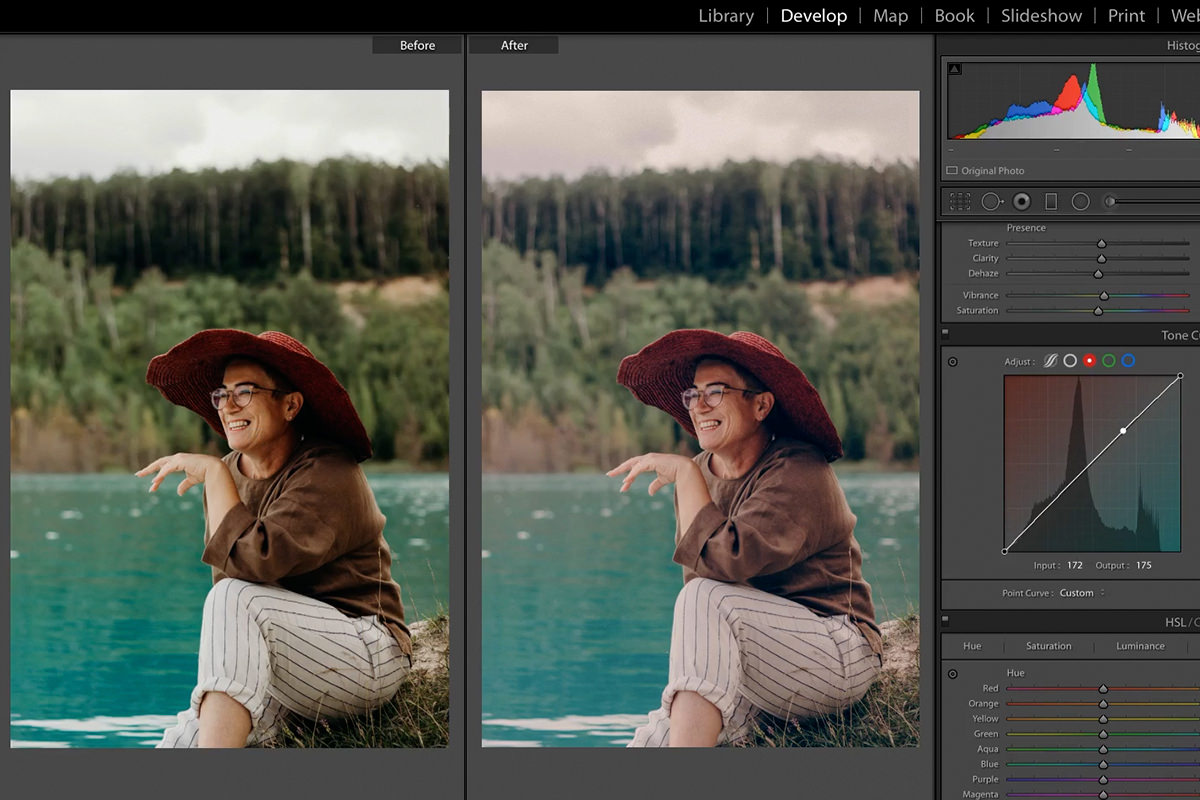
One of the best things about Presets is that once you load them onto a photo, they’re fully customizable. So after a loading a subtle Preset, you have a good base to push things further if the photo allows for it.
Creating a Preset
Once you’ve made all the adjustments that you want to include in a Preset, the process for saving it is pretty easy. Find the Presets drop-down within the leftmost sidebar, open it, click on the + icon in the top right corner, and select Create Preset.
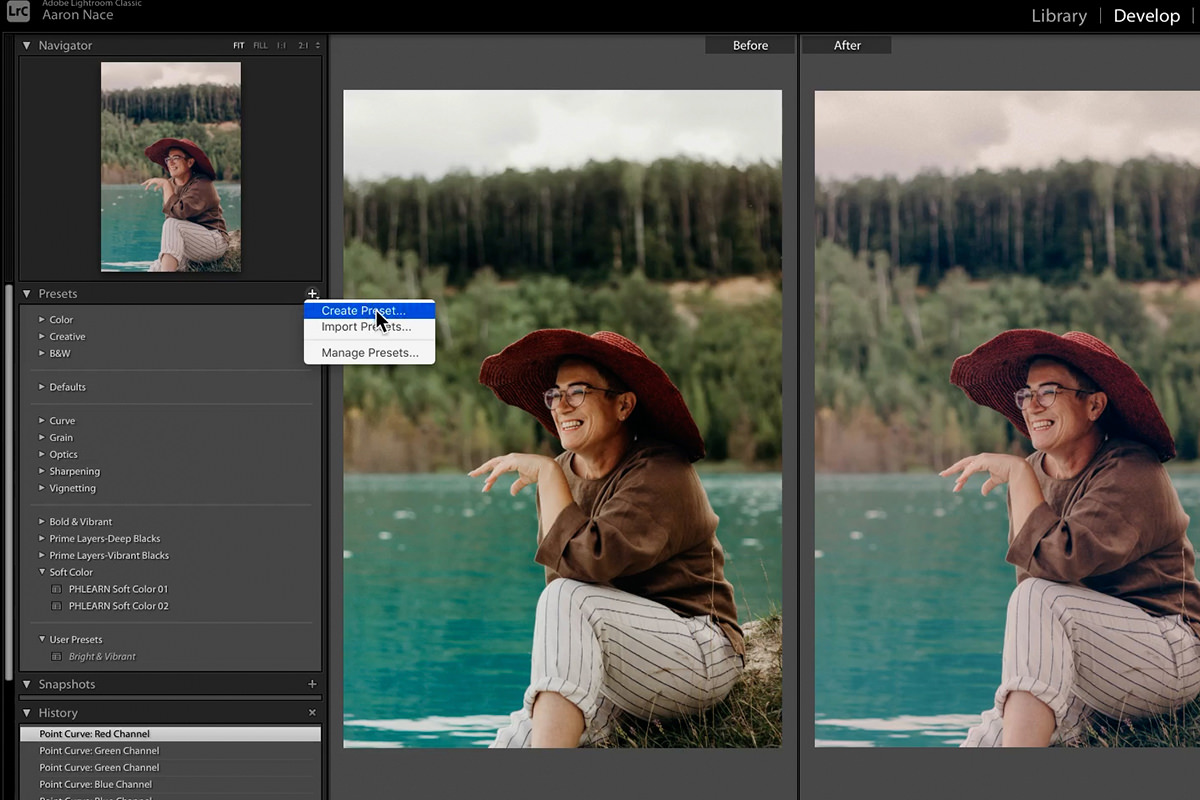
The Create Preset dialog will open.
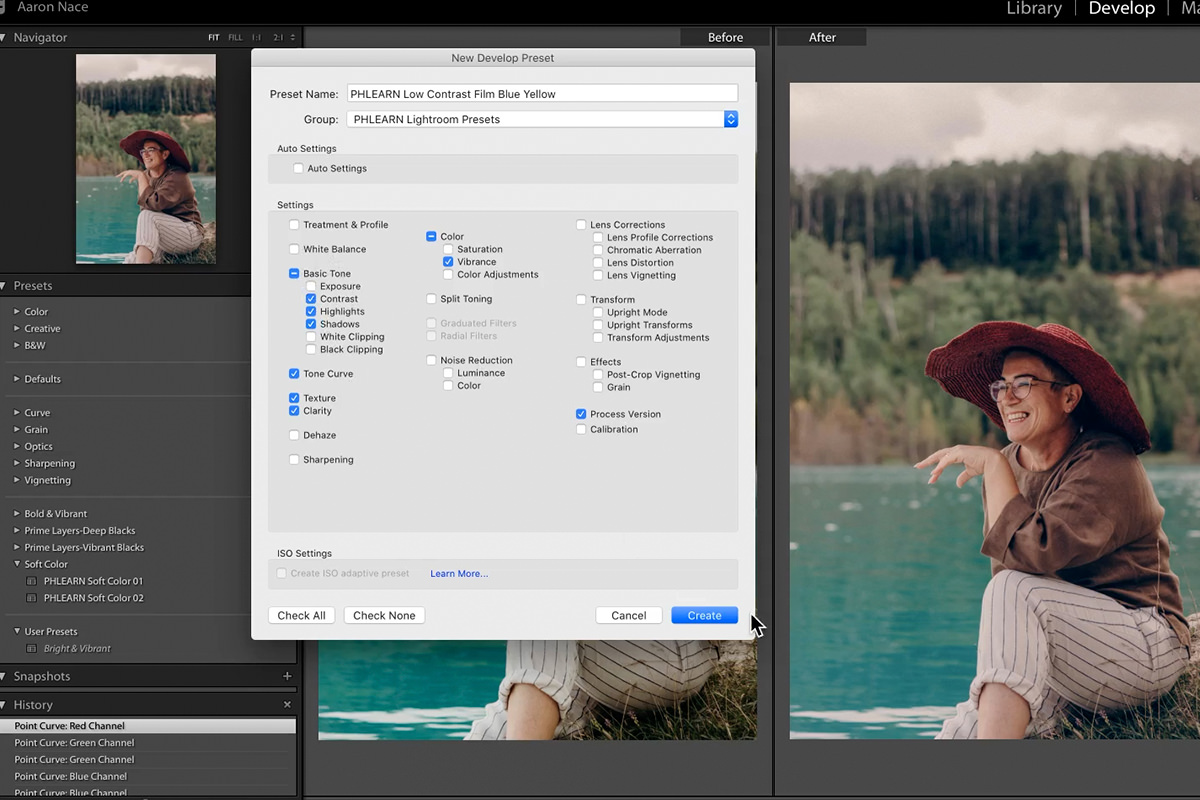
Here you can give the Preset a name (we recommend being as descriptive as possible with your naming so it’s easy to identify later what a Preset is going to do) and add it to a Group. Groups are a great way to create sets of similar Presets with similar styles. So if you wanted to make a bunch of low-contrast looks with an old-school film feel, you could create a Vintage Group to store all of those looks.
Then there are a number of options of what settings to save as part of the Preset. By default, a lot of the options will be selected when you first go to create a new Preset. We recommend using the Check None box at the bottom of the window to reset everything, and then only checking the settings that you actually adjusted as part of the Preset. This will ensure the Preset doesn’t adjust any settings that we didn’t want it to.
Also, be sure to check the Process Variation box, as that will help the Preset work with other versions of Lightroom.
Once you’re done, hit the Create button. You can find your new Preset and Preset Group listed within the Presets drop-down. Simply find it and select it to load it on to another photograph. Try it on one of your other test photos to see how it works!
PHLEARN Lightroom Presets
We have an extensive (and growing!) library of Lightroom Presets that cover a wide range of looks and styles. From old-school film looks, to oceanside vibes, to the perfect colors for life’s most important memories, there’s sure to be something that will spark your creative photo editing juices flowing.
Be sure to check out our free sample pack and try them out on your own photos today!