
Photoshop & Lightroom Retouching Tutorials
Learn portrait and product retouching that looks like the person, not a plastic version of them: skin, eyes, hair, teeth, shape, and clean-up in Photoshop and Lightroom. More than 170 free and PRO video tutorials from Aaron Nace, from a five-minute cleanup to advanced frequency separation.

Lightroom Open Eyes opens closed eyes in one tap on your phone. Learn the steps, what it costs in credits, the AI behind it and how real the eyes look.
Lightroom | AI & Generative Tools | Easy | 15 mins | 1 video
3 Sample Images | 1 PDF Guide
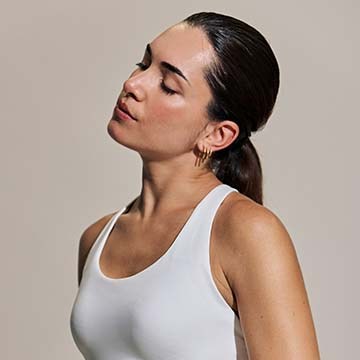
Blemish removal tool in Camera Raw fixes skin blemishes with one click. Learn the Fade slider, Refine mode, and manual clean-up for clothing and skin.
Photoshop | Retouching | Easy | 15 mins | 1 video
1 Sample Image | 1 Sample PSD | 1 PDF Guide
Use the Vectorscope tool in Camera Raw to read skin tone objectively, mask the skin and correct Temperature, Tint, and Saturation against its reference line.
Photoshop | Retouching | Medium | 30 mins | 1 video
3 Sample Images | 3 Sample PSDs | 1 PDF Guide
Remove reflections from faces in Photoshop 2026: run the automatic tool, mask back the detail it flattens, and clean up the glare it leaves behind.
Photoshop | Retouching | Easy | 15 mins | 1 video
1 Sample Image | 1 Sample PSD | 1 PDF Guide
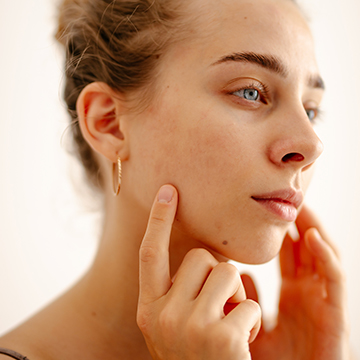
Test the new blemish removal tool in Lightroom Mobile: run it from Quick Actions, see what it clears in one tap, then clean up what it misses by hand.
Lightroom | Retouching | Easy | 15 mins | 1 video
1 Sample Image | 1 Sample PSD | 1 PDF Guide

Discover the complete workflow for natural light portrait editing! Learn how to enhance sun glow, remove flare, fix underexposure, and master professional light sculpting using the latest tools. This tutorial includes 8 RAW files and a our exclusive Frequency Separation Action.
Photoshop | Photo Editing | Medium | 2.5 hours
8 Sample Images (RAW Files) | 1 Sample Image (JPEG File) | 7 Sample TIFFs | 1 Photoshop Action
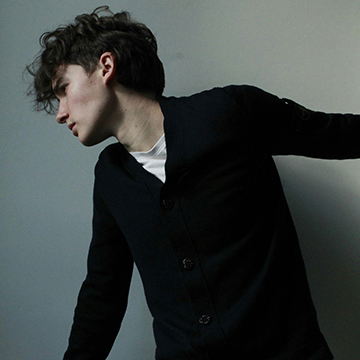
The Liquify tool is for fixing clothes and hair, not reshaping people. Set it up on a smart object so every push stays editable and nothing is destroyed.
Photoshop | Retouching | Easy | 30 mins | 1 video
2 Sample Images | 2 Sample PSDs | 1 PDF Guide
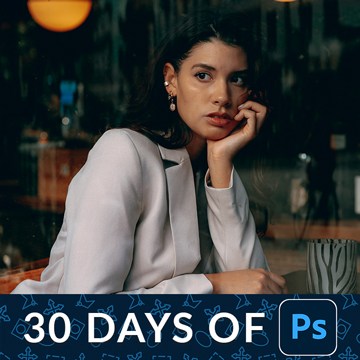
Blend skin tones without touching the texture. Frequency separation splits color from detail so you can even out blotchy skin and keep every pore intact.
Photoshop | Retouching | Advanced | 15 mins | 1 video
1 Sample Image | 1 Sample PSD | 1 Photoshop Action
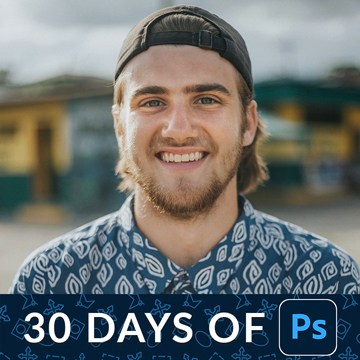
Retouch a portrait in Photoshop in the right order: clear the distractions first, correct the color next, then shape the light. Every step stays editable.
Photoshop | Retouching | Medium | 30 mins | 1 video
1 Sample Image | 1 Sample PSD
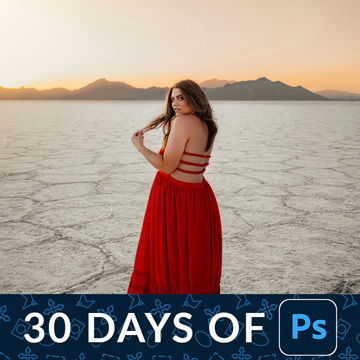
Dodge and burn in Photoshop with two Curves layers instead of the Dodge and Burn tools. Low flow, tiny moves, and every stroke stays editable.
Photoshop | Retouching | Medium | 15 mins | 1 video
1 Sample Image | 1 Sample PSD
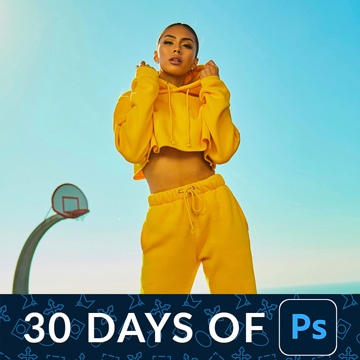
Liquify has outgrown its reputation. Its most useful modern job is unglamorous: fixing a collar, a strap or a stray lock of hair without touching the person.
Photoshop | Retouching | Medium | 15 mins | 1 video
1 Sample Image | 1 Sample PSD

Glare on eyeglasses is a borrowing problem, not a cloning one. Take clean skin from elsewhere on the face, warp it to fit the lens, then mask it down.
Photoshop | Retouching | Medium | 15 mins | 1 video
1 Sample Image | 1 Sample PSD | 1 PDF Guide
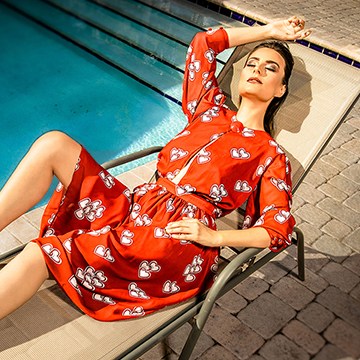
Transform your portraits! This advanced tutorial in Photoshop and Camera Raw guides you through editing eight diverse RAW photographs, tackling unique challenges. Learn AI masking, reshape lighting, and more!
Photoshop | Photo Editing | Advanced | 3.5 hours
8 Sample Images (RAW Files) | 8 Sample PSDs
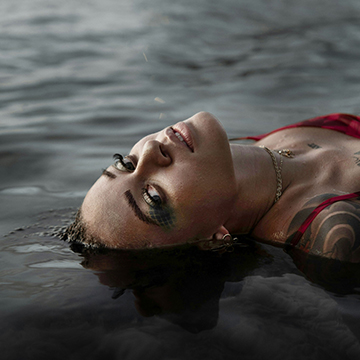
How to dodge and burn in Photoshop with Curves instead of the Dodge and Burn tools: one pass to even the light, a second to carve the highlights.
Photoshop | Retouching | Medium | 30 mins | 1 video
1 Sample Image | 1 Sample PSD | 1 PDF Guide
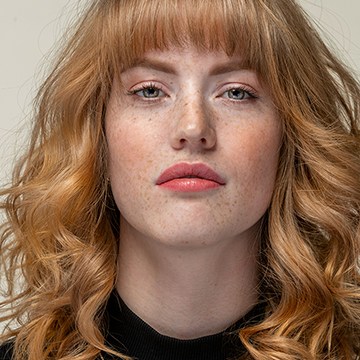
Learn high-end portrait retouching with advanced techniques like frequency separation, dodge and burn, and color correction. This tutorial includes 5 RAW files, our exclusive Frequency Separation Action, and a versatile Retouching Brush!.
Photoshop | Retouching | Advanced | 3 hours
5 RAW Sample Images | 5 Sample PSDs | 1 Frequency Separation Action | 1 Retouching Brush

Master studio photo editing in Photoshop! This tutorial combines traditional and AI tools to teach you background changes, retouching, and essential techniques. Get JPEG and RAW files, plus our Frequency Separation Action!
Photoshop | Photo Editing | Medium | 2 hours
6 Sample PSDs | 6 Sample Images (JPEG) | 1 Sample Image (RAW) | 1 Photoshop Action
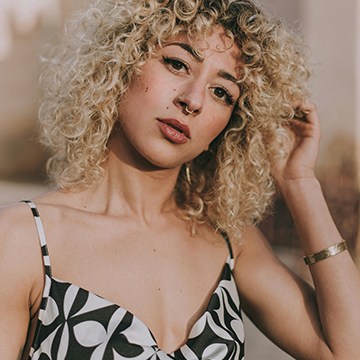
How to remove tattoos using AI in Photoshop: select slightly wider than the tattoo, run Generative Fill with an empty prompt, then check the skin texture.
Photoshop | Retouching | Medium | 15 mins | 1 video
1 Sample Image | 1 Sample PSD | 1 PDF Guide

Master fashion photo editing with Lightroom & Photoshop! In this tutorial we’ll show you the best workflows and techniques, including background replacement, sky enhancement, and frequency separation retouching. The best part? We’ve included 14 RAW files, so you can follow along.
Photoshop, Lightroom | Photo Editing | Advanced | 3.25 hours
14 RAW Files | 1 Photoshop Action
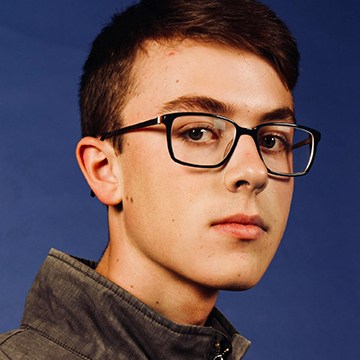
Explore all the possibilities with the new Adjustment Brush Tool in Photoshop Beta.
Photoshop | Retouching | Medium | 15 mins | 1 video
4 Sample Images | 4 Sample PSDs | 1 PDF Guide
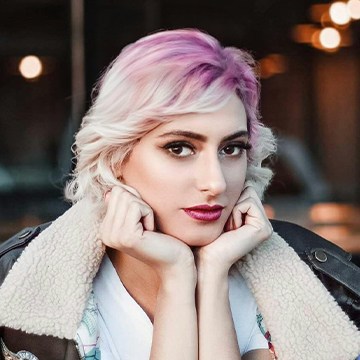
How to change hairstyle using AI in Photoshop: clear the old shape first so Generative Fill has room, then generate the new cut and color.
Photoshop | AI & Generative Tools | Easy | 15 mins | 1 video
4 Sample Images | 4 Sample PSDs | 1 PDF Guide

Unlock the secrets of portrait retouching in Photoshop! Learn classic methods and leverage AI for smooth skin, subtle enhancements, and stunning results.
Photoshop | Retouching | Medium | 1.5 hours
9 Sample Images | 9 Sample PSDs

Transform your photos from tired to vibrant with this easy-to-follow Photoshop tutorial on eliminating dark circles.
Photoshop | Retouching | Easy | 15 mins | 1 video
3 Sample Images | 3 Sample PSD | 1 PDF Guide
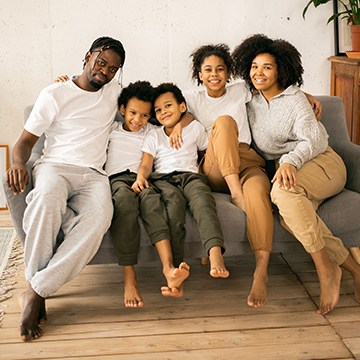
How to swap faces in Photoshop: use frames from the same shoot, match the scale and angle, blend with a layer mask, then fix the hard edges with Generative Fill.
Photoshop | AI & Generative Tools | Medium | 30 mins | 1 video
2 Sample Images | 1 Sample PSD | 1 PDF Guide

Photo restoration in Photoshop with neural filters: clear dust and scratches with one switch, try Colorize on the faded color, then finish with Camera Raw masks.
Photoshop | AI & Generative Tools | Medium | 15 mins | 1 video
2 Sample Images | 1 Sample PSD | 1 PDF Guide

Learn to most powerful tools in Photoshop to improve any photo! Follow along and download the included frequency separation photoshop action.
Medium | 2.25 Hours | 2 Sample Images | Download PSD & Action

Use the included Frequency Separation Action to remove any blemishes from skin
Photoshop | Retouching | Easy | 30 mins | 1 video
1 Sample Image | 1 Sample PSD | 1 Photoshop Action | 1 PDF Guide

Learn to remove color and light glare from glasses in Photoshop
Photoshop | Retouching | Easy | 15 mins | 1 video
1 Sample Image | 1 Sample PSD
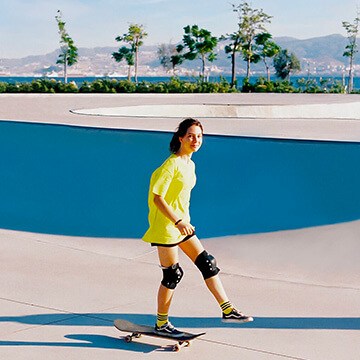
Learn to most powerful tools in Photoshop to improve any photo! Follow along and download the included frequency separation photoshop action.
Photoshop | Photo Editing | Medium | 2 hours
2 Sample Images | 2 Sample PSDs | 1 Photoshop Action

Learn how to fix clothing issues with the clone stamp and liquify tool
Photoshop | Retouching | Easy | 30 mins | 1 video
1 Sample Image | 1 Sample PSD | 1 PDF Guide

Speed up your Photoshop retouching workflow with these keyboard shortcuts that will help you switch tools and move around your images with ease!
Sample Image & PDF Guide Included
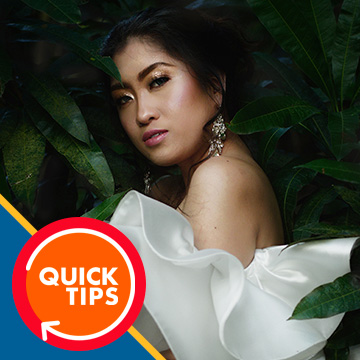
Learn how to add a beautiful shine to skin using the Brush Tool and Blend If in Photoshop!
Sample Image Included

Learn how to use the Face-Aware Liquify Tool and Smart Portrait Neural Filters to make subtle adjustments to facial features and even facial expressions!
Sample Image Included
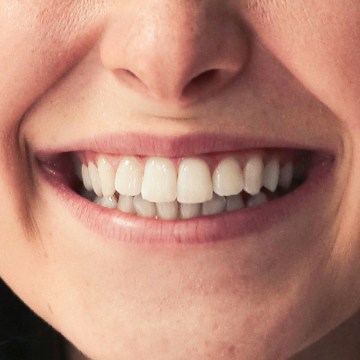
Learn how to help teeth look brighter and whiter in any photograph using these easy Photoshop techniques.
Sample Image Included
Photoshop | Retouching | Easy | 15 mins | 1 video
1 Sample Image | 1 PDF Guide
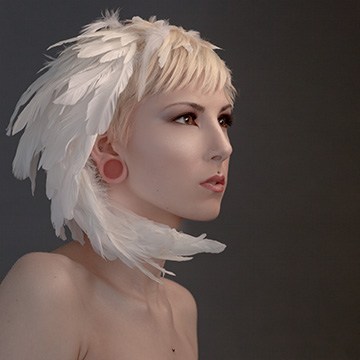
Transform your photos with Frequency Separation! This amazing Photoshop tool lets you retouch images with ease, smoothing out skin and enhancing details. Say goodbye to blemishes and hello to stunning photos that truly stand out!.
Free Frequency Separation Action & Sample Images Included

Learn how to change any facial expression into a smile with Smart Portrait Neural Filters in Photoshop!
Sample Image Included
Join us through four complete edits as we show you how to balance exposure, add subtle color toning, draw more attention to subjects, and help life’s most precious moments last a lifetime.
Lightroom | Photo Editing | Medium | 1 hours
4 Sample Images
What You’ll Learn
Retouching is where most editors pick up bad habits, because the tools make it easy to go too far. These tutorials teach the professional standard: remove what is temporary, keep what is permanent, and leave texture alone.
- A fast, clean first pass. Spot Healing, the Remove Tool, and Content-Aware Fill for blemishes, stray hairs, dust, and distractions, plus the new AI clean-up tools in Photoshop 2026 and Lightroom.
- Skin that still looks like skin. Frequency separation, dodge and burn, and texture-preserving smoothing, and how to know when to stop.
- Eyes, teeth, and hair. Brightening without the glow, whitening without the chalk, and taming flyaways with masks instead of blur.
- Shape and light. Liquify used honestly, plus dodge and burn to sculpt light on a face or a product.
- Batch retouching in Lightroom. Syncing masks across a whole shoot, assisted culling, Denoise, and when to send an image to Photoshop for the fine work.
Where to Start
If you have never retouched a portrait, begin with the Retouching Learning Path, which goes from a basic cleanup to advanced skin work in order. Portrait photographers should also look at the Portraits Learning Path, and anyone shooting for clients will get the most from the PRO course Advanced Portrait Retouching.
Free and PRO Tutorials
Free tutorials are complete lessons, not previews. PRO tutorials go deeper and longer, and they include the sample images, RAW files, actions, and presets used in the lesson so you can follow along on the exact same file. A PHLEARN PRO membership unlocks every PRO tutorial on the site, including all of the ones in this category.
Frequently Asked Questions
What is the best way to retouch skin in Photoshop?
Start with healing tools for individual blemishes, then use frequency separation to even out tone while keeping pores and texture, and finish with dodge and burn. The tutorials in this category walk through each step on real portraits.
Can I retouch in Lightroom instead of Photoshop?
For light work, yes. Lightroom’s healing, masking, and the newer AI blemish removal handle most everyday cleanup, and they sync across a whole shoot. Heavy skin work, hair, and reshaping still belong in Photoshop.
How do I avoid the over-retouched look?
Zoom out often, keep skin texture, work on separate layers at reduced opacity, and compare to the original frequently. Several tutorials here are specifically about restraint.
Where to Go Next
Retouching pairs naturally with Color & Tone, which is where a finished portrait gets its look, and with Photo Editing for the exposure and color correction that should happen first. For studio and product work, see Tools & Techniques, and for whole-shoot workflows see Workflow & Productivity.
Learn Retouching in Order
The Retouching Learning Path goes from a basic cleanup to advanced skin work, one tutorial at a time.
On This Page
PHLEARN PRO
Every PRO tutorial in this category, with sample and RAW files, plus the full PRO library.