Professional Retouching Workflow
-

-
Add to
favorites
-
DifficultyMedium
-
Length2.5 hours
-
Software
Description
Blemish removal. Dodging and burning. Frequency Separation. With so many different steps, professional retouching is a lot of work–but it doesn’t have to be complicated!
Master a complete professional retouching workflow. Learn every single tool, technique, and step required to make your subjects look great, and to impress your clients. From exposure adjustments and blemish removal, to Frequency Separation and sharpening, we take you through the entire process from start to finish while demonstrating the best order to perform each task. This course will help you retouch images faster and more efficiently than ever!
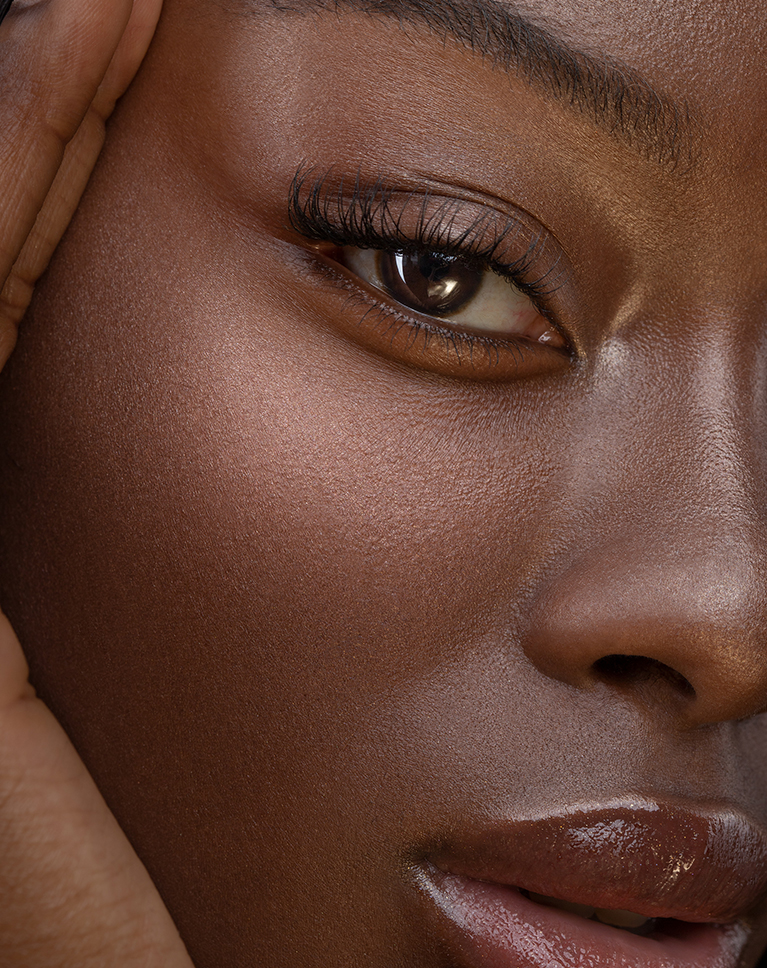
Follow along with the included RAW image captured by professional beauty photographer Iulia David!
THIS COURSE INCLUDES
- 1 RAW Sample Image
- 1 Sample PSD
- 1 Photoshop Brush
- 2 Photoshop Actions
watch next
Share
Table of Contents
Course Downloads
Master Pro Retouching, from Start to Finish
What should come first in the retouching process? What should you do last? We break down the workflow of a seasoned retoucher, showing you each step in the process in an order that will help you work more efficiently while getting a polished, professional result.
Step-by-Step Retouching
STEP-BY-STEP RETOUCHING
ORIGINAL
Master Retouching Workflow
Learn how to perform a complete portrait retouch from start to finish, from importing detailed RAW files and making adjustments to exposure and color, to high-end blemish removal, dodging and burning, and frequency separation. By the end of this course you’ll be confident in every step of the pro retoucher’s process, and you’ll know the best order to tackle each step so that you can get the job done right the first time.
Included Photoshop Actions & Brushes
When you need to work quickly but with a professional and accurate result, look no further than our set of PHLEARN Photoshop Actions and Brushes! We take the busy-work out of complex tasks like frequency separation and sharpening so that you can focus on the art and craft of retouching.
Step-by-Step Guide
This course is a quick, step-by-step guide to a complete, professional retouching workflow. Join us as we perform a complete portrait retouch from start to finish, hitting every major tool and technique along the way. Learning professional retouching has never been faster and more accessible!
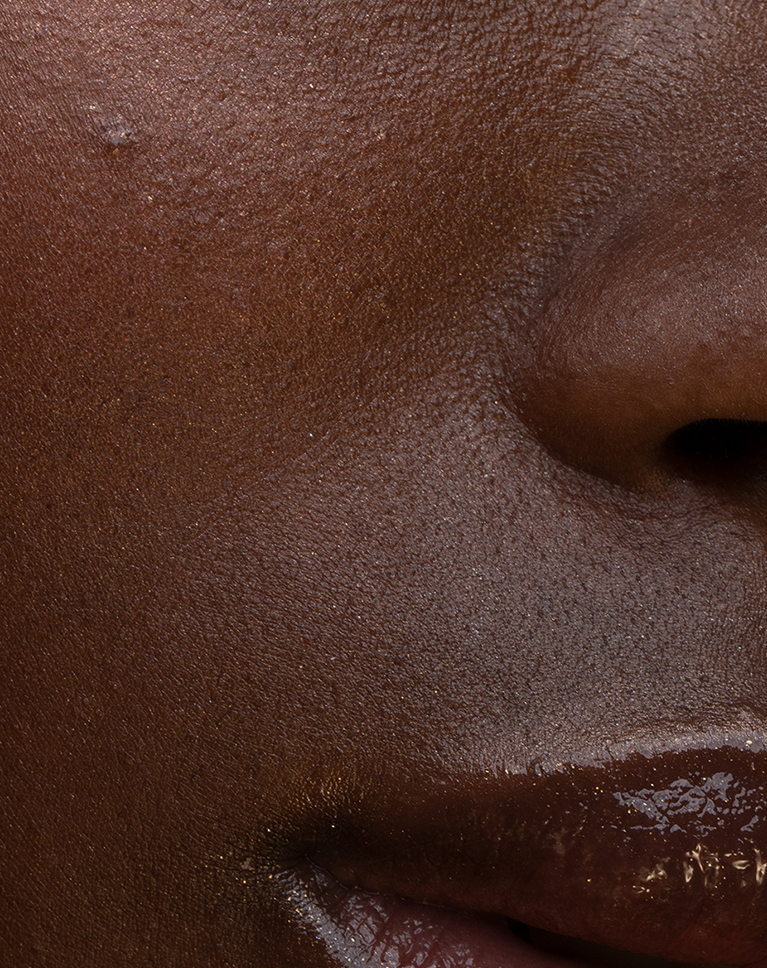
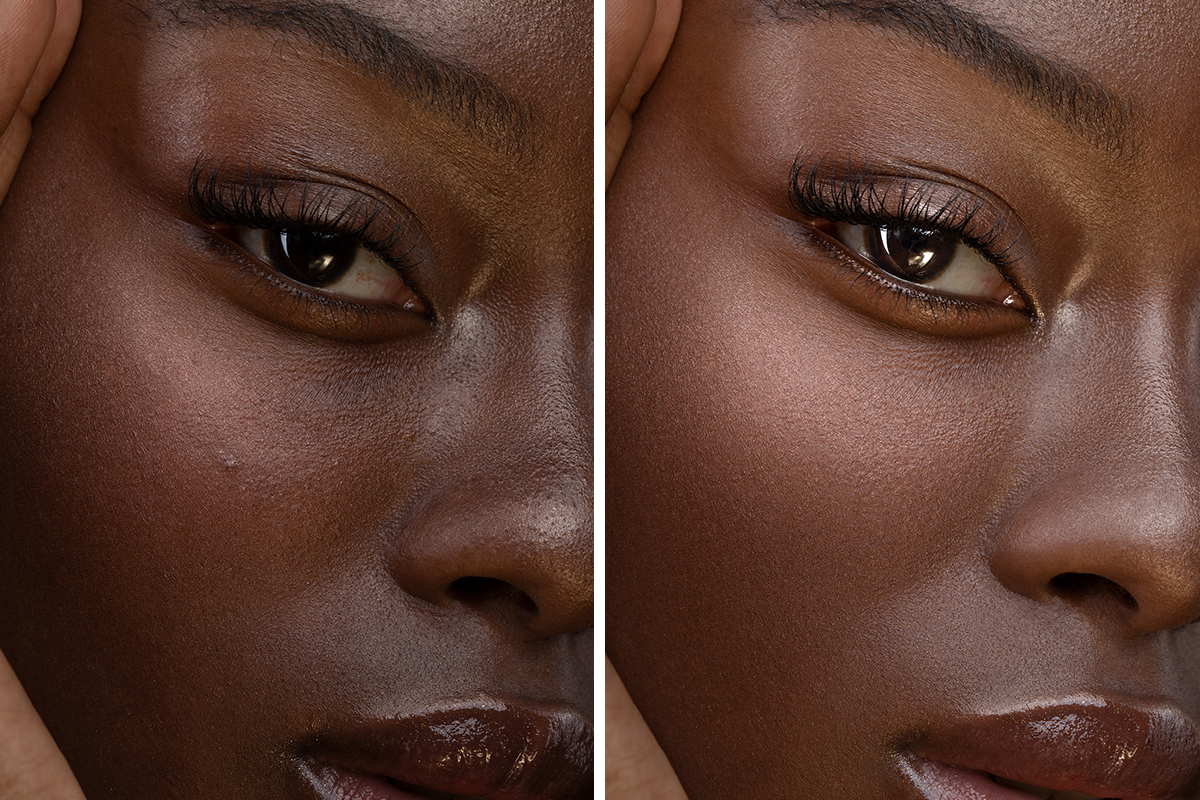
SILKY-SMOOTH SKIN
ORIGINAL
Blemish Removal
We all have tiny, temporary blemishes that tend to be more visible in high-resolution photography. Learn how to use tools like the Clone Stamp Tool and Spot Healing Brush Tool to reduce and remove distractions like pimples and even flyaway hairs.
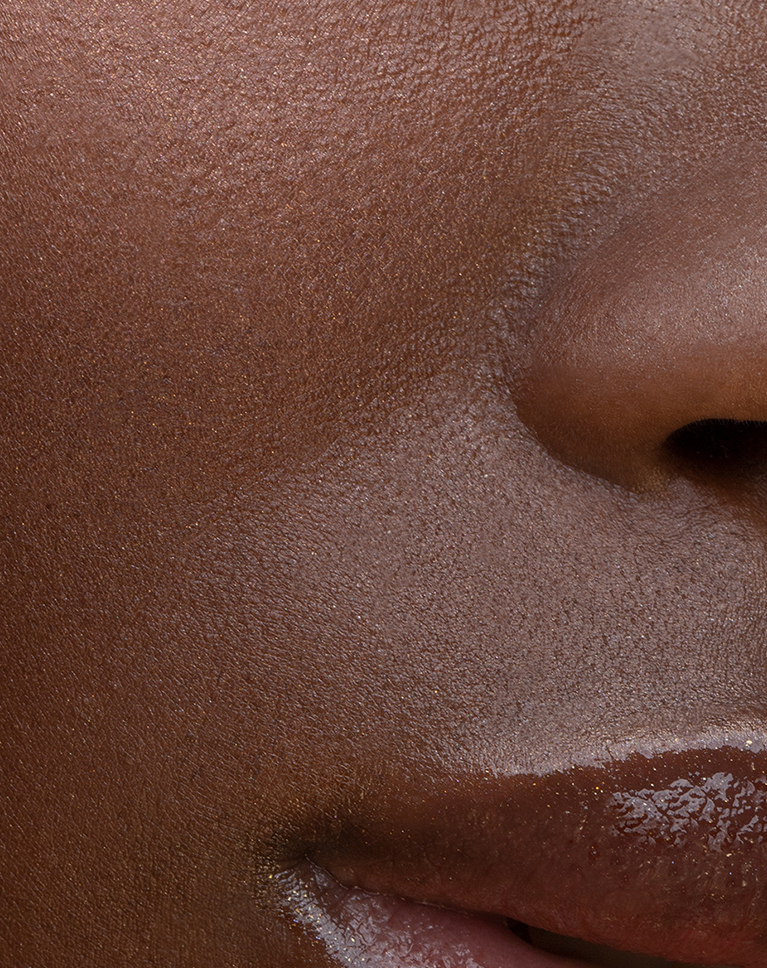
Frequency Separation
When you need a portrait fit for a magazine cover, frequency separation is the most powerful technique in your toolbox to get a high-end result. Use our included PHLEARN Frequency Separation Action to smooth out harsh transitions between light and dark and help skin look soft and silky-smooth. Want to master the art of frequency separation? Then check out our popular course, How to Master Frequency Separation Retouching in Photoshop.
Retouching in Photoshop
With hundreds of tools and techniques at your disposal, it can be hard to find the right tool for the job–especially when retouching portraits. We show you our tried-and-tested methods for removing distractions, fixing exposure, enhancing details, and helping people look their very best.
Frequency Separation, Dodge and Burn & More!
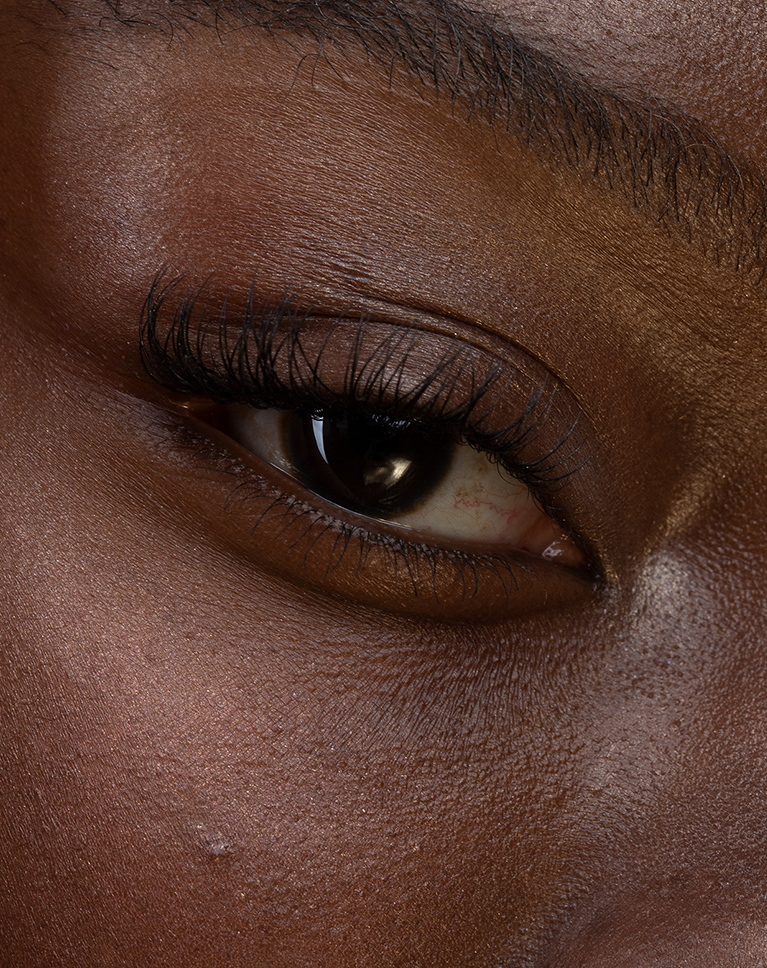

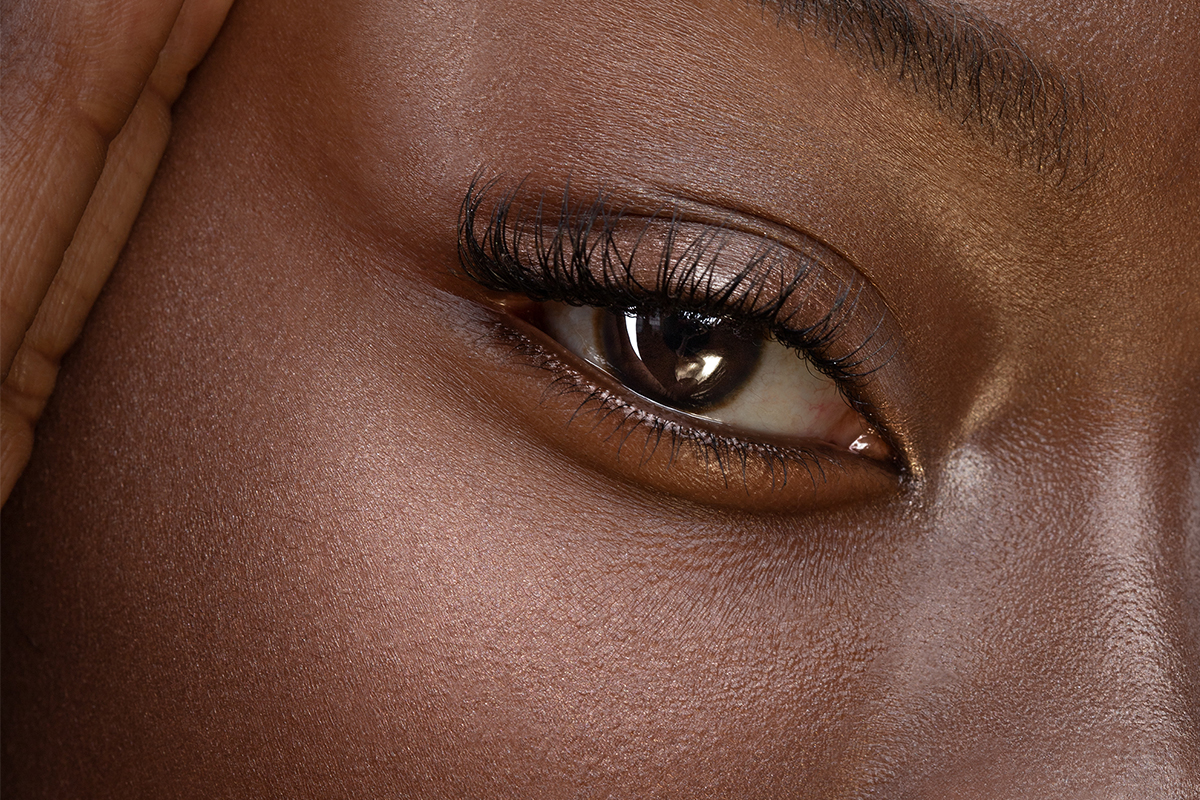
HELP EYES POP
ORIGINAL
Adobe Camera RAW
If you’re working as a professional retoucher, you need to be familiar with processing RAW images in Adobe Camera RAW. Learn how to use Adobe Camera RAW to make detailed adjustments to exposure, color temperature, and more! Be sure to check out our course on Adobe Camera RAW to learn every tip and tool it has to offer!
Exposure Adjustments
Even in photos captured in a high-end photography studio, you’ll need to make adjustments to balance the exposure. We show you how to make precise edits to exposure and even create multiple exposures to blend together for perfectly even lighting.
Sharpening
Sharpening is one of the most important steps in portrait retouching, helping enhance the details that matter most while guiding the eyes of the viewer around the image. We show you how to apply multiple levels of sharpening to different areas of a photograph, all using the included Photoshop Action. For an in-depth look at the sharpening process, check out How to Master Sharpening in Photoshop.
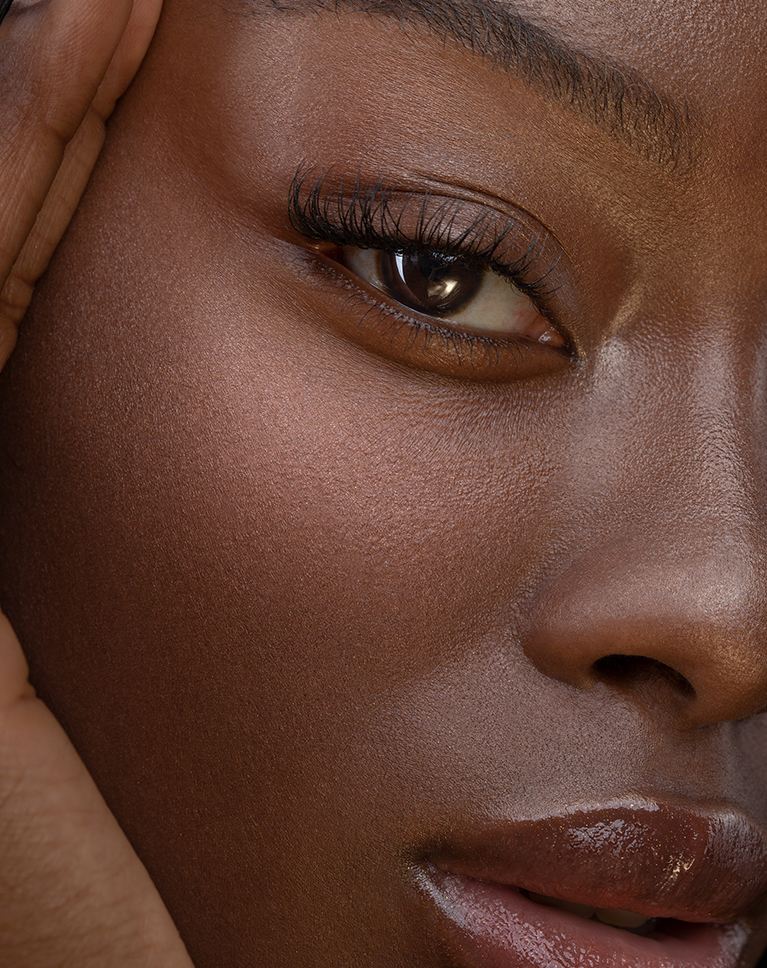
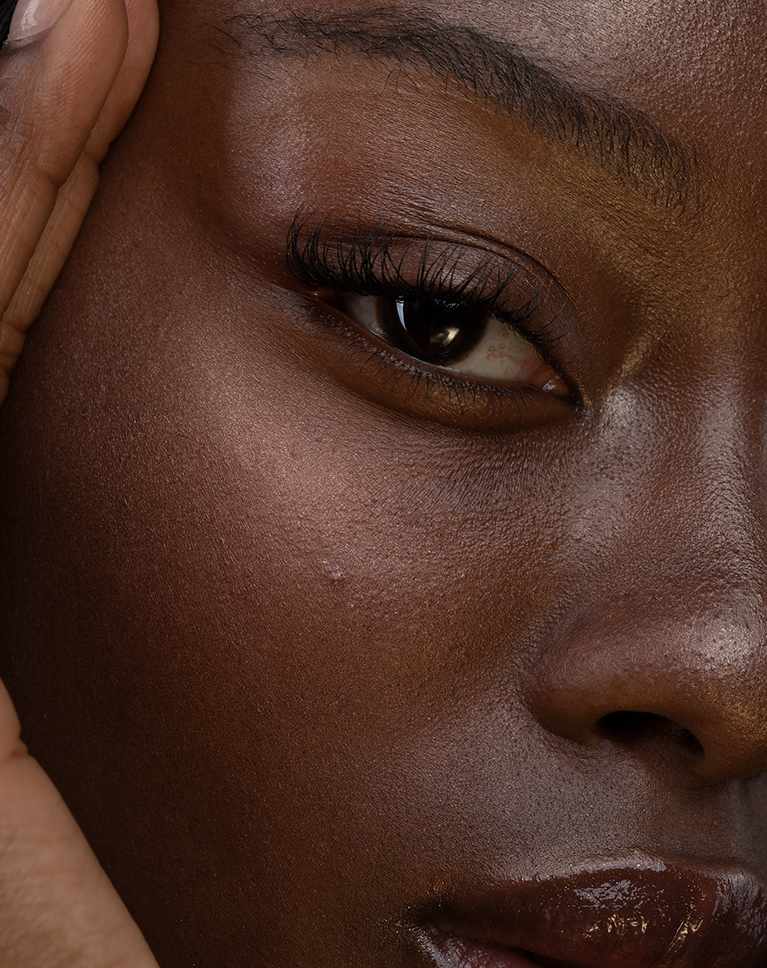
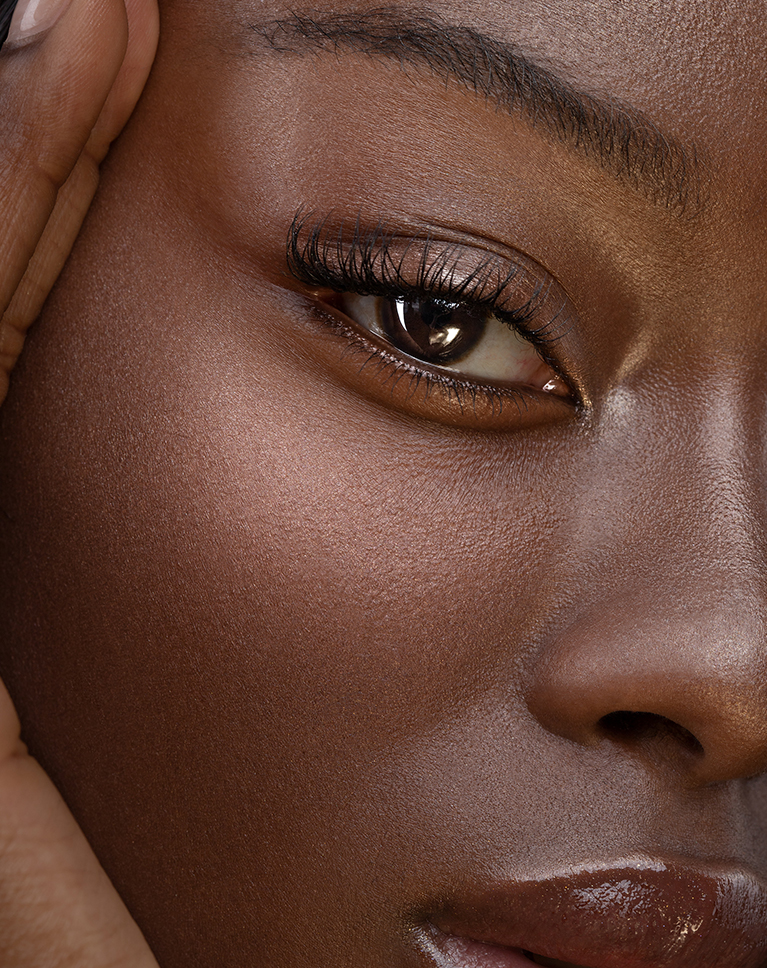
ADD STUNNING DEPTH & DEFINITION
ORIGINAL
Dodging & Burning
Add stunning definition to your photos with professional dodging and burning in Photoshop. Enhance the natural highlights and shadows in an image to create contrast and give your subjects realistic depth and shape.
High-End Retouching
If you’re a working retoucher, getting a high-end result doesn’t have to take hours and hours of work. We show you how get professional results quickly by simply performing the necessary steps in the best possible order. Learn to work efficiently, non-destructively, and keep your projects organized while delivering a stunning final product.
Picture-Perfect Skin
Skin requires special care and attention during the editing process. Removing too much of the natural detail can result in an unrealistic and unnatural look. We show you how to work carefully with skin, only removing the enough distractions to help the subject look their best while leaving them with their own unique and beautiful features.

Aaron Nace
PHLEARN Founder – Class Instructor
Aaron Nace is a photographer, Photoshop artist and founder of PHLEARN. He is the #1 Photoshop instructor in the world with millions of YouTube subscribers.
Iulia David
Beauty Photographer & Retoucher – Featured Artist
I am a London based photographer specializing in editorial, commercial and beauty portrait photography. Born in a family of artists I have always been surrounded by art and curious in knowing the latest trends. My style is simple and clean with an edge. I think it is all about a collaborative synergy, bringing the most out of my team to create beautiful, compelling photographs.


Reviews
New & Popular Tutorials


Training Site in
the World
Tutorials!
Ratings
and Counting
Subscribers
Love this tutorial because it gives order to the workflow and shows how one step builds onto the next.
I normally photograph interiors but one of my nieces asked me to photograph her for her senior portraits. Reluctantly I agreed to do this for her. Fast forward – photos out of camera are great (She is one of those people who do not take bad photos) but I’ve never edited a portrait. This tutorial is EXACTLY what I needed. I’ve enjoyed Phlearn for a long time but only recently became a member. Best photography decision I’ve made in a very long time. Highly recommend.
Thank you for the wonderful lesson.
Great Content!!!
These are brilliant Aaron. Is there a photoshop file set up you’ve made that has the instructions written on each layer? For example here we balance exposure etc.
Thanks for sharing your feedback! Many of our tutorials have step by step guides/instructions, but we’ll make sure to pass on your input to our team and see if we can incorporate them into all our future tutorials.
Thank you for the wonderful lesson, it helped me to visualize better, orderly, and exactly what I needed to do.
Great tutorial
This is a solid, well organized retouching tutorial where important concepts are explained and applied when needed. I am a strong believer in learning concepts first and then apply learned concepts to real world applications. Thanks so much!
Just WOW!! I already know how to retouch, but this got me on another level. Thank you so much Aaron!!!
I don’t do much portrait retouching on a big scale, but a lot of these techniques will come in handy in my compositions. Aaron always does an mazing job of teaching,
best retouching tutorial ever !!! I learnt a lot from this course
This is very entertaining and fun
I love it! Thank you!
love this tutorial, i work as a digital artist and i’m learning so much more about retouching photos
This tutorial is helpful for me to improve my retouching skill. I really appreciate it. Thank you.
thank you soo much
Outstanding tutorial as always. Appreciated the acknowledgment of order to follow for each technique. Only complaint is that for a PRO tutorial I would expect to learn how to do frequency separation manually rather than by downloading an action. Thanks for making great content though!
Overall excellent tutorial 👌👌👌 Top Marks. On the other hand, also, I really wanted to have this being taught on the white skin as well, reason being is because its tones are more susceptible to under&over exposure and the color casts. Hopefully Aaron you’ll be in the good mood one day and add this to the pro retouch Workflow 🙂
This is what i have been waiting for and have been preparing for this section. Happy to learn this technik!
I just can Say a Big Thank You to Aaron for teaching us to work properly on photo retouching. I am more than happy learning from you.
Super informative and helped my workflow a ton!!! Great Job!!
Excellent tutorial. Thank you!
Thank you, Aaron! You’re the greatest. Loved this one, so incredibly useful.
I think your use of Frequency Separation here is excellent! So much easier than previous ways of using it. Really enjoyed the video
Fantastic tutorial! I am relatively new to PS but was easy to follow in my own photos! Thank you Aaron
This is fabulous teaching. I’ve tried several other instructional websites to learn how to retouch, and they are often long-winded, they talk in circles and it gets super annoying, super fast. Phlearn is a breath of fresh air! You get to the point, tell me what I need to know, without the fluff. Perfection.
Thank you very much.
Great thanks a lot
So much more in-depth and informative than those gimmicky Youtube videos I’ve been working off of for months! Thanks!
I love it!! Very helpful.
Super super helpful!!!Loved it!!
This is such an amazing course. Aaron provides you with a bunch of new tools and steps to follow along. While trying to adopt it to my own workflow I regularly go back and forth to each individual step. Each time discovering something new again. Thanks Aaron for making retouching fun and creative.
Overall, Nice tutorial. However, I guess….. My expectations were too high ? I was looking for something I hadn’t seen or done, and I didn’t get that here. When I think ” Pro” that is. Aaron does a great job as always explaining the step by step.
Incredible course. Keep it open while you do your first one. The steps make so much sense. Best guide i’ve seen for these results.
Very nice. I really defined the order of doing the retouch which i have been struggling with.
Great class. Very helpful
This is incredible information. Thank you!
THANK YOU!!!! This is very helpful and clear.
Spot on! Right amount of technical and practical information, super easy to follow and concise. Really compliments well with other series of retouching lessons too! Thanks again Aaron, you’re a gem.
This was great as always, loved that we can download the PSD so we can realy dig in and study the prosess. Thanks
This course alone is worth the cost of PHLEARN membership. Great job, Aaron!
Totally amazing! Learned a bunch of new things, even tho i knew how to retouch. The view on things that Aaron has really helped me out make my images look less plastic. Please more of these “retouch a whole image”. Maybe next time a normal portrait instead of super close up? I think most people do shoot portraits and not beauty close ups.
Wonderful and informative as always. I’ve learnt so much from you over the past few years, thank you. I have a question I’ve wondered about but don’t have enough understanding of the process to figure it out. Does the amount of blur you apply in the frequency separation setup affect the amount of detail you get in the high frequency layer? How are they related? I find myself jumping back and forth between the LF and HF layers which makes me think I have too much detail in the HF layer. I’m perpetually confused yet always learning.
I really enjoyed this tutorial. I have watch many tutorials since I subscribed last December and I can see a lot of improvements in the format. You are a great instructor. I am completely new to Photoshop and I can really learn by myself with all your hints and guidance. My post is getting better and better. I think this tutorial helps me to put together different techniques and more understanding when using one instead of the other. Plus I find you passionate, generous and yes, you do make learning more fun! Thank you 🙂
Great tutorial, Aaron. Highly insightful. Been following Phlearn for several years now and it’s always refreshing to see the consistency in quality. For anyone seeking to improve their retouch game, this is a must-watch!
Hi Aaron. I have been following you from a long time and your work is really great. I use FS always but sometimes is really difficult because there areas that are not just spots but are maybe scars or large pimples that if used with the high frequency so the texture, it smoothed the skin and i risk to lose the texture. Do you have any other tutorial on how to construct skin when is really more difficult than this girl that has a perfect skin ? Thank you very much. Rozeta London
Aaron ! you can’t even imagine how great your teaching skills are. I’m addicted to learning Photoshop with you. It’s a pure joy to discover new techniques following your lessons.I’ve been on Photoshop journey since 2017 and I’m still, even now when I’m a Pro, so exciting to learning with you. I’ve tried some others professional tutorials from different retouching websites and believe me, it was never as easy and clear as your lessons. Sometimes, with others tutors, was even frustrating to not be able to understand the next steps. It’s absolutely amazing how unique your teaching skills are. This tutorial is so brilliant for everybody who want to learn beauty retouching. Thank you ! ( plus puppy in the background being comfortable on the sofa melted my heart 🙂
Hi Aaron! I enjoyed this tutorial as retouching is always a part of my business. I am going to try some of these techniques on my food photography – I’ll let you know how it goes. I have enjoyed your expertise and instruction since you first came on YouTube and joined PHLEARN so I could see more in-depth. I am not disappointed. Thank you for taking your time and sharing your skills and talents.
I have been watching and using your tutorials for at least 2yrs now this one seemed to be so much more informative for some reason, so easy to follow and understand and not that the rest of your courses are hard to follow along I just really enjoyed this new retouch one, I could not stop watching and implementing the lesson in to my work flow while watching Thanks for being such a great teacher
Hi Aaron, I am currently watching this latest retouching tutorial and loving it. You did mention that this detailed level of retouching wouldn’t be best suited for wedding albums (very time consuming). Could you refer us to the right retouching for weddings, or maybe there is already a tutorial in Phlearn that addresses it? Thanks for your amazing tutorials as always!