How to Choose the Best Images for Compositing
-
Add to
favorites
-
DifficultyEasy
-
Length2.25 hours
-
Videos6
-
Software
Description
Have you been looking for a way to get into the fun and creative world of compositing? Well, free stock photos are all you need!
Follow along as we show you how to find and choose the best free stock images for compositing. Learn how to analyze lighting, color, and perspective to find images that will blend together seamlessly.
THIS COURSE INCLUDES
- 21 Sample Images
Share
Course Downloads
Choose Photos for Seamless Composites
Choose Photos for Compositing
There are a lot of ways to approach compositing. You can cut a person out of their background and place them in a new environment. Or you can create your own alien worlds. No matter what your goals are, all compositing has one thing in common: Photoshop can’t do it all. You need the right collection of photos to pull off a realistic final image.
Find Free Stock Images
This course is all about using free stock photos to create your own composite images. No photoshoots required! But finding the right stock photos can still be a challenge. We show you what to look for when choosing images for a composite so that everything will blend together perfectly.
Compositing in Photoshop
We want you to feel comfortable creating your own composites anywhere and at any time. Learn some of the basics of combining images in Photoshop, from making selections to matching light and color. Then, when you’re ready to level up your game, check out one of our more in-depth compositing courses like Photoshop Compositing: Essential Tools & Techniques and Intro to Photoshop Compositing for Beginners.
See Light, Color & Perspective
To make great composites, you’ll need to be able to analyze and identify differences in light, color, perspective, and even camera settings and equipment (like lenses). Learn how to see images in light and perspective so that you can quickly determine if they’ll work well together in the same scene.
Choosing Subjects & Backgrounds
The simplest composites will consist of a subject, a person or object that the viewer can focus on, and a background. We show you how to find subjects and backgrounds that will work together, taking into account the lighting, the perspective, depth of field, and more.
Composites From Scratch
We hope this course will inspire you to start creating your own composites from scratch! Using free stock images and your newly-trained eye, you’ll be able to find photos that will work together perfectly.
Analyze Light & Perspective
What Works, What Doesn’t
We don’t just show you what works when choosing images, we also show what doesn’t work. Through multiple examples, we demonstrate what image characteristics help to make great composites, what can be acceptable, and even some examples that lead to obvious and unrealistic results.
Planning Your Composites
Once the images are chosen, you’ll still need a plan to start pulling them all together. Follow along as we create a composite image from start to finish, integrating a subject, a background, and even text and graphics.
Quick Selections
When planning and testing images out for a composite, it’s important to be able to work quickly to see what’s going to work and what won’t. We show you how to use powerful Photoshop tools and techniques to make quick work of selections, lighting, and color adjustments so you don’t waste any time.
Free Stock Image Websites
There are a lot of great resources out there to find both paid and free stock photos. We use services like Pexels and Unsplash, which have a huge variety of images from great artists and photographers all over the world.
Matching the Subject to the Background
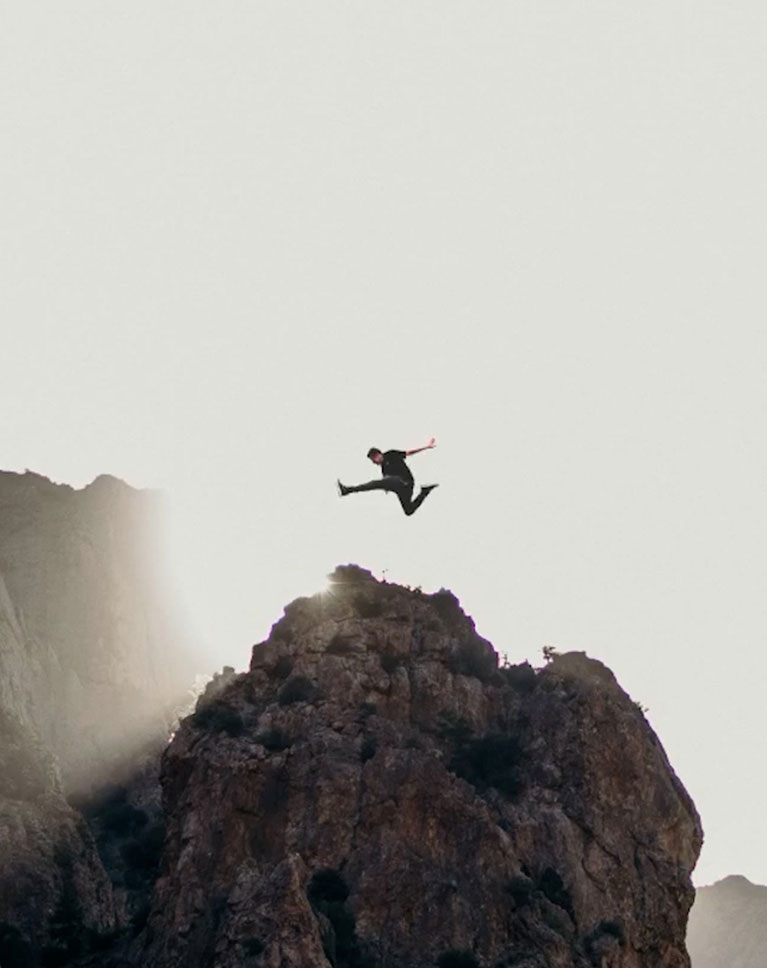
The background of a composite will often inform a lot of the decisions you make about what subjects will work in the scene. Learn how to find subjects that fit in with the perspective and natural lighting of the background.
Basic Compositing Techniques
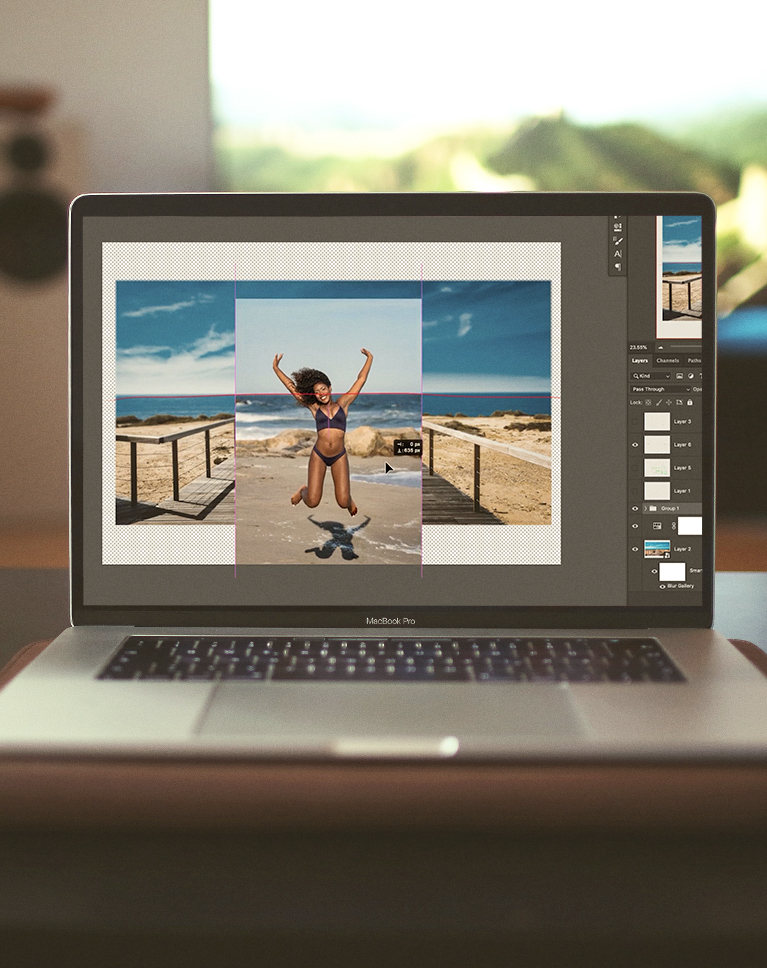
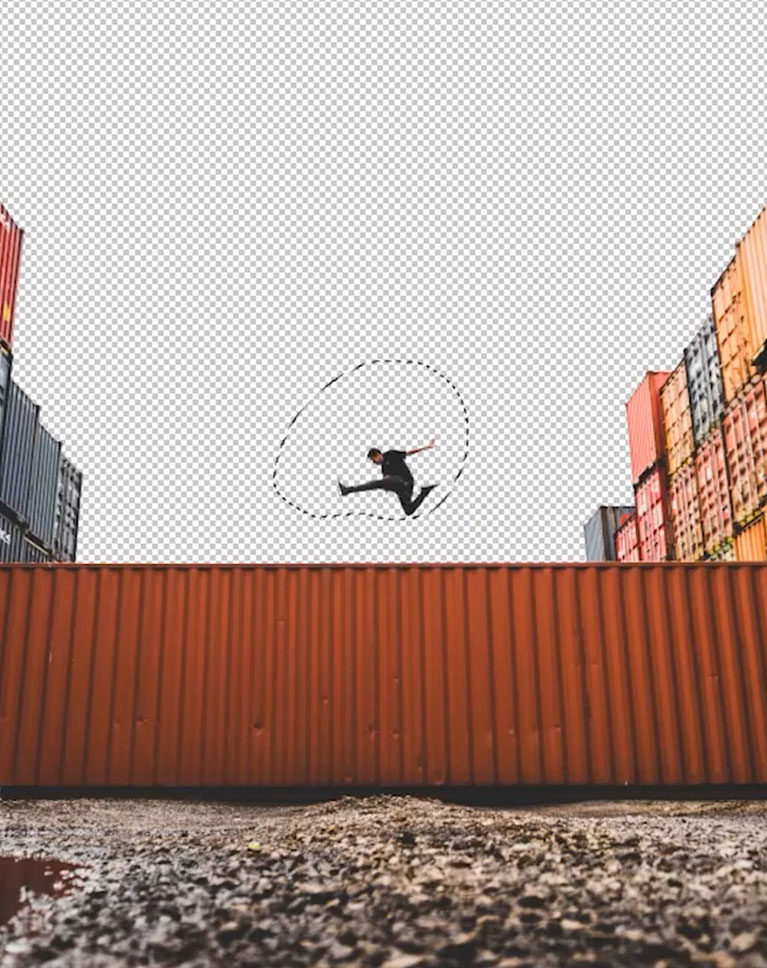
Not only do we show you how to choose photos, we walk you through some of the basic tools and techniques you’ll need to cut subjects out, adjust color and exposure, line up horizons, and more!

Aaron Nace
PHLEARN Founder – Class Instructor
Aaron Nace is a photographer, Photoshop artist and founder of PHLEARN. He is the #1 Photoshop instructor in the world with millions of YouTube subscribers.
Reviews
New & Popular Tutorials
Training Site in
the World
Tutorials!
Ratings
and Counting
Subscribers











Thank you! it was pretty useful information.
This was a wonderful tutorial on deciding on a theme for the composit, selecting the photos, and then carrying out the compositing process. Loaded with great information!
Great starting point.
Great tutorial and nice walkthrough with the right pace. I learnt a bunch of insights including the camera lens, angle usage, the perspectives, a little bit of color correction.. I feel a lot better to approach Photoshop without worrying about the technicality and only with more thoughts and ideas on the creative to try on.
Perfect place for beginner to learn Image Compositing… Worth to watch..
Excellent tutorial, I learned so much. It is the perfect start to compositing.
Aaron, I initially selected this video to learn compositing based on a studio still-life image I’d like to do some compositing on. I don’t think I’ll have the challenges with lighting, perspective and color etc. that are key to doing successful composites on exterior lit subjects. The image I will be working on will be “still” (camera was on a tripod) with lighting changing on various elements, one being on a perfume bottle where I had to have my hand in the shot to hold a reflector behind the bottle. I just want to comp the “best lit” bottle in a background image that looks good. Do you have any compositing vids where “products” are involved? By the way, this is a freak’n great video…I’m learning a lot. There were elements of the video where I had to go back a few times because you explained elements a little quick. Other than that, keep plugging my friend. John.
Great tutorial incorporating so many new ideas and concepts into the planning stage of image compositing to make the final product successful. Loved this tutorial! Hope there will be many more like this type
About a year ago I attempted some composites around Christmas decorations. They were terrible but now I know *why* and I’m looking forward to bringing the same ideas to fruition this year. The understanding of light, tone and camera angle as related to the image elements is invaluable and the finishing tricks are great (and applicable many places).
That was a very great tutorial !
Hello Aaron, I found this tutorial excellent mainly because of the key teaching points of matching light, perspective, and colour. And as with all of your tutorials, great examples to explain each teaching point. Thank you.
Excellent tutorial. Very clear explanations about how and why the pieces of a composite work or don’t work together, how to normalize components that do work, and how to recognize when the components are just not very compatible. Thank you!
Yeha Aaron!! Feel good
Thank you Aaron for a great tutorial on compositing. I work with clients that send me their photos of there loved ones which I composite into a large photo for framing etc. these would me of their departed loved ones, it can be a bit daunting trying to match everything in Photoshop to make a great composite. Your tutorial on compositing has helped me enormously, your tips and methods are so easy to follow, I learn more each time I watch. Please make more tutorials on compositing, this would be great, thanks again Aaron. Patrick…. in Dublin, Ireland
wonderful course. It’s so useful to have somebody directing my eye, guiding my thought processes and helping to make decisions based on knowledge, rather than a (often failing) gut feeling.
Thanks.. this was really awesome.. I can learn the technical aspects of the tools (your tuts make the process much faster) but the analysis and how to think about what needs to be done and why some things work and some don’t is super super helpful..
Congratulations! Providing perspectives beyond Photoshop, by sharing techniques for matching different images was superb! Loved it and looking forward to watching similar compositing classes by taking different paths.
this is super useful to understand the behind the scene of compositing. The solid basis to start for a strong final image.
As usual, Aaron brings a wealth of insight to this topic and explains in a manner that is both accessible and enjoyable. Despite having learned a great deal from Aaron’s earlier compositing tutorials, I still found so much helpful material here. That little trick for the shadows — applying a “Multiply” blend mode and then playing with a clipped Levels layer — is just great, as the crop/content aware and the tilt-shift blur filter. I don’t think I’ve come across any of those before. Most importantly for me to this point, I found the discussion and demonstrations regarding lens type particularly useful. Prior to this, I’m not sure that I really appreciated how two images taken with, say, a telephoto lens and a wide angle, are never going to look natural together when composited. I would be happy to hear more about how to recognize the lens type used for a given image. Thanks, Aaron! You’re a goldmine! Mark
Great Course, as always!
Thank you Aaron , i really enjoyed the course its really helpful cuz you show why this compositing work and why not , and i really wish you do more like this .
Aaron is always good for a surprise. Thought there was nothing new for me in this course. Have to admit I was wrong
So nice courses. Thanks
As a retired senior, I’m finally getting the time to learn new hobbies. This is very helpful and addresses an area I was having some difficulty with. I’m just starting to work with matte painting and photo bashing techniques and this along with the other tutorials on compositing are very informative.
A service I’ve been trying to incorporate into my photo digitizing and restoration business is cutting out subjects and popping them into new backgrounds I’ve purchased on Etsy.com. I can almost always get the technical things looking right such as scale, matching lighting, perspective, etc… but something still felt “off”. Thank you for the extra techniques mentioned such as the sections on shadows, blur, and noise! These are skills I’ll be able to put into practical use on a photo I have already open in Photoshop. YAY, to Aaron and the crew at Phlearn!! <3
Great course into selecting images, being new to compositing images myself, I learned some nice starting points and have a better idea on what to look for in selecting my images. Overall, Aaron was clear and concise, like usual, and you won’t be disappointed. I watched at an accelerated speed (1.25x) and didn’t work along, but treated it more like a lecture. Now on to a more advanced course.
I always think something is missing in my compositing. Now I know what is it. Thank you very much for this course.
I really enjoyed your tutorial “Introduction to Photoshop Compositing for Beginners”, and it touched on some of the points that you covered in detail during this tutorial. I think now I should go back and review the introduction lesson with a better understanding of the compositing planning process.
Why things work and don’t work really helps. Thanks a lot>
This tutorial provides essential tips about compositing images together. Clear, easy examples to follow in the video. Blurring trick at the end is very clever and a nice touch. Aaron, thanks for doing this for us.
Understanding camera angle and lighting aspects in compositing is huge! The concepts you teach here help me understand why some composites work and others just don’t feel right.
Very nice – lots of great tips and techniques. I honestly learned the most from the “this is not going to work” example. I have looked at some composites (mine and from other photographers) and felt that something was “off”, but could not really explain why. I have a much better sense now of how to spot these inconsistencies.
Excellent and mind-blowing content! It definitely changed the way that I search for image assets, especially for the perspectives and lights. Thank you so much! I would love to see more tutorials like this!
Thats Amazing Tutorial Concept. This is Very Basic Step by step Process.. Learnt many . Loved it
This was an invaluable tutorial. There are many compositing courses online, some of them given by Aaron over the past few years. They teach the photoshop skills needed to change components of the composite to match one another. However none of them show the complete thought process behind choosing stock images for those composites. Reasons for those decisions were so useful for me.
This is exactly what I needed. I now have a much clearer understanding of compositing, how to match focal lengths, perspectives, color, and horizon lines. Please keep tutorials like this coming.