Retouching Tutorials
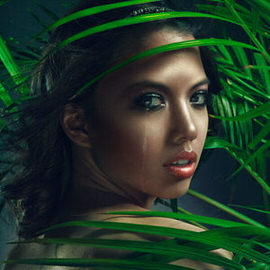
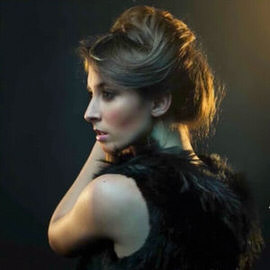
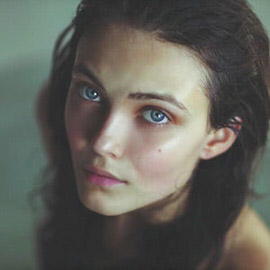
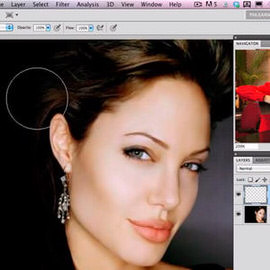
Learn the intricacies of how light falls on the human face and five different methods to shape and enhance it in Photoshop. We cover dodging and burning, skin coloring, advanced sharpening, adding realistic makeup, and more.
Photoshop | Retouching | Medium | 2.5 hours | 1 video
2 Sample Images | 1 Photoshop Brush
The white Background has become a standard in the photography world and for good reasons. You can pick up a white seamless background for less than $100, turning any space into a photo studio.

Perfect for retouching areas that contain a hard edge or line, the Clone Stamp Tool is one of the go-to tools for any retoucher, composite artist, or photo editor.
Photoshop | Photo Editing | Easy | 1 video
1 Sample Image
Easily one of Aaron’s favorite tools in Photoshop! The Brush Tool can be one of the most powerful and versatile tools, capable of retouching, compositing, and stunning special effects.
Photoshop | Photo Editing | Medium | 1 video
1 Sample Image
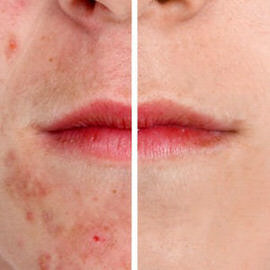
The key to removing acne in Photoshop is to Divide the process into two steps. The first step is to get rid of redness and the second step is to remove the blemishes.
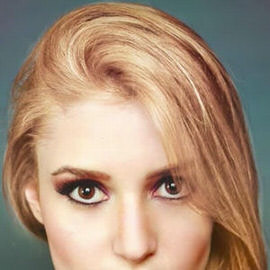
Changing Hair Color in Photoshop is much easier than doing it in real life and by the time this episode is over you will be on your way to Color city! Join us as we show you how to Change Hair Color in Photoshop.
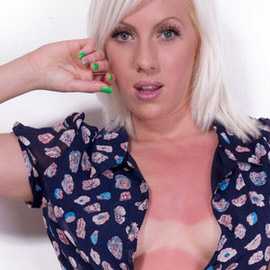
Here are some quick and easy tips for removing sunburn and tan lines, while also creating a tan. No need for sunscreen! We can take care of all of this in Photoshop.
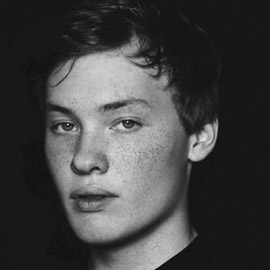
In order to make freckles look real when applied in Photoshop we have to start with a Texture that is organic and random. In this episode we will show you how to create freckles in Photoshop using a photo of granite as our base for creating freckles.
Sample Images Included
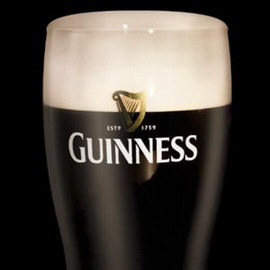
In How to Make Beer Look Amazing in Photoshop (Part 2) we show you how to take a normal photo of a Guinness and make it really stand out.
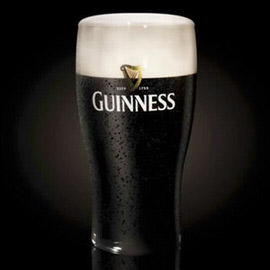
You will learn how to cut the beer out from the Background, how to create Highlights on the glass, how to give the beer a proper “head”.
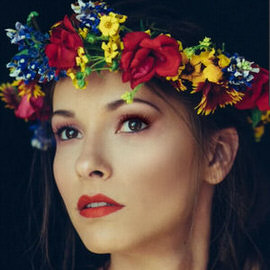
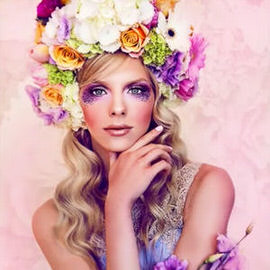
Become a Digital Makeup Artist! Whether you can do makeup in real life or not, everyone can learn to do it digital!
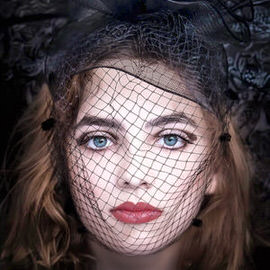
The shape and definition of eyebrows can make a huge Difference in someone’s appearance. In today’s episode we show you how to get create and shape eyebrows in Photoshop.
Sample Images Included
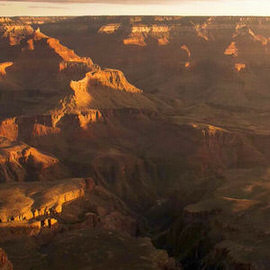
In this episode we show you how to correct Color and Exposure at the same time and we also go over an awesome method for sharpening landscapes.
It can be hard to capture detail in both the Shadows and Highlights of an image because the dynamic range of most cameras is too small. We show you an amazing trick to recover Shadow detail in Photoshop without disturbing the Highlights.
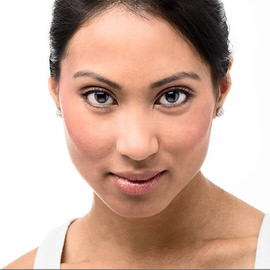
If you have ever seen amazing eyes in a photo there is a good chance that it has been edited in Photoshop. Enhancing a person’s eyes in Photoshop is a quick way to make an image really stand out.
Sometimes you find yourself wanting to add some interest to a backdrop in Photoshop and this episode is perfect for showing you how it is done. There are many ways to add interest to a Background, but this is one of the simplest and most effective.
In today’s episode we show you how to get rid of those straps (or other similar details) in a very simple tutorial that will have you amazed at how far Photoshop has come.

One of the problems you will encounter when photographing people is Skin redness. It usually shows up around the nose, close to the eyes and on the cheeks. Skin that looks too red can make people look tired, sick, old, or just bad.
Sample Images Included
Bags and Blemishes can be tricky to remove. We will teach you how to take them right out!
Adding some Texture back to the Skin of a model can help bring Depth and life back to their Face. Perfection often looks fake, and character and Texture adds personality to images.
In this episode, we use an image taken by a member of our Phlearn Phamily to show some cool color dodging techniques.
You saw the behind the scenes of our Gap inspired fashion shoot and part 1 of the post processing. Now we put the finishing touches on the image.
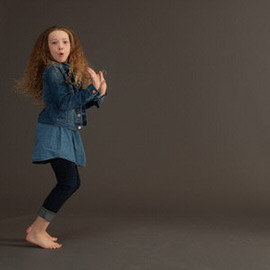
We take the images from our Gap inspired shoot into Photoshop to start the Compositing and Retouching process. Make sure to check back for part 2 of the post production later this week.
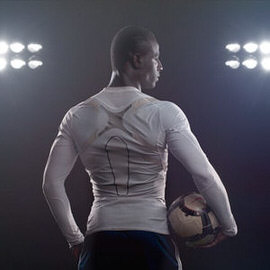
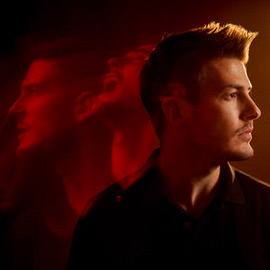
Portraits of athletes are a great place to experiment with using a contrasty, high energy, dramatic Retouching technique. Here are a couple of our favorite methods to achieve this look.
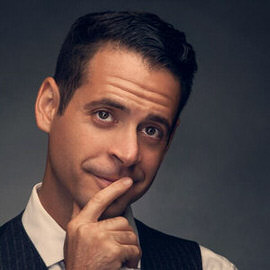
You saw the behind the scenes of our corporate/editorial photo shoot, and Part 1 and Part 2 of the Retouching. Now we’ll wrap up this image with some final Retouching and Styling.
Now we’ll continue with the Retouching to get this image refined even more.
To start our headshot retouching, we use the clone to remove some blemishes, do some hair retouching, and add a bit of skin texture.
Today we’re using this incredible image from Chris to show how to use Photoshop to bring back detail into the Shadows of an image and then doing some Coloring and stylizing.
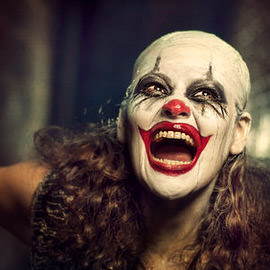
Today we are using an image from our latest Halloween contest to show you how to add Color to enhance the overall feel of an image.
How best to make your images look their sharpest has always been a key aspect of our craft. One of the quickest ways to make your photos look more “professional” is by making them critically sharp.
Camera sensors are very powerful tools that capture tons of information, you just need to know how to massage that information out of it. This episode shows you how to bring out those details from your Shadows.