Download Assets
description
Learn all about Lightroom’s Lens Blur tool! On day 21 of our series you’ll discover how to precisely select subjects, adjust blur intensity, refine focus with brushes, and achieve realistic, eye-catching results in your photos.
Follow along with all 30 episodes as we explore the the magic of Lightroom together!
Watch Next
JOIN 30 DAYS OF LIGHTROOM (FOR FREE!)
Ready to jump in? Sign up and we’ll email you a printable calendar and daily class schedule so you can get started right away!
Image Source
- Foto Pettine
Images sourced from Unsplash.
Share

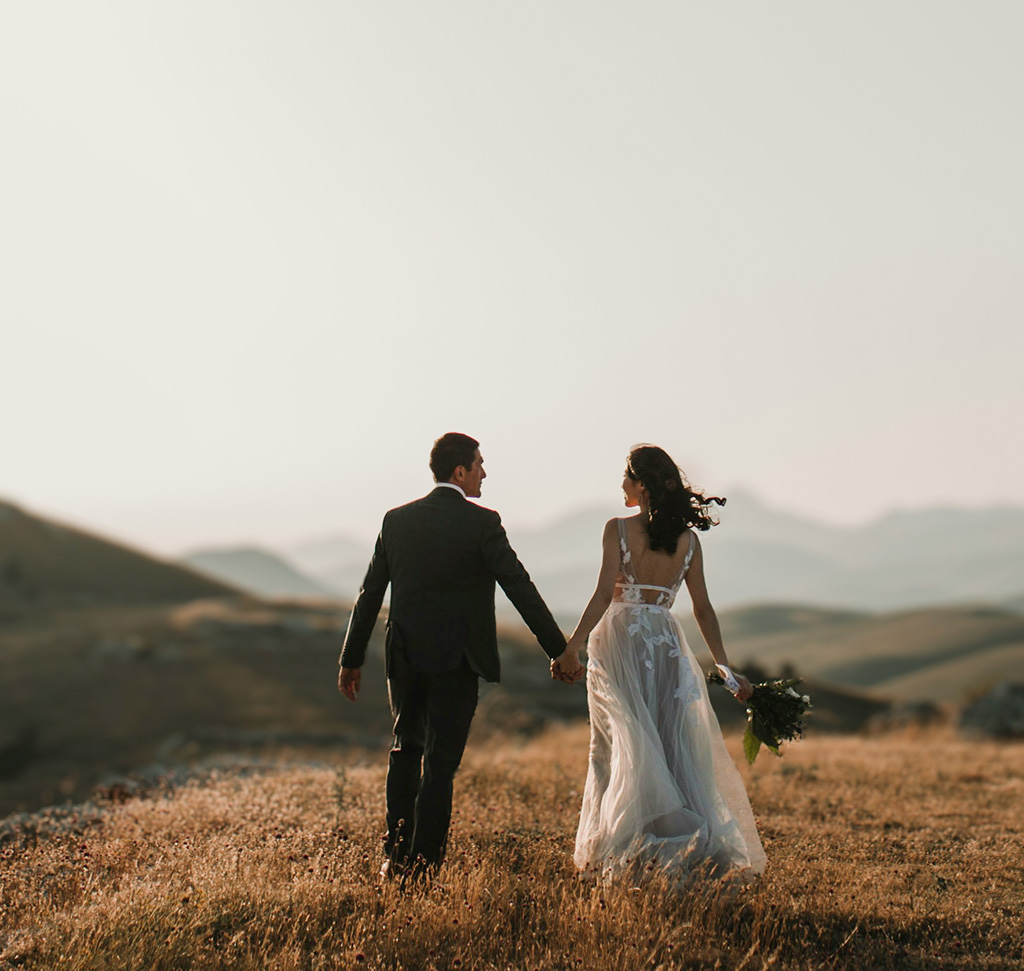
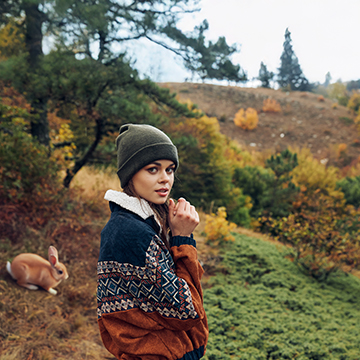
AFTER
BEFORE
Depth Made Easy
Lightroom’s new Lens Blur tool is a game-changer, allowing you to create stunning shallow depth of field effects post-production. This tutorial will guide you through using this powerful feature to make your subjects pop, mimicking the look of professional lenses with wide apertures. Whether you’re working with JPEGs or RAW files, this tool delivers impressive results.
Getting Started
1. Begin by importing your chosen image into Lightroom Classic and navigating to the Develop module.
2. Use the crop tool to refine the composition, focusing on your subject.
3. Then, locate the Lens Blur panel on the right-hand side and click “Apply.” Lightroom will automatically detect your subject and blur the background.
4. Adjust the “Blur Amount” slider to control the intensity of the effect, keeping it subtle for a realistic look. Experiment with different “Boca” options to customize the appearance of highlights.
Refine Focus
5. To further refine the focus, use the “Focus Range” tool. You can manually adjust the focus area or use the subject selection icon to let Lightroom precisely identify your subject.
6. For detailed adjustments, use the brush tool to paint in focus or blur areas. Adjust the brush size, feathering, and flow to achieve precise control. Paint over areas that were missed by the automatic selection, ensuring your subject is sharp and the background is smoothly blurred. Use the visualize depth to see what is in focus.
Final Touches
Review your image, paying attention to the transition between the in-focus and blurred areas. Make subtle adjustments to the blur amount and brushwork as needed. Remember, less is often more when aiming for a natural-looking effect. Use the before and after toggle to compare your edits. Ensure all highlights are properly blurred or in focus.
That’s a wrap on the Lens Blur Tool! Tomorrow, we’ll dive into the new Denoise tool, another powerful feature in Lightroom.