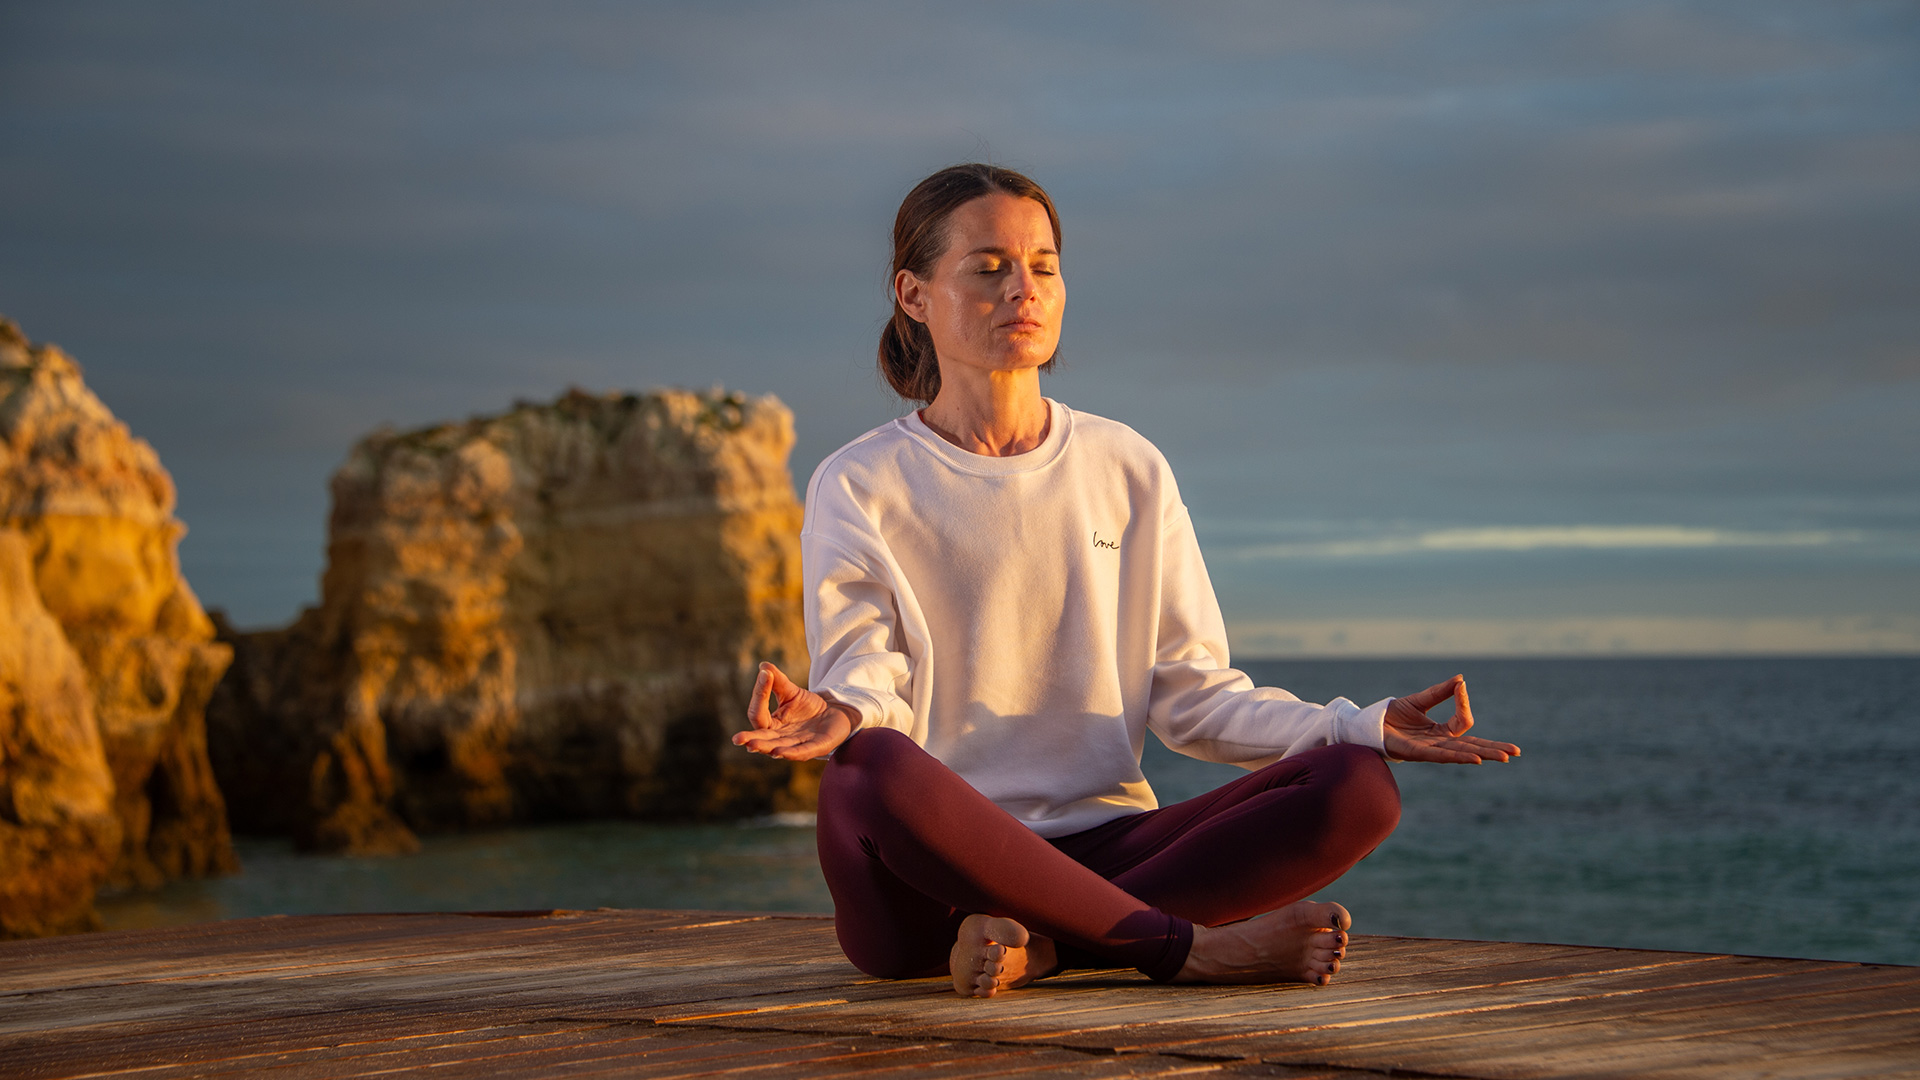

Download Assets
Download Assets
This tutorial includes 1 sample RAW file. Downloads are free with a PHLEARN account.
- Free sample files with every tutorial on PHLEARN
- New tutorials published every week
- Unlimited downloads with your free PHLEARN account
Watch the Full Series
description
Lightroom Classic vs Lightroom vs Lightroom Mobile: Adobe ships three different programs with the same name, and the real difference between them has almost nothing to do with features. It comes down to where your photos actually live.
On Day 24 of 30 Days of Lightroom Classic we compare Lightroom Classic, the cloud-based Lightroom and Lightroom Mobile side by side, edit the same photograph in all three, and follow a single edit as it syncs from a computer to a phone and back again.
This is Day 24 of our 30 Days of Lightroom Classic series. Follow along with all 30 episodes as we explore the magic of Lightroom together!
Continue Watching 30 Days of Lightroom Classic
JOIN 30 DAYS OF LIGHTROOM (FOR FREE!)
Ready to jump in? Sign up and we’ll email you a printable calendar and daily class schedule so you can get started right away!
Image Source


Three Apps Called Lightroom, One Real Difference
For the first twenty-three days of this series we have worked almost exclusively in Lightroom Classic. It is the program most professional photographers still build their workflow around, and it is the one with the deepest set of tools. But it is not the only Lightroom Adobe makes, and if you have ever wondered why the app on your phone looks nothing like the one on your desktop, this is the day that clears it up.
Adobe ships three Lightroom applications: Lightroom Classic, Lightroom (often called the cloud or desktop version), and Lightroom Mobile. They share an editing engine, so a Basic panel adjustment or a mask behaves the same way in all three. What separates them is where your photos live and how you are meant to work with them.
Three Apps, One Editing Engine
The fastest way to keep these straight is to stop thinking about features and start thinking about storage. Every real difference between the three comes down to whether your files sit on your hard drive or in Adobe’s cloud.
Lightroom Classic
Classic is a desktop program that manages photos stored on your own computer or external drives. It works from a catalog that points at those files, which is why folders, collections and the Library module matter so much here. It is the most powerful of the three: soft proofing, a full print module, plug-in support and tethered shooting all live in Classic and nowhere else. If you shoot in a studio and want images landing on screen the moment the shutter fires, Classic is the only option.
Lightroom (the cloud version)
The app simply called Lightroom runs on your desktop too, but it was built around the cloud. Your originals upload to Adobe’s servers, which means the same library appears on every device you sign in to. The interface is deliberately more streamlined than Classic’s, with albums instead of folders and collections, and no modules to switch between. Most of the editing tools you already know are here, including masking and Lens Blur.
Lightroom Mobile
Lightroom Mobile is the same cloud library on a phone or tablet. It carries a genuinely full editing panel, not a stripped-down version, and anything you do there syncs back to the desktop app automatically. It is the piece that makes editing on a plane or in the passenger seat actually practical.
Editing the Sample Image in Lightroom Classic
Start where you are most comfortable. The RAW file for today imports into Classic exactly like every other image in this series, and the Develop module gives you the full toolset.
-
Import the RAW file
Bring the sample image into your catalog through the Library module, filing it in whatever folder structure you set up back on Day 1.
-
Open the Develop module
Make your global adjustments first — exposure, contrast, white balance — before you touch anything local.
-
Add a radial mask
Open Masking, choose Radial Gradient, and drag an ellipse over your subject. Raise the Feather so the edge blends, then lift Exposure a small amount to draw the eye inward.
-
Export a copy
Classic never touches your original. Go to File > Export and write a new file — for this exercise, a DNG saved beside the original works well.
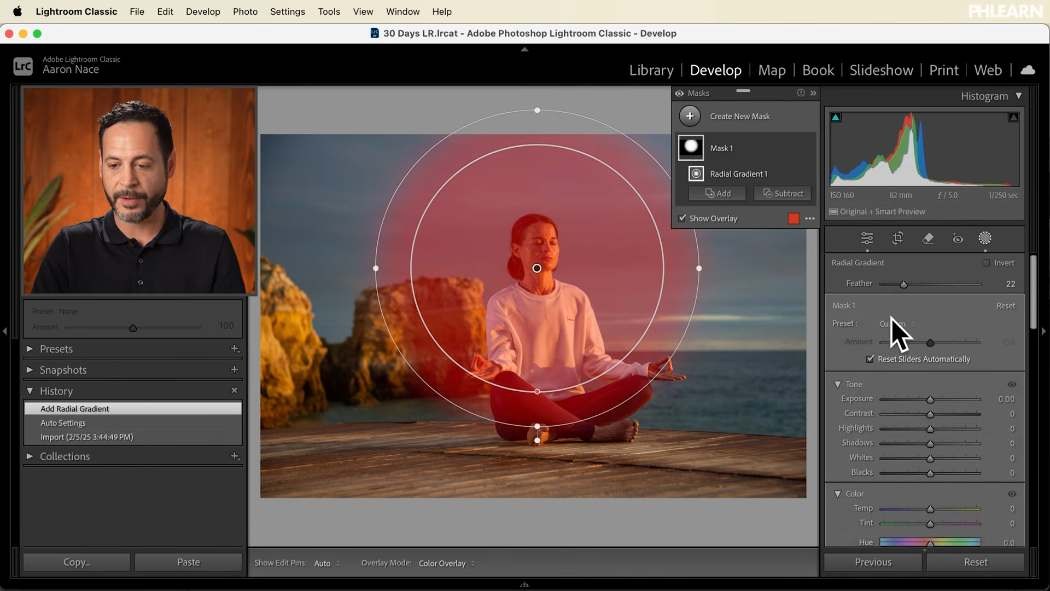
That export step is the important one. Because Classic keeps everything local, an edited photo only becomes visible to the other two apps once you deliberately move a copy into the cloud. There is no automatic bridge between Classic and the cloud library.
Moving the Photo into the Cloud
Once you have that exported DNG, open the Lightroom desktop app and add it there. The file uploads to Adobe’s servers, and within a minute or two it appears on every other device signed in to your account. This is the manual hop that people trip over most often when they first install the cloud apps.
Editing in the Lightroom Desktop App
Open the cloud app and the layout will feel familiar even though the furniture has moved. Albums replace folders and collections in the left panel, and the editing controls sit on the right in a single scrolling column instead of behind module tabs.
-
Double-click the image to open it for editing
There is no separate Develop module — editing and browsing live in the same window.
-
Work the Light panel
Exposure, Contrast, Highlights and Shadows behave identically to Classic because they are the same sliders underneath.
-
Try Lens Blur
The tool you learned on Day 21 is here too, which is a good reminder that the cloud app is not a cut-down edition.

Everything you change here is saved to the cloud as you work. Close the laptop mid-edit and the photo will be waiting in exactly that state on your phone.
Finishing the Edit on Your Phone
Open Lightroom Mobile and the same album is already there. The mobile editing panel is close to complete, masking included, so you can do real work rather than just review.
-
Add a vignette
Darkening the corners is a quick way to keep attention on the middle of the frame.
-
Open Masking and tap the plus icon
Choose a radial mask, then drag outward from the centre of your subject to size it.
-
Adjust Light inside the mask
Raise Exposure slightly, then set Feather so the transition is invisible.
-
Tap the check mark, then back out
Your changes upload automatically the moment you leave the edit screen.

The Round Trip Actually Works
Go back to the desktop app and the vignette and the mask you added on the phone are already applied — and still fully editable. Both masks appear in the Masking panel, each one adjustable, because Lightroom syncs the instructions rather than a flattened result. You can start an edit on the computer, carry it on your phone, and pick it back up on the computer without losing a single slider.
That two-way sync is the whole argument for the cloud apps. What it does not include is Lightroom Classic. Classic sits outside this loop by design, and moving work between it and the cloud means exporting a copy in one direction or the other.
So Which One Should You Use?
There is no single right answer, but the question is easier than it looks:
- Choose Lightroom Classic if you shoot high volume, keep your archive on local drives, need tethering or printing, or want the deepest control over your catalog.
- Choose Lightroom if you would rather not manage folders, work across more than one computer, and want your whole library available everywhere.
- Use Lightroom Mobile alongside either one — it costs you nothing extra and it turns dead time into editing time.
Plenty of photographers run Classic as their archive and use the cloud apps for the handful of images they want on hand. That hybrid approach is perfectly valid, as long as you remember that the bridge between them is a manual export.
Quick Reference: Menus and Settings
- Spotlight the subject in ClassicDevelop module > Masking > Radial Gradient, raise Feather, lift Shadows and Exposure a little
- Get a copy out of ClassicLibrary > File > Export, same folder as the original
- Put it in the cloudLightroom desktop app: copy the photo from Local to Cloud
- Edit in LightroomDouble-click the photo; Lens Blur and Masking in the edit panel
- Vignette on the phoneLightroom Mobile > Masking > plus icon > Radial Gradient, Invert, lower Exposure, set Feather
- Sync itTap the check mark, then back; the cloud icon shows the upload
Lightroom and Lightroom Mobile sync both ways on their own; Lightroom Classic needs a manual export.

Free Downloads
Follow Along on the Same RAW File
Get the RAW file used in the video, so you can edit the same photo in Lightroom Classic, Lightroom and Lightroom Mobile and watch the edit sync. Free with a PHLEARN account.
Lightroom Classic vs Lightroom: Common Questions
What are the three Lightroom apps?
Lightroom Classic, Lightroom and Lightroom Mobile. Classic works with photos on your computer; Lightroom and Lightroom Mobile are built around the cloud and sync with each other.
What is the real difference between Lightroom Classic and Lightroom?
Where your photos live. Classic organizes and edits images stored on your own computer, while Lightroom was built around uploading your images to the cloud so they appear on every device.
What can Lightroom Classic do that the others can’t?
It has the most advanced editing and organizing, and it can shoot tethered, sending photos from your camera straight to the computer. That makes it a strong choice for studio work.
Does Lightroom have the same editing tools as Classic?
Most of them. The video edits with Lens Blur and masking in Lightroom, and the sliders work the same way, so moving over from Classic is an easy transition.
Do Lightroom Classic edits show up in Lightroom automatically?
No. Export a copy from Classic with File > Export, then add that file to the Cloud side of the Lightroom desktop app. Once it is in the cloud it syncs to your phone.
What are Cloud and Local in the Lightroom desktop app?
Local is for images on your computer, which you can edit without uploading. Anything in Cloud uploads to the web automatically and is available on your other devices.
Can I really edit on Lightroom Mobile?
Yes, it has full editing. In the video Aaron adds a radial gradient mask on the phone, inverts it and lowers Exposure to make a vignette, then sets the Feather.
Do edits from my phone sync back to the computer?
Yes. Tap the check mark and the back button, and the changes upload. Back in Lightroom on the desktop, both masks are there and still fully editable.
Which Lightroom should I use?
It depends on whether you want to work locally or in the cloud. Choose Lightroom Classic for images on your computer, advanced organization and tethering; choose Lightroom and Lightroom Mobile for cloud-based editing.
Is the sample file free?
Yes, with a free PHLEARN account. You get 1 sample RAW file, a DNG you can put through all three Lightroom apps.
Master Photoshop, Lightroom and Photography
Join PHLEARN PRO for $12.99 a month or $99.99 a year. Cancel anytime, with a 100% money-back guarantee.





