
Download Assets
description
Craft artistic moods with Lightroom’s advanced color grading techniques! Today’s class will show how to manipulate shadows, midtones, and highlights, creating unique vibes in your images. We’ll explore profiles and even show you how to create presets, so you can consistently apply your favorite styles to any image.
Follow along with all 30 episodes as we explore the the magic of Lightroom together!
Watch Next
JOIN 30 DAYS OF LIGHTROOM (FOR FREE!)
Ready to jump in? Sign up and we’ll email you a printable calendar and daily class schedule so you can get started right away!
Image Source
- Gabriel Garcia
Images sourced from Pexels.
Share
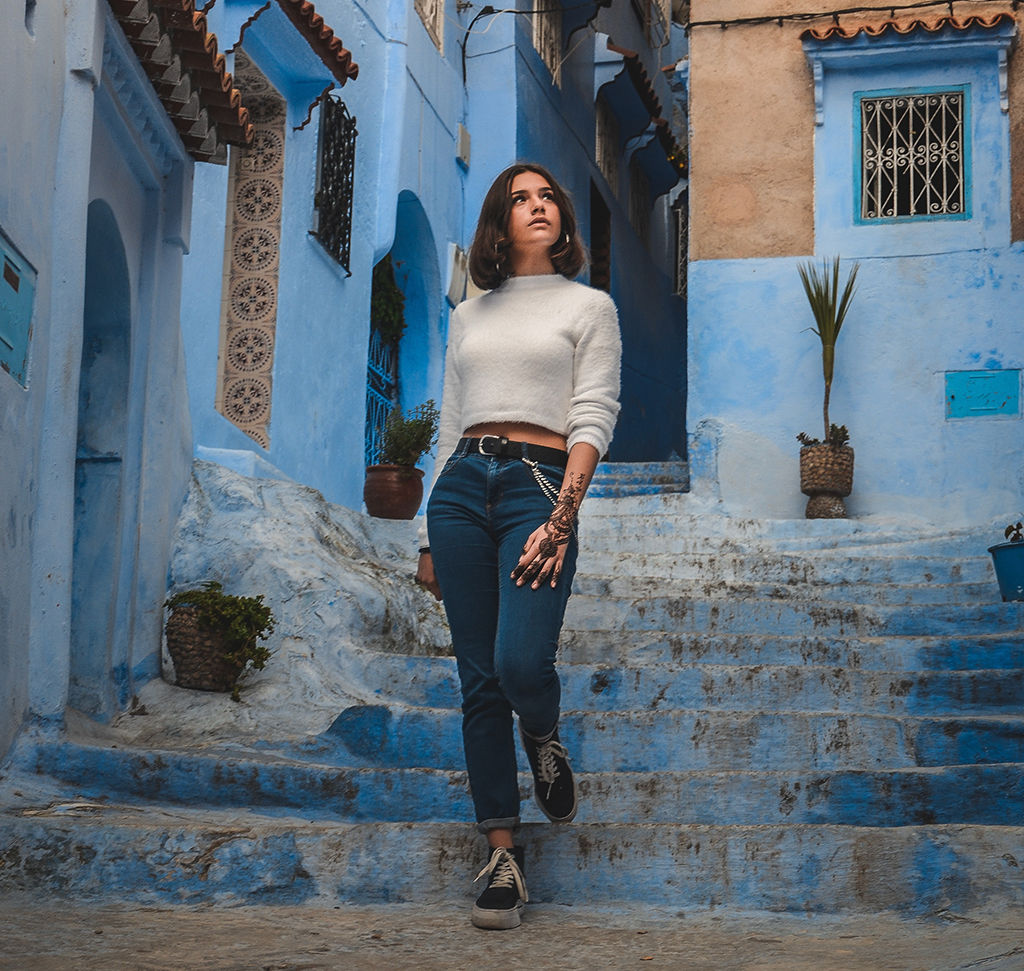

AFTER
BEFORE
Color Your Mood
Day 9 of 30 Days of Lightroom! Today, we’re diving into the creative world of advanced color grading, where you’ll learn to add artistic color to shadows, midtones, and highlights, transforming your photos with unique moods and styles.
Exploring Color Grading
1. Begin by opening your image in the Develop module and navigating to the “Color Grading” panel.
2. Experiment with built-in profiles from the “Profile Browser” to see quick color grading effects.
3. To start your own color grading, use the “Midtones,” “Shadows,” and “Highlights” wheels. Drag the central control point to adjust hue and saturation, and use the brightness slider for luminance.
Fine-Tuning Color
4. For precise control, push the central slider to the outer edge, then adjust the hue slider to select your desired color.
5. Refine the saturation and brightness to achieve the perfect balance.
6. Use the “Blending” and “Balance” sliders to control how colors interact across shadows, midtones, and highlights. Remember to use the “eye” icon to view before and after comparisons.
Creating & Using Presets
7. Once you’ve achieved your desired color grading, create a preset by clicking the “+” icon in the “Presets” panel.
8. Name your preset and select “Check None,” then check only “Color Grading” to ensure it only affects color.
9. Apply your preset to other images for consistent styling. You can also export presets to share or sell, and import presets from other creators.
With that, Day 9 ends! Tomorrow, we’ll move onto AI tools and show you how to remove objects and distractions.


