
Download Assets
description
It’s day 6 of our series!Today we’ll focus on mastering Layer Masks. Learn to create composite images by cutting subjects from their backgrounds, adding new elements, and creating a cohesive final image.
Follow along with all 30 episodes as we explore the the magic of Photoshop together!
Watch Next
JOIN 30 DAYS OF PHOTOSHOP (FOR FREE!)
Ready to jump in? Sign up and we’ll email you a printable calendar and daily class schedule so you can get started right away!
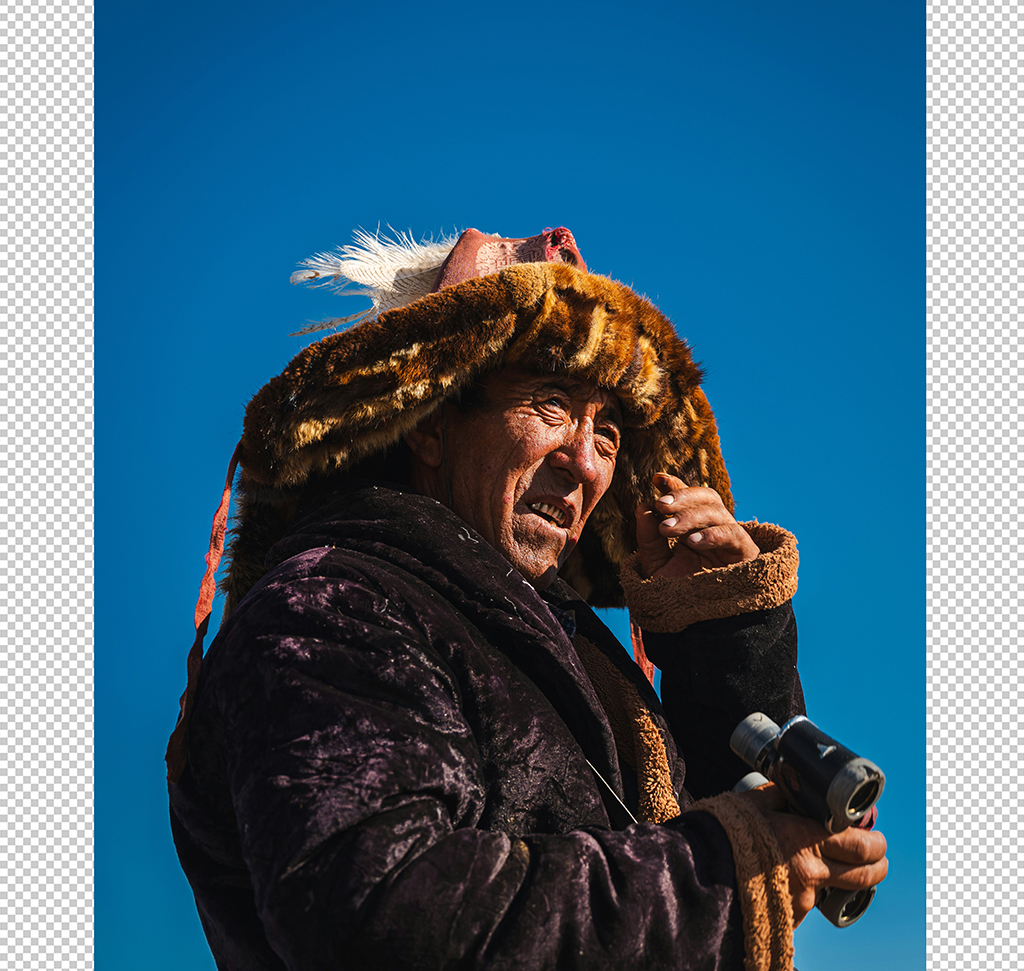
Image Source
- Fadhil Abhimantra
Images sourced from Unsplash.
Share

AFTER
BEFORE
Master Layer Masks
While Layer Masks might seem intimidating at first, they are a crucial tool that allows you to hide or show parts of a layer without permanently erasing them. This non-destructive workflow gives you the freedom to experiment and refine your edits, making them an indispensable part of any Photoshop artist’s toolkit.
Building Your Composite
Begin by importing all your images (Keyboard Shortcut “Ctrl/Cmd + O”) into a single Photoshop document. You will then need to isolate your main subject from its background. Select the subject layer and use the Select Subject feature in the Contextual Task Bar to automatically create a selection. With the selection active, click the Layer Mask icon at the bottom of the Layers panel. This will apply the mask, revealing the layers below. Repeat this process for other elements, like clouds, by using Select > Sky.
Refining Your Masks
The Select and Mask workspace is a powerful tool for perfecting your layer masks. You can access it by clicking Select and Mask in the Properties panel. Inside this tool, you can adjust Feathering to create softer edges and use the Refine Edge Brush Tool to precisely clean up fine details like hair or fur. You can also use the Decontaminate Colors option to remove any residual color from the old background, making your composite look more realistic.
Unlinking Layer Masks
By default, a layer and its mask are linked, meaning if you move or transform the layer, the mask moves with it. You can see this as a chain link icon between the layer and the mask thumbnail. To move the layer and the mask independently, simply click the chain link icon to unlink them. This is useful if you want to reposition a subject within its mask or adjust the position of a background element without affecting the mask’s boundary. Remember to link them back when you are finished.
Creative Masking & Blending
You can use masks with adjustment layers to apply effects to specific areas of your composite. For a vignette effect, create a Brightness/Contrast adjustment layer, then apply a radial gradient to its mask to darken or brighten the edges of your image. For a final touch, use a low-opacity Gradient Map adjustment layer to unify the colors across all your composite layers, ensuring a cohesive look.
You’re all set! On day 7, we will take a closer look at the difference between Levels and Curves, two of Photoshop’s most powerful tools for tonal adjustments.


