
Download Assets
description
On today’s episode of our series, we’ll show you the core differences between Levels and Curves and how to use these powerful tools to make precise exposure and color adjustments in any image.
Follow along with all 30 episodes as we explore the the magic of Photoshop together!
Watch Next
JOIN 30 DAYS OF PHOTOSHOP (FOR FREE!)
Ready to jump in? Sign up and we’ll email you a printable calendar and daily class schedule so you can get started right away!
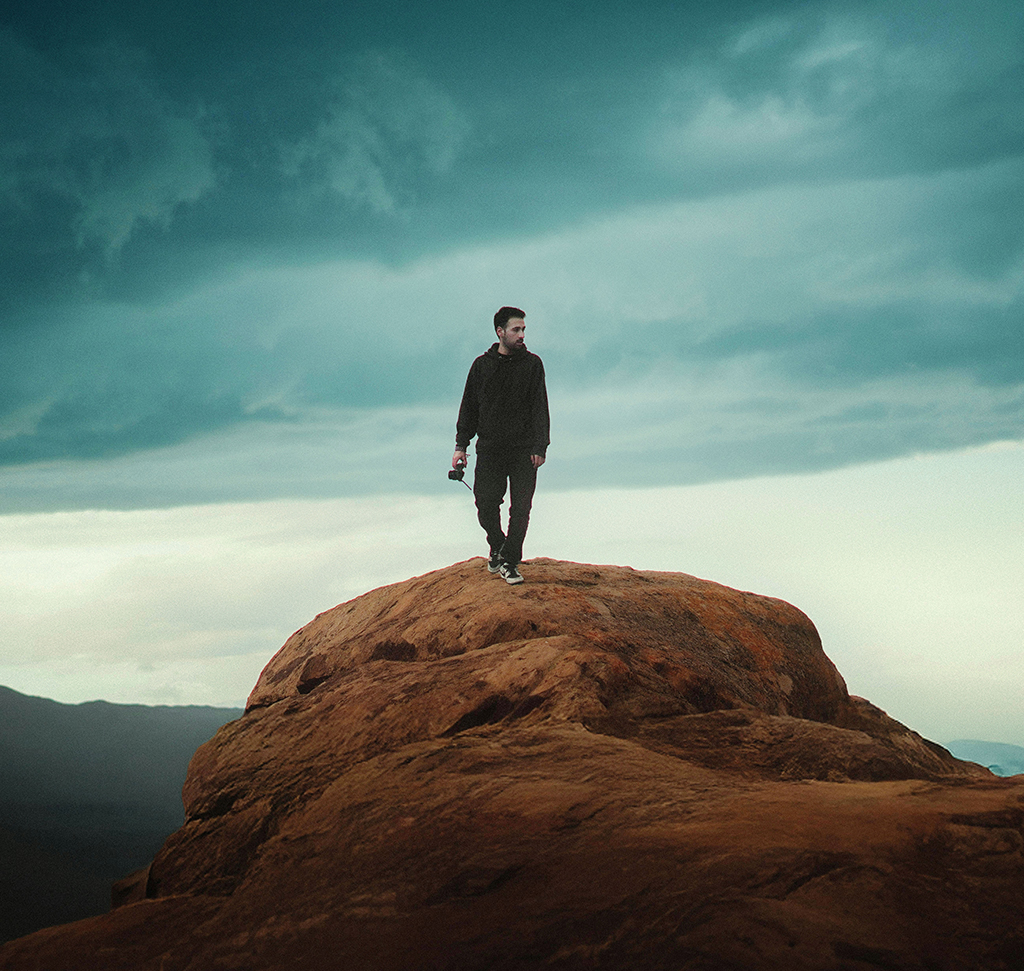
Image Source
- Mohammadreza Charkhgard
Images sourced from Unsplash.
Share

AFTER
BEFORE
Shape Your Image
Understanding the difference between Levels and Curves is crucial for anyone serious about photo editing. These two powerful adjustment layers are the primary tools in Photoshop for editing the light and color of your images. While they might seem similar at first glance, knowing their distinct functions and capabilities is key to mastering precise and impactful image adjustments.
Levels Explained
Levels is a powerful tool for adjusting an image’s tonal range. It works by using three main sliders for your input levels: one for the blacks (shadows), one for the whites (highlights), and one for the midtones. Moving the black and white sliders will clip information, making anything to the left or right of the slider pure black or white, respectively. The midpoint slider adjusts the brightness of the midtones. You can also work with output levels to make the darkest point of an image brighter or the lightest point darker. Additionally, Levels allows you to adjust individual color channels (Red, Green, or Blue) to perform color balancing.
The Power of Curves
While Levels offers powerful adjustments, Curves provides a more granular level of control. Instead of just three points, Curves lets you create multiple points on a graph to manipulate specific tonal ranges. The bottom-left of the graph controls the shadows, and the top-right controls the highlights. You can click anywhere on the curve to add a new point, allowing you to selectively brighten or darken different areas of your image without affecting others. For example, you can create a gentle S-curve to increase contrast by darkening the shadows and brightening the highlights. Just like with Levels, you can also adjust individual color channels within Curves for advanced color grading.
Using Both Together
The most effective way to use these tools is often in combination with each other and layer masks. A layer mask allows you to apply an adjustment to a specific area of your image, like a sky or a subject, while leaving the rest of the image unaffected. You can use a gradient mask to apply a gradual darkening effect to a sky with Levels, or use a selection to apply a Curves adjustment to brighten just a subject’s face. You can use the Quick Selection Tool to make a selection, then create a new adjustment layer which will automatically apply a layer mask.
Both Levels and Curves are foundational tools for image editing, and mastering them will significantly improve your workflow and results. There is no right or wrong tool—it’s all about personal preference and the specific needs of your image. Now that you’ve grasped these concepts, be sure to join us tomorrow, on Day 8 of the series, where we will dive into a different topic and show you how to change any color in Photoshop.


