

Download Assets
This tutorial includes 1 PDF guide. Downloads are free with a PHLEARN account.
- Download the sample files from every free tutorial on PHLEARN
- New free tutorials published every week
- One free account: sign up once, then download anything
Free PDF Guide · 3 Pages
This Tutorial as a Step-by-Step PDF
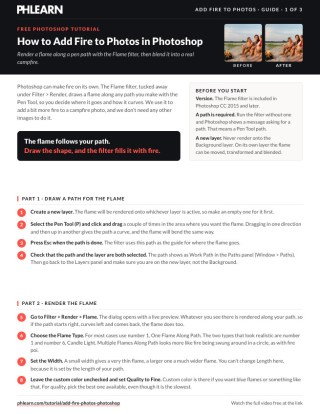
This three-page guide walks through drawing a Pen Tool path on a new layer, rendering it with Filter > Render > Flame using One Flame Along Path and Fine quality, and every Advanced setting. Then blend the flame in on Lighten and soften it with a small Gaussian Blur on a Smart Object. Keep it next to your keyboard.
description
Photoshop can generate fire on its own, no stock flame photos needed. Aaron draws a curved path with the Pen Tool, renders a flame along it with Filter > Render > Flame, walks through the filter’s width, turbulence, jag and flame style settings, then blends the result into a campfire photo with a Lighten blend mode, a light Gaussian Blur, then builds a practice flame and a second one matched to the fire, masking away anything that does not fit.
Enjoying This Free Tutorial?
We publish a new free tutorial every week, each one with sample images and PSDs you can download and follow along with. Sign up and they land straight in your inbox, along with early word on sales, events and subscriber-only offers.
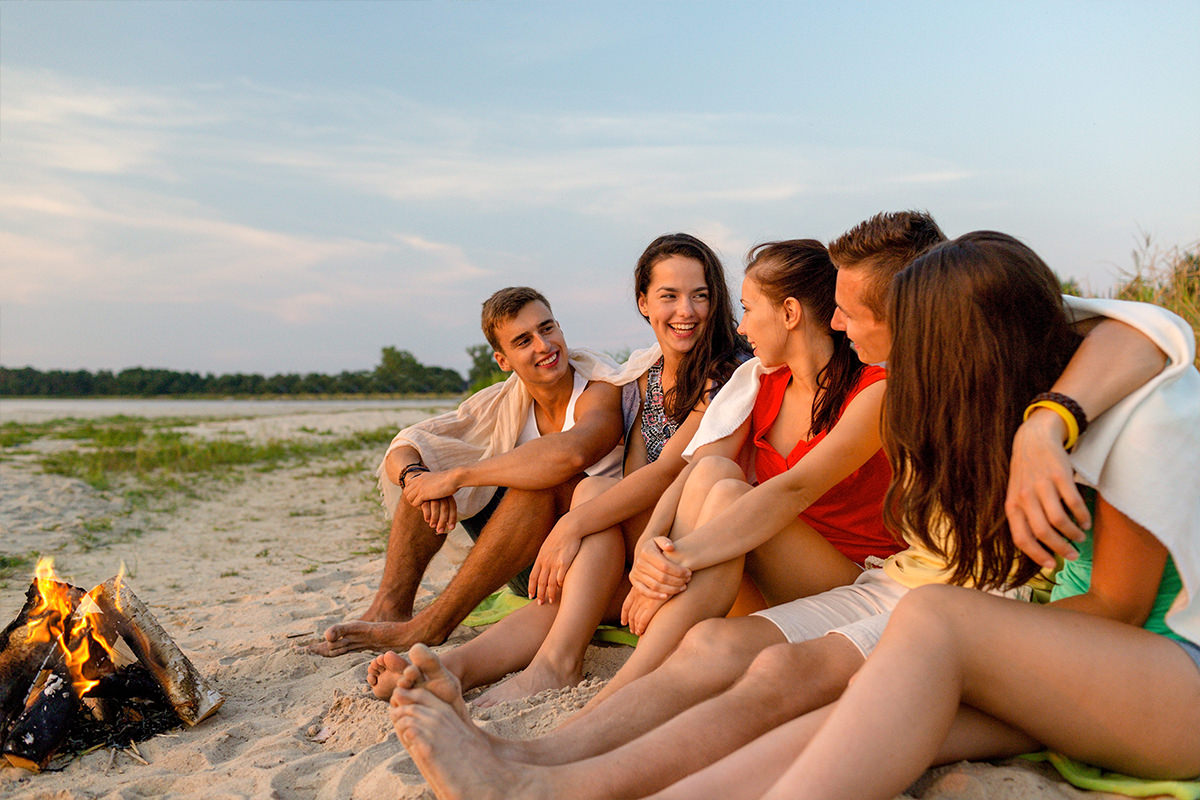
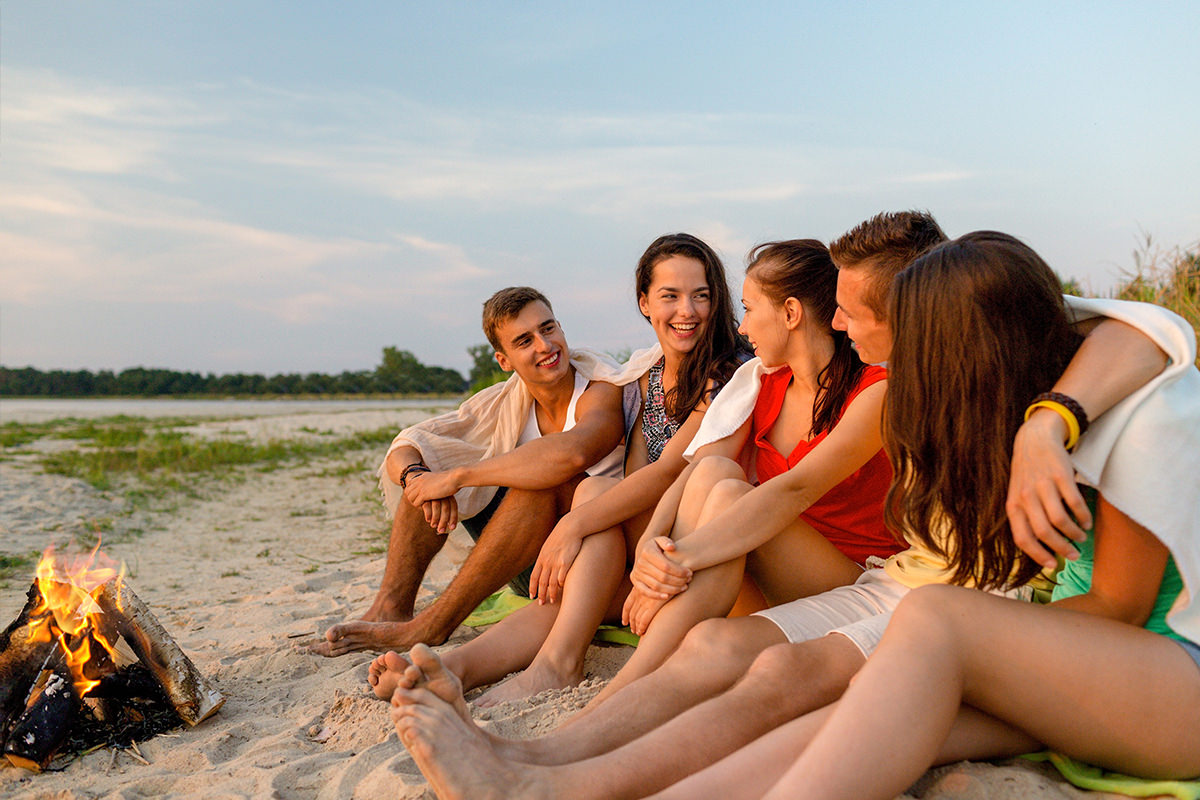
Photoshop’s built-in Render Flame filter can generate surprisingly convincing fire directly inside your document, no stock flame images or compositing required. In this tutorial we’ll use a pen path to guide the filter, dial in its many settings to get a natural-looking result, and blend the rendered flame into an existing campfire photo so it looks like it was always part of the scene.
The Render Flame Filter
Go to Filter > Render > Flame to find this filter, available since Photoshop CC 2015. If you try to run it without an active path, Photoshop will tell you a path is required, since the filter renders its flame along whatever path you’ve drawn, using it as a guide for shape, direction, and curve.
Drawing a Path with the Pen Tool
Select the Pen Tool and click and drag to create a curved path roughly where you want your flame to appear, pressing Escape when you’re finished. Create a new layer first, since you don’t want to render the flame directly onto your background layer. It helps to draw your path somewhere a fire would realistically exist in the photo, like directly above an existing campfire, rather than somewhere arbitrary.
Rendering Your First Flame
With your path and new layer both active, go to Filter > Render > Flame to open the filter’s dialog, which offers a large number of options for shaping exactly how the flame looks.
Choosing a Flame Type
The Flame Type dropdown offers several presets. “One Flame Along Path” tends to look the most realistic for a general fire and is a good default starting point. “Candle Light,” number 6, is the other type that looks realistic, and it works well if you’re adding a candle. “Multiple Flames Along a Path” looks more like fire being spun in a circle, such as with a fire poi, and is a more specialized effect than most everyday uses call for.
Adjusting Width, Opacity, and Quality
The flame’s Length is determined automatically by the length of your path, but Width can be adjusted directly, narrower for a thin flame, wider for a fuller one. Leave Custom Color unchecked unless you specifically want a non-natural flame color like blue. Set Quality to Fine for the best rendering result. Opacity sits on the Advanced tab; keep it relatively moderate rather than maxing it out, since pushing it toward white can wash out the detail and texture that makes the flame look convincing, unless you’re deliberately going for a bright, overexposed look.
Fine-Tuning with the Advanced Settings
Click Advanced to reveal more granular controls. Turbulence adds windblown chaos to the flame’s shape, lower values give a smoother, calmer fire, higher values simulate wind or movement. Jag adds a rougher, more randomized edge; keeping it lower tends to look cleaner. Bottom Alignment determines where the flame’s weight sits, pulled toward the bottom for a fire that’s grounded and rooted in place, or pushed upward for a flame that reaches higher. You can also increase the number of Flame Lines for a more complex, layered fire, and choose between Flame Styles like Normal, Violent, or Flat, with Normal generally looking the most natural. Flame Shape options like Parallel or Pointing offer small variations worth trying for your specific image. Once you land on settings you like, click Save Preset to reuse the exact same look later.
Positioning and Transforming the Flame
Click OK to render the flame onto its own layer. Open the Paths panel (Window > Paths) and click below the path list to deselect the work path so it no longer displays over your image. Since the flame lives on its own independent layer, you can freely move it into position over your existing fire source. Press Ctrl+T (Cmd+T on Mac) to open Free Transform and squash, stretch, or rotate the flame so its shape matches the direction and motion of the fire already in your photo.
Setting the Correct Blend Mode
Fire is a light source, so it should only ever brighten a photo, never darken it. Change the flame layer’s blend mode from Normal to Lighten (Screen also works well) so the dark areas of the flame layer disappear and only the bright flame shapes show through onto your image.
Blurring the Flame to Blend It In
Rendered flames tend to have crisp, sharp edges compared to the softer, more diffused look of a real photographed fire. Set the layer’s blend mode back to Normal temporarily, right-click the layer, and choose Convert to Smart Object (always do this while a layer is on Normal blend mode). Switch the blend mode back to Lighten, then go to Filter > Blur > Gaussian Blur and apply a light blur, just enough to soften the edges without losing the flame’s shape. Because it’s now a smart filter, you can reopen and adjust the blur amount at any time.
Making a Second Flame to Match the Fire
Treat your first flame as practice; do it a couple of times and you get the hang of it. Hide that layer, create a new layer, and draw a small path in line with the actual fire. Render another flame with a wider Width to suit the campfire, add a couple more Flame Lines, bring Bottom Alignment up a little, and blend it in with the same Lighten mode and Gaussian Blur treatment as before.
Masking Out Parts That Don’t Fit
Our first flame was too thin to match the campfire. When a flame doesn’t fit, add a layer mask and paint black over it, or just delete the layer, which is what we do in the end, leaving one flame on top of the real fire.
Why This Approach Works
This effect works because the Render Flame filter is built to follow a path you control, which means the flame’s shape and direction can be made to match the physical fire already present in your photo rather than looking like a generic overlay. Setting the blend mode to Lighten respects how fire actually behaves as a light source, letting the dark background of the rendered layer disappear so only the bright flame shapes contribute to the image. Blurring softens the filter’s naturally sharp render edges to match the softer look of real photographed flame.
Final Thoughts
Adding fire in Photoshop comes down to five steps: draw a guiding path with the Pen Tool, render a flame along it with the Flame filter, set the blend mode to Lighten, soften the edges with a Gaussian Blur, and mask or delete any flame that doesn’t match the real fire. It takes a bit of experimenting with the filter’s many settings to land on something realistic, but once you get a feel for it, you can add fire to any photo without ever needing a stock image or a real flame on set.
Quick Reference: Keys, Menus and Settings
- Draw the guideP for the Pen Tool, click and drag, Esc to finish
- RenderNew layer, Filter > Render > Flame; One Flame Along Path, Quality: Fine
- Advanced tabTurbulence and Jag low, Opacity moderate, more Flame Lines, Flame Style: Normal; Save Preset
- Hide the pathWindow > Paths, click below the work path
- Fit the flameCmd/Ctrl + T to squash and rotate
- Blend it inBlend mode: Lighten
- SoftenOn Normal, right-click > Convert to Smart Object; back to Lighten, Filter > Blur > Gaussian Blur
No AI, no generative credits.
Free Downloads
Take the Guide With You
Get the PDF guide with every step for rendering fire along a Pen Tool path with the Flame filter and blending it into a campfire photo. Free with a PHLEARN account.
The Render Flame Filter: Common Questions
Why does Photoshop say a path is required?
The Flame filter renders along a path. Draw one with the Pen Tool by clicking and dragging, press Escape, then go to Filter > Render > Flame.
Should I render the flame on my background layer?
No. Create a new layer first so the flame sits on its own layer, where you can move, transform, blur or mask it.
Which Flame Type looks most realistic?
One Flame Along Path works for most fires, and Candle suits a small, contained flame. Multiple Flames Along Path looks more like fire being swung in a circle.
How do I make the flame longer?
Draw a longer path. Length comes from the path itself; only Width is set in the dialog.
Why does my flame look white and washed out?
Opacity is set too high. Keep it lower on the Advanced tab so the detail in the flame is preserved.
What do Turbulence and Jag do?
Higher Turbulence makes the flame look windblown; lower is calm. Jag adds randomness; keep it low for a smoother flame. Flame Style Normal looks the most natural.
Which blend mode should the flame layer use?
Lighten. Fire is a light source and should never darken the photo. Screen also works, but Lighten looked better here.
How do I soften the flame’s sharp edges?
Set the layer to Normal, right-click and choose Convert to Smart Object, set it back to Lighten, then add a small Filter > Blur > Gaussian Blur. As a smart filter the blur can be changed later.
Can I save flame settings I like?
Yes. Click Save Preset in the Flame dialog and name it, and the same look is there next time.
Is there a free download?
Yes, with a free PHLEARN account. You get 1 PDF guide with the steps for rendering, blending and softening the flames.
Master Photoshop, Lightroom and Photography
Join PHLEARN PRO for $12.99 a month, or $99.99 a year (save 36%). Cancel anytime, with a 100% money-back guarantee.





