Download Assets
description
In the final episode of our object removal in Photoshop series, learn how to remove distractions when the background is busy and full of complex textures!
Click here to download the complete PSD file (139MB).
Free Object Removal Series
- A Tour of the Best Object Removal Tools in Photoshop
- Clean Up Simple Backgrounds in Photoshop
- Remove Objects Around Lines & Edges in Photoshop
- Remove Objects From Complex Textures in Photoshop (This Episode!)
If you’re ready to take these skills to the next level, be sure to check out our PHLEARN PRO series on object removal in Photoshop.
Share
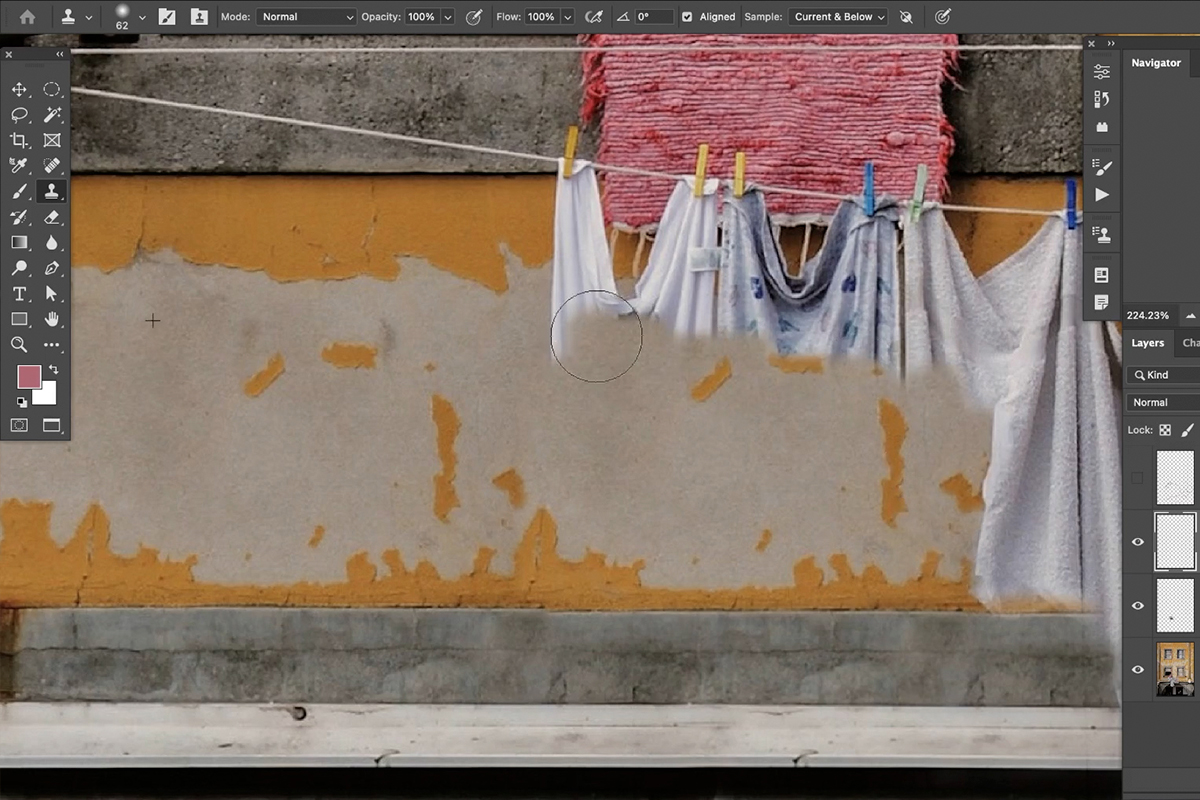
Remove Object From Busy Backgrounds
Removing Distractions From Busy Backgrounds in Photoshop
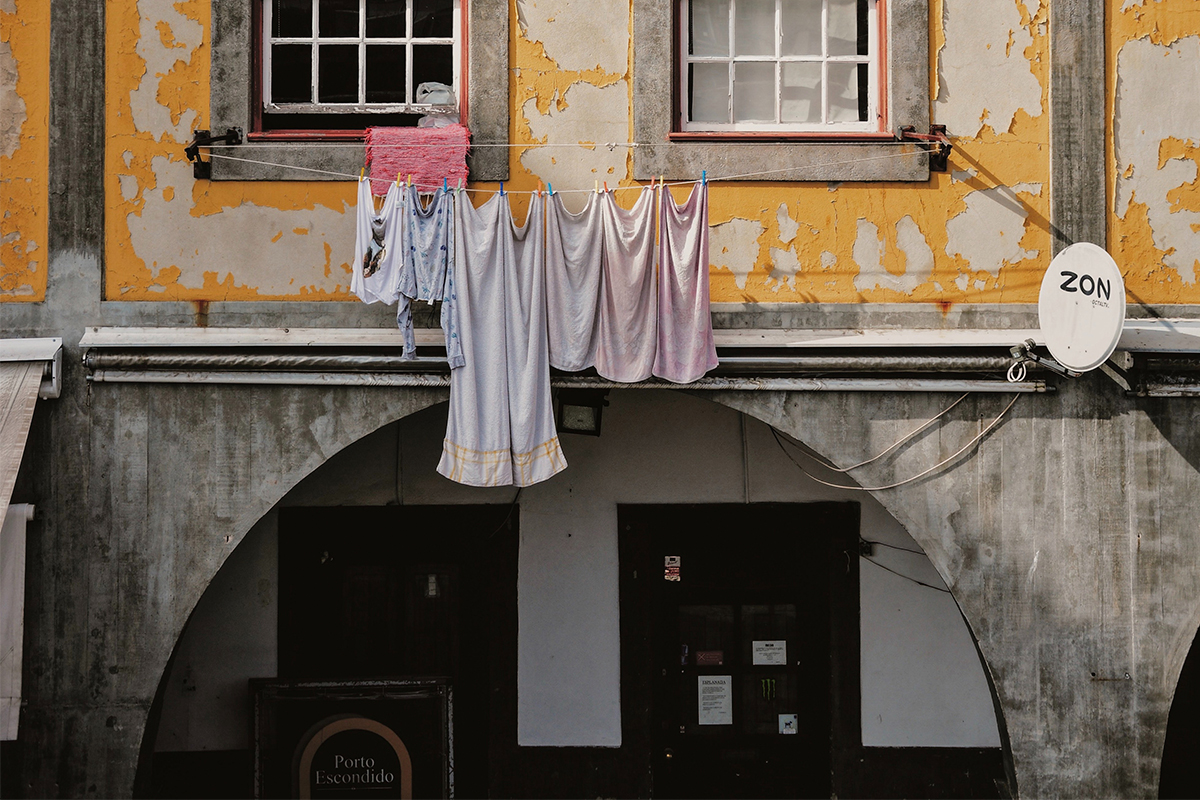
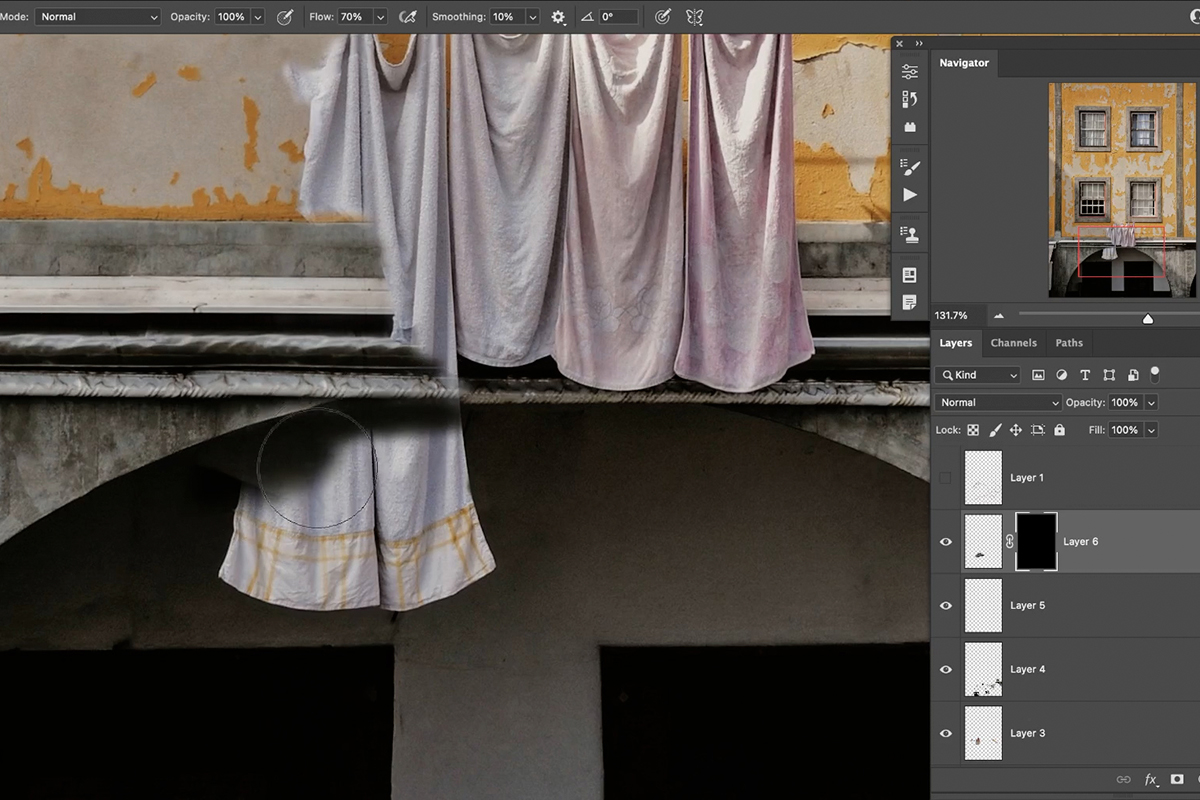
In our first three episodes of this series, we covered all of the major object removal tools in Photoshop as well as some different situations and applications where you can use them. In this final episode, we’re going to put everything we’ve learned together to try and remove objects from a busy background that contains a lot of complex textures and structures.
If you’re feeling overwhelmed just looking at the image, don’t worry! You can always go back and revisit our previous examples, or check out our PHLEARN PRO series that goes even deeper into tools and techniques for object removal.
Using Every Tool
So what’s the big secret to removing objects from busy backgrounds? Well, there isn’t one. You just need to be ready to use every tool and technique that you’ve learned so far, combining them and switching them to fit the part of the image where you’re working.
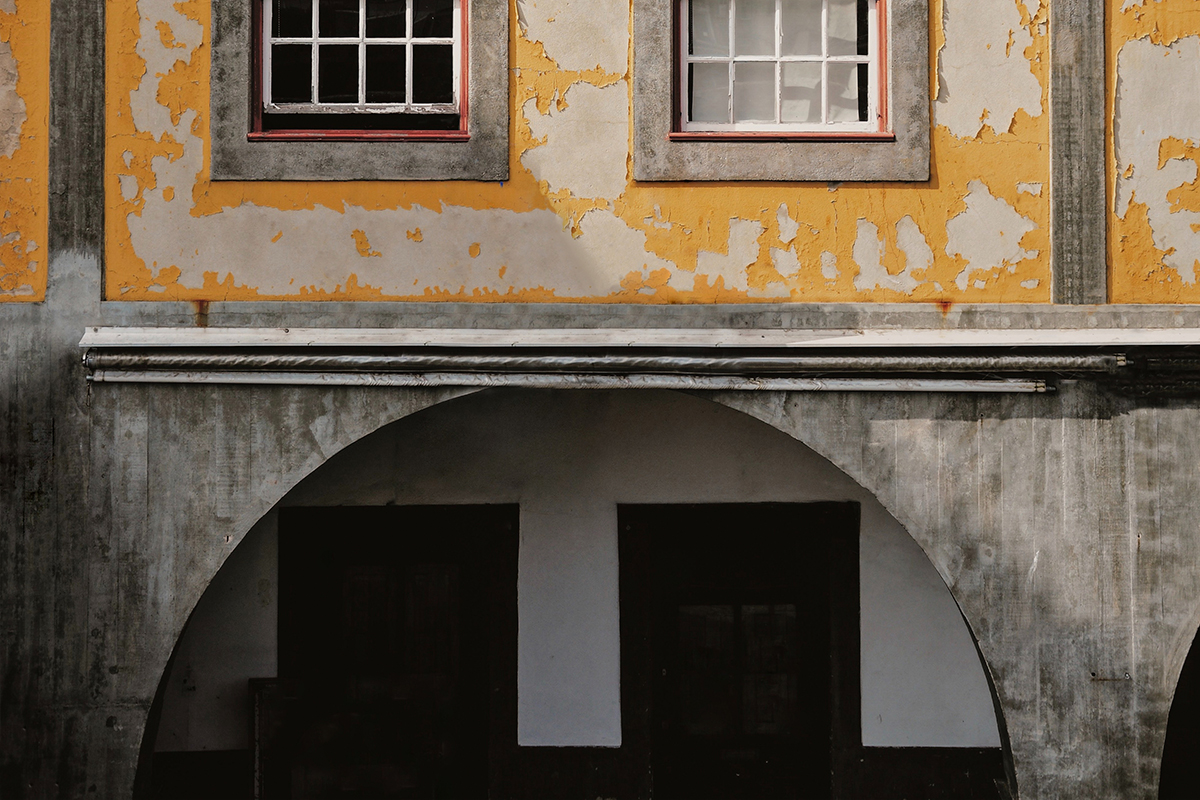
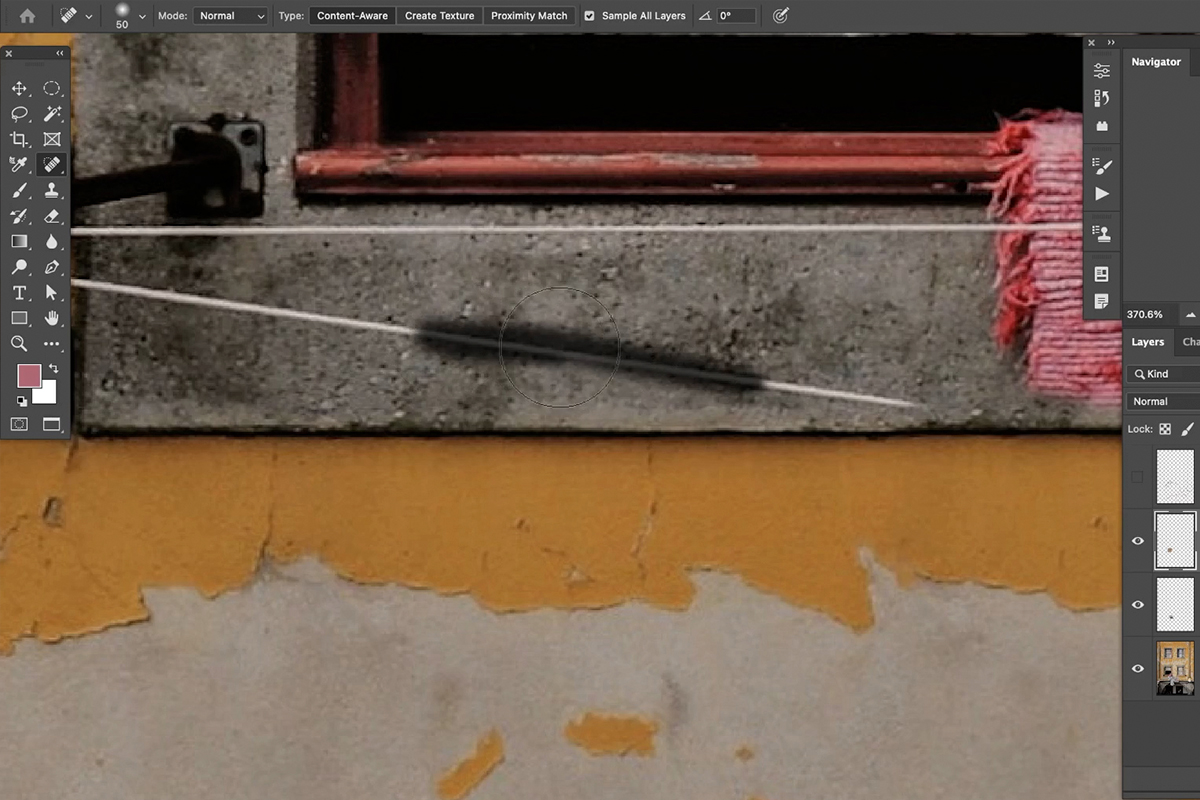
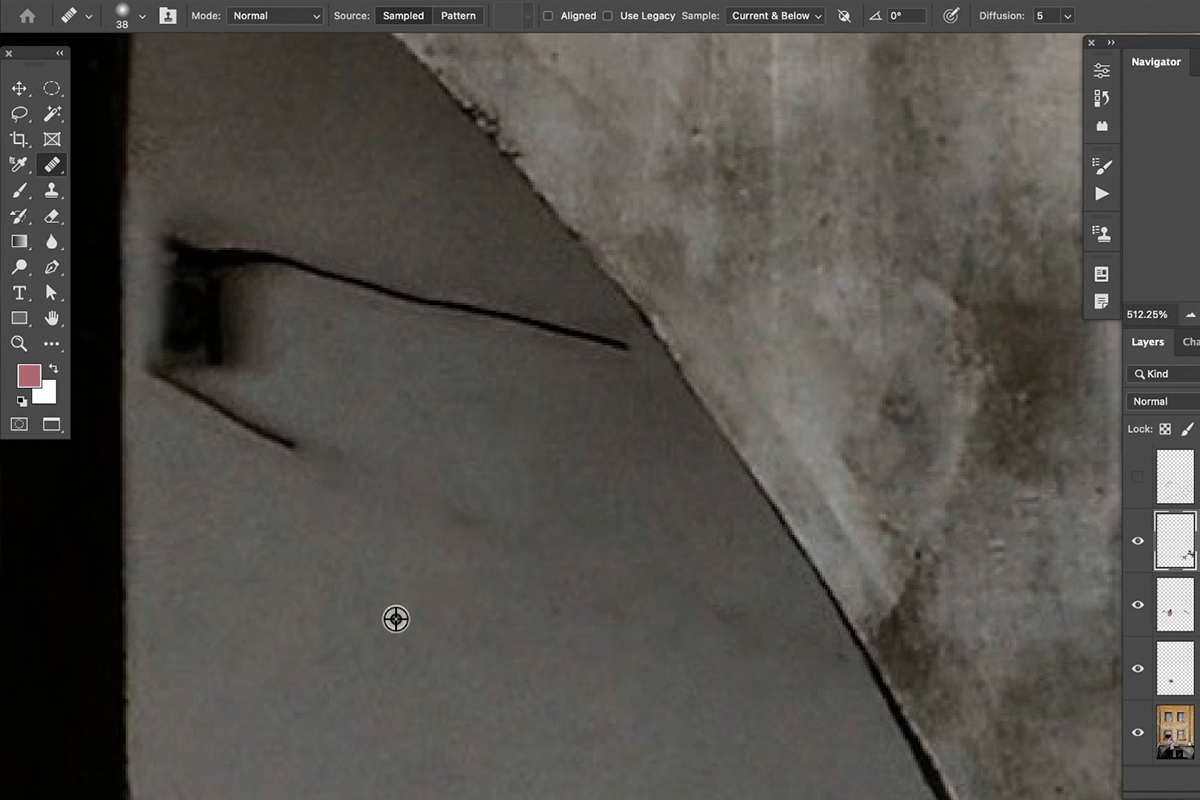
For example, this image has a lot of lines and edges–structures of the building that need to be straight and continuous. When you’re removing objects around areas like that, stick to the Clone Stamp Tool which will help you quickly recreate large sections of a structure with near perfect detail.
Remember that since the Clone Stamp Tool is creating an exact copy of wherever you Sample, you may need to use another tool, like the Spot Healing Brush, to remove details that are noticeably repeating.
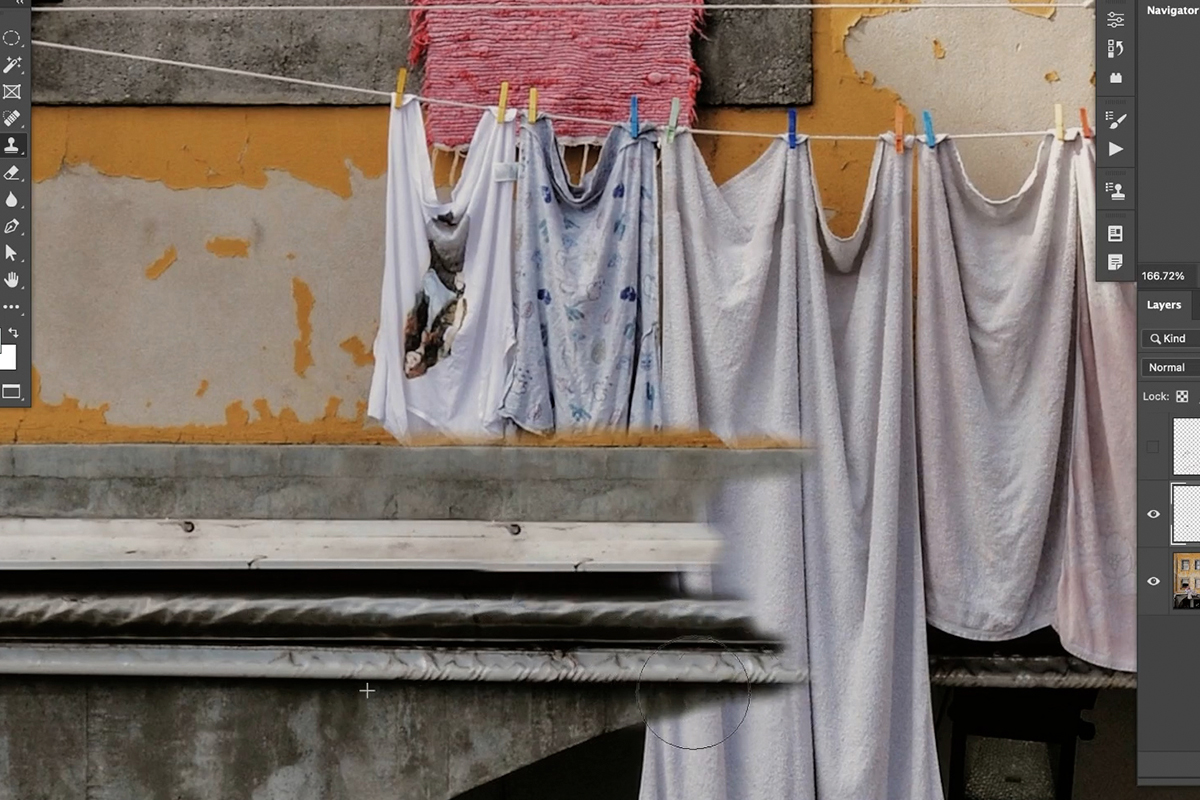
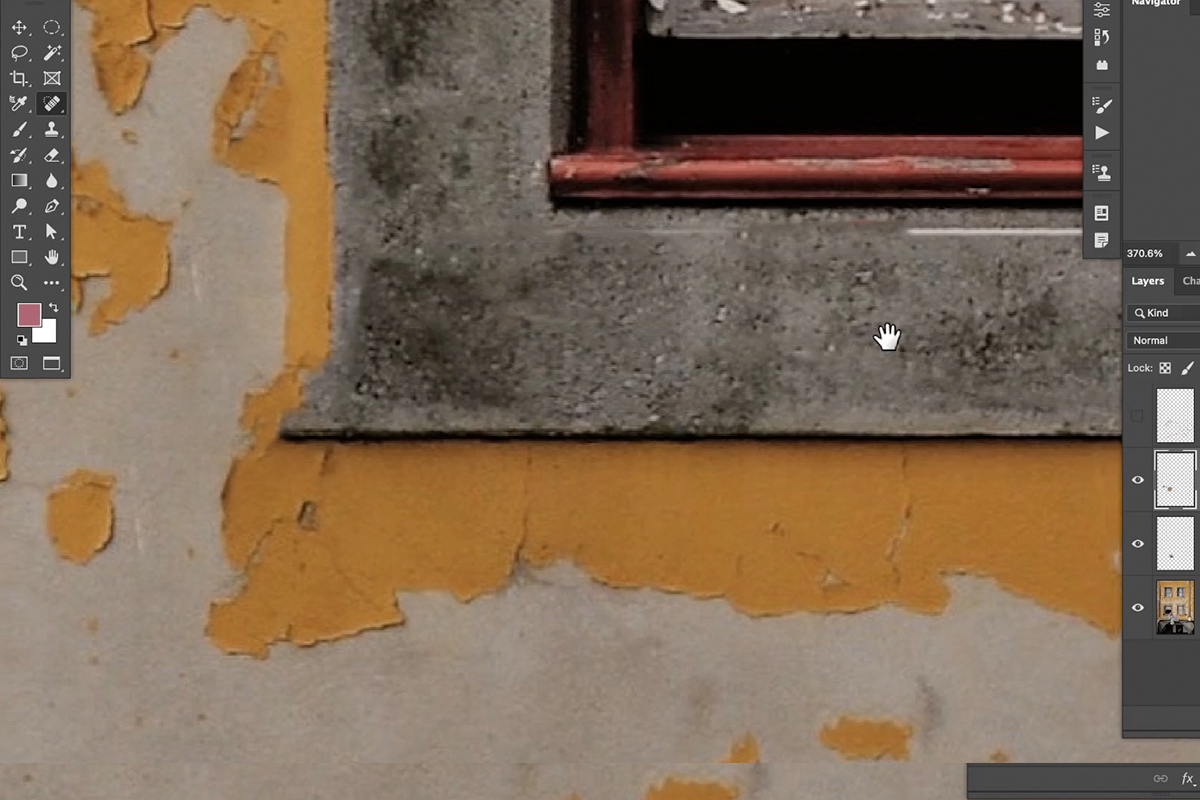
And, speaking of the Clone Stamp Tool, since the background is full of a lot of wonderful textures, the Clone Stamp Tool is the best way to make sure new textures look crisp and natural. Again, you’ll want to avoid any instances of obvious repeating details, but this is a great way to make sure newly added textures look as realistic as possible.
Save Time with the Spot Healing Brush
The more complicated the background, the more time you can expect to spend on cleaning up distractions in and around it. But that doesn’t mean that the Spot Healing Brush can’t be effective while still saving you some precious minutes.
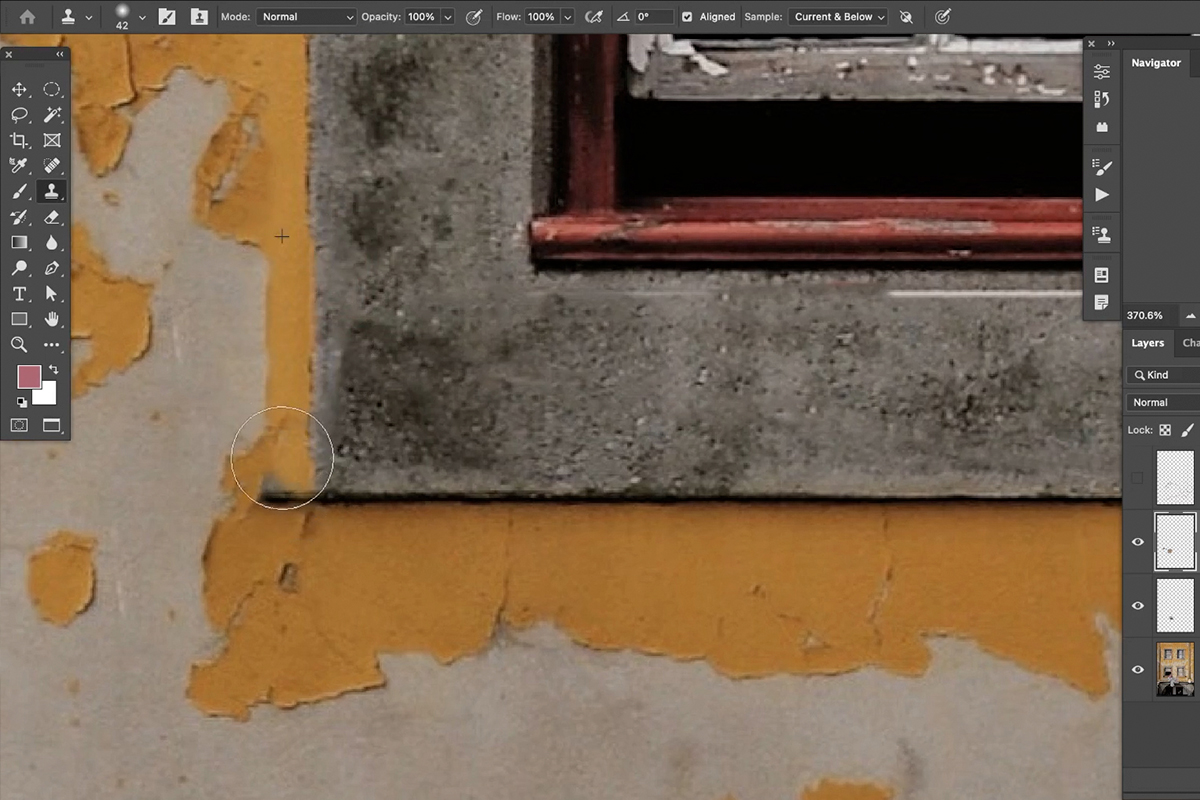
Use the Spot Healing Brush over any relatively even and subtle textures. It will make quick work of most object removal in these areas while still providing a realistic result.
You can even use it in more complex areas, and then just clean up any textures, lines, or edges with the Clone Stamp.
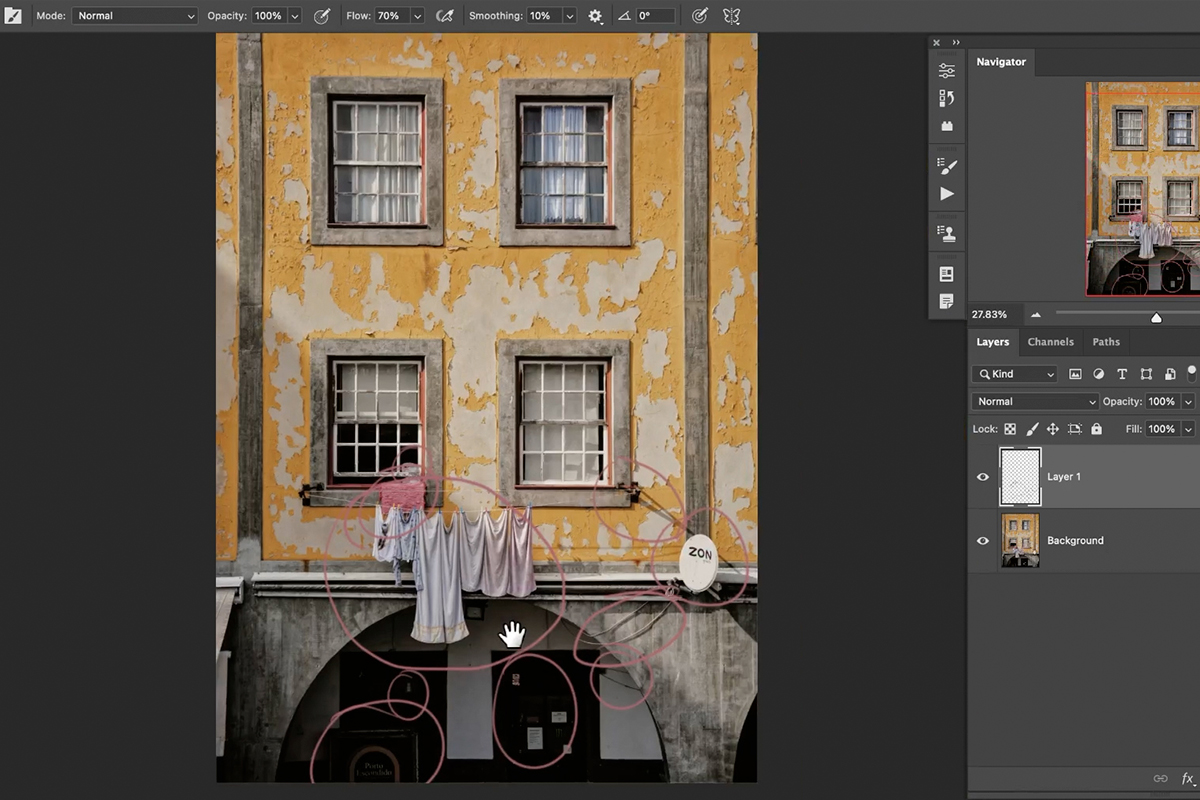
Again, the more willing you are to switch tools on the fly, the more smoothly the process will go. And remember to also constantly create new Layers as you switch tools and switch to different parts of a photo. This will make it easier to go back and refine edits with other tools and Layer Masks.
We generally find that the Clone Stamp Tool and Spot Healing Brush can handle most objects in most situations. Occasionally, tools like the regular Healing Brush can help us split the difference when one or the other fail to get the job done right. Use the Healing Brush in areas where you want the textures and details to be more accurate, but with a similar ease of use as the Spot Healing Brush.
And lastly, there’s the Brush Tool. When you’re working in areas that are mostly just a solid color or a simple gradient, Sampling and painting with the Brush Tool is a great way to quickly cover up distractions while gaining more control over how the effect blends into the background elements.
As you work through this example, be sure to take your time and take breaks! Giving your eyes a rest can help you see issues you might not have seen before, allowing you to go back and refine your work.