
How to Correct Exposure in Photoshop
-

-
Add to
favorites
-
DifficultyMedium
-
Length1.25 hours
-
Software
Description
Subject underexposed? Background blown out? Photos missing detail? We know things don’t always work out perfectly during a photoshoot. But that’s why we have Photoshop!
Learn how to rescue your photos with exposure adjustments in Adobe Camera RAW and Photoshop. Remove distractions, draw attention to your subject, and dial in the perfect, balanced exposure.
THIS COURSE INCLUDES
- 1 Sample Image
- 1 Photoshop Action
Share
Course Downloads
Photoshop to the Rescue!
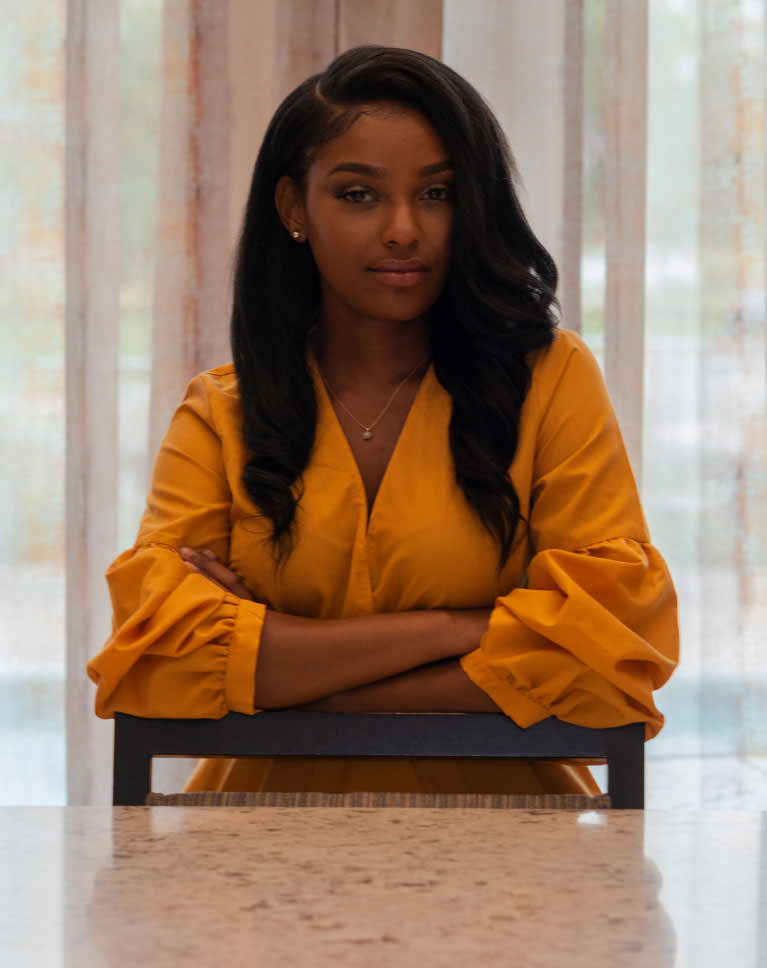
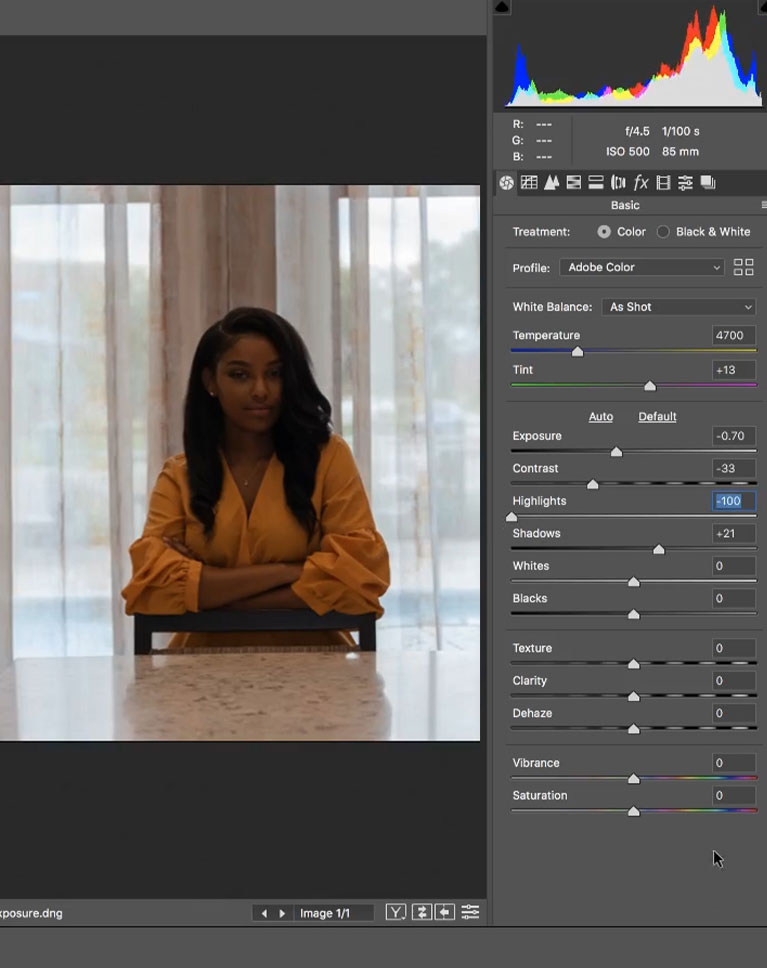
FIX AN UNDEREXPOSED SUBJECT
ORIGINAL
How to Correct Exposure
Ideally we want exposure to be perfect in-camera. But things don’t always work out when we’re shooting in unpredictable environments or when there are technological hiccups. We all miss on exposure from time to time, so learn how to save those images using the powerful tools in Photoshop and Adobe Camera RAW.
Fix Overexposed or Underexposed Photos
Whether the background is blown out or your subject is underexposed (or both!), we’re going to show you how to rescue an image using powerful exposure adjustment tools. And if you love the magic of photo editing, try Photo Editing 101-301!
Adobe Camera RAW
RAW files are important for the modern photographer–especially when you need to rescue a photo. Learn the power of working with RAW in Photoshop, from making detailed adjustments in Adobe Camera RAW to working non-destructively with Smart Objects.

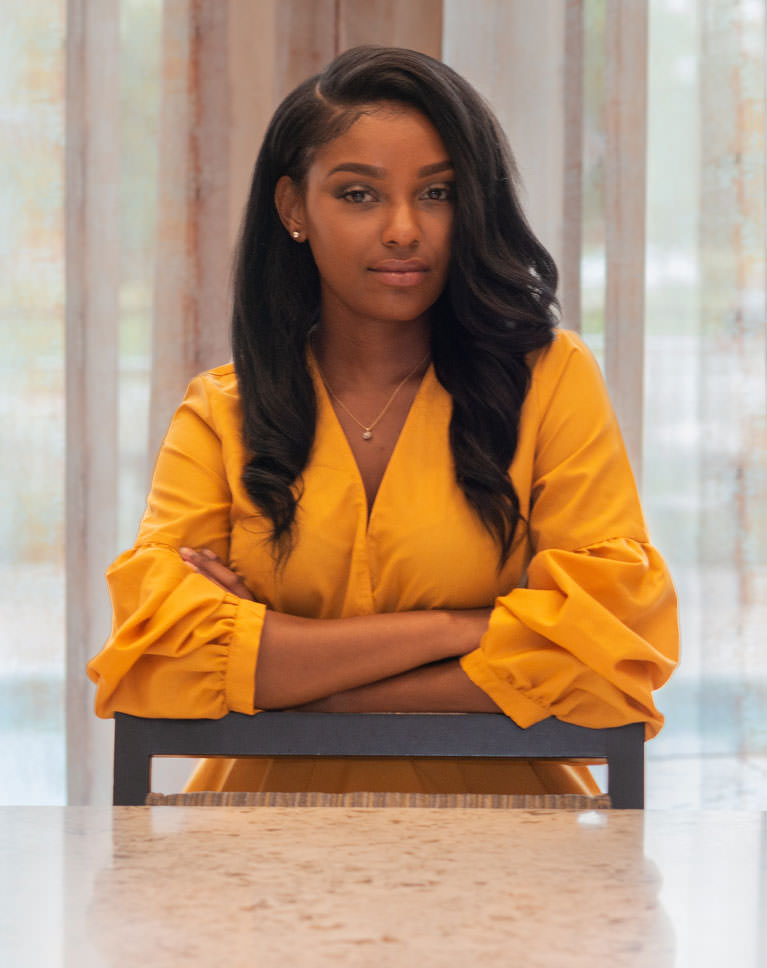
RECOVER DETAILS IN HAIR & FEATURES
ORIGINAL
Recover Details
Lift the shadows on your subject, revealing the beautiful details in their hair, face, and clothing. Bring down the highlights in a blown out background, recovering important environmental elements. Our Photoshop techniques will help you bring balance to the exposure of any image.
Enhance Subjects
If you’re taking headshots or portraits, your subject should be the star of the show. We show you how to help them stand out using exposure adjustments, dodging and burning, object removal, and professional-level sharpening.
Blend Exposures
Learn how to blend multiple exposures together, even when you only have a single RAW file! We’ll show you how to use the Camera RAW Filter to create multiple exposures, each recovering information in the highlights, midtones, and shadows of a portrait. Then blend them together in Photoshop for a seamless final image.
Balanced exposure, every time.

Rescue Your Photos!
Don’t let an unbalanced exposure make you throw out an otherwise beautiful portrait! Learn how to use Adobe Camera RAW to create different exposures, and then blend them together in Photoshop for picture-perfect results.
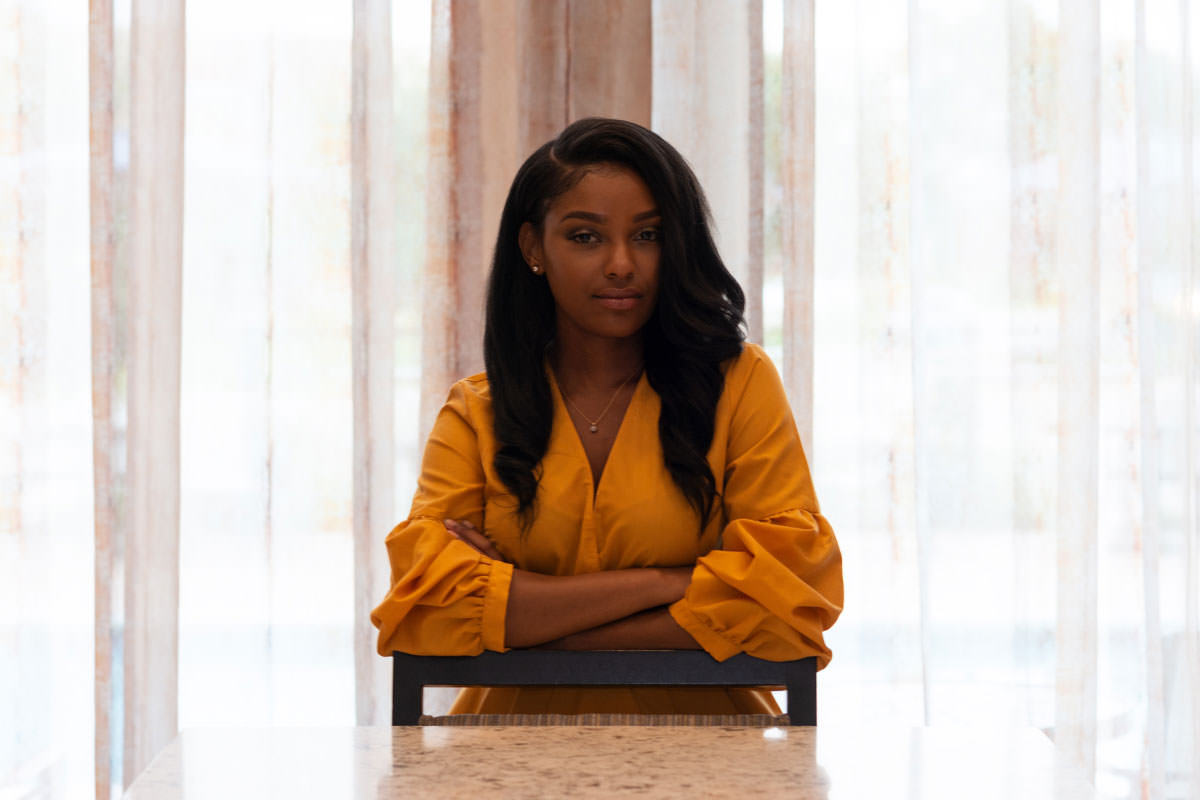
FIX OVEREXPOSED BACKGROUNDS
Highlights & Shadows
All cameras have a limited dynamic range which makes it tough to capture fine details in both the highlights and shadows of a photo. That’s where Photoshop and Adobe Camera RAW can help recover information and help you create a more balanced image, every time.
Dodging & Burning
Use dodging and burning to add shape and dimension to your photos and bring out more detail than ever. Learn to use the tools in Photoshop to add contrast, sculpt highlights and shadows, and help your subjects pop off the screen. This is a skill we believe in so much that it has its own PRO tutorial, How to Master Dodging & Burning in Photoshop!
Sharpening Photoshop Action
We include our exclusive PHLEARN Sharpening Action, which is designed to help you enhance details and draw more attention to your subjects. All with the professional results you expect, in a fraction of the time.

LEARN FROM A PRO!
Channels
In order to seamlessly blend exposures, you’ll need to make accurate selections. So how do you get precise selections of areas of light and dark? With Channels! Learn how to use Channels to create ultra-detailed Masks and selections, perfect for combining multiple exposures.
Remove Objects & Distractions
Once the perfect exposure is locked in, it’s time to simplify the photo by removing small objects and distractions. Master tools like the Spot Healing Brush and Clone Stamp Tool to help keep all eyes on the subject.
Professional Finish
These aren’t tips for just rescuing photos, these are professional techniques that can you can use to take all of your images to the next level. From dodging and burning, to object removal, to sharpening, master the skills that will help all of your photos look their very best.

Aaron Nace
PHLEARN Founder – Class Instructor
Aaron Nace is a photographer, Photoshop artist and founder of PHLEARN. He is the #1 Photoshop instructor in the world with millions of YouTube subscribers.
Henry Jones
Photographer – PHLEARN PRO Member Since July 2019
I am a portrait and event photographer in Columbia, SC. On most weekends I am behind the lens and love being outdoors. In my free time, I enjoy trying out craft beers (IPAs please) and love traveling with my family.


Reviews
New & Popular Tutorials


Training Site in
the World
Tutorials!
Ratings
and Counting
Subscribers
Wow..
Aaron is such an excellent teacher! So much charisma, so easy to follow, so easy to understand, just lovely! This tutorial was really great, comprehensive and useful!
This PS class Aaron Nace is absolutely fantastic. The free PS tutorial class really helped me a lot as a beginner. Now I can do some design on my own and as well edit the ready made pictures. You are wonderful Aaron. Keep it up.
Really great tutorial…Thank you so much ….
I truly learned a lot from this tutorial. For some reason the video did not appear clear so it was hard to understand where you might be accessing a tool o r to mimic the settings you were using. All in all this was a GREAT learning experience.
wow, thanks I have so many over exposed photos of landscapes and now i can repair them. Thanks again for another awesome tutorial
I found this quite helpful. Perhaps the most helpful part was in understanding how to isolate shadows and highlights. I think using one of the member’s pictures is a very good idea. I have a number of pictures that are similar to this. In Australia being such a hot dry climate over exposure is hard to avoid. This helps a lot. I think the other thing I have noticed is going over certain things again and again eg clone stamping. This reinforces previous examples eg retouching but from a different angle. I like this approach. The one suggestion I would make occurs where you have an expert guest. I think it would be good to put something like a small ad for them complete with name and email address etc. On a couple of occasions I have not been sure just who this person is. They speak well and add a lot to the subject. I am not a professional photographer but there may be someone looking for this type of thing who is looking for this service and could benefit by this information. Everyone has qualifications but not everyone can say that they have had a guest spot of Phlearn. Thanks. Alan
Absolutely wonderful tutorial. I am semi-experienced in PS, but am new to PS 2020. This is exactly the ‘nuts & bolts’ techniques that I need to know. Also, Aaron gives us plenty of other ‘basic’ techniques and short cuts that are well worth knowing. Thank you Aaron and Phlearn, I appreciate the new skills that you are showing me. Lastly, Aaron, I love your upbeat attitude. You give me a ‘We can do this together’ type of attitude. I appreciate that.
Thanks so much for this tutorial! It helps reinforce and clarify the “How to Retouch a Portrait in Under an Hour” tutorial that I love. I would love to see more of the same as I am trying to incorporate this into my workflow. This had made a huge impact on how I process images!
Excellent! On of the best tutorials! Thank you!
as allways , an excellent tutorial
Excellent as always. I’m definitely adding this to my favourites list.
This is the first time I followed an edit along with the same image. In the past I would use one of my own images but each image has its own challenges. The only thing I wish I could figure out is I had the tutorial playing on an external screen, and photoshop on my laptop screen, but couldn’t figure out how to pause/play [shortcuts] the course so I could easily stop the course, catch up, then play. Finding the play button each time was annoying. But overall, this is an outstanding easy to follow along tutorial.
Fantastic video and a simple way to take any photo and repair it in a few simple steps. A must view for any photographer, professional or otherwise, who is in a hurry to fix screw ups that happen all the time when in the field and the lighting conditions are not perfect. Great short course on smart objects and how to use them efficiently. Pat O’Bryan,
Aaron, Your idea of these workshops with photos to be retrieved from our (his students) pictures, is very interesting. These are real and recurring challenges. Congratulations!
That was amazing! Just seeing the background come into focus was incredible enough. In my image, I did a little frequency separation as well and some dodging and burning around the eyes. Learning about the iris blur was also fascinating. Overall, a quick and easy but informative tutorial!
Liked it very much because I am running into this issue a lot. It is funny how Aaron sometimes is losing himself in details – gld he didn’t fix the marks on the chair 🙂 Thanks and keep on doing things we need all day.
OMG First of all I am so excited that you used my image. Secondly, the final image is fantastic. I use PS like 10% of the time. I need to get into the Phlearn Pro & learn it. This was so great because out of the entire session this was my favorite image but I couldnt figure out how to fix it. Thanks for everything.
Awesome I learned so much from this you are really a super teacher thank you so much. I was able to work right along with you. wow is all I have to say
Congratulations Henry Jones for being selected for one of Mr. Nace’s tutorials. You presented a get photo for this project and I had a great time working with it. This was a great lesson for me because I find the dodge and burning tools frustrating most of the time and try to avoid them if I can. Now I am going to go through my files and apply this technique to those photos that aren’t as good as I would like them to be. Mr. Nace is a great teacher and I am looking forward to renewing my 3rd year with him at the end of my term. I’m not on here like I was the first two years, but I like having him a click away incase I forgot how to do something. Plus, he keeps up with photoshop, and like with this lesson he evolves his technique so we can have a simpler way to do things just like Adobe does with their program. Can’t wait for the iPad version to be released!! Goodbye dodge and burn tools! Happy Phlearning, Rose
A game changer for me. I absolutely love it!