

THIS COURSE INCLUDES
- 9 Lessonsin 2 sections
- 2h 56mof 4K video
- Intermediatesome Photoshop basics
- 9 Sample Images8 JPEGs + 1 RAW file
- 9 Layered PSDsto follow along
- Captionsand chapters on every lesson
Part of a Learning Path
Join PHLEARN PRO for instant access to this course and every tutorial on PHLEARN.
- Stream in up to 4K on any device
- Closed captions and chapters on every course
- Download all sample images and PSDs
- New PRO tutorials every month
- Cancel anytime
Description
Composition and light in Photoshop come together in this tutorial, where you’ll work through nine hands-on scenarios in Adobe Camera Raw and Photoshop that turn flat, ordinary landscapes into images with real depth and direction. Every lesson starts with a question you can ask about any photo: where is the light, where is the eye going, and what is in the way?
You’ll start with a clean RAW edit, learn to read a frame for its natural focal points, use crop overlays like the Rule of Thirds and Golden Ratio (and know when to break them), then sculpt light with low-flow dodging, rebuild washed-out skies, remove distractions, and give moving subjects room to travel. Everything is non-destructive, every scenario comes with the sample images and layered PSDs, and you’ll finish with a sharper eye for composition and light in Photoshop, and behind the camera, before you even press the shutter.
What You’ll Learn
- Edit a RAW photo for a balanced sky and foreground
- Crop with purpose using the Rule of Thirds and Golden Ratio
- Sculpt light and guide the eye to one clear focal point
Table of Contents
-
01 - RAW Editing43:37m
-
02 - Crop Overlays32:40m
-
03 - Rule of Thirds14:49m
-
04 - Framing Interest11:37m
See Light Differently
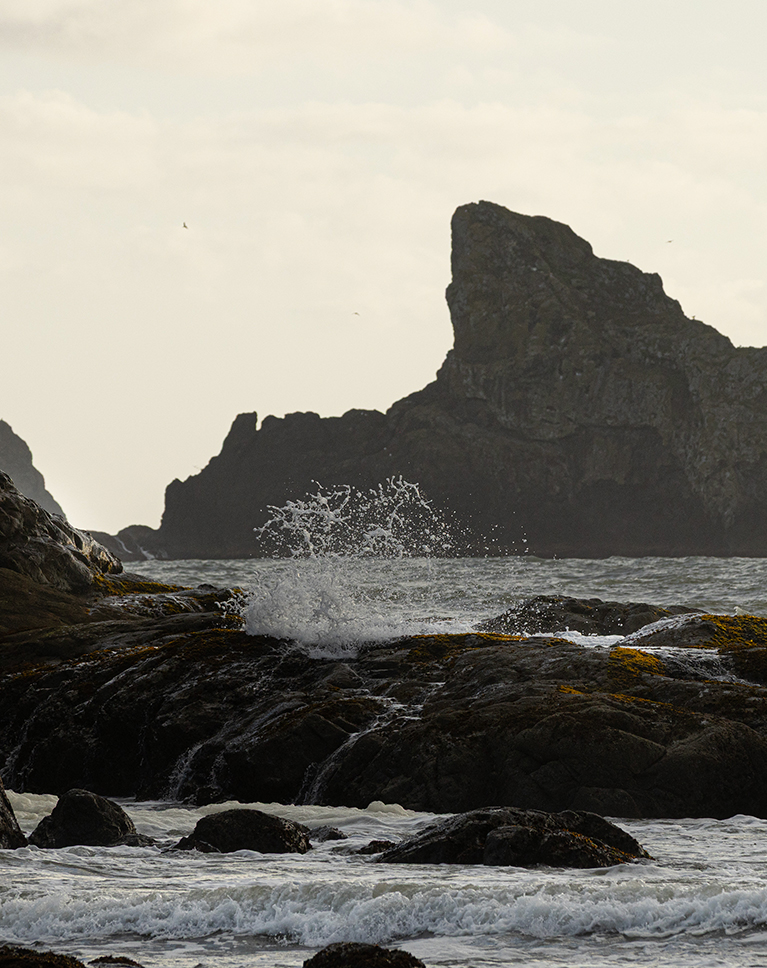

Composition and Light in Photoshop: Core Skills
Understanding composition and light is what turns a flat landscape into a photo people stop on. Light sets the mood and creates depth, and smart composition guides the viewer’s eye where you want it. Across nine scenarios in this tutorial, we use Adobe Camera Raw and Photoshop as sketch tools, so you learn to see focal points, leading lines, and light the same way in the field as you do at your desk.
RAW Editing Basics
We start where every great landscape edit starts: a clean RAW process in Camera Raw. You’ll learn how to pull detail back into a blown-out sky and dark foreground rocks without flattening your contrast, why Vibrance beats Saturation and Texture beats Clarity, how Dehaze changes the mood of a scene, and how Point Color can boost just one patch of color to build a focal point. Then we open the file as a Smart Object, so the RAW edit stays editable for everything that follows in composition and light in Photoshop.
Analyze Your Frame
Before touching the Crop Tool, we sketch right on top of the photo, because good composition and light in Photoshop begin with seeing, not editing. You’ll learn to spot the areas that draw the eye (sharp, bright, saturated, high-contrast), trace the diagonals and horizon lines that give a frame its structure, and call out the space that adds nothing, which is usually the sky. We finish with a full-screen cropping workflow, including Crop Shield and non-destructive settings, that turns that sketch into a tighter, stronger photo.


Sculpt Light & Texture with Brushes
Dodging is the secret to a three-dimensional landscape, and the secret to dodging is a low Flow. We show you how to build up light gradually with the Camera Raw brush, follow the highlights that already exist instead of inventing new ones, resize on the fly with the bracket keys, and hold Alt or Option to erase anything you overdo. You’ll also paint Texture onto individual rocks and grasses so detail pops exactly where you want it and nowhere else.
Enhance & Tone Skies
A washed-out sky is the most common reason a landscape feels flat, and it is one of the biggest wins in composition and light in Photoshop. You’ll learn to mask the sky in one click, darken and add contrast without killing the light on the horizon, subtract a linear gradient so the edit fades naturally, and use the Color Grading wheels to push the highlights toward a believable blue or a warm sunset tone.
Crop Overlays & the Golden Ratio
Photoshop’s crop overlays are tools for seeing, not rules to obey. We walk through the Rule of Thirds, Triangle, Diagonal, Golden Spiral, and Golden Ratio, and explain what each one is actually for. When a scene is symmetrical, like a waterfall dead-center between sky and ground, the Golden Ratio’s compressed center band is the perfect fit: flip the ratio, trim the empty sky and foreground, and the waterfall moves dramatically closer to the viewer.


Frame the Interest
Compositional rules are guidelines, and sometimes the best thing you can do is break one. In this scenario the photographer nailed the Rule of Thirds, but a third of the frame was still an empty sky while the foreground glowed with light, color, and texture. We point the camera down, give that foreground the space it deserves, then bring the scene to life with Point Color on the pinks and grasses and low-flow dodging that follows the light already scraping across the surface. That is composition and light in Photoshop working together: frame what is interesting, then sculpt it.
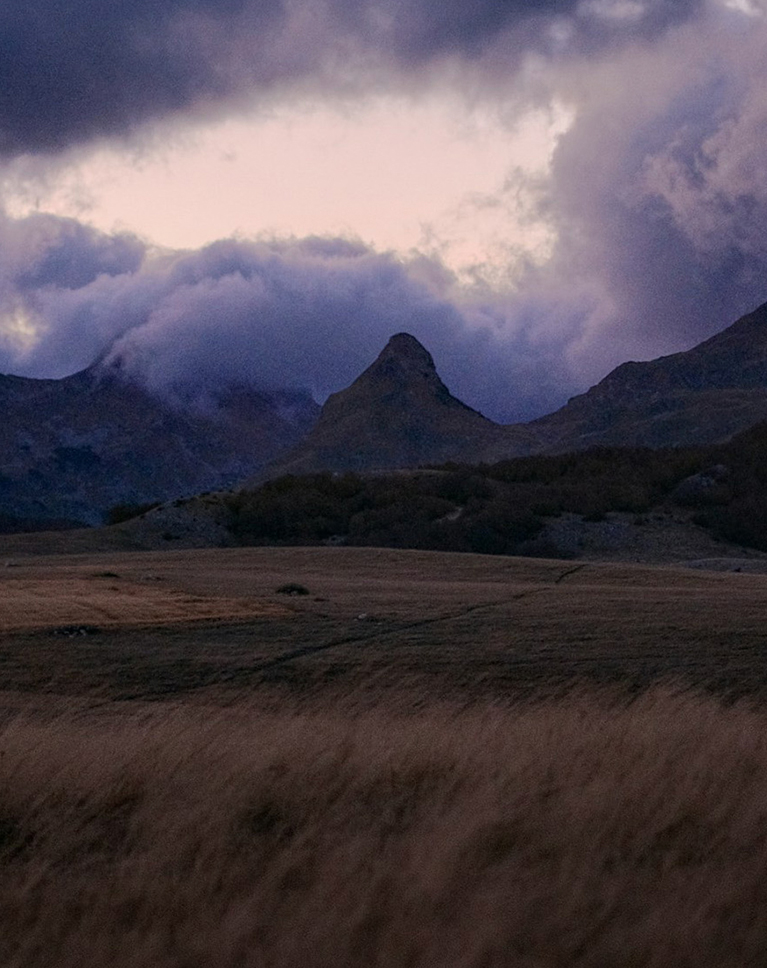

Rule of Thirds for Dynamic Movement
When a landscape has a clear peak and lines of rock leading up to it, a centered crop feels static. You’ll learn how sliding the focal point onto a Rule of Thirds intersection and setting the ridge line on a third turns the same photo into something with real movement and direction, and why that change is just a tilt of the camera in the field. We compare the original, a centered crop, and the Rule of Thirds version side by side so you can see the difference for yourself.
Zones & Balance
Every landscape breaks into zones: foreground, midground, background, and sky, and balancing composition and light in Photoshop means giving each one a job. We show you how to see them, spot the ones that are out of focus or simply uninteresting, and rebalance the frame with the Golden Ratio so each zone earns its space. You’ll also learn what to do about a bright spot near the edge of the frame that pulls the eye away, from a tighter crop to bracketing exposures to a careful pass with the Remove Tool.
Diagonals & Focal Points
A quick sketch over the image reveals the diagonal lines pointing at your subject, the built-in horizon, and the dead space you can lose. From that sketch the right overlay is obvious, which is the whole idea behind composition and light in Photoshop: decide first, then crop. The Rule of Thirds lands the focal point right at an intersection, and we clean up the foreground with the Remove Tool, taking out footprints and clutter so the eye travels along the diagonals instead of getting stuck in the sand.
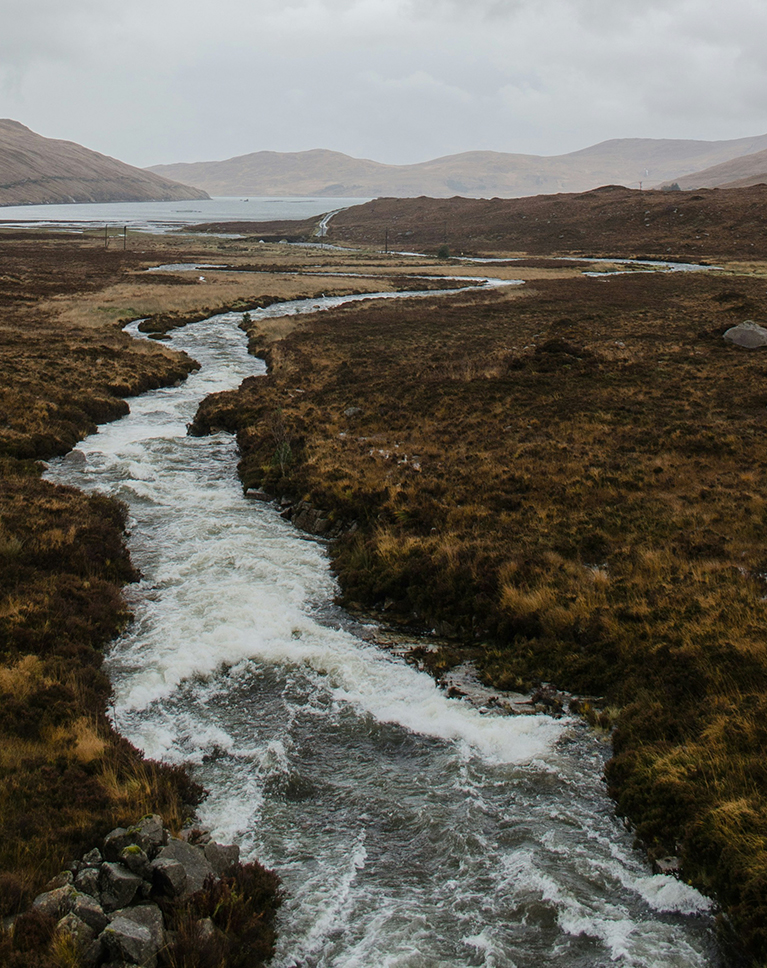
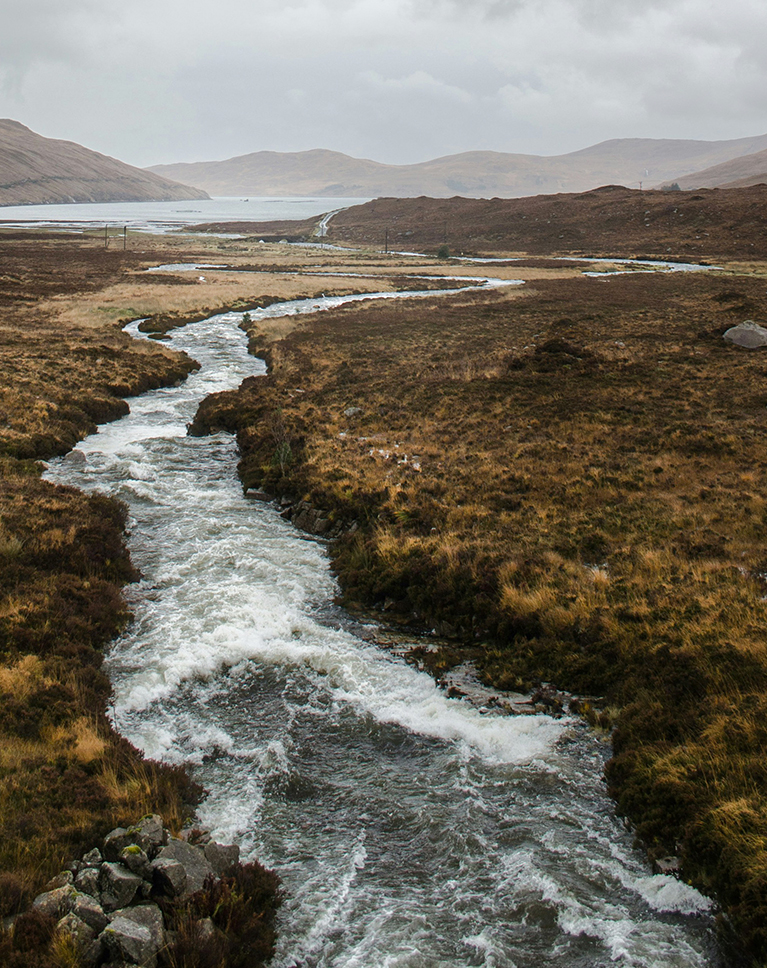
Targeted Light & Shadow
Here dodging goes to the next level, and so does your control over composition and light in Photoshop. After reframing a wide river scene into a vertical crop that sweeps from corner to corner, we brighten the water with a brush and then subtract a Luminance Range so the boost lives only in the highlights, with feathering to keep the edges soft. The same trick lifts the bright edges of the clouds without painting a single one, and an AI landscape selection adds texture to the water alone.
Leading Lines & Movement
Anything moving or looking in a direction needs room in that direction. Using a rowboat crossing a foggy lake, we show how trimming the space behind the subject and adding a little in front gives the composition somewhere to go, and why the same rule applies to portraits. This kind of intentional framing is what elevates composition and light in Photoshop from good to great.
Tighten, Clean Up, and Keep Practicing
The final scenario brings everything together: a simple crop that drops boring sky, sets the horizon on the top third, and lands the boat on an intersection, plus the Remove Tool for the half-cropped boats at the edge of the frame. To help you practice, this composition and light in Photoshop tutorial includes 8 high-resolution images, one RAW file, and every layered PSD so you can follow along step by step. When you’re ready to go deeper, continue with our Photoshop Learning Path: 7 courses and 31+ hours of training from the fundamentals to advanced techniques.

Class Instructor
Aaron Nace
PHLEARN Founder & Lead Instructor
Aaron Nace is a photographer, digital artist, and the founder of PHLEARN. He has been teaching Photoshop, Lightroom, and photography since 2011, and has taught at Adobe MAX for more than eight years.
Aaron publishes a free tutorial every week and a new in-depth PRO course every month.
- 2M+YouTube subscribers
- 160M+video views
- 1,000+tutorials published
- 15years teaching Photoshop
Special thanks to Cora Rose and Jose Vilchez for providing the RAW image used in this composition and light in Photoshop tutorial. Their project, Art We There Yet, celebrates our shared humanity and gives back to the communities they visit.
Reviews
Composition and Light in Photoshop: Common Questions
About This Course
Is this course good for beginners?
It helps to know your way around Photoshop first. Lesson 1 walks through a full RAW edit in Camera Raw step by step, and the lessons that follow come back to the same few tools: the Crop tool, masks and a low-flow brush. Most of what you learn is how to look at a photo.
What’s the difference between the Rule of Thirds and the Golden Ratio?
Both split the frame into three bands. The Rule of Thirds makes them equal, and the Golden Ratio squeezes the middle one. In this course the Golden Ratio is used for symmetrical photos with the interest in the center, and the Rule of Thirds for a subject placed off to one side, which adds movement.
How do I change the crop overlay in Photoshop?
Press C for the Crop tool, then open the overlay menu in the options bar. Photoshop offers Rule of Thirds, Grid, Diagonal, Triangle, Golden Ratio and Golden Spiral. Shift + O flips the orientation of the Triangle and the Golden Spiral. Lesson 2 goes through all six.
How do I dodge and burn in Camera Raw?
Create a Brush mask, raise Exposure, lower Flow, and paint over the highlights that are already in the photo. Low flow builds the light gradually, so it stays natural. Hold Alt or Option to erase. In Lesson 6 you’ll subtract a Luminance Range so the brightening lands only on the highlights.
Do I need Lightroom?
No. The course stays in Photoshop and Adobe Camera Raw, which opens on its own when you open a RAW file and works on a JPEG through the Camera Raw Filter. Lightroom has the same tools, so what you learn here carries over.
Does the course use generative AI?
A little, and always as an option. Generative Expand appears in a few lessons as a teaching tool, to show what the photo would look like if the camera had been pointed somewhere else. The Remove tool clears a few distractions; it uses AI, and in the lessons Aaron notes that it doesn’t use generative credits. The goal is to get the framing right in camera.
Which version of Photoshop do I need?
The course is recorded in Photoshop 2026 with Adobe Camera Raw. The Crop tool overlays, masks and the Camera Raw Filter work the same way in other recent versions. Generative Expand and the Remove tool need a current version of Photoshop.
About PHLEARN PRO
What do I get with PHLEARN PRO?
Every PRO course on PHLEARN, plus all the downloads that go with them: sample images, RAW files, layered PSDs, Photoshop Actions, Lightroom Presets, LUTs, and Brushes. Stream everything in up to 4K with closed captions and chapters, on any device.
How much does PHLEARN PRO cost?
PRO is $12.99 per month, or $99.99 per year, which works out to about $8.33 a month. Both plans include every course, all the practice files, and the full library of presets, LUTs, actions, and brushes. There are no tiers and nothing is held back.
What’s the difference between the free tutorials and PRO?
Free tutorials teach a single technique end to end. PRO courses are longer, go deeper into workflow and decision-making, and include the sample images and finished PSDs, so you can practice on the same files as the lesson.
Do I need to own Photoshop?
Yes. Photoshop is Adobe software, sold as a subscription, and it is not included with PHLEARN PRO. The Adobe Photography plan, which bundles Photoshop and Lightroom, is the most common way our students get both.
Can I cancel?
Yes, anytime, from your account page in a couple of clicks. There are no cancellation fees, and you keep access until the end of the period you have already paid for.
What is the money-back guarantee?
If PHLEARN PRO is not the right fit for you, contact our support team and we will make it right, including a full refund.
Master Photoshop, Lightroom and Photography
Join PHLEARN PRO for $12.99 a month or $99.99 a year. Cancel anytime, with a 100% money-back guarantee.






I have subscribed to PHlearn for 3 years. It’s enabled me to learn Photoshop and Lightroom and how to use them to make my photography more impactful. This Course was among Aaron’s BEST because it drew both upon his Photoshop / Camera raw technical knowledge AND his intimate knowledge of how to compose photographs from an aesthetic and artistic perspective. Arron brings BOTH skill sets to his tutorials. Aaron, this was as much about art and composition as the mechanics of the photoshop tool. Can you do another course that would talk as much about composition and ART , visual and emotional impact as photoshop tips? Give it some thought. Well done
Thank you so much for this kind review, and for being part of PHLEARN for 3 years! We love that you enjoyed the mix of art and technique. We’ll pass your idea along to Aaron. A course focused on composition and visual impact sounds like a great one.
Awesome course, goes beyond the typical “here are the tools” videos to “here are the techniques”. Well worth my Pro subscription with just this video alone!
Thanks so much for your feedback! Hearing that our focus on techniques over basic tools made such a big difference means the world to us.
I truly appreciate the effort you put into this lesson – thank you so much!
Thank you for taking the time to watch and leave a sweet comment! It means a lot!
Aaron, Really enjoy your teaching style and delivery of reinforcing each step of the process. Keep up the great work!
we’re so glad you enjoyed the class! thanks for watching!
Really enjoyable tutorial! It refreshed my knowledge of composition and gave me some great practical tips on how Photoshop can help with that. I also learned a lot from the Camera Raw techniques, especially dodging and masking out specific areas. Aaron, your enthusiasm is still amazing. I’ve been watching your tutorials for more than 10 years now, and not only do I keep learning from them, they’re also just genuinely fun to watch. Very happy with my PRO account. I’d recommend it to anyone!
Ten years, wow, that genuinely made my day, thank you for sticking with me this long. So glad the Camera Raw dodging and masking tips clicked for you, that stuff can really change how you edit once it sinks in. Here’s to many more tutorials together.
Enjoy all of your tutorials – I always find helpful tips. Easy to understand and easily applicable to my own projects.
Thanks so much Barbara, that means a lot. I love hearing when the tips actually make it into your own projects, that’s the whole point. Keep up the great work out there.
Great tutorial! This will help me improve my photography work. Thanks
Thanks so much, almarson, I’m glad it’s already got you thinking about your photography. Go have fun applying it to your own shots, that’s where it really clicks.
I really like these tutorials, but I have a question? When I click on the guide layout on Photoshop, the guides do not show up. Can you help me here?
Glad you’re enjoying the tutorials! A couple things to check: make sure View > Show > Guides is checked (that toggle gets switched off easily), and confirm you’re not zoomed in past the point where they’re being clipped by your canvas view. If they still won’t show up, send a note to support@phlearn.com and they’ll help you track it down.
Thoroughly enjoyed the tutorials. I work in photo encaustics and am always questions image balance eg. rule of thirds etc. It was nice to have a series of tutorials not focused on tools but more towards content and design. My only question is, can I go back to the first tutorial and take some notes? Cheers for now Rick Blacklaws – Powell River BC Canada
Hey there! You can rewatch the tutorial as many times as you need! And if you have questions you can always reach out to our support team.
Really useful information. Thank you
Really glad it clicked for you, Ben — thanks for taking the time to say so.
Thank you Aaron for the lessons, sure pick up a few tips, looking forward to your next lesson
Really glad the tips landed for you—composition and light are the kind of thing that click more with every project you try them on. Appreciate you taking the time to leave this, and I’ve got more lessons coming your way soon.
Excellent tutorial. Thank you.
Thank you, Joeli, glad it clicked for you — composition and light are the backbone of pretty much everything else, so I’m happy this one landed well.
Great Tutorial (as always)
Thanks so much, Cor — glad the fundamentals stuff is landing for you, that’s the material I love teaching most.
How much can I crop in an image without noticeably increasing noise or losing image quality? Does the camera megapixel count affect how much I can crop?
Hey there! Our team sent you an email to address your questions.