
Download Assets
description
Learn how to organize and customize your Photoshop workspace! This tutorial guides you through using default settings, adding/removing tabs, grouping panels, and resizing sections. Discover how to create and save personalized workspaces for different tasks like photo editing, ensuring your tools are always exactly where you need them. We’ll even show you how to reset and lock your workspace for consistent, efficient workflow.
Go PRO:
New to Photoshop? Explore our PRO tutorial Photoshop Fundamentals: Aaron’s Top 10 Essential Tools & Techniques . Master Photoshop with Aaron’s Top 10 tips, including Camera Raw, blend modes, selections, smart objects, and more!
Image Source
Image sourced from Pexels.
Share
Design Your Workspace
Customizing your Photoshop workspace offers significant benefits, transforming your workflow to be more efficient and tailored to your specific needs. By arranging panels, tools, and windows in a way that makes sense for your projects, you can reduce clutter, minimize distractions, and quickly access the features you use most often. Here is how you can get started!
Resetting Defaults
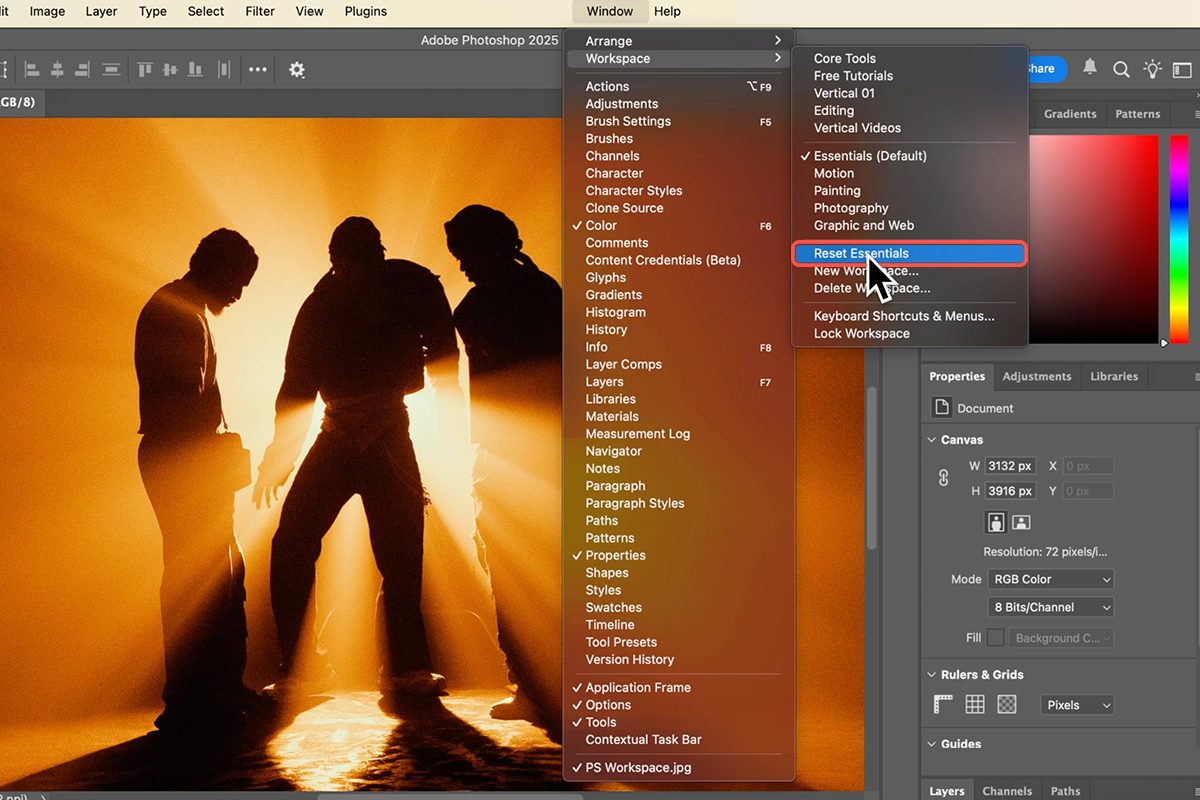
To begin organizing your Photoshop workspace, it’s helpful to start with a clean slate. Photoshop comes with various default workspaces, like “Essentials.” To reset any active workspace to its original configuration, navigate to Window > Workspace and select Reset [Workspace Name]. For example, to reset the Essentials workspace, choose Reset Essentials. This ensures you’re starting from the standard layout, making it easier to identify and customize elements.
Panel Management
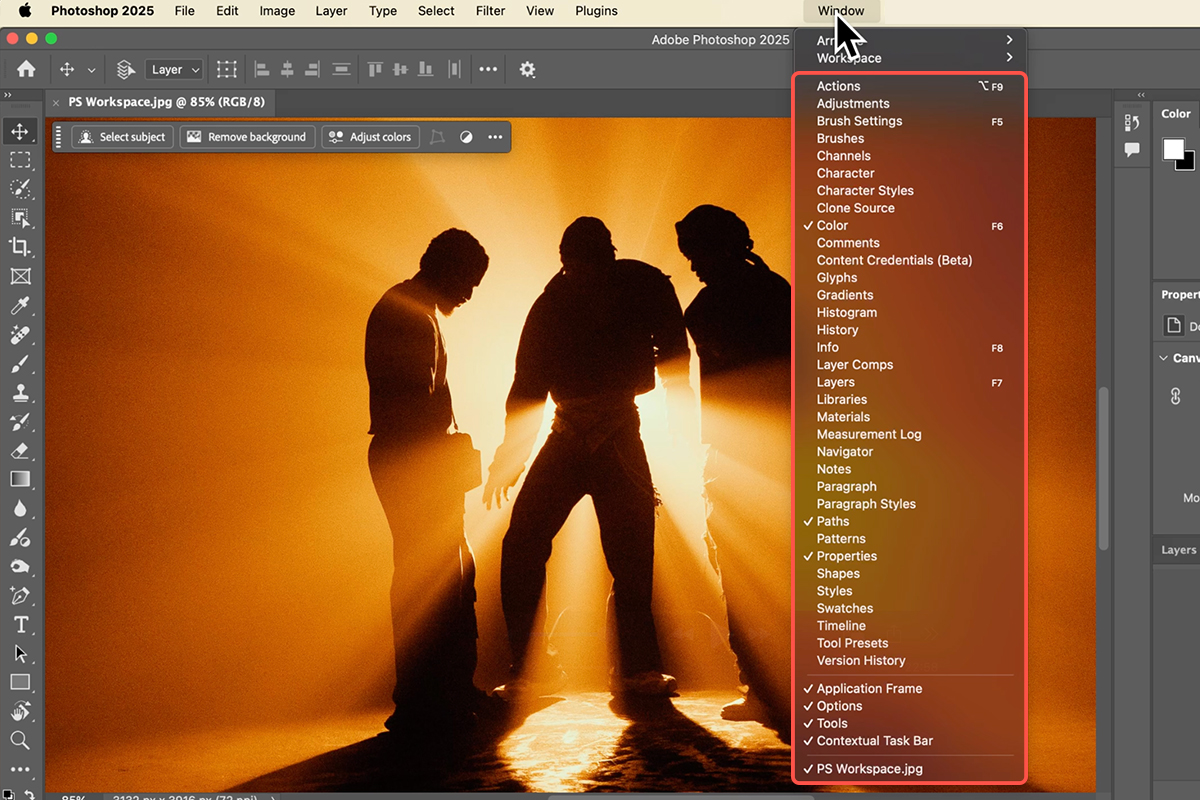
Efficient panel management is key to a streamlined workspace. You can easily add or remove panels by going to Window and selecting the desired panel to toggle its visibility. Panels can be rearranged by clicking and dragging their tabs. To remove a panel, drag its tab out of the panel group and then click the ‘X’ to close it.
To re-add a panel, simply go back to the Window menu and select it. Panels can also be grouped together by dragging one panel’s tab onto another’s, allowing for logical organization. You can also expand or collapse entire panel groups using the small double-arrow icon at the top of the group, or by clicking the panel title if it’s in a collapsed state. Adjust the size of panel groups by dragging the divider between them, giving more space to frequently used panels like Layers.
Custom Workspaces
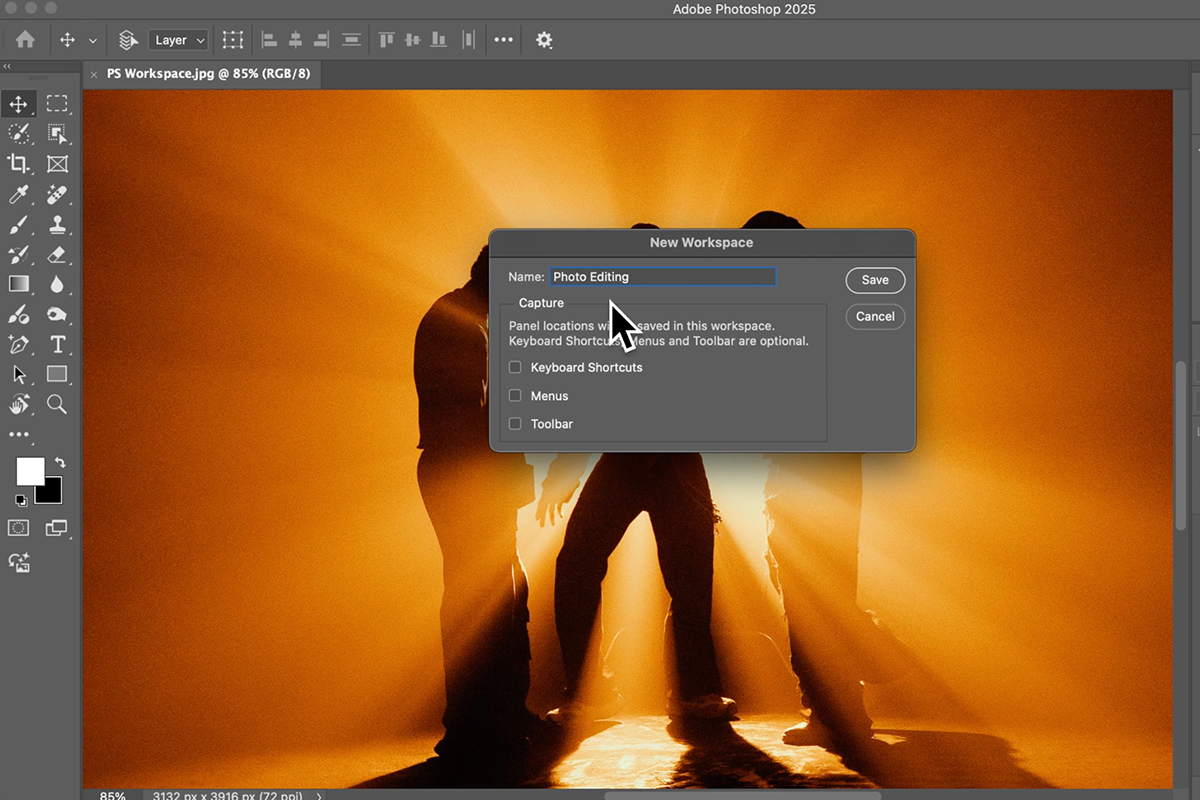
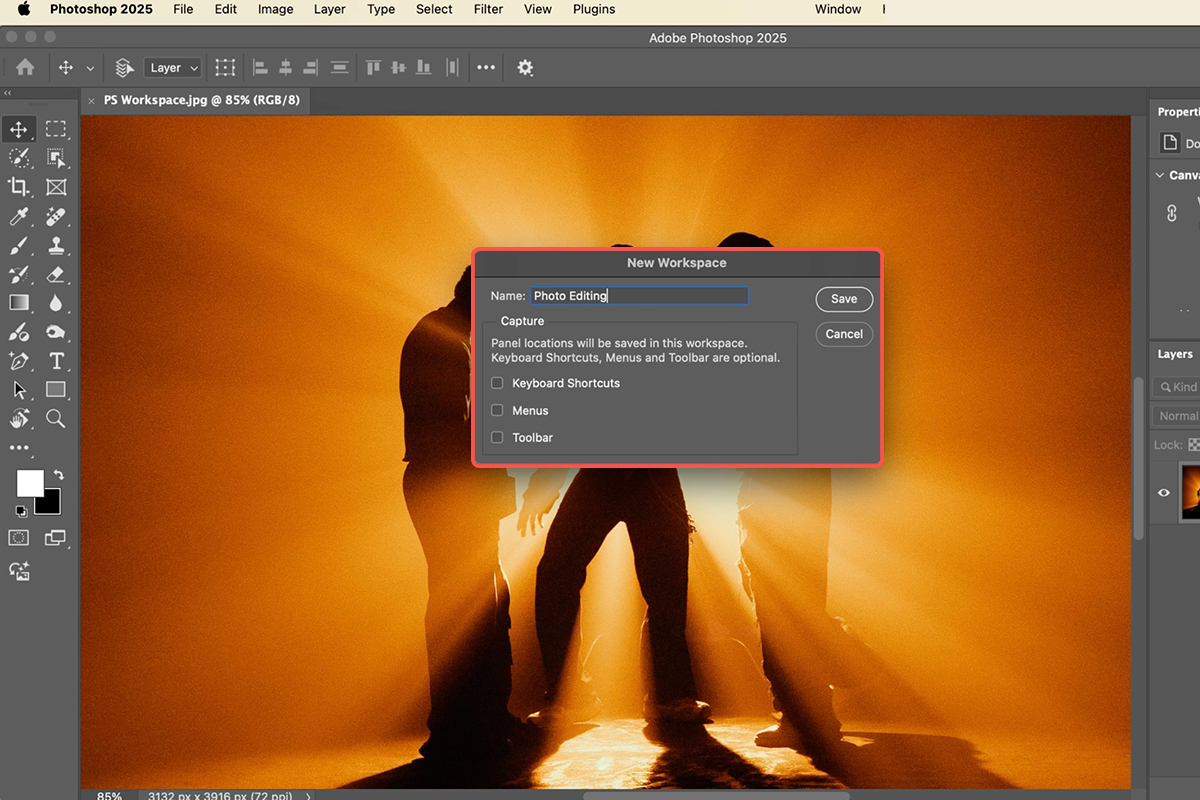
Once you’ve arranged your workspace to your liking, you can save it as a custom workspace for future use. Go to Window > Workspace > New Workspace. Give your workspace a descriptive name, such as “Photo Editing,” and click Save. This allows you to quickly switch between different layouts optimized for various tasks. For instance, you might have one workspace for photo editing, another for graphic design, and a third for typography, each with its relevant panels readily accessible.
If someone alters your custom workspace, you can easily reset it by going to Window > Workspace > Reset [Your Workspace Name]. To prevent accidental changes, you can lock your workspace by going to Window > Workspace > Lock Workspace. While locked, you can still add panels, but you cannot move or remove existing ones until you unlock it (Window > Workspace > Unlock Workspace). You can quickly switch between saved workspaces using the dropdown menu located at the top right of the Photoshop interface.


