Intermediate Object Removal in Photoshop
-
Add to
favorites
-
DifficultyMedium
-
Length3 hours
-
Videos6
-
Software
Description
Learn how to remove objects from busy backgrounds in Photoshop! Recreate textures, patterns, buildings, plants, and other background elements to create a seamless, realistic final image.
OBJECT REMOVAL SERIES
- Simple Object Removal in Photoshop
- Intermediate Object Removal in Photoshop (this course)
- Advanced Object Removal in Photoshop
THIS COURSE INCLUDES
- 5 Sample Images
- 5 Sample PSDs
- 2 Photoshop Brushes
- 1 PDF Companion Guide
Share
Course Downloads
Recreate Backgrounds & Textures
Rebuilding Backgrounds
The bigger the objects are that you’re trying to remove, the more of the background you’re going to need to rebuild to complete the image. Learn how to rebuild background elements from scratch using everything from simple shapes to custom Photoshop brushes.
RECREATE TEXTURES IN PERPSECTIVE
ORIGINAL
Removing Objects in Photoshop
In Simple Object Removal in Photoshop we broke down the fundamentals of removing distractions from photographs. In this course, we’re taking those skills to the next level, removing objects from busier backgrounds and recreating complex background elements from scratch!
The Magic of the Brush Tool
Photoshop has plenty of automated tools for object removal, from Content-Aware Fill to the Spot Healing Brush. But, as powerful as those tools are, sometimes they’re not enough. That’s when we turn to the most versatile tool in Photoshop: the Brush Tool. Learn how to paint in background elements by hand with stunning results.
Recreate Patterns & Textures
Learn how to completely reconstruct patterns and textures from scratch in Photoshop. Use simple shapes to create the illusion of the side of a building or a tiled wall, and then blend those effect in seamlessly with the rest of the environment.
REMOVE LARGE OBJECTS
ORIGINAL
Content-Aware Fill
Photoshop has plenty of A.I.-powered tools to help make quick work of object removal, but few are as impressive as Content-Aware. Learn how to use this quick and easy tool to remove large objects in just a few clicks.
Healing Brush & Spot Healing Brush
The most common tools for object removal, the Healing Brush and Spot Healing Brush are built to tackle most situations wonderfully. Master these essential tools while learning their differences and their limitations.
The Clone Stamp Tool
When you need to preserve clean edges and crisp textures, the Clone Stamp Tool should be your go-to. Learn how to sample and duplicate complex areas for seamless object removal. And if you’re feeling a little out of your depth, try brushing up on the most important tools in Photoshop in The Beginner’s Guide to Photoshop.
Clean, Professional Results
PRESERVE COMPLEX DETAILS
ORIGINAL
Complex Textures & Details
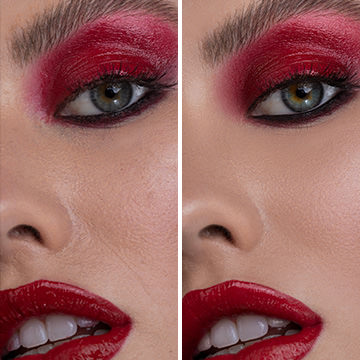
Throughout this course, we’ll show you how to remove objects that are in front of highly-detailed backgrounds. Then we’ll show you how to recover those lost details using tools like the Clone Stamp Tool, the Brush Tool, Layer Masks, and more.
Work Non-Destructively
One of the most important aspects of object removal is making sure to not destroy information from the original photograph. Learn how to work using new Layers and non-destructive tools so that you can always undo or hide changes, or start over from the beginning.
Simplify Any Photo
Simplifying a photo can help guide the eyes of the viewer, and make sure that they more clearly understand the tone and purpose of the image. Learn how to analyze an image to determine what’s important, and what can be removed.
REMOVE CLUTTER
ORIGINAL
Remove Clutter
Sometimes an image just needs a little room to breathe. That’s why we show you how to completely transform a photograph’s compositing by removing any and all background distractions that don’t need to be there.
Recreate Bokeh & Lighting
Learn how to recreate lighting and bokeh effects for stunning effects and an ultra-realistic final result.
Sample PSDs Included
We don’t just provide the sample images for you to follow along with, we also set you up with the completed PSD files so you can reverse-engineer the process and experiment with the effects.

Aaron Nace
PHLEARN Founder – Class Instructor
Aaron Nace is a photographer, Photoshop artist and founder of PHLEARN. He is the #1 Photoshop instructor in the world with millions of YouTube subscribers.
Reviews
New & Popular Tutorials
Training Site in
the World
Tutorials!
Ratings
and Counting
Subscribers


great!!
Another amazing class from Aaron Nace! You do need to complete the Beginner Object Removal class first, as Aaron states, before taking this class. Not did I learn some new techniques, but I actually painted a background that worked. I am finally beginner to work with more than just round brushes. Thanks Again!
You move way too fast during the tutorial. It’s as if you’re working on a project in your own time and we’re just watching, but we’re trying to follow on and keep up. I would like it if you also explained why you are doing thiings. You just create a new layer and start working without explaining why you’re doing it.
Nailed it. Now I’m ready to practice.
Aaron’s teaching style is engaging and the course content is cleverly laid out to be progressive giving the student confidence in the skills needed to master more difficult selections in the next level. I’ve discovered amazing new ways to use ‘old’ tools that has made my work more polished and professional. This is the best PS learning subscription I have discovered that provides me a solid grounding to understanding complex techniques and a resource I often go back to for a refresher on solutions I don’t often use.
As someone who worked in software development and support for many years, it’s great to watch someone use a complex piece of software and really make it respond to what he’s trying to achieve. The power of the brush tool, masking, and tranformation really come through. As always, Aaron doesn’t just tell you what he’s doing but why he’s doing it.
outstanding tutorial. Funny i was just looking at some of my images from a vacation trip and wondering how to fix some of them, then bam. Aaron must of been reading my mind. The simple techniques to help in removal is awesome. Must practice this ones. Making brushes seems so much easier now. You rock
Greatly appreciate the pacing in this tutorial to not spend too much time on the basics. Makes it so much more enjoyable to watch.
I so enjoy watching Aaron’s courses on all topics. This particular course has a LOT of good information about removing objects from an image and creating new objects to help with the process. He also goes over the whole process. What he is thinking when he makes various choices.
Smashing it Aaron!! As always!!
Just another great tutorial
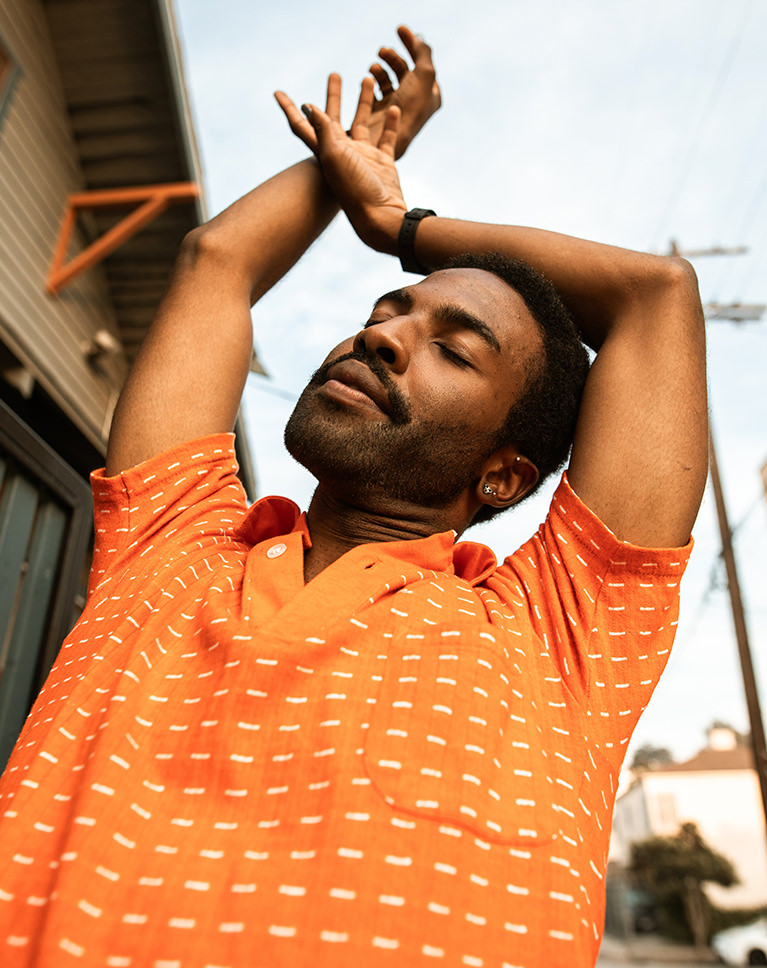
I‘d really like to learn those techniques that you are showing in your preview video. But I’m noticing some mistakes on those sample images. You went too far when you removed the button hole on the guys orange shirt and the top part of the womans hat, which is making it look fake.
Another excellent tutorial, with Aaron’s hallmark attention to detail.
A very useful series. And useful to watch a master work. Thanks Aaron
Very easy to follow the step & able to achieve the desired result. Thank you Aaron
OUSTANDING TUTORIAL!!!!! Object removal is such a “MUST SKILL” to have when working in Photoshop. Would love to see more tutorials like this. I would be very interested in seeing a more in depth look at the Lens Blur filter. Thank you so much to Aaron and staff for making another out of the park tutorial.
So the first Phlearn video I ever saw was “How to remove anything from a photo in photoshop” and I was sure it was clickbait. But I bit. And Aaron is THE REAL DEAL. 7 years later he is still taking everyone to school on how it’s done. It’s amazing. He’s amazing. Bravo!