Lightroom Classic 101 & 201
-
Add to
favorites
-
DifficultyEasy
-
Length7.25 hours
-
Videos13
-
Software
Description
Learn your way around every button, tool, and menu item in the program. Then, follow along with Aaron’s workflow as he edits 25 images from start to finish. This even includes the ins and outs of HDR images and Panoramas.
THIS COURSE INCLUDES
- 89 Sample Images
- 15 Lightroom Presets
Share
Table of Contents
-
01 - Introduction to Lightroom1:41m
-
02 - How to Use and Install Lightroom 101-201 Presets2:55m
-
03 - How to Import and Export Photos in Lightroom38:28m
-
04 - How to Sort Photos and Manage Your Files in Lightroom31:24m
-
05 - The Library Module in Lightroom, Explained48:41m
-
06 - The Develop Module in Lightroom, Explained1:01h
-
07 - Guide to the Menu Options in Lightroom38:04m
-
01 - Introduction to Lightroom4:38m
-
02 - How to Use and Install Lightroom 101-201 Presets2:55m
-
03 - How to Stitch Together a Panorama in Lightroom6:24m
-
04 - How to Combine Photos into an HDR Photo in Lightroom10:36m
-
05 - How to Edit Photos in Lightroom, Part 12:22h
-
06 - How to Edit Photos in Lightroom, Part 243:25m
Course Downloads
Organize, Edit, and Export with Lightroom Classic
Importing and Exporting
Lightroom 101 starts off exactly as if we opened the program for the first time — completely empty. Learn how to import your photos into Lightroom to make cataloging and editing easier.
Learn how to create Keyword Presets, Metadata Presets, add Copyright Protection, and convert your RAW files to a more streamlined format. Importing your images into Lightroom correctly will make file organization and image protection easier than ever.
When you complete your editing process in Lightroom it is time to export your photos. Exporting images from Lightroom involves choosing options from color space to image size and even output sharpening. Learn the correct settings for different types of exports and learn how to create presets.
Create Multiple Versions of Your Images
Take advantage of Virtual Copies in Lightroom to create multiple versions of your images. In this tutorial, we create 4 versions of each image, from black and white to cross processed. The next time you deliver images to your client, try including multiple editing variations, they will see them as added value.
File Structure / Organization / Workflow
Organizing a few photo shoots is simple, but what happens when you have thousands of photos taken over many years? File structure and organization is a very important part of the photography process many people look over.
Learn the same file structure used by professional photographers to save time and headaches. From import to export, we make sure everything is well organized!
HDR
High Dynamic Range images combine multiple exposures together to display detail in the highlights, mid-tones, and shadows. HDR is a recent addition to Lightroom (v. CC 2014). In this example we composite a portrait into an HDR image, combining multiple techniques for a stunning final photo.
Panorama
A Panorama is made by stitching multiple photos together, making them appear as one large photo. Panoramas are popular with landscape photographers or anyone trying to photograph a large scene. Learn to use Lightroom (V. CC 2014) to combine images into a Panorama.
Lightroom Classic Explained
First time opening Lightroom Classic? No Problem! We’re here to guide you every step of the way–from getting organized, to editing, to sharing your work with the world.
Edit Over 25 Images From Start to Finish
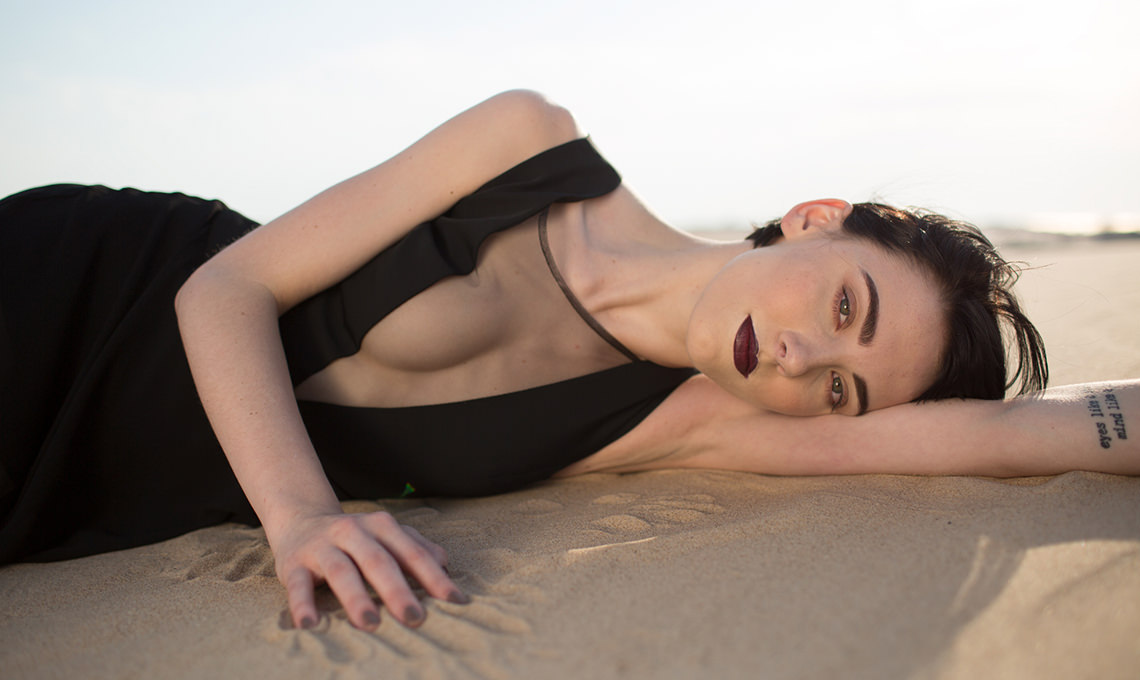
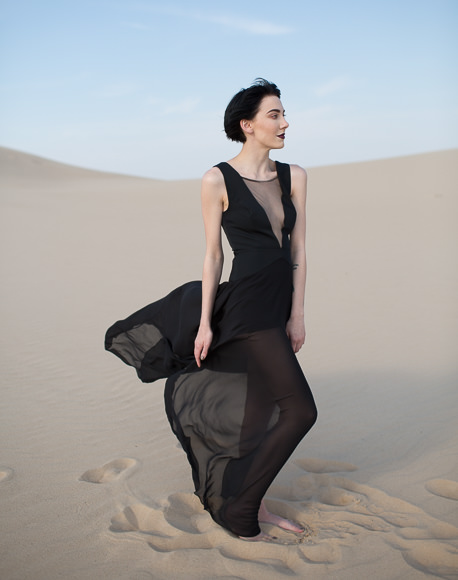
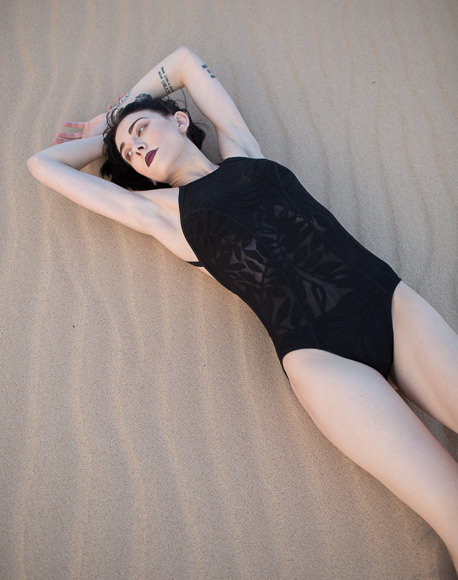
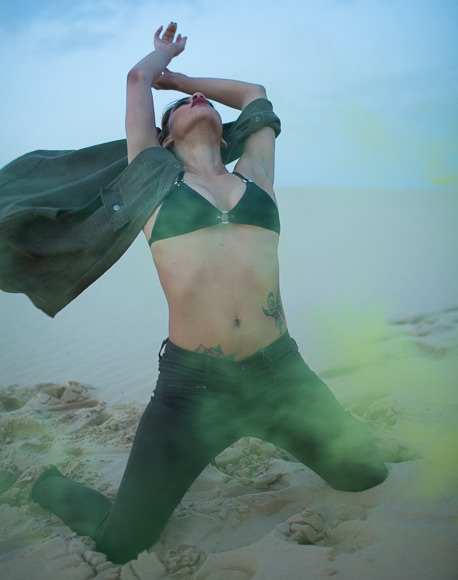
After learning Lightroom it is time to work on some real-world examples. We sent a team of photographers, models, and stylists to the desert to produce images for this tutorial. Follow along as we edit every image from start to finish in Lightroom. The experience is like hanging out with an expert and watching them work on images, and you have the ability to pause, rewind, and follow along.
Every photo you take is special and must be treated so. What works on one image may not work on another, the same will be true with your photos. That is why we included 25 RAW images and edit them from start to finish.
Work Smarter, Not Harder
Spending hours on editing a single image to perfection can be fun at times, but what happens when you have hundreds of images to edit? Chances are you want to complete the job as fast as possible while still getting great results. Lightroom is designed to make your editing process FAST. After editing the first image in a series, use “Sync Settings” to apply your changes to the rest. You will find yourself editing entire groups of photos in the time it took you to do one.
Retouching in Lightroom
Photoshop and retouching expert Aaron Nace brings his expertise to a new product — Adobe Lightroom. You will be blown away at how easy retouching in Lightroom can be. In this tutorial we teach you how to look at your image as a whole and retouch globally. Rather than focus on every single pore, we take a more broad approach to retouching.
A person’s body is usually a different color than their face, which tends to appear more red. You will learn how to see differences in skin tone and correct for variation. Also, learn to use the Clone Stamp Tool and Healing Brush to quickly remove blemishes.
Global and Local Image Editing
Global Image Editing works on the image as a whole. Do you need to make your whole image brighter? Did you nail your White Balance? Would you like more Saturation in your landscape? These are things Global Image Editing will fix.
Local editing effects one area of an image, including things like sharpening eyes in a portrait. Lightroom 201 teaches both methods, offering you greater image editing power.
Reviews
New & Popular Tutorials
Training Site in
the World
Tutorials!
Ratings
and Counting
Subscribers






Awesome tutorial to get you started in Lightroom, and great for anyone who looks to use it with Photoshop, great workflow tips and Aaron is fantastic as always <3
For the sake of speed, I really wish that you’d make just ONE obvious change to a image when showing how things sync etc..
I have been using Lightroom since 2012. I wanted to see what else I could do with it. There was a lot of useful information. It’s a great tutorial to start or update/refresh Lightroom (from shortcuts, and techniques to get out the most of this software).
Before I took this, I thought I knew a good amount of Lightroom. Then I deleted 3 hours of work. So I was like “…ehh, lemme look this up”. You might not wanna watch this, but it’s like fundamentals. And like sports, once you start mastering the fundamentals, it starts getting fun. RATING: As expected and more. I feel like I’m ready to shoot Americas Next Top Model(Maybe too big of an ego, but still). Goes over just about everything you need to now to never have to watch another tutorial again.(would not recommend) ADVICE: Take written notes on one or two videos before trying it out in lightroom. If you can’t remember something, look in your notes. If you can’t for the love of you find it, go to the video as a last resort. This is the best way to keep the memory in your head. – And look up hotkeys
Hello Aaron!!! Photography 101 and now Lightroom 101&201 are love of my life. Thanks You so much!
Aaron, this is just what I’ve been looking for. You (ph)learned me everything about Lightroom in a fast, comprehensive, yet simple way. Now I can work faster, more effective and with better results. Worth every penny. Regards from Slovakia
Hey Aaron,
First, lightroom 101 & 201 rocked.
I’m a curious/amateur photographer and I’ve been watching your tutorials for a couple of years now, I’ve learnt your lightroom bundle and it has changed my life. Literally, thank you for making the best source of information on the planet. Phlearn has always helped me, “Capture the moment and show it the way my eyes saw it.”
Reference vid:- https://phlearn.com/how-to-use-photography-umbrellas-with-lighting
I would love if you could make newer tutorials on Photography, update these ones to your current levels, with the settings on display.
Your new tutorials rock.
TO
REF :- https://phlearn.com/light-amazing-portrait-low-cost-diy-lighting-kit.
Rocking video.
A COMPLETE PHOTOGRAPHY PRO TUTORIAL, with
1. Complete lighting for (1) Portraits in different settings, wedding to studio shoots
2. Complete view on essential gear, DIY gear, best accessories from the range of 760D to 70D to 5DMIII to the IDX MII.
3. Complete over view on best shooting for Macro and Landscape.
4. Essential techniques like Panning and Long Exposures.
5. Night/Astro Photography.
6. Histogram on the camera, tricks to make sure you’re not losing data.
7. You get the gist and know better sir.
I would love to intern and work with you in the future.
You’ve been my mentor. I’m rambling.
Thanks from India
Kketan A Arora
PS- Your watermark technique with your lightroom skills for this photo. Thanks.
I bought the Lightroom 101&201 bundle on sale and I think it was definitely worth even the regular price. I was already familiar with working in LR but the tutorials are well done and provided some tips and tricks I wasn’t aware of. For someone just getting started out with LR these two courses would be very helpful in my opinion. Aaron does a great job of explaining how to work with LR and, just as important as the actual content, does a great job of delivering the information in a way that keeps the viewer engaged and wanting to learn more. I’ve watched a lot of tutorials over YouTube, Vimeo, etc. and there’s almost nothing worse than getting good information poorly delivered. That’s definitely NOT a problem with Phlearn content. I’ll be investing in other tutorials in the future without a doubt.
Hey Phlearn
Thanks a lot, for some really nice tutorials, as always high quality and easy to follow step by step – i have one question, since i started using Lightroom after i bought this tutorial – can i use the same catalog/folders/subfolders and pictures on my Imac and share it all in the same folders with the same pictures on my Macbook ??
Just finished Lightroom 101!!!! I thought Lightroom was hard but honestly Aaron you made it easy! Cant wait to to start Lightroom 201!
Thanks for the great tutorial!
Hey Aaron, great Tutorial! How did you split your screen when showing the Finder. I saw you pushing up to the menu bar and then back again. Ist this a plugin for OSX?
regards
I’m only a third of my way into the the tutorials and I’ve already learned so much. I’ve always used Photoshop and over the years I’ve sighed over my photo storage situation. I knew Lightroom was something I should be doing but didn’t know where to start. Now I’m ready to use Lightroom, get organized, and focus more on the creative side!
This is a revision of my previous review. The guys at Phlearn split the file into three sections and it worked
perfectly. I am now enjoying the lightroom videos and can say they live up to the quality I’ve come to expect
from Phlearn videos. Thanks for the help guys!
Guy
The one stop PS training shop!!
Very useful PS tutorials!!!