

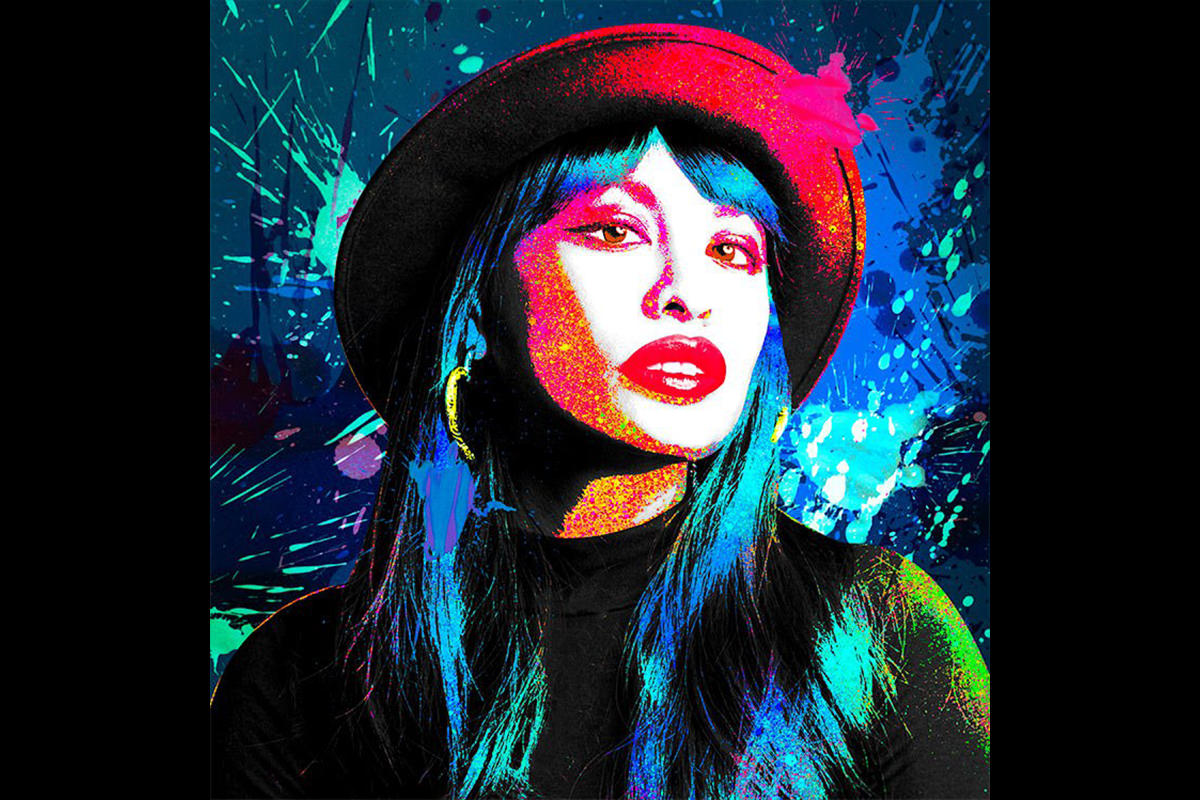

Using the Splatter Brush;
In Part II of this tutorial we show you how to put the splatter Brush (created in Part 1) to good use. By painting on a layer that is clipped to the subject layer and adjusting our settings in the Blend If dialogue we are able to have the splatter only visible in the mid tones of the images, leaving white and black intact.
Creating a Background
After getting Kat colored we turn our attention to the Background, making a Solid Color Fill layer, and choosing a Color that will compliment the Colors on the subject.
From here we load a few images of splatter that we photographed for this tutorial and change their blending modes to give the Background some interesting detail and tie it into the foreground.










Enjoying This Free Tutorial? Go Further with PRO.
Unlock Full Sample Files, PSDs, and Hundreds of Masterclasses!

Download full project assets, original PSDs, and RAW images for every lesson
Unlimited access to our complete library of PRO Photoshop & Lightroom courses
Instant 4K Ultra HD streaming on all devices, anytime, anywhere
Full access to our entire library of Photoshop Actions, Presets, and LUTs
Flexible monthly and annual membership plans
Cancel anytime with zero hassle or commitments