Create a Realistic Photo Composite with Visual Effects – The Outlaws
-
Add to
favorites
-
DifficultyAdvanced
-
Length3.25 hours
-
Videos7
-
Software
DESCRIPTION
Learn how to calculate advanced perspective, create shadows, cut out subjects, and add light sources and fire!
Also, Aaron shows you how to photograph and composite your subject into a new background so it really stands out.
THIS COURSE INCLUDES
- 20 Sample Images
- 4 Photoshop Brushes
- 1 Photoshop Action
Share
Table of Contents
-
01 - Introduction & Planning13:16m
-
02 - Building a Composite Background19:18m
-
03 - Cutting Out Subjects32:36m
-
04 - Perspective22:46m
-
05 - Enhance Highlights, Shadows & Color41:38m
-
06 - Fire Effects37:59m
-
07 - How to Retouch and Finish a Composite Photo21:54m
Course Downloads
Create Perfect Lighting for Composites.
Create advanced composites
Accomplish the most challenging composites with the skills you will learn in this advanced Phlearn PRO Tutorial. We take you through step-by-step from shoot-to-edit to build new scenes that match your vision and add subjects that interact in believable ways.
Advanced Layer Masks
Cut people out of their backgrounds while preserving all the detail from the original photo. Capture perfect detail in your layer masks, allowing you to keep even the most complex details in the motorcycles.
Perfect Perspective
Always build your composite images to the correct perspective using our tested techniques. By creating a plan and keeping true to real life perspectives, your composites are guaranteed to be more amazing.
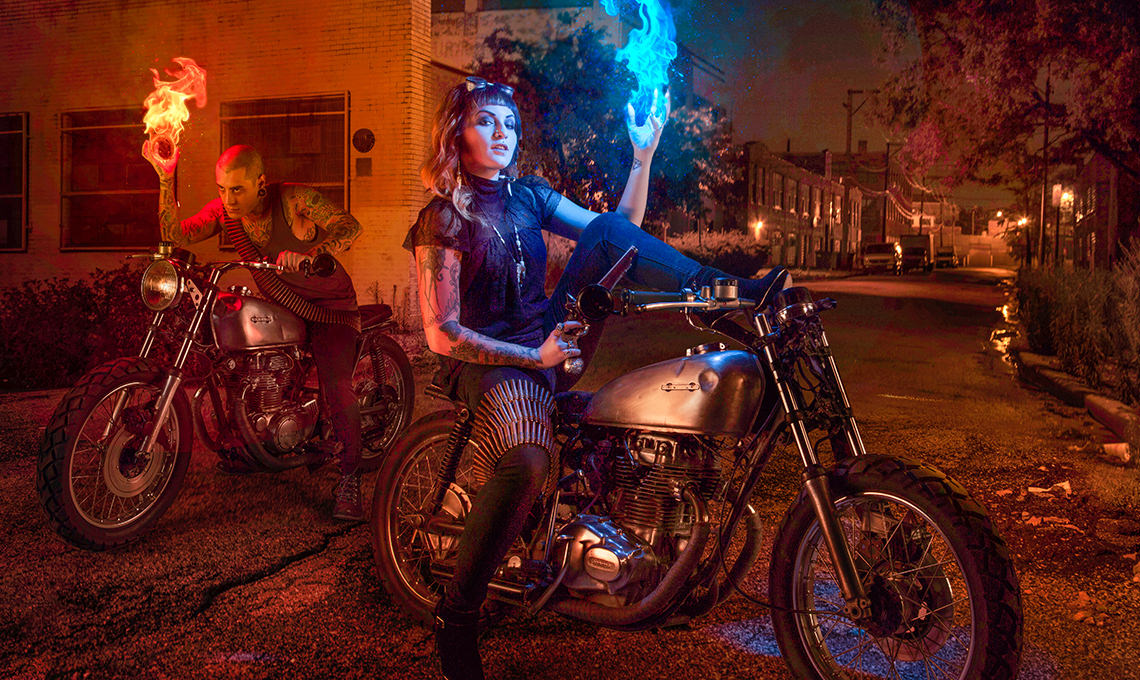
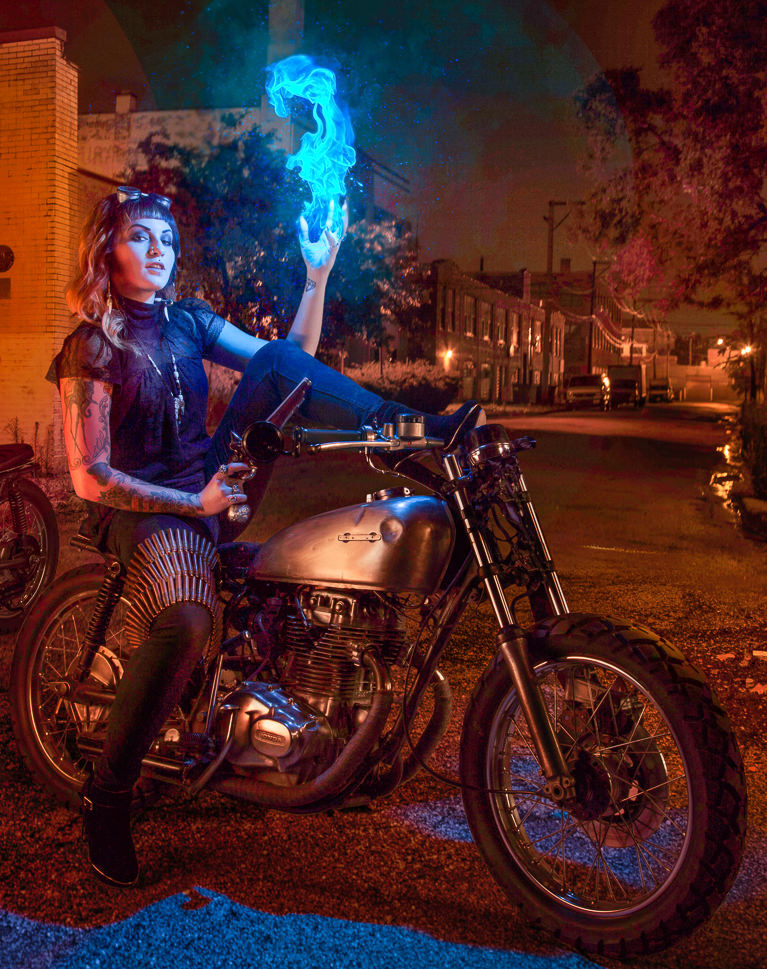
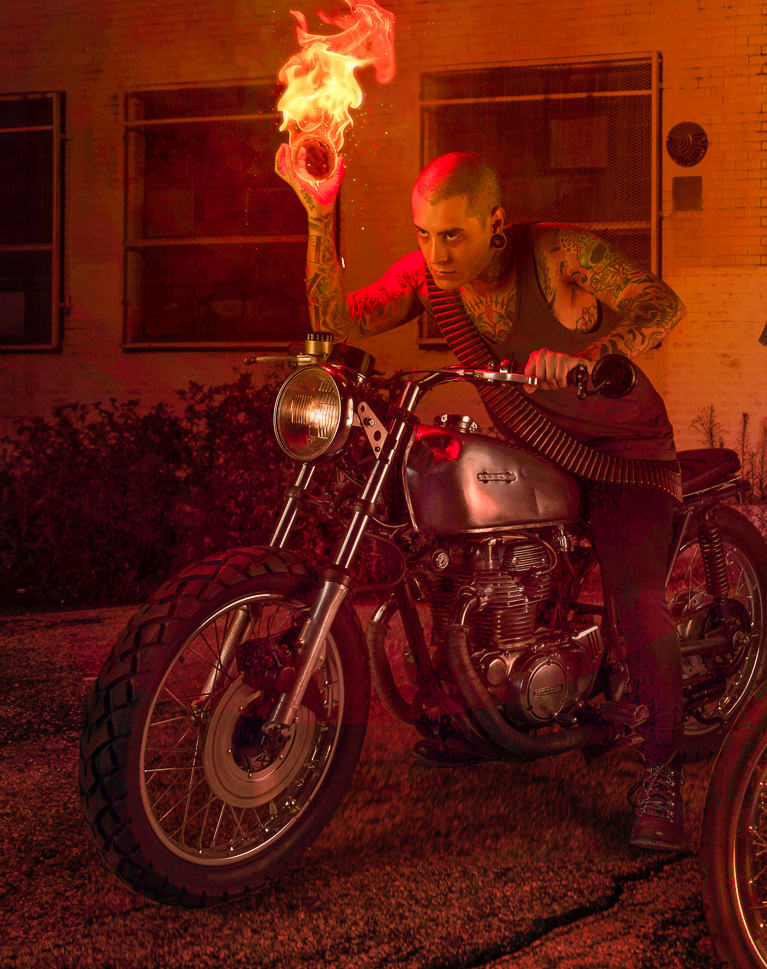
The Outlaws
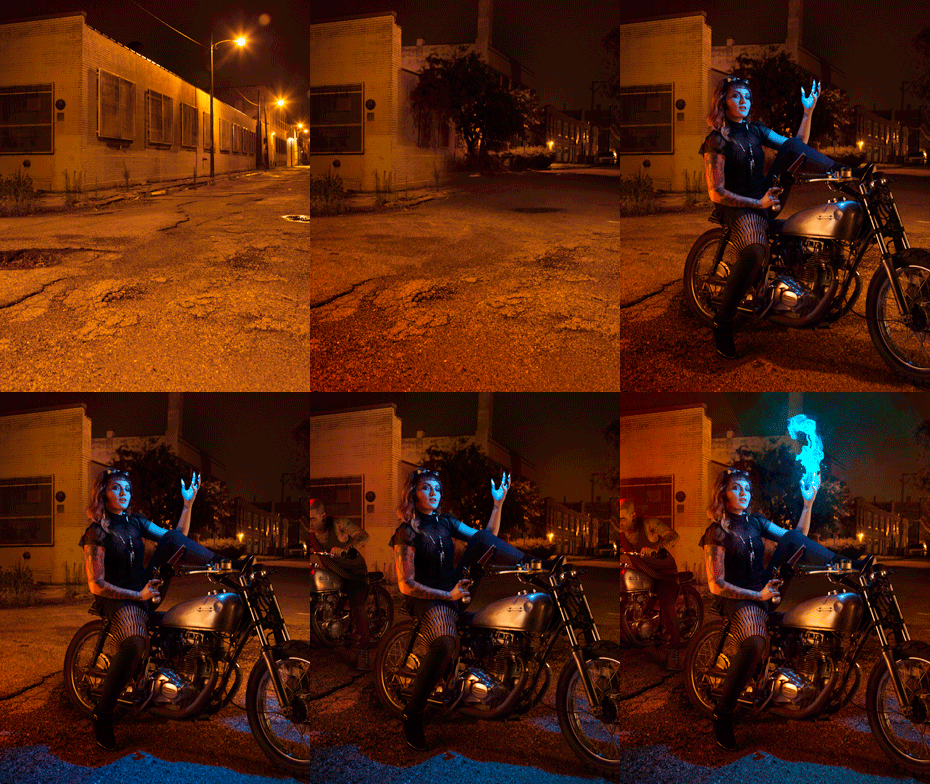
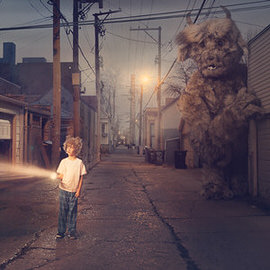
Create a modern, magical scene using advanced Photoshop compositing techniques! We take you through the entire process step-by-step, from cutouts, to combining scenes, to matching light and color.
Blend and Composite
Learn the secrets to compositing and blending multiple photos together to create seamless, stunning effects. From start to finish, you will see how each image is adjusted and combined using Photoshop.
Build the Background
Learn how to combine multiple images together, even if they were taken in different locations with different lighting on completely different days. The background in this image is built from many different images.
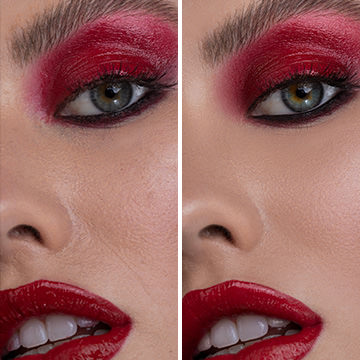
Color Correction
Remove the complexities from correcting colors in shadows, mid-tones and highlights. At times, highlights are too warm or too saturated and need to be treated separately from other areas of an image. Learn how to correct color to make your composites blend perfectly.
Add Light Bounces
By placing a new light source into the composite, you affect everything else in the image and must retouch accordingly. See how to match the lighting between subjects and the scene.
Custom Photoshop Brushes
Create fire in any image. Learn to make your own Photoshop brushes so you’ll always have the right brush for the job. Custom brushes are excellent for advanced retouching and adding special effects to your images.
Match Highlight and Shadow
Create stronger composite images by matching the subject highlights and shadows to the background. Learn how advanced selections can keep the rest your subject intact while only editing the highlights.
Reviews
New & Popular Tutorials
Training Site in
the World
Tutorials!
Ratings
and Counting
Subscribers







Thank you very much for showing us how it is done, I have been looking at many different courses but nothing as detailed as what you have shown us. Perfect!!!
Great tutorial. Well presented with a lot of useful and well explained techniques.
A very well put together tutorial along with others from Phlearn helps build up a repertoire of skills to be applied and adapted into other photos editing. Key take aways from this tutorial include creating a composite horizon and aligning any forground elements with their vanishing point with respect to that horizon (the practical upshot of which being things that weren’t in the scene originally at least look like they belong there.) A rather snazzy trick using levels to recover shadows and highlights from point light sources and a brief excursion into the wonders of the channel mixer. The challenge here is starting with entirely disassociated elements and getting them to behave in a way that makes the composite of them look like they could be natural associated. I worked on it over a weekend and was entirely satisfied with the result. https://flic.kr/p/22WHtYh
I can’t say thank you enough to Aaron for making this pretty cool tutorial. I love composition and it itself takes me Photoshop. At the beginning, i’m planning to begin it with A Dark Force but until i find this tutorial, i have changed my choice. The Outlaws is just a perfect beginning for composition. It has a slightly simple composition, pretty cool characters, especially Fire and learn easily to how to calculate perspective & how to use Full Check. I just love it and if possible, yeah, i love Aaron “Master”. After this advanced tutorial, i can’t still believe that i make a true composition honestly. Now i will go ahead A Dark Force with much more confident. Check out my work above. Once more, thank you Aaron! ??
I absolutely love this, from start to finish! It was a bit hard for me, when i was watching parts 4 and 5 i felt i wasn’t advanced enough for this, but after stretching my brain a bit, i understood everything. It is better to stretch your brain a bit than to have it easy anyway, it is what i always say. My favorite part, and also what attracted me the most about this tutorial, is the part with matching perspectives. I wanted to learn this for a while and am glad i finally got into this. But everything is great, from color matching, to checking if elements have the right luminosity, to getting rid of fringing around cut out subjects (something i often struggle with). I plan on buying more phlearn PROs, got my eyes on some.
Thank You Aarone Nace
With this tuto I’m Now better in use curves and layer maskes
And this is my final result
So after watching so many of the free tutorials done by Aaron and the Phlearn team, I knew I wanted to contribute and purchase a pro tutorial (to help support the team). Just when you think you know things Aaron humbles you very quickly. This is a great tutorial on composition. It doesn’t matter what subject matter you will deal with. This tutorial shows you great techniques that are applicable to any composite. His attention to the small things and details is what makes a composite believable and when he demonstrates these techniques you have that “ah-ha” moment. It makes total sense but I would have never thought of those things on my own. Thanks to Aaron and the Phlearn team for making my hobby so much more enjoyable!
This is a bit of a long tutorial but so worth sticking to as it can produce some amazing results…Thank you.
I had a lot of fun doing this composite!
Really cool techniques & rules to be learnt… I have no hesitation in recommending this Pro tutorial!!
Just go for it!
Thanks, Aaron & Team! The best lesson-learned for me was about perspective: the way you used the vanishing point, and the horizon was very helpful for me. Great stuff! Love the check layers. I used those in A Dark Force too.
New Favorite Pro. Such much details covered in this one it was epic. Love the Threshold trick have to remember that one. Buy it now