Download Assets
description
Explore the updated Hue/Saturation tool in Photoshop Beta! In this tutorial we’ll show you its user-friendly interface and powerful capabilities, demonstrating how to precisely select and modify the colors within your images. Learn the best techniques to fine-tune hues, enhance color vibrancy, and more!
Go PRO:
New to Photoshop and not sure where to begin? Explore our latest PRO tutorial Photoshop Fundamentals: Aaron’s Top 10 Essential Tools & Techniques . Discover mind-blowing tricks for selecting, removing, retouching, and more!.
Share


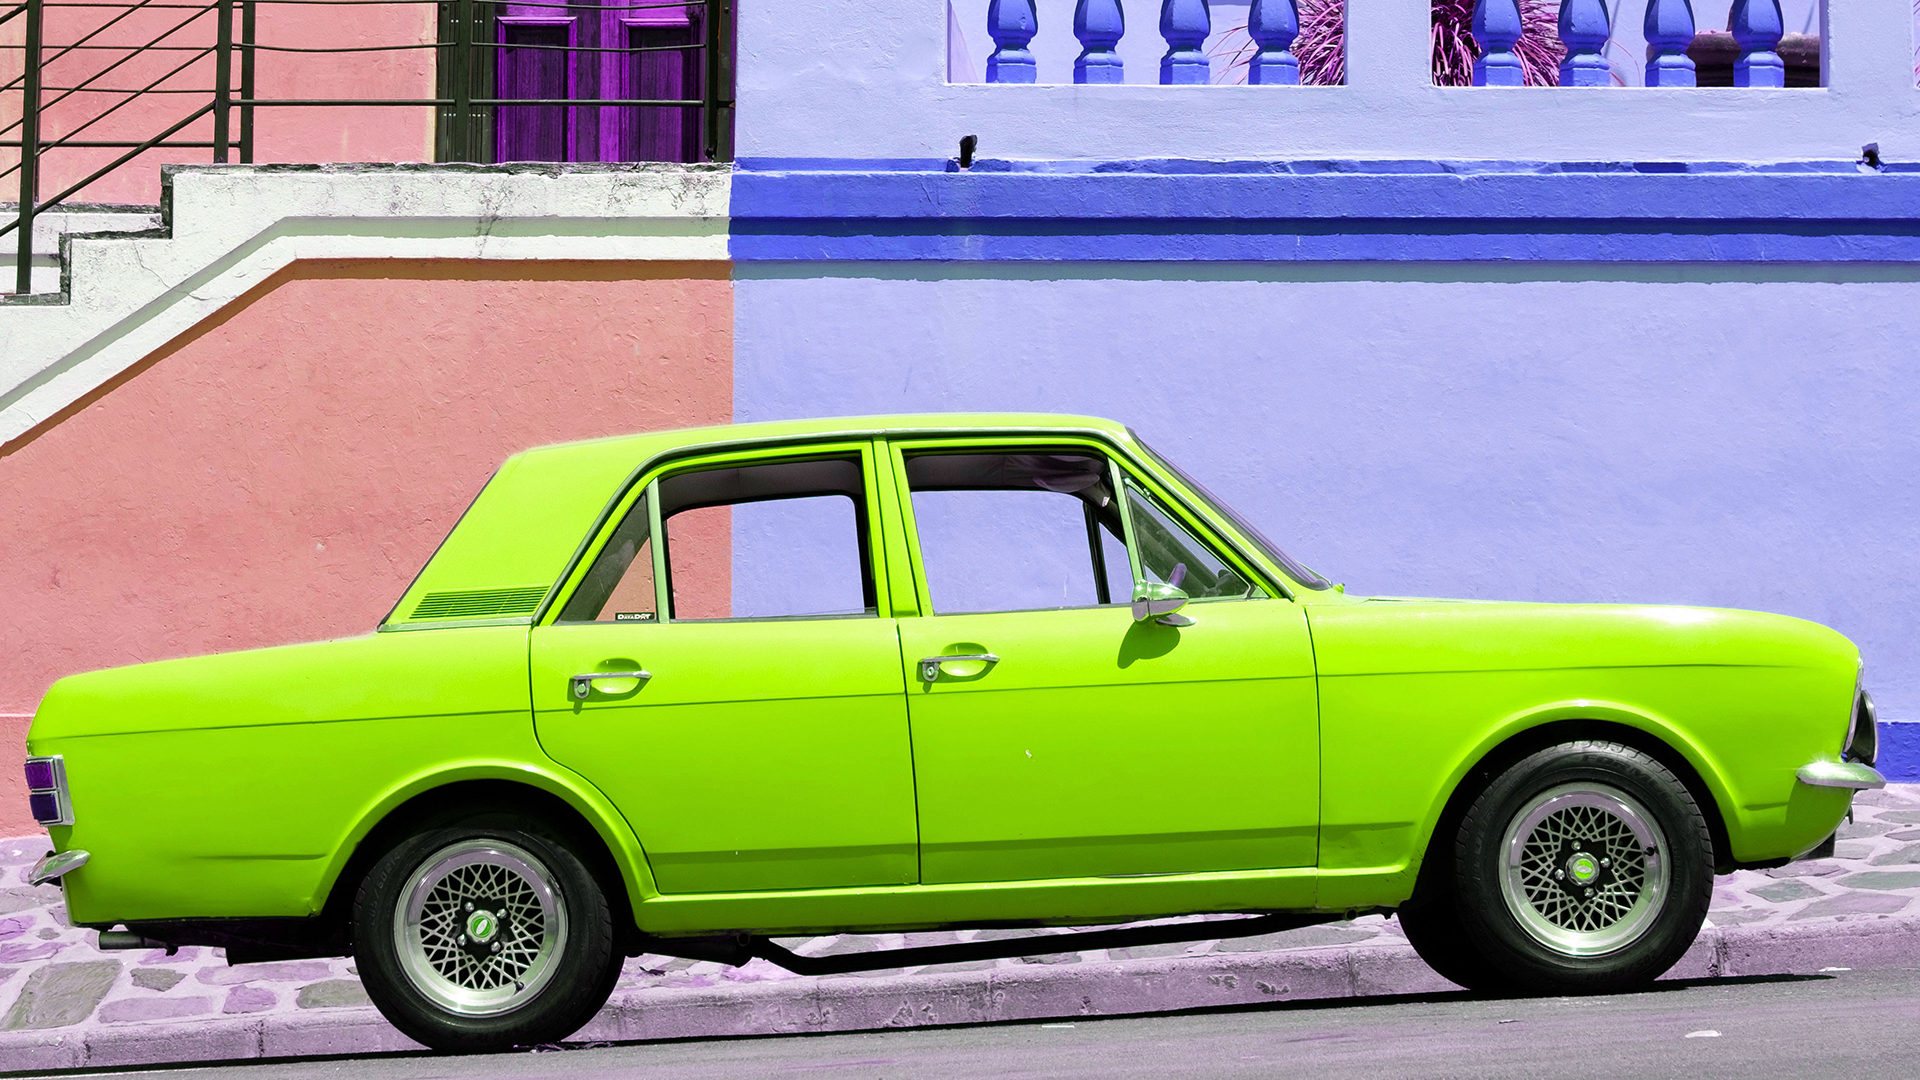
AFTER
BEFORE
Change Any Color
Photoshop’s revamped Hue/Saturation tool offers an intuitive and powerful way to manipulate colors in your images. This updated interface makes precise color adjustments easier than ever, allowing you to fine-tune hues, enhance vibrancy, and achieve creative color transformations. Whether you’re correcting color casts or adding stylistic effects, understanding this tool is crucial for any Photoshop user. Let’s explore how to use it effectively.
Accessing Hue/Saturation
1. Open your image in Photoshop.
2. Go to the top menu: Layer > New Adjustment Layer > Hue/Saturation.
3. Click OK in the dialog box.

Changing All Colors
4. In the Layers panel, double-click the Hue/Saturation layer thumbnail to open the Properties panel (controls might also appear in the contextual taskbar).
5. In the Properties panel, ensure the top dropdown menu says Master.
6. Now, you can use the three primary sliders: “Hue,” “Saturation,” and “Lightness.” Dragging the “Hue” slider shifts all colors in your image across the color spectrum. The “Saturation” slider controls the intensity or vibrancy of all colors. The “Lightness” slider adjusts the overall brightness of all colors. Experiment with these sliders to understand their impact on the entire image.

Changing Specific Colors
For more precise color editing, you can target individual color ranges. In the Properties panel, directly below the global sliders, you’ll see a visual representation of different color ranges (Reds, Yellows, Greens, Cyans, Blues, Magentas). To adjust a specific color range, simply click on its corresponding color swatch. For example, clicking “Reds” will allow you to modify only the red tones (and colors containing red, like pinks and oranges) in your image using the Hue, Saturation, and Lightness sliders below. Notice how the sliders now affect only the selected color range.
Slider Tips and Reset
Working with the Hue, Saturation, and Lightness sliders offers additional control. Hover your cursor over the labels (“Hue,” “Saturation,” “Lightness”) and drag left or right to adjust the values. Holding the Shift key while dragging will increase the adjustment speed, while holding Alt or Option will slow it down for more subtle changes. To quickly reset any individual slider to its default (center) position, simply double-click on its label or the small icon next to it. The “Reset” button at the bottom of the properties panel will revert all adjustments back to the default settings.


