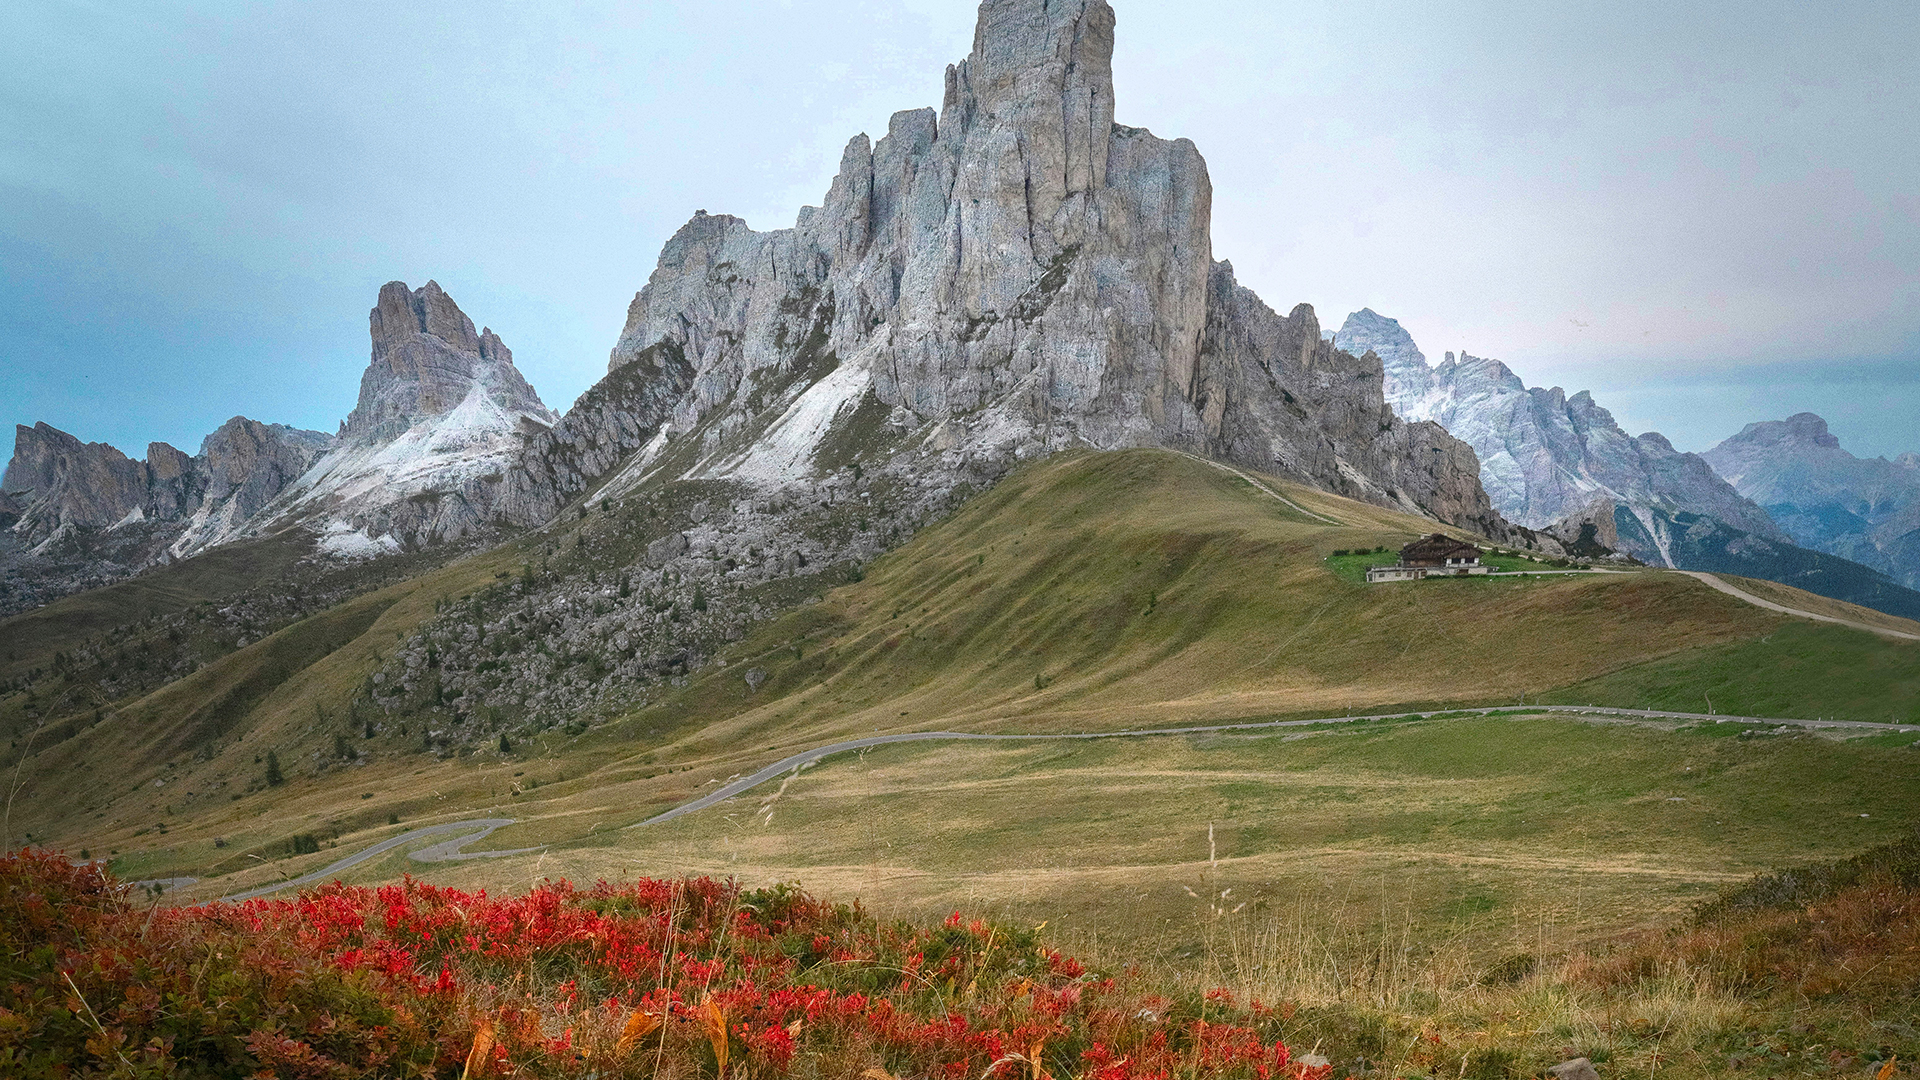

Download Assets
This tutorial includes 1 sample image and 1 sample PSD. Downloads are free with a PHLEARN account.
- Download the sample images and PSDs from every free tutorial on PHLEARN
- New free tutorials published every week
- One free account — sign up once, then download anything
description
Use the Point Color tool in Adobe Camera Raw to target one exact colour and shift its hue, saturation and luminance — non-destructively, on a Smart Object.
Enjoying This Free Tutorial?
We publish a new free tutorial every week, each one with sample images and PSDs you can download and follow along with. Sign up and they land straight in your inbox, along with early word on sales, events and subscriber-only offers.
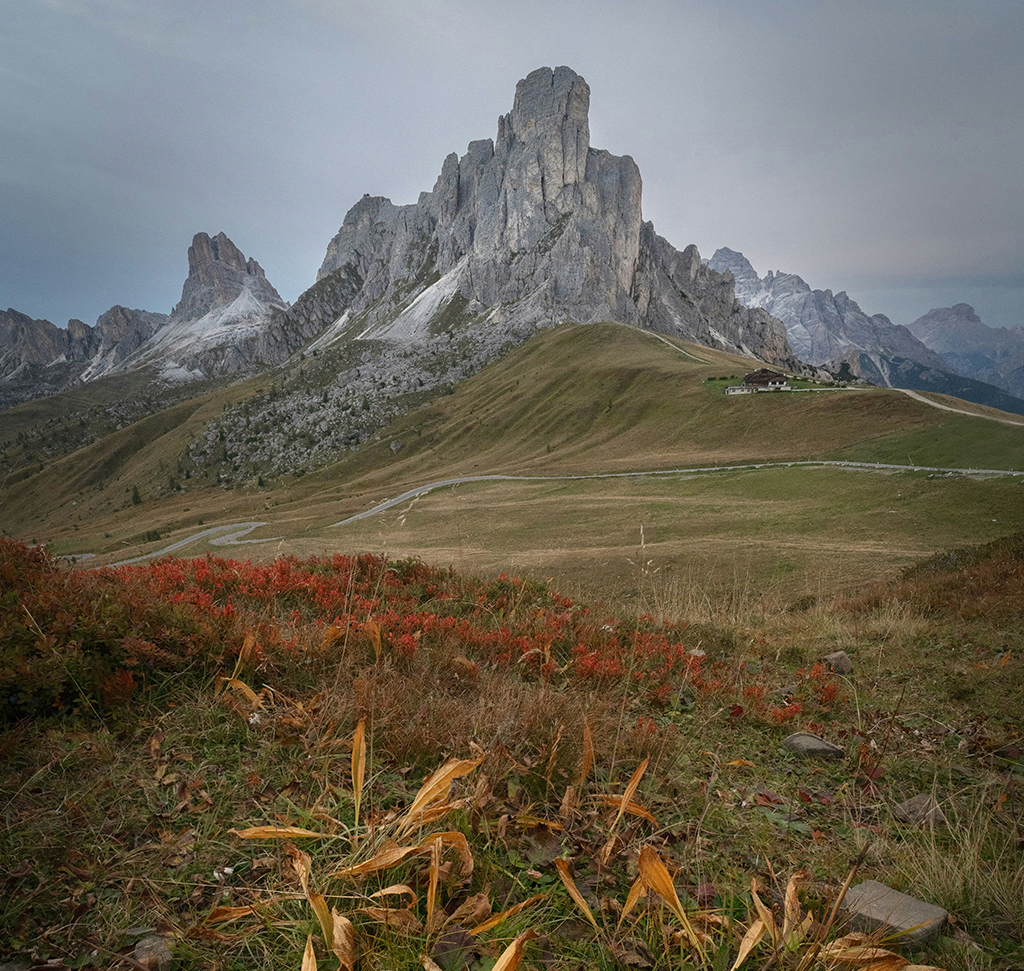
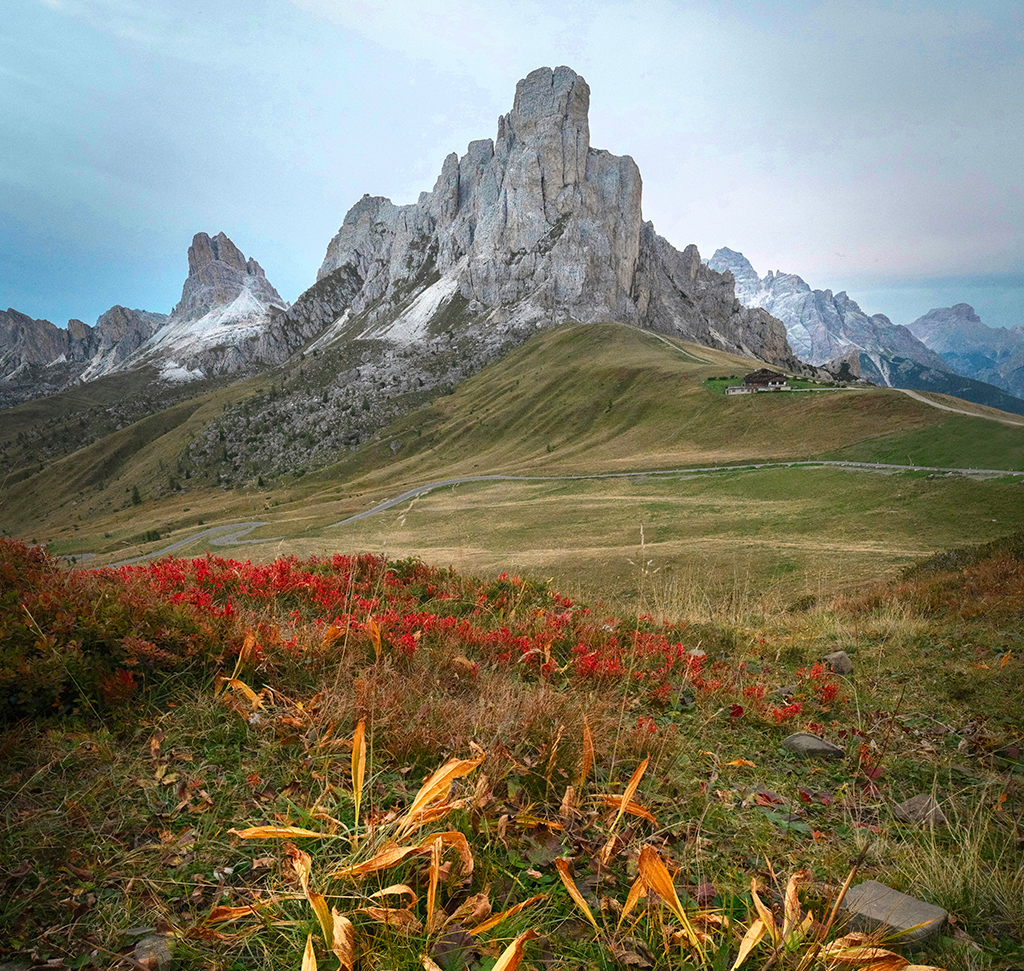
The Point Color Tool Is a Scalpel, Not a Sledgehammer
Every other way of shifting colour in Photoshop asks you to pick from a menu of ranges: reds, yellows, greens. The Point Color tool in Adobe Camera Raw asks you to click on the actual pixel you want to change, then decides the range from what you clicked.
That difference is what makes it usable on things the preset channels can’t separate — one shade of foliage among several, a specific fabric, the exact orange of a jacket without touching skin. Add a Smart Object at the start and the whole edit stays live indefinitely.
What Makes Point Color Different
The Sample Defines the Range
Instead of “the greens”, you get “this green”, with hue, saturation and luminance bounds derived from the pixel you sampled. Two greens in the same photo can be treated as separate colours.
Variance Stops It Looking Flat
A hard-edged colour swap kills the natural variation that made the original look real. Variance widens the adjustment with a falloff, so the shift carries the same subtle diversity the original colour had.
Range Controls Let You Tighten the Bite
When the adjustment spills onto something you didn’t intend, you narrow the hue, saturation or luminance range rather than reaching for a mask. It is usually faster and always cleaner.
Set Up a Non-Destructive File
Two clicks, and they’re the difference between an edit you can revisit and one you can’t.
-
Convert the Background Layer to a Smart Object
Either Layer > Smart Objects > Convert to Smart Object or Filter > Convert for Smart Filters — they do the same thing. Do it before opening Camera Raw, not after; there’s no retrofitting this.
-
Open Filter > Camera Raw Filter
The full Camera Raw suite runs on the layer. Because the layer is a Smart Object, the filter attaches as a Smart Filter with all its settings stored.
Find the Point Color Panel
-
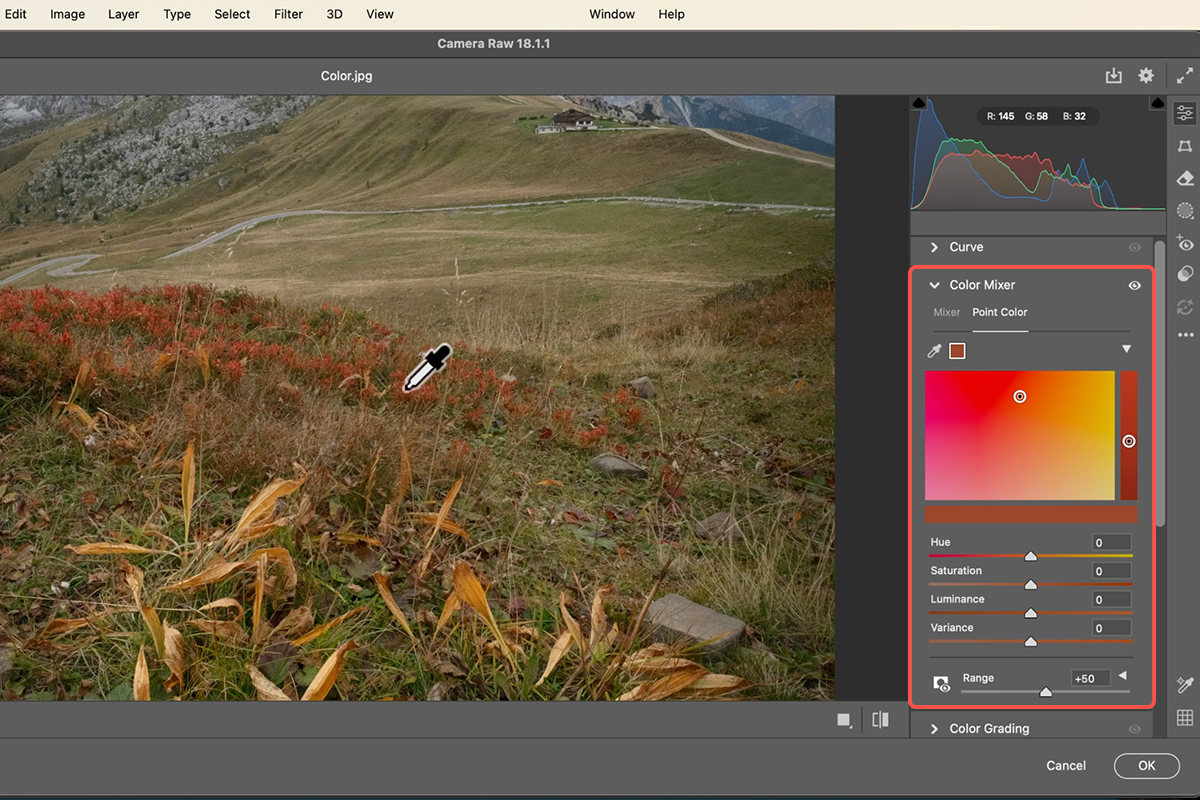
Open Color Mixer and Switch to the Point Color Tab
Colour Mixer sits in the right-hand panel stack, and Point Color is a tab within it — next to the older HSL controls, which is why plenty of people have never noticed it.
-
Zoom In Before You Sample
Cmd/Ctrl + plus and minus. Sampling from a zoomed-out view means you’re clicking on a downsampled average rather than the colour you actually want. This matters more than it sounds.

Target and Shift the Colour
-
Sample With the Eyedropper
Click the eyedropper in the Point Color panel, then click the colour in your image. Photoshop builds the selection around that sample — a particular orange, a particular green, not the whole channel it belongs to.
-
Move Hue, Saturation and Luminance
Hue changes which colour it is, Saturation how intense, Luminance how bright. Luminance is the one most people forget and the one that usually makes a shifted colour sit correctly against everything around it.
-
Push the Variance Slider Right
This is the step that separates a professional result from an obvious one. Variance feathers the adjustment across neighbouring shades so the change keeps the original’s natural variation instead of flattening it into a single uniform tone.
Tighten the Selection
-
Open Range and Narrow What’s Affected
If the shift is bleeding onto something else, expand the Range section and pull in the hue, saturation and luminance bounds. Luminance range is especially effective when two objects share a hue but differ in brightness — a shadowed version of the same colour can be excluded entirely.
-
Click OK, and Come Back Whenever You Like
You’re returned to Photoshop with Camera Raw Filter listed as a Smart Filter. Double-click it and every slider is exactly where you left it. That’s what the Smart Object at step one bought you.
Where People Go Wrong
Forgetting the Smart Object
Run Camera Raw on a normal layer and the edit is baked in the moment you click OK. Two seconds at the start saves the whole file later.
Leaving Variance at Zero
The result looks painted rather than photographed, because real surfaces never hold one exact value. Variance is what restores that.
Sampling From a Zoomed-Out Image
You end up targeting a blend of neighbouring pixels, and the adjustment then behaves unpredictably. Zoom first, sample second.
Reaching for a Mask Too Early
Most spill is better solved by narrowing the Range than by masking. Masks are for spatial problems; Range is for colour problems.
More Free Colour Tutorials
If precise colour is what you’re building toward, these free tutorials go further:
- How to Color Grade in Photoshop Using Camera Raw
- How to Add Color Gradients to Any Object
- How to Use the Clarity & Dehaze Tool
- How to Use AI Depth Masking in Photoshop
Specific Beats General
The lesson underneath Point Color applies well past this one panel. Broad adjustments are fast but they always touch things you didn’t intend, and the time you save choosing “the reds” gets spent later masking the parts you broke.
Tools that let you define the target precisely — Point Color here, depth masking, object selection — front-load a little effort and remove all the correction afterwards. That trade is almost always worth taking, and it’s why the professional version of a colour edit usually has fewer layers than the amateur one, not more.
Try It on Your Own Image
Smart Object, Camera Raw Filter, Colour Mixer > Point Color, zoom in, eyedropper the colour, move Hue/Saturation/Luminance, raise Variance, narrow the Range if it spills. Download the free sample image and PSD and follow the exact edit — then try it on a photo with two similar colours you need to separate, which is where Point Color beats every other approach. To go further across Photoshop, our PRO Photoshop Learning Path runs to 11 courses.
New Free Tutorials View All »











Enjoying This Free Tutorial? Go Further with PRO.
Unlock Full Sample Files, PSDs, and Hundreds of Masterclasses!

Download full project assets, original PSDs, and RAW images for every lesson
Unlimited access to our complete library of PRO Photoshop & Lightroom courses
Instant 4K Ultra HD streaming on all devices, anytime, anywhere
Full access to our entire library of Photoshop Actions, Presets, and LUTs
Flexible monthly and annual membership plans
Cancel anytime with zero hassle or commitments