
Download Assets
This tutorial includes 3 sample images, 1 sample PSD, a before-and-after pair and 1 PDF guide. Downloads are free with a PHLEARN account.
- Download the sample images and PSDs from every free tutorial on PHLEARN
- New free tutorials published every week
- One free account — sign up once, then download anything
Free PDF Guide · 4 Pages
This Tutorial as a Step-by-Step PDF
Every step from the video in order: the big PETAL text, dragging the flowers in, Alt/Option-click between layers, the Layer menu and keyboard shortcut, editing the text with the clip intact, Levels and Hue/Saturation on the clipped layer, the drop shadow, and grouping it behind the subject. Keep it next to your keyboard.
description
A clipping mask borrows its shape; everyone learns layer masks first, then reaches for them in situations where a clipping mask would have been quicker and safer. The distinction is simple once you see it: a layer mask is something you paint, a clipping mask is something you borrow.
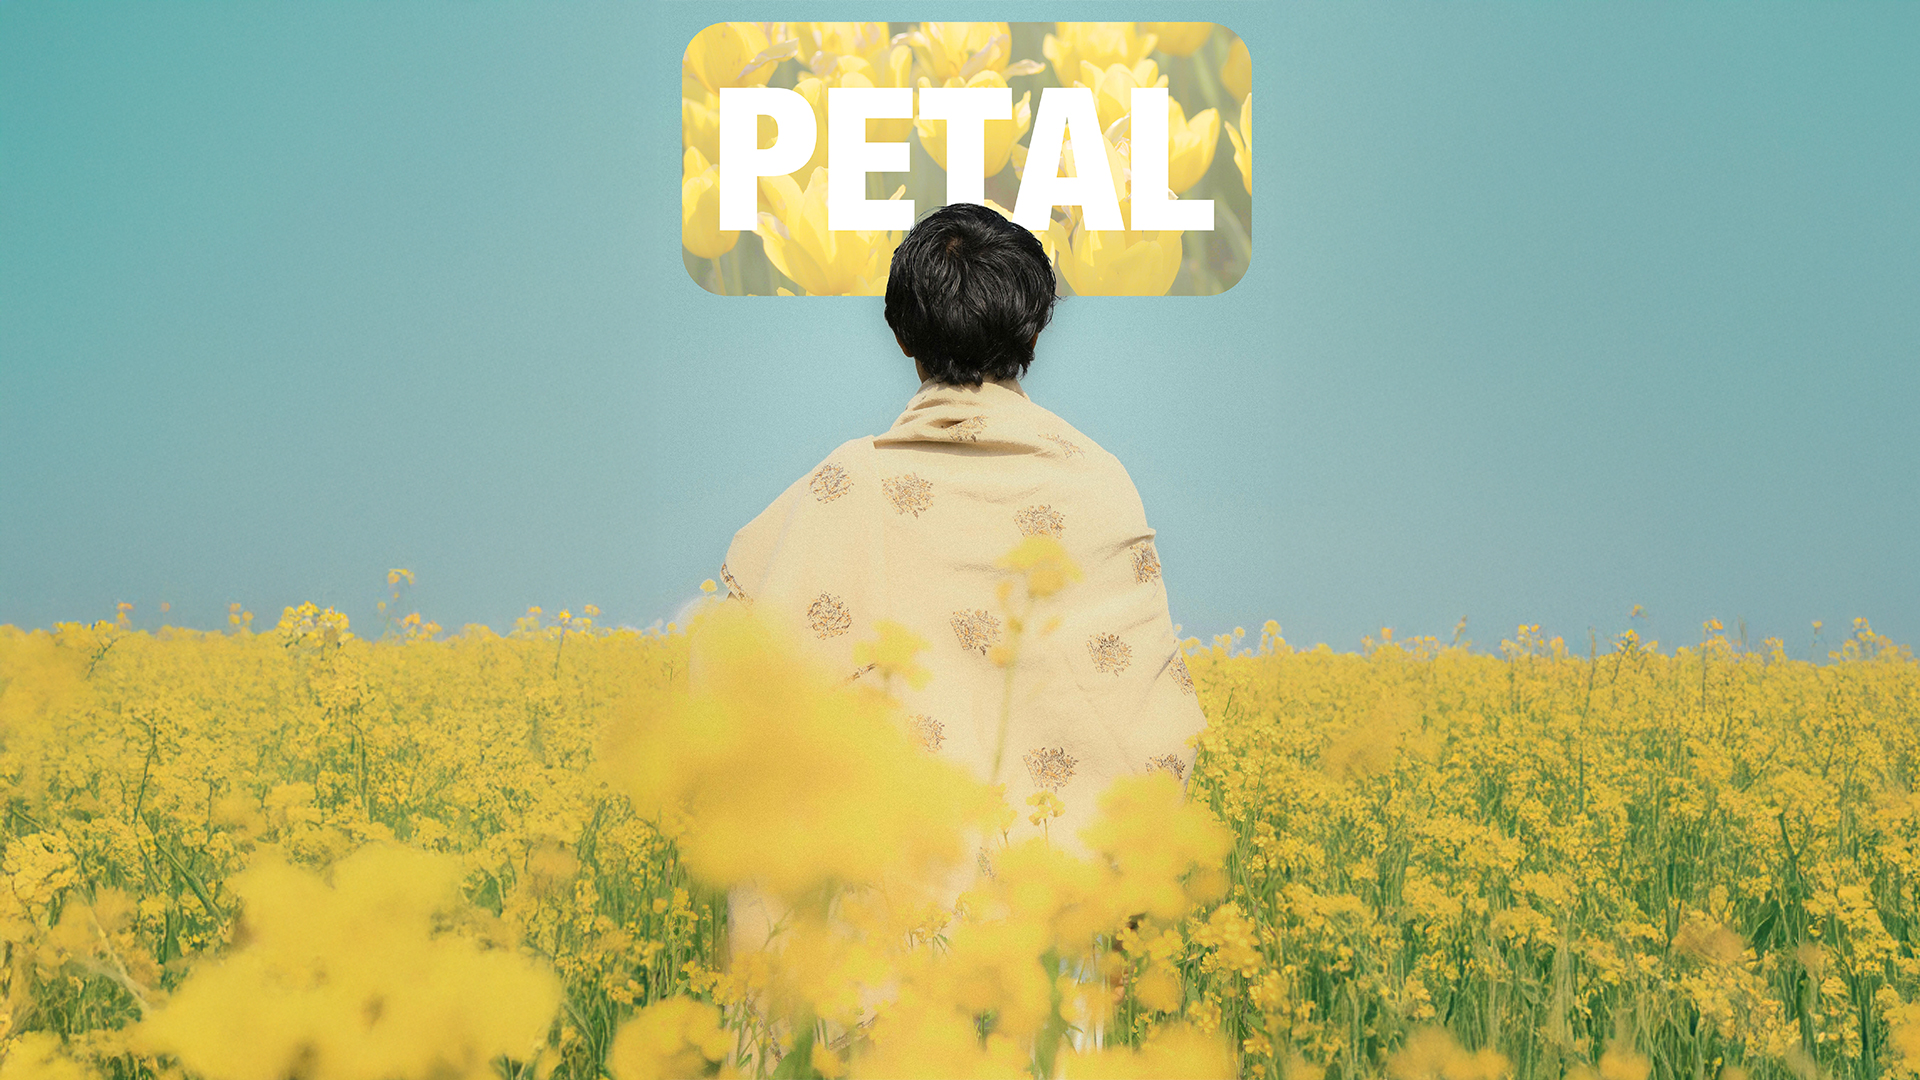
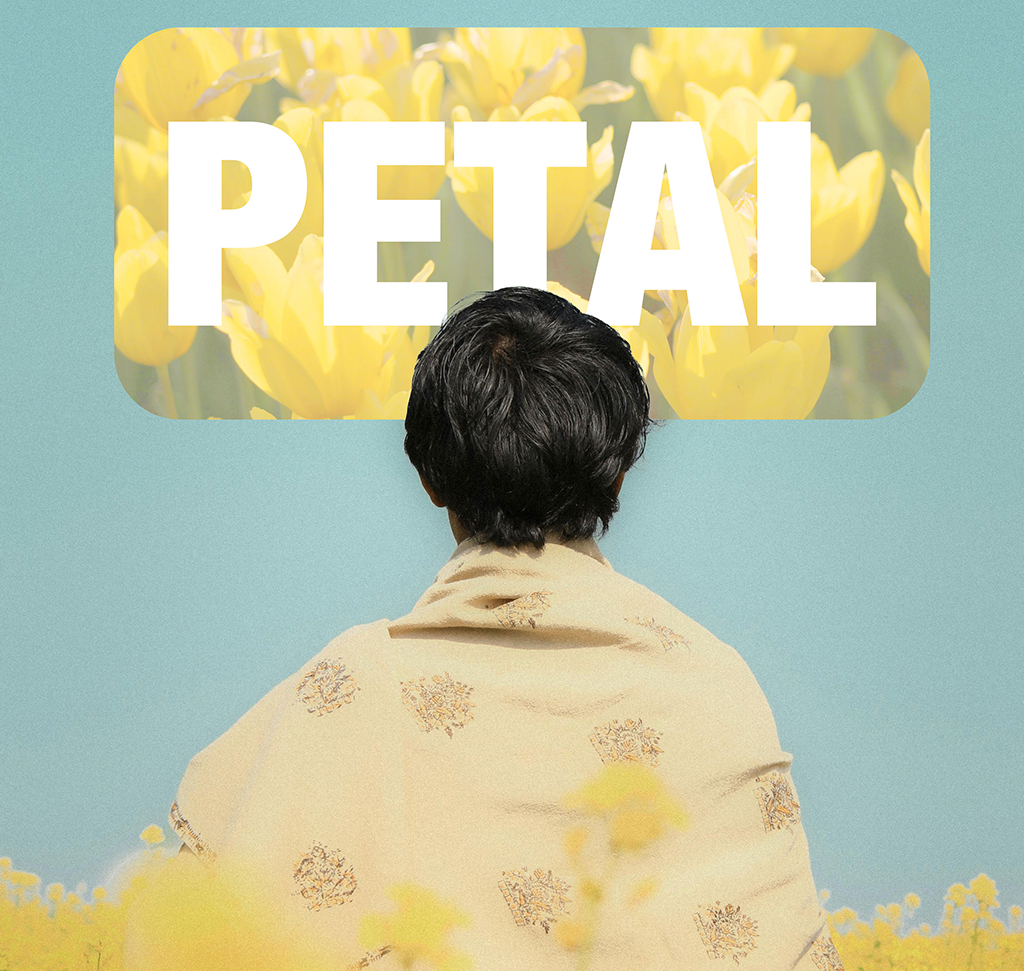
With a clipping mask the layer underneath supplies the shape and the layer above supplies the content. Put a photograph of flowers over the word PETAL, clip it, and the flowers appear only inside the letters. Nothing is cut and nothing is erased — you can still edit the word afterwards, and send the whole design behind your subject.
Enjoying This Free Tutorial?
We publish a new free tutorial every week, each one with sample images and PSDs you can download and follow along with. Sign up and they land straight in your inbox, along with early word on sales, events and subscriber-only offers.
Image Source
How to Make a Clipping Mask in Photoshop
Quick answer
How to make a clipping mask in Photoshop
The practice files and the free PDF guide are in the download section below.
Everyone learns layer masks first, and then reaches for them in situations where a clipping mask would be quicker and safer. The distinction is simple once you see it: a layer mask is something you paint, and a clipping mask is something you borrow.
With a clipping mask, the layer underneath supplies the shape and the layer above supplies the content. Put a photograph of flowers over the word PETAL, clip it, and the flowers appear only inside the letters. Nothing has been cut, nothing has been erased, and you can change the word afterwards.
How This Differs From a Layer Mask
The Shape Comes From an Existing Layer
Text, a vector shape, a cut-out subject — whatever is on the layer below becomes the boundary. You aren’t painting a mask; you’re pointing at one that already exists.
Both Halves Stay Independent
Move the content inside the shape, or move the shape and the content follows. Retype the text and the effect survives without any adjustment.
You Can Stack Several
Multiple layers can clip to the same base — a texture, an adjustment, a gradient — and all of them are confined to the same outline.
Step 1: Stack the Layers in the Right Order
-
Open Your Background Image
The scene the finished design will sit in.
-
Add the Layer That Will Supply the Shape
Thick, heavy text works best — thin letterforms leave too little area for an image to read inside them. A vector shape such as a rounded rectangle works equally well.
-
Drag the Texture Image In, Directly Above the Shape Layer
Order is the whole game here. The content must sit immediately above the layer whose shape it will take, or the clip will attach to something else.
Step 2: Create the Clipping Mask
-
Alt/Option-Click the Line Between the Two Layers
Hover on the dividing line in the Layers panel with Alt/Option held. The cursor changes to a small square with a downward arrow — that arrow is the confirmation you’re in the right place. One click applies it.
-
Or Press Cmd/Ctrl + Alt/Option + G
Same result with the texture layer selected. Faster once it’s in your hands.
-
Check the Indent
A clipped layer sits indented with a downward arrow beside it. If it isn’t indented, it clipped to the wrong layer — almost always a stacking-order problem.
Step 3: Adjust It, Everything Stays Editable
Reposition Either Half
Press V and drag the clipped image to choose which part of the texture shows through. Drag the base layer instead and the whole design moves together.
Change the Words
Double-click the text layer and type something else. The clip holds. This is the reason to use a clipping mask over cutting an image to shape — the design remains a live thing rather than a finished picture.
Adjust the Clipped Content
With the clipped layer selected, Cmd/Ctrl + L for Levels or Cmd/Ctrl + U for Hue/Saturation affects only what shows inside the shape.
Style the Base Layer
A Drop Shadow applied to the text layer lifts the whole thing off the background. Layer styles belong on the base, not on the clipped content.
Step 4: Put the Finished Design Behind Your Subject
-
Select Every Layer in the Setup and Press Cmd/Ctrl + G
The base layer and everything clipped to it, grouped together.
-
Click the Background Layer and Run Select Subject
From the Contextual Task Bar. Photoshop isolates the person in the photograph.
-
With the Selection Live, Click the Group
The selection stays active while you change which layer is targeted.
-
Alt/Option-Click the Add Layer Mask Icon
Holding Alt/Option adds an inverted mask, so the group is hidden exactly where the subject is. The text now runs behind them, which is the effect that makes this look designed rather than pasted on.
Where People Get Stuck
The Texture Layer Isn’t Directly Above
Anything in between breaks it. Check the stacking order before blaming the shortcut.
Thin Text
A delicate serif at a small size shows almost none of your image. Heavy weights, large sizes.
Layer Styles on the Wrong Layer
A drop shadow on the clipped image does nothing useful. Put it on the base.
Forgetting You Can Move the Content
The first crop of the texture is rarely the best one. Grab V and slide it around inside the shape.
Clicking the Mask Icon Without Alt/Option
In the last step, a plain click reveals the group only where the subject is — the exact opposite of what you want.
Why This Is Worth Learning Properly
Clipping masks look like a text-effect trick, and that’s how most people first meet them. The more useful realisation is that they’re a general way of saying “confine this to that” — and once you’ve had it, you start seeing the pattern everywhere: an adjustment layer clipped so it affects only one layer beneath it, a texture clipped to a cut-out subject, a gradient clipped to a shape.
That single idea removes a great deal of masking work from an ordinary edit. Not because it is clever, but because most of the time the shape you need already exists somewhere in your file, and painting it again by hand is wasted effort.
Build One Yourself Today
Set heavy text over a photograph, drop a texture image directly above it, and press Cmd/Ctrl + Alt/Option + G. Download the three free sample images and the sample PSD and take it all the way — slide the texture around with V, retype the word to prove the clip survives, add a Drop Shadow to the base layer, then group everything, run Select Subject on the background and Alt/Option-click the mask icon to send the design behind the person. For layers, masking and compositing taught in order, our PRO Photoshop Learning Path is where to go next.
Quick Reference: Keys, Menus and Settings
- Make the textT, type, scale it up in the contextual taskbar; Cmd/Ctrl + A, V, center-align
- Bring in the imagesDrag them onto the canvas, Enter; they must sit directly above the text layer
- Clip (fastest)Alt/Option-click the line between the two layers
- Clip (other ways)Layer > Create Clipping Mask, or Cmd/Ctrl + Option/Alt + G; Release Clipping Mask undoes it
- Adjust the clipped imageCmd/Ctrl + L (Levels), Cmd/Ctrl + U (Hue/Saturation)
- Drop shadowDouble-click the text layer > Drop Shadow, color from the image, blend mode Multiply
- Put it behind the subjectGroup the layers (Cmd/Ctrl + G), Select Subject on the background, Alt/Option-click Add Layer Mask
Works with any layer underneath: text, a shape, or a cut-out subject.

Free Downloads
Follow Along on the Same Files
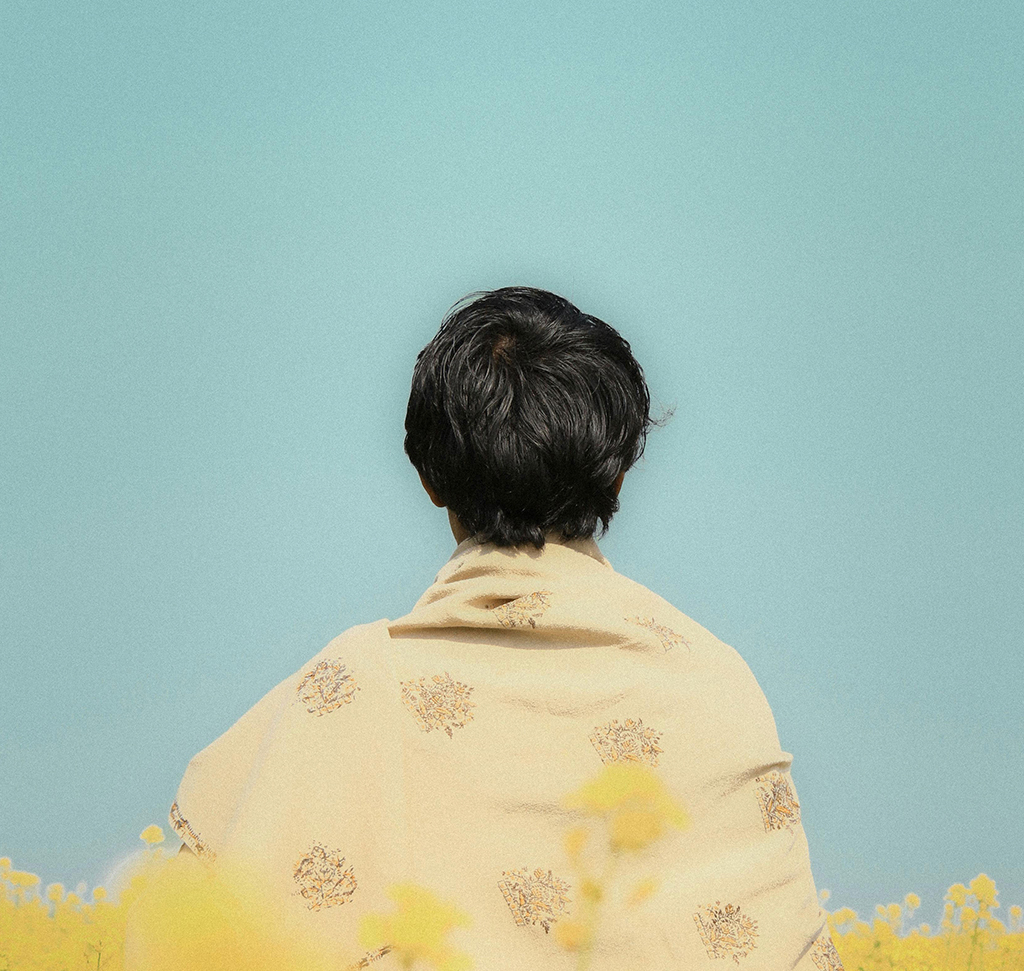
Get the portrait and both flower images, the layered PSD, the before-and-after pair and the PDF guide. Free with a PHLEARN account.
Clipping Masks: Common Questions
What is a clipping mask?
A layer that’s visible only where the layer below it is visible. Put a flower photo above the word PETAL, clip it, and the flowers show only inside the letters.
Why not just use a layer mask?
You could select the text and mask with it, but change the text and you’d have to rebuild the mask. A clipping mask follows the layer below, so retyping PETAL to FLOWER updates everything above it.
What’s the fastest way to make one?
Hold Alt/Option and click the line between the two layers in the Layers panel. The upper layer indents with a down arrow. Layer > Create Clipping Mask and Cmd/Ctrl+Option/Alt+G do the same thing.
Does the layer order matter?
Yes. The layer being clipped must sit directly above the layer it clips to. You can stack several clipped layers on one base; both flower images clip to the same text in the video.
Can I move things after clipping?
Yes. Move the text and the flowers stay put inside it; move the flowers and the text stays where it is. Levels and Hue/Saturation on the clipped layer only affect that layer.
How do I put the design behind the subject?
Group the text and clipped layers, run Select Subject on the background, then Alt/Option-click Add Layer Mask with the group selected. The mask hides the design where the subject is, and every layer inside stays movable.
Does it only work with text?
No. The video also clips flowers to a rounded rectangle and clips text to a cut-out subject. Any layer with transparent areas works: shapes, text, or a person on their own layer.
How do I undo a clipping mask?
Layer > Release Clipping Mask, or Alt/Option-click the line between the layers again. The layer goes back to normal.
Where else do clipping masks help?
Compositing. Clip color-matching adjustments to a cut-out subject so they change the subject and nothing else.
Are the sample files free?
Yes, with a free PHLEARN account. You get the portrait, both flower images, the layered PSD, the before-and-after pair and the PDF guide.
Master Photoshop, Lightroom and Photography
Join PHLEARN PRO for $12.99 a month or $99.99 a year. Cancel anytime, with a 100% money-back guarantee.





