
The Power of Masking & Coloring in Lightroom
-

-
Add to
favorites
-
DifficultyMedium
-
Length3.75 hours
-
Videos10
-
Software
Description
Master Advanced Masking and Coloring across all Lightroom apps: Classic, Desktop, and Mobile! We’ll walk through the logic of masking to help you precisely select subjects, balance light ranges, and apply professional color grades. From dodging and burning to detailed clean-up, it’s a practical guide to making your edits look intentional and polished. We’ll even dive into Photoshop to ensure you have total control over every pixel and creative detail.
THIS COURSE INCLUDES
- 9 Sample Images
Share
Table of Contents
-
01 - Exploring the Workspace16:36m
-
02 - Masking Foundations33:49m
-
03 - Mask Logic31:15m
Course Downloads
The Masking Masterclass
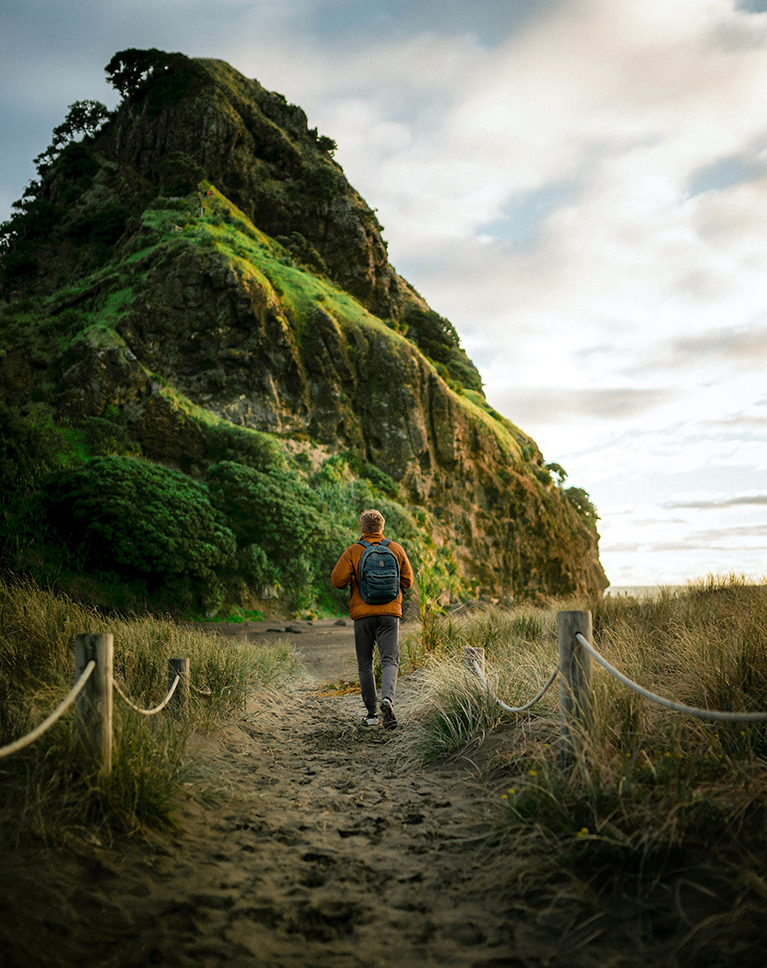
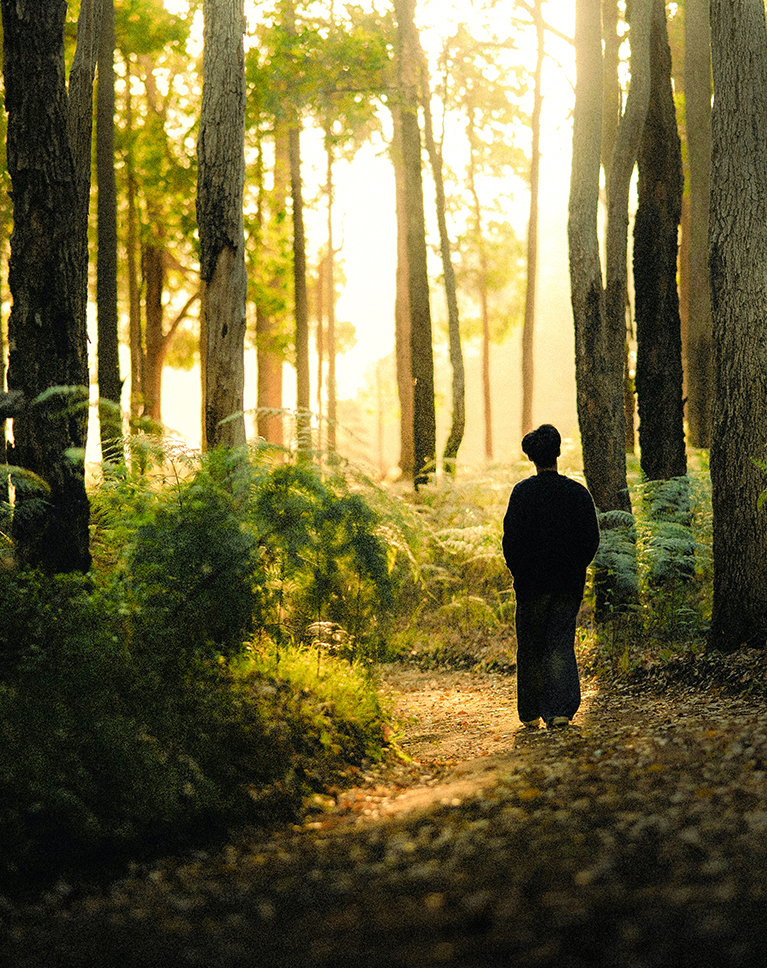
AFTER
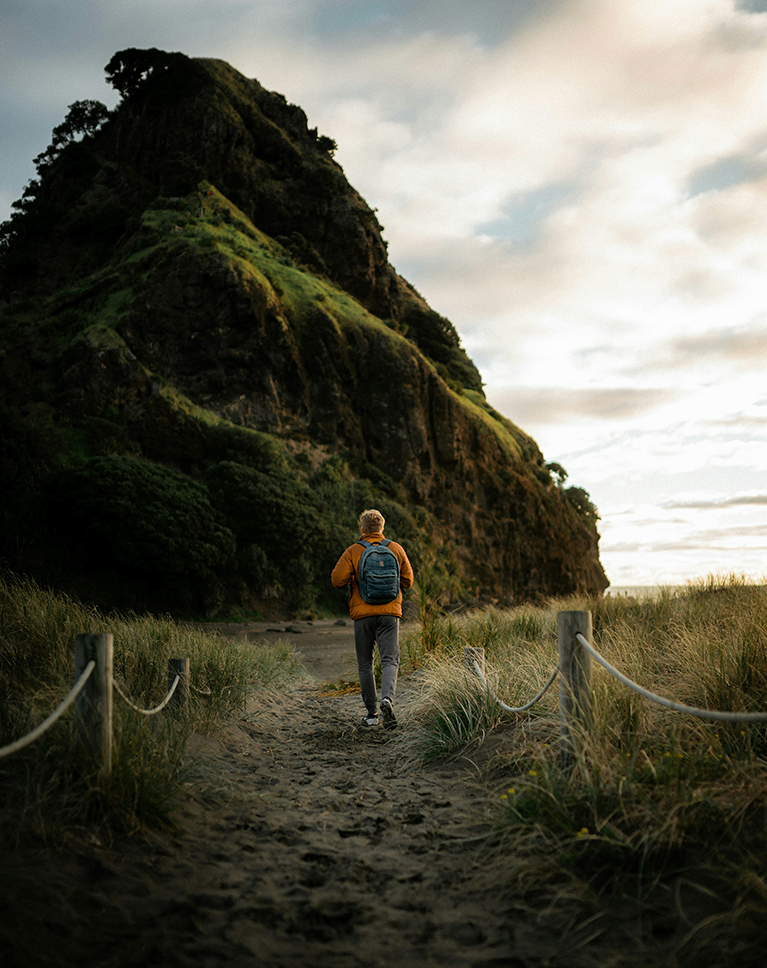
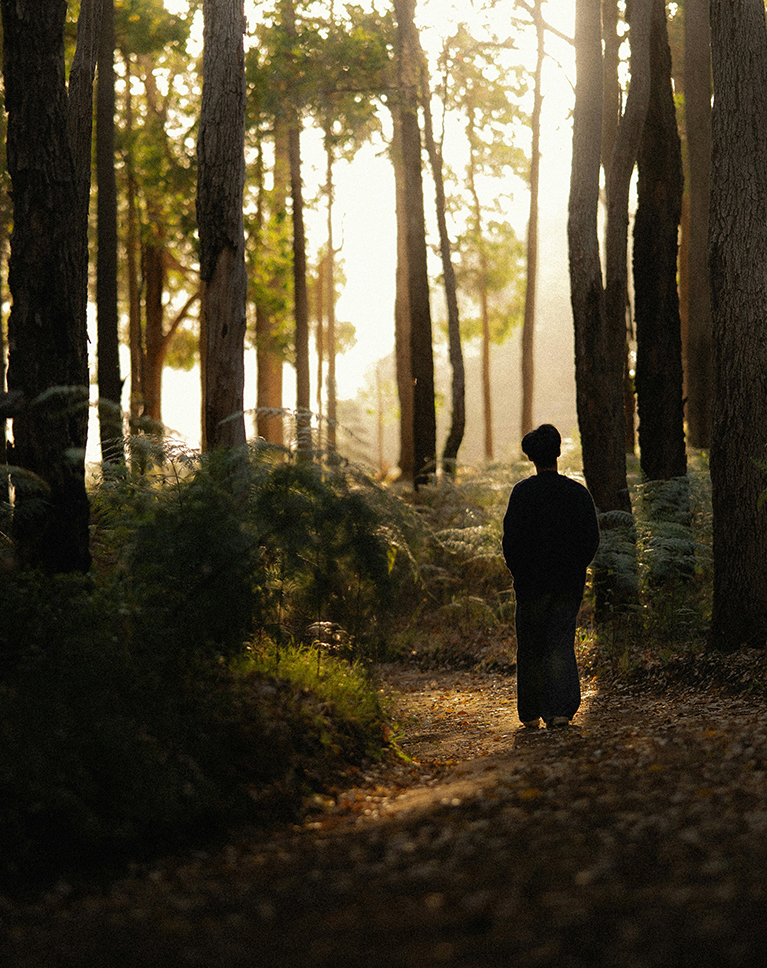
BEFORE
Advanced Masking
Masking is the secret to making your photos stand out. It gives you total control, letting you brighten a subject or change colors in one specific spot without affecting the rest of the image. In this tutorial, we’ll show you how to master these tools across all Lightroom apps, helping you make clean, professional edits that look exactly how you imagined.
Adobe Camera RAW
Take your workflow further by using Adobe Camera Raw to access Lightroom’s power directly inside Photoshop! We’ll give you a quick look at how to jump between the two. Plus, learn to sync your work using the cloud so you can start an edit on your phone and finish it anywhere.
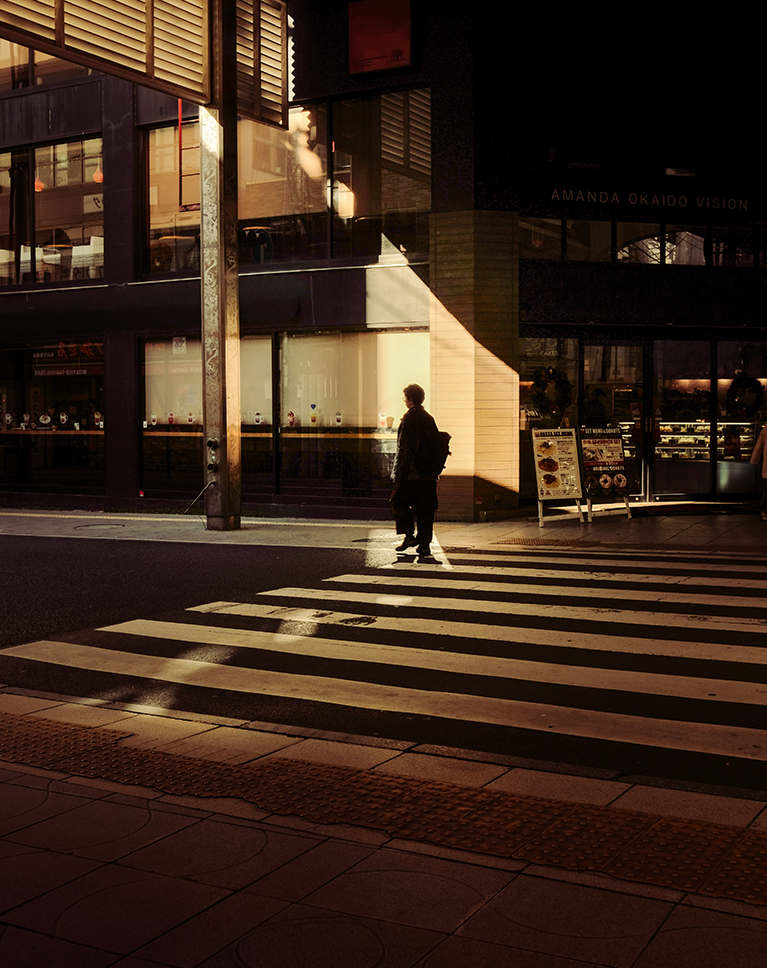
Global vs Local Edits
We’ll start by comparing global and local edits. Global changes affect your entire photo at once, which can often ruin a beautiful sky just to fix a dark subject. We’ll teach you how to use local masks to select only the parts you want to change, giving you professional, intentional control over every detail of your image.

AFTER
BEFORE
Combining Tools
AI is smart, but it isn’t perfect. We’ll show you how to combine tools to fix those small misses, like adding an Object Selection to a People Mask to catch stray bits of clothing. It’s the best way to ensure your selections are flawless and your edits look truly professional.
Precise Targeting
Discover the power of Intersection to light your photos like a pro! By finding the sweet spot where two masks overlap—like your Subject and a Radial Gradient—you can create a virtual softbox that brightens only your subject’s face. It’s the ultimate way to “carve” light exactly where you want it while keeping everything else perfectly untouched.
Inverting Masks
Learn the art of the flip with Inverting Masks. Sometimes you’ll nail a selection only to realize you actually want to edit everything else in the frame. We’ll show you how to instantly invert your focus, making it the perfect shortcut for creating custom vignettes or moody border adjustments.
Add Interest & Drama
The Invisible Spotlight
Gradients are the ultimate way to create drama! Use them to fade shadows and spotlight your subject, instantly turning flat photos into high-end, cinematic art.
AFTER
BEFORE
Paint with Color
We’ll dive into Selective Coloring with Masks, using the power of Point Color to transform a flat, muted landscape into a vibrant fall scene. You’ll learn how to separate subjects from complex backgrounds and “sculpt” your image using advanced layering techniques.
Adding a Glow Effect
Master the art of the “halo” effect by using Intersect to blend a background selection with a Radial Gradient. You’ll learn how to drop a beautiful glow directly behind your subject with precision. This technique ensures the light hits only the environment, leaving your subject perfectly crisp while adding incredible depth and cinematic drama to your frame.
Natural Lens Blur
Learn the right way to use the Lens Blur AI tool. We’ll show you how to use the Point Area of Focus to refine the depth and, most importantly, how to add a touch of Grain to make the digital blur look like real photography.

AFTER
BEFORE
Adding Light Rays
Transform your image using the Brush tool to manually sculpt your scene. By setting a low flow and high feathering, you can “paint” organic pockets of light that mimic natural sun rays. This selective dodge and burn technique gives you total creative control over the atmosphere and depth of your shot.
Shaping Space
Learn how to use Linear Gradients to darken corners and create a “sandwich effect”. By darkening the foreground and top edges, you naturally guide the viewer’s eye toward the brightest, most saturated part of the frame.
Lightroom Learning Path
If you’re new to Lightroom, we recommend exploring our exclusive Lightroom Learning Path. This path is designed to help you harness the power of this app for efficient organization, stunning edits, and full access to RAW image files.

Aaron Nace
PHLEARN Founder – Class Instructor
Aaron Nace is a photographer, Photoshop artist and founder of PHLEARN. He is the #1 Photoshop instructor in the world with millions of YouTube subscribers.
View More Classes by Aaron Nace
Special thanks to Ewan Z, Kevin Schmid, MAK, Peter Thomas, Roberto Shumski, Spenser Sembrat, and Vivek.
Images for this PRO course were sourced from Unsplash .
Reviews
New & Popular Tutorials


Training Site in
the World
Tutorials!
Ratings
and Counting
Subscribers
I have just started doing these tutorials and have to say I am really impressed on the high standard of teaching and I’m getting so much out of it thank you Phlearn
Hi Aaron, Thank you for your excellent presentation on Masking. Can you please tell me which method to use if you want to apply the same Masks to a number of photos? Using an example of a set of photos of Grandchildren Either- Edited one photo – adding masks – then select similar photos and clicking ‘Sync photos’ (with Masks ticked) or Select similar photos, tap the button next to the ‘Sync photos’ . Edit the first photo (brighten the eyes, teeth, adding contrast, enhancing colour…) . I understand, all the selected are edited at the same time. Which method gives the best result? And yes it wold be advisable to review the edited photos, in both methods. And thanks again for your excellent Masking Presentation.
Hey there! our team will reach out to your directly via email
Great tutorial. So much can be done in LR in lieu of PS.
As always, Aarons creativity, experience and knowledge throughout these tutorials are so clear, never rushed and are sprinkled with his sense of humour. I learn and laugh— what more could you ask for. I could, and would, ask for more — I loved Phlearn’s composite tutorials that focused on one final image, I’ve done them all and I could really sink my teeth into another big project like that.
Great job covering the basics! Would love to see an expanded series watching you do more edits! Thanks Aaron!
Awesome as always Truly a great teacher!!!
Great course! Color grading and masking ideas. were great.
Great tutorial that is explained clearly. I feel so much more confident using masks in Lightroom.
This is such a fantastic tutorial Aaron and you make this so enjoyable to Plearn from! You are a wonderful instructor!! I learned so much that I have been hesitant with in working with color masking, but now I am armed with so much more knowledge, I can’t wait to re-look at some of my favorate images!
Great course, easy to follow and understand!
This is more than a how-to tutorial. The instruction, examples, and presentation inspire the student to seek deeper meaning in Lightroom masks and color adjustments. As a fine art teacher, I appreciate the approach and point many of our students to these tutorials. Because they are far more than HOW, they also teach WHY. One thing that I would add to this tutorial and others is the use of an Adaptive Color Profile.
Hi I wrote a good review, but had 2 points of critique. Don’t you post reviews that have critiques? I would like to have gotten an answer. Greetings Cor, a long time subscriber
Hi! Our team reached out to you via email, as it would have been too long to answer here. Thanks for taking the time to write a review!
As usual a fine and detailed tutorial, I normally don’t use light room just camera raw in photoshop. There are things I was unaware of that is luminosity masking and intersection
Excellent tool description, but more importantly, the tutorial stresses the value of creating an art form from the pictures.
Absolutely love the way you break things down and give tips throughout each video. These lessons have changed my workflow and how I approach an image. Thank you! Aaron, do you have any lessons that cover harsh lighting scenarios like dance events, concerts, wedding receptions, etc? I would love to see how you handle color correction and make the subject pop in these settings.
These sessions just feel like it’s one-on-one with Aaron. He’s excellent — my favorite instructor.
I really enjoyed the Masking & Coloring in Lightroom module by PHLEARN. The course explains Lightroom’s masking tools in a clear and practical way, making even the more advanced features easy to understand. The coloring section is especially strong, showing not just how to adjust colors, but how to use them creatively to enhance mood and depth. The lessons are well-structured, easy to follow, and immediately applicable to real editing workflows. Highly recommended for photographers who want more control and confidence in their Lightroom edits.
Aaron is still the best! I’ve been using Lightroom since 2009. Whenever I need to learn something new or refresh my existing knowledge I come to Phlearn! Aaron is my go-to instructor.
Good stuff, Definently phleaned in this class!