
Download Assets
description
Learn how to automatically remove reflections from faces in Photoshop 2026. In this tutorial, we put the new AI tool to the test, breaking down where it works and how to use quick layer masking and Generative Fill to clean up its mistakes for a perfect, professional finish.
Go PRO:
Dive deeper on non-destructive editing with our in-depth PRO tutorial The Ultimate Guide to Non-Destructive Editing in Photoshop . We’ll cover everything from mastering masks and smart objects to building an unbreakable raw pipeline, all while preserving your original image intact..
Image Source
- Curated Lifestyle
Images sourced from Unsplash.
Share


AFTER
BEFORE
Flawless Cleanup
Removing reflections from faces has always been one of the most tedious and complicated tasks in photography. Glare from windows, glasses, or studio lights can easily ruin an otherwise perfect portrait, often requiring hours of painstaking cloning and healing to fix skin textures. Photoshop 2026 introduces an automatic reflection removal tool that completely changes things. By combining this automated feature with a few smart masking and AI techniques, you can easily eliminate distracting glare while keeping your workflow fast, flexible, and fully non-destructive.
Getting Started
1. To begin, select your main image layer in the Layers panel.
2. Go to the top menu, select Edit, and click on Reflection Removal.
3. In the settings pop-up, make sure to check the option to create a separate reflection layer, and set the quality dropdown to Best before clicking OK. Photoshop will use AI to analyze the image and isolate the reflections onto a brand-new layer. This process takes just a moment, uses zero generative credits, and gives you a clean starting point while preserving your original background.

Mask the Errors
Because the automatic tool is so powerful, it can occasionally mistake parts of your subject—like an arm or clothing—for a reflection and remove them.
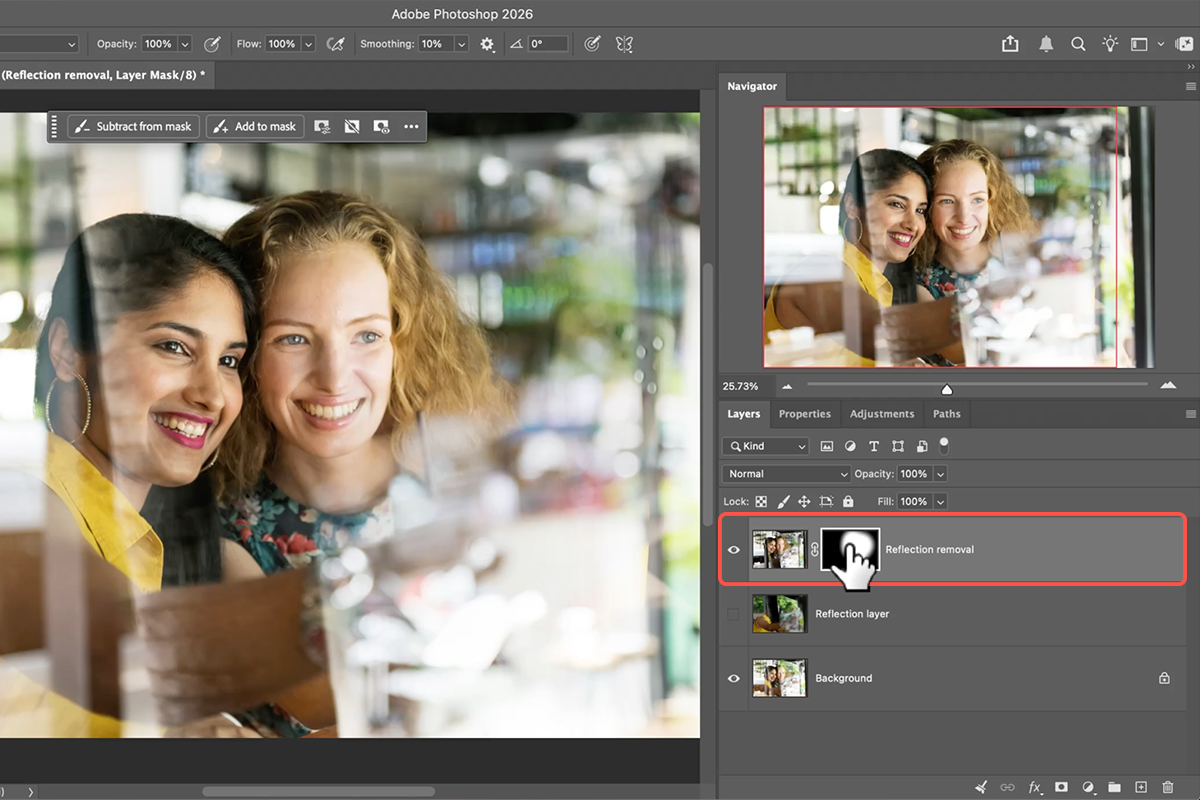
4. To fix these mistakes, hold Alt/Option and click the Layer Mask icon at the bottom of the Layers panel to create a black mask, which completely hides the reflection removal layer.
5. Next, press B on your keyboard to select the Brush Tool. Make sure your foreground color is set to white, and paint directly over the subject’s face to reveal the clean, reflection-free skin exactly where you want it.
Refine with AI
If there are still stubborn reflections left behind near the hairline or cheeks, you can perfect the image using Generative Fill.
6. Choose the Selection Brush Tool from the toolbar and paint over the remaining glare, being careful to avoid core features like the eyes.
7. In the contextual taskbar, click Generative Fill, choose the Firefly Fill and Expand model from your selector, and hit generate. Photoshop will provide three variations of realistically generated skin, allowing you to choose the best look for a flawless, professional finish.


