How to Retouch & Composite Product Photography
-

-
-
Add to
favorites
-
DifficultyMedium
-
Length13.25 hours
-
Videos49
-
Software
Description
Capturing great product photos is only half the battle. In this tutorial, join Ross Floyd and Aaron Nace as they walk you through 10 professional product photo edits from start to finish. You will learn to cut out objects, create clean backgrounds, remove blemishes and distractions, sculpt and reshape products, and explore advanced techniques like frequency separation and dodging & burning.
If you enjoyed this course, be sure to watch The Ultimate Guide to Product Photography! An in-depth look at how these images were captured by professional product photographer Ross Floyd.
THIS COURSE INCLUDES
- 31 Sample Images
- 2 Photoshop Actions
Share
Table of Contents
-
01 - Getting to Know Ross Floyd1:37m
-
02 - Working with a Retoucher4:44m
-
01 - Planning with Ross Floyd10:09m
-
02 - Compositing for Exposure9:53m
-
03 - Removing the Background24:05m
-
04 - Adjusting Highlights & Shadows23:49m
-
05 - Retouching & Blemish Removal9:30m
-
01 - Planning with Ross Floyd4:50m
-
02 - Compositing & Removing the Background12:54m
-
03 - Building a Background with Gradients30:20m
-
04 - Retouching11:37m
-
01 - Planning with Ross Floyd3:22m
-
02 - Compositing & Retouching35:29m
-
01 - Planning with Ross Floyd4:34m
-
02 - Compositing32:19m
-
03 - Extending Multiple Backgrounds17:43m
-
04 - Frequency Separation28:12m
-
05 - Retouching & Background Texture20:43m
-
01 - Planning with Ross Floyd2:40m
-
02 - Product Shaping & Retouching20:07m
-
03 - Frequency Separation & Dodge and Burn27:06m
-
01 - Planning with Ross Floyd4:25m
-
02 - Extending Multiple Backgrounds (Part 1)27:49m
-
03 - Extending Multiple Backgrounds (Part 2)19:58m
-
04 - Product Shaping & Retouching (Part 1)28:44m
-
05 - Product Shaping & Retouching (Part 2)16:23m
-
06 - Frequency Separation15:58m
-
07 - Adding Texture & Changing Background Colors24:55m
-
08 - Creating an Animated GIF8:54m
-
01 - Planning with Ross Floyd4:25m
-
02 - Product Shaping19:32m
-
03 - Removing the Background18:41m
-
04 - Retouching34:08m
-
05 - Changing the Background9:37m
-
01 - Planning with Ross Floyd2:50m
-
02 - Product Shaping21:09m
-
03 - Removing the Background28:02m
-
04 - Retouching19:38m
-
05 - Frequency Separation16:03m
-
06 - Adding New Backgrounds9:31m
-
01 - Planning with Ross Floyd2:47m
-
02 - Object & Blemish Removal15:44m
-
03 - Product Shaping & Creating Symmetry22:39m
-
04 - Retouching13:34m
-
05 - Frequency Separation & Dodge and Burn24:36m
Course Downloads
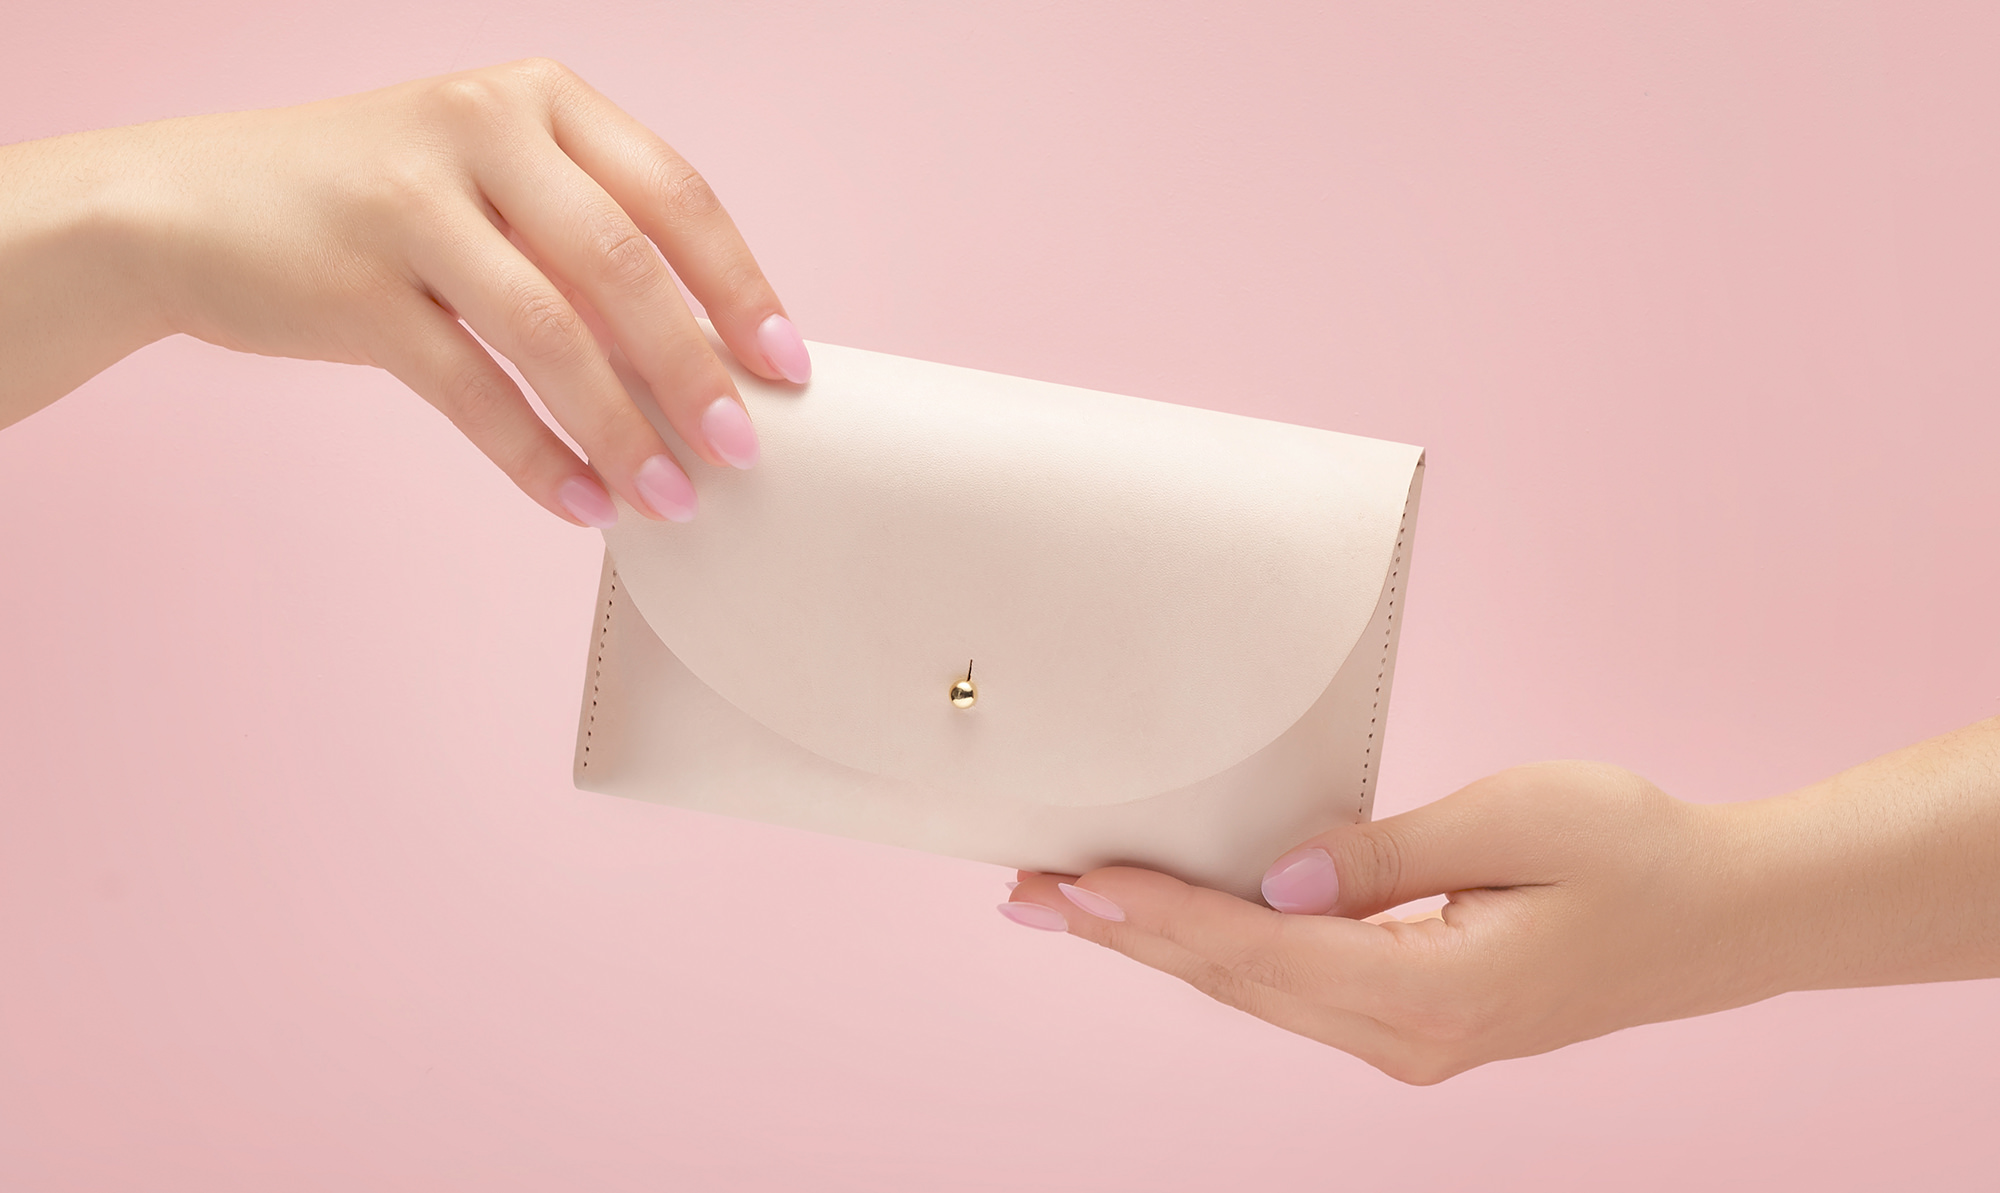
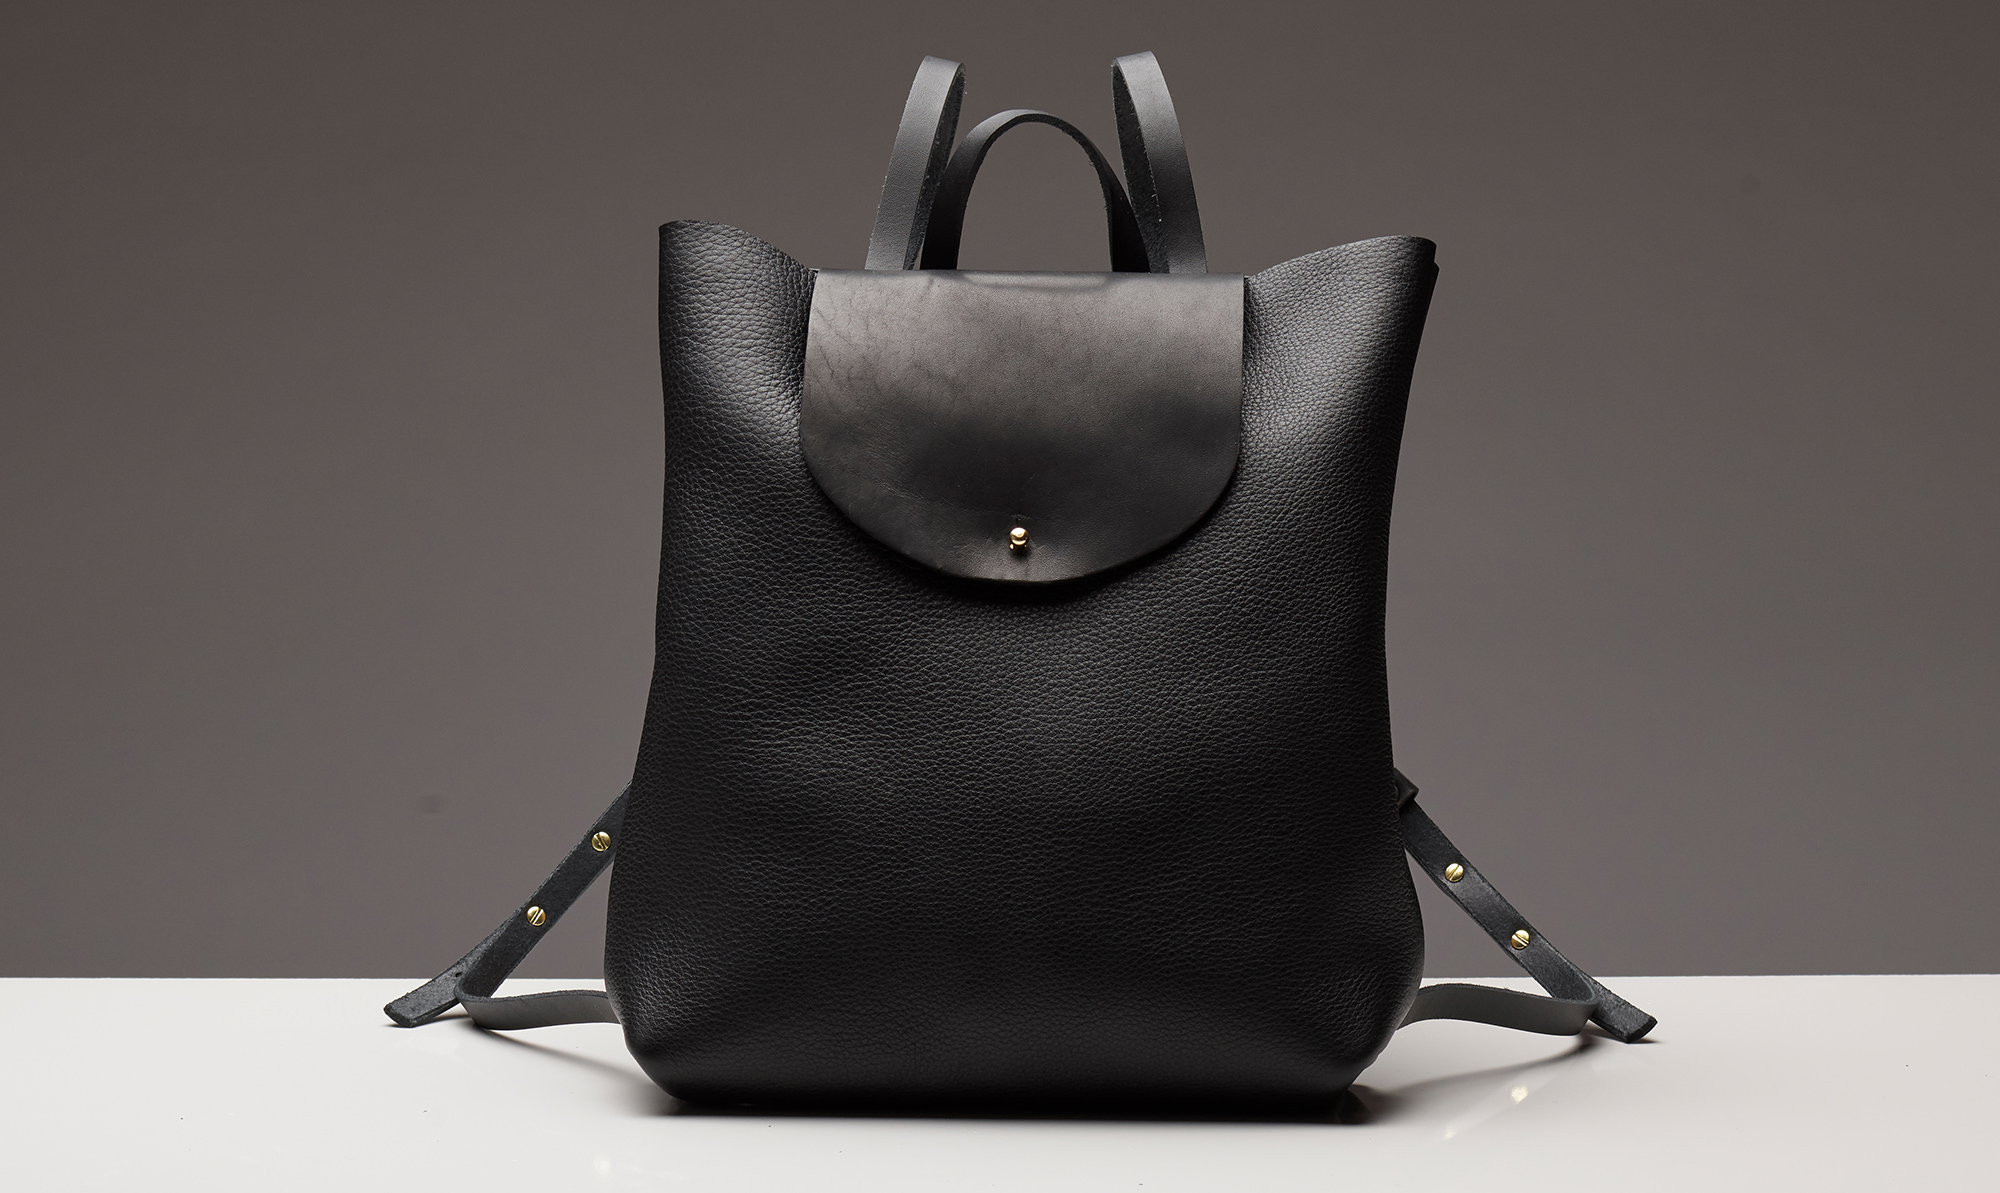
Make Products Look Amazing
ORIGINAL
LEARN TO COMPOSITE MULTIPLE PHOTOS TOGETHER.
How to Edit Product Photos
Product photography doesn’t end when you put the camera down. The post-production process is extremely important in making sure that your images highlight the most interesting and beautiful parts of a product. Learn important skills like changing backgrounds, compositing, and retouching that will have you ready to impress any client that comes your way.
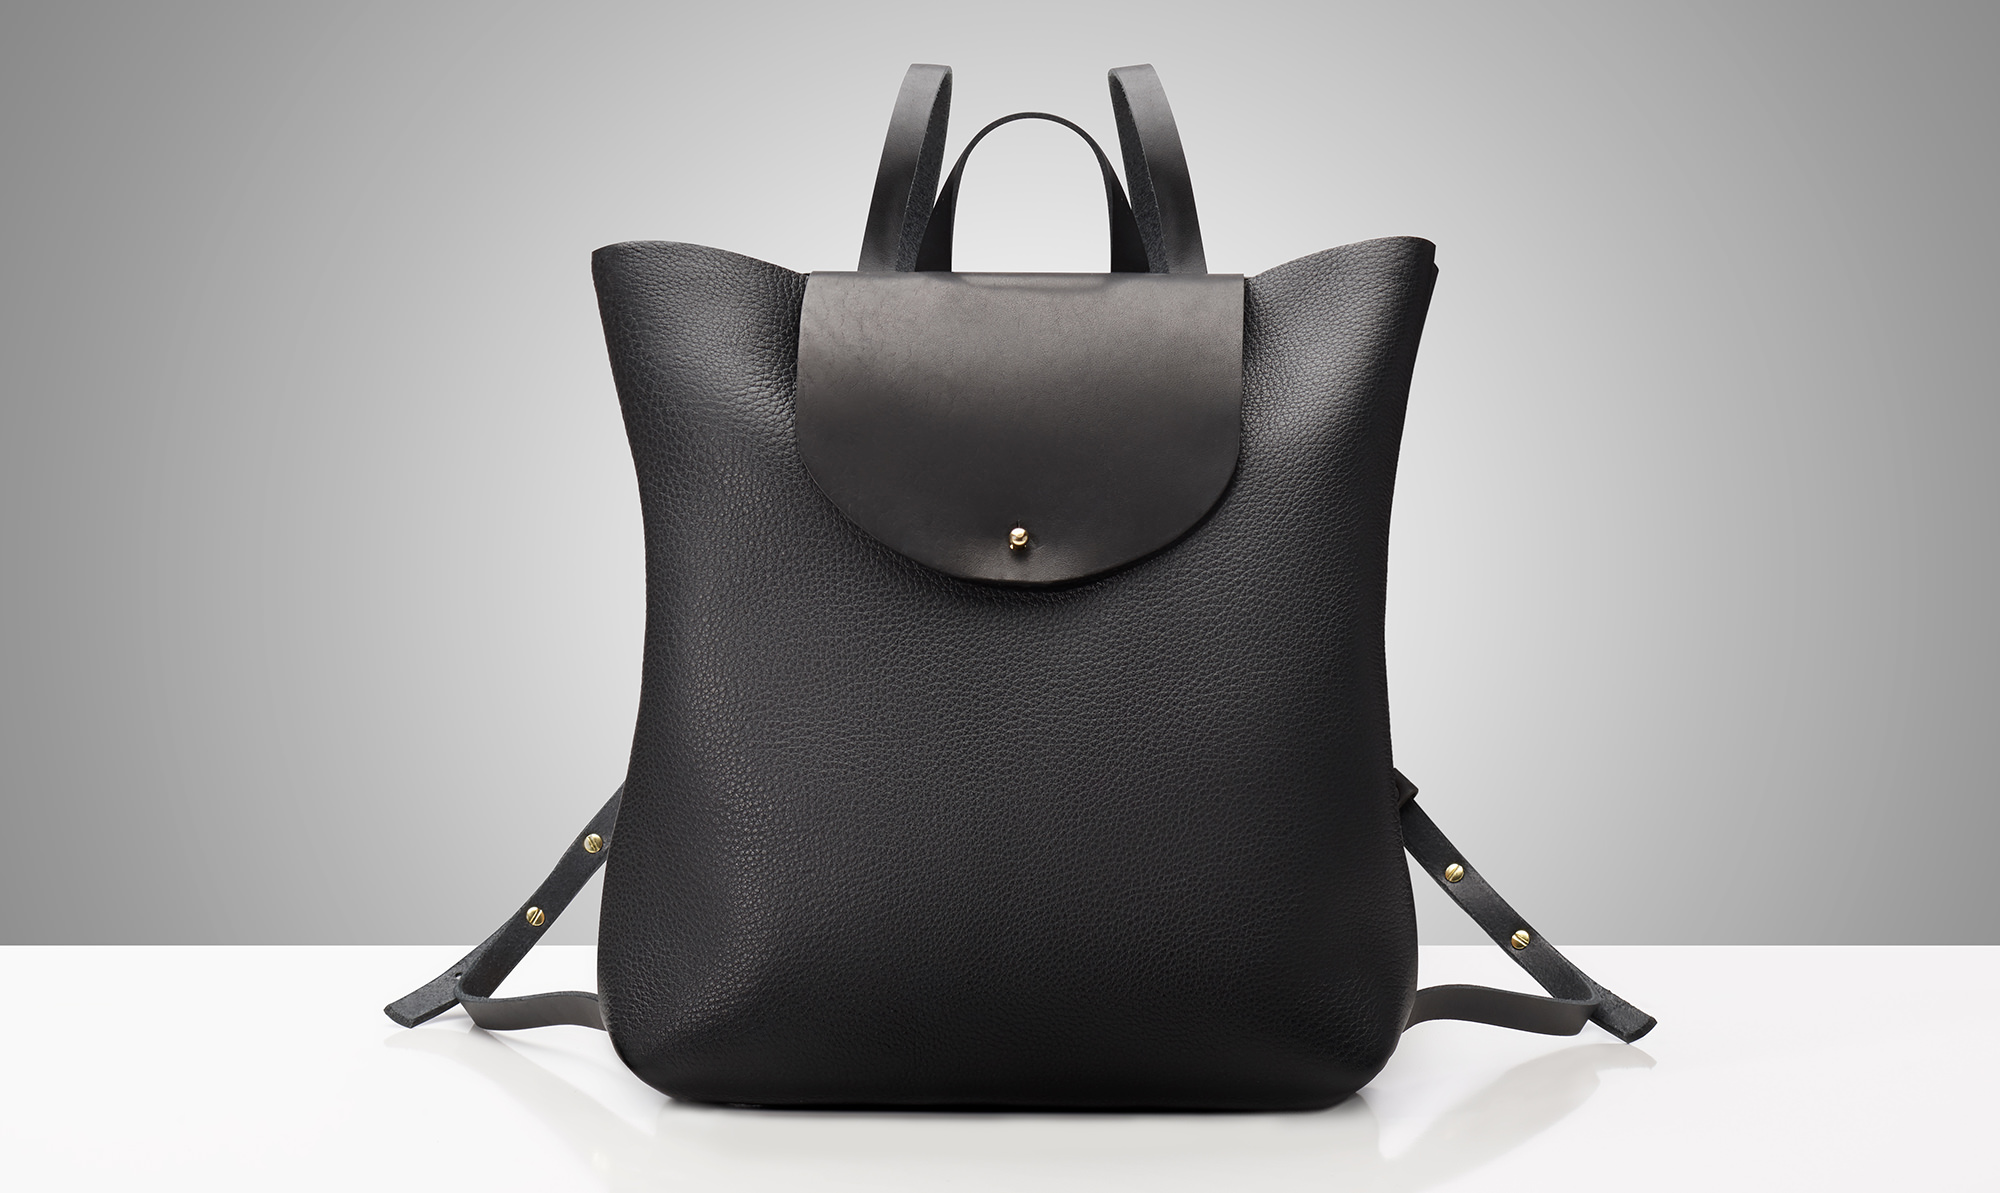
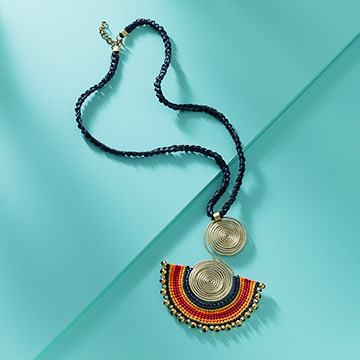
Bring Out the Details
Texture. Shape. Color. Features. Once you identify the things that make a product unique, it’s up to you to help tell that story using the tools in Photoshop. We show you how to get down to the details to make sure stitching, buttons, corners, and edges look picture perfect.
Professional Workflow
Product retouching needs to start with a professional workflow. Learn to work non-destructively and tackle steps in the best order to hit your deadlines on time, every time.

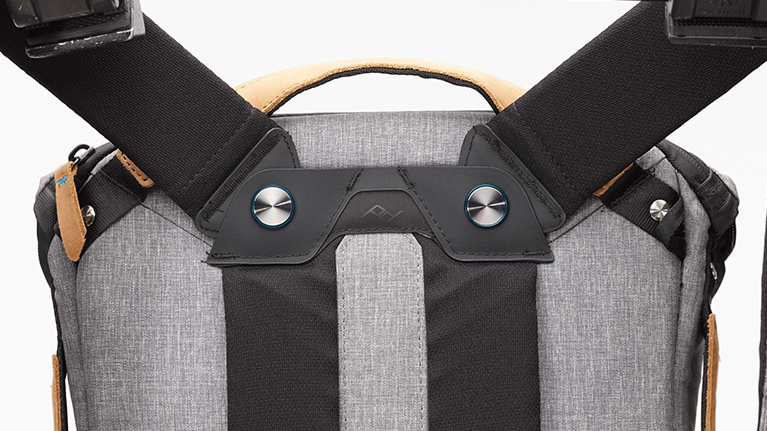
CLEAN BACKGROUNDS AND SHADOWS
ORIGINAL
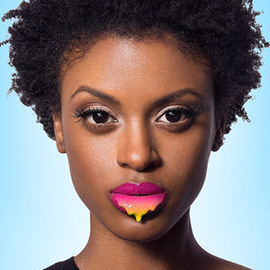
Retouching
Retouching is all about removing distractions while highlighting the natural beauty of a person or object. In this tutorial, you will learn how to remove blemishes like scratches or dust, straighten edges, enhance shape and form, and refine textures.
Compositing
Compositing is a powerful tool for the product photographer to ensure every part of a product is properly exposed in the final image. Learn how to combine multiple exposures so that every side, detail, and feature is clear and visible!
Prepare for Print, Web & Social Media
Product photos are everywhere. We teach you how to create images that will be versatile enough to fit perfectly into a web page, print ad, or social media campaign. You’ll also hear valuable advice on industry standards and preparing images to hand off to a graphic designer.


REFINE SHAPE AND DETAILS
ORIGINAL
Planning & Collaboration
In The Ultimate Guide to Product Photography you learned that a product photoshoot will often involve more than just a photographer. Clients, models, stylists, and assistants are all there to offer help and input. In post-production, a photographer will often lean on the expertise of a professional retoucher to bring it all together.
Working with a Retoucher
Ross Floyd has captured over 70,000 professional product photos. While he occasionally does his own retouching, he often relies on the expertise a professional product photo editor to bring his vision to life. Hear his direction and advice before Aaron brings the images into Photoshop.
Deliver to Clients
As a working photographer, a client’s needs are always paramount. In each of the 10 examples, Ross will help plan each edit, calling on his years of experience to predict what a client might want to see in each image. Learn to make a plan for your post-production process and make sure your clients get everything they need and more.
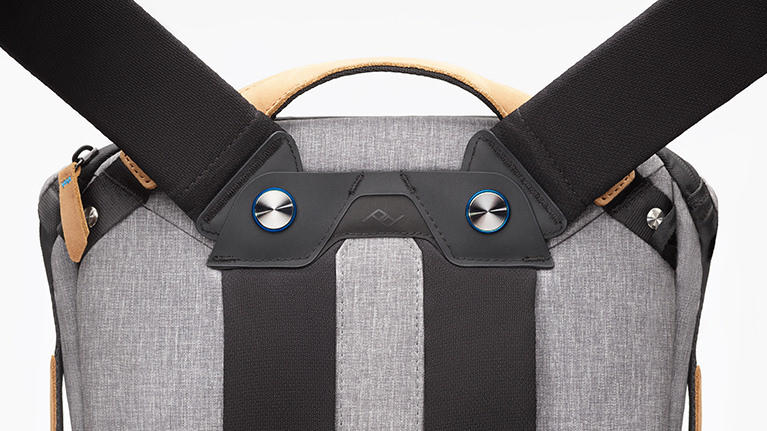
Frequency Separation for Products
LEARN TO RETOUCH SOFT GOODS LIKE FABRIC & LEATHER
ORIGINAL
Make Any Product Look Stunning
Our unique approach to frequency separation allows you to make huge improvements to your images without losing texture or detail.
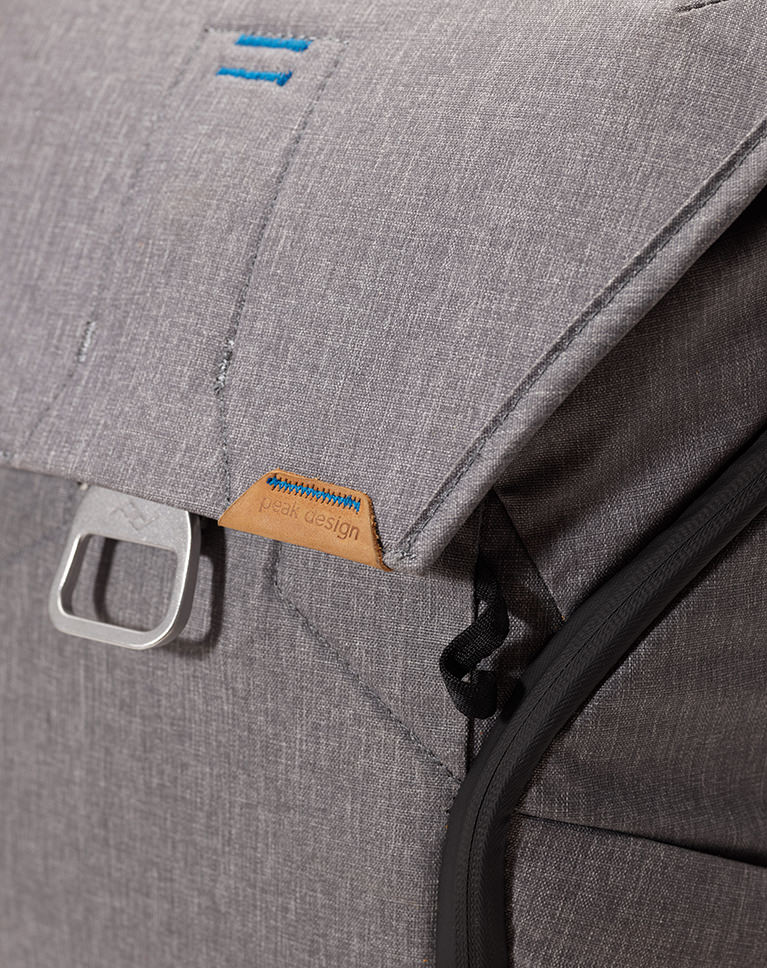
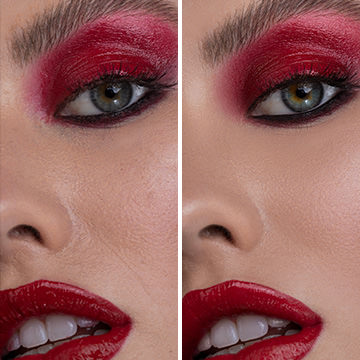
MAKE THE DETAILS COUNT
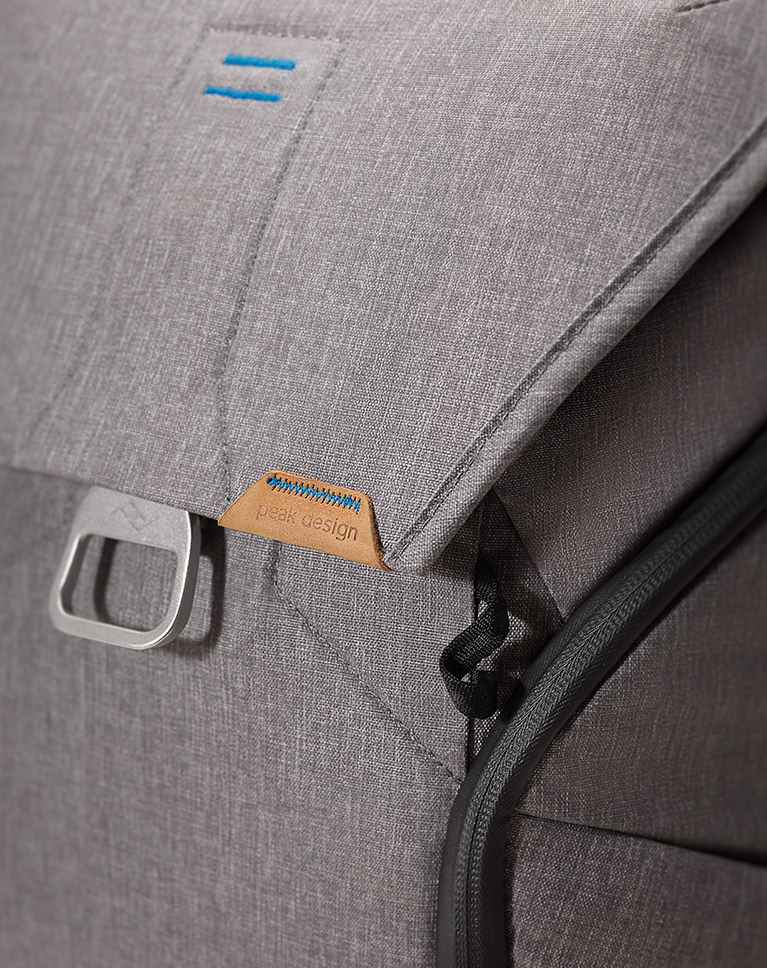
ORIGINAL
Tips & Techniques
Every edit is a puzzle and some will be more challenging than others. When the usual tool doesn’t work, what do you do? Watch Aaron as he shows you how to edit product photos while calling on a wide variety of tools and techniques to creatively solve problems.
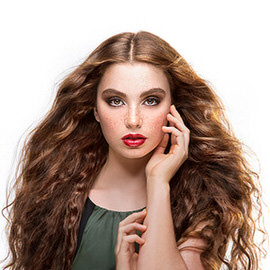
Professional Finish
The best product images are the result of a lot of little changes. Throughout this tutorial, you will learn to develop the eyes of a product retoucher that will help you see all of the small distractions that might take away from the story you’re trying to tell.
100 Megapixel Sample Images
Professional shoots will often have you working with professional gear. We include 31 sample images taken with a Phase One Medium Format camera. Follow along and work with ultra-high resolution images that provide the highest quality and flexibility while editing.
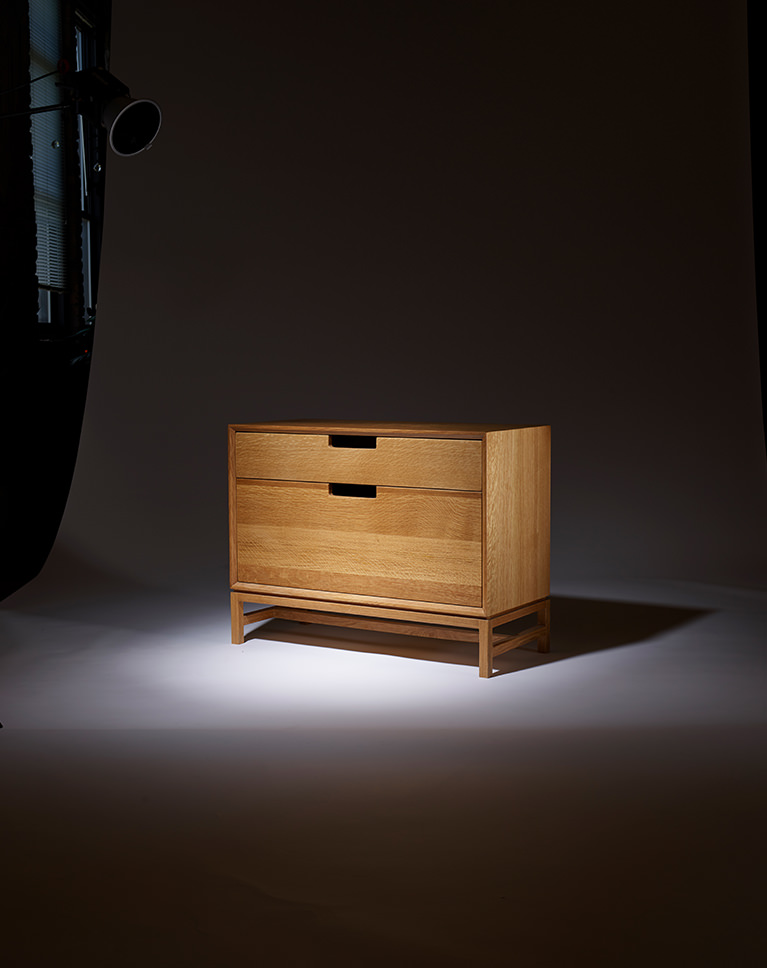
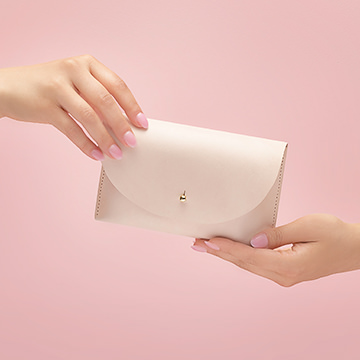
REFINE SHAPE & FORM
ORIGINAL


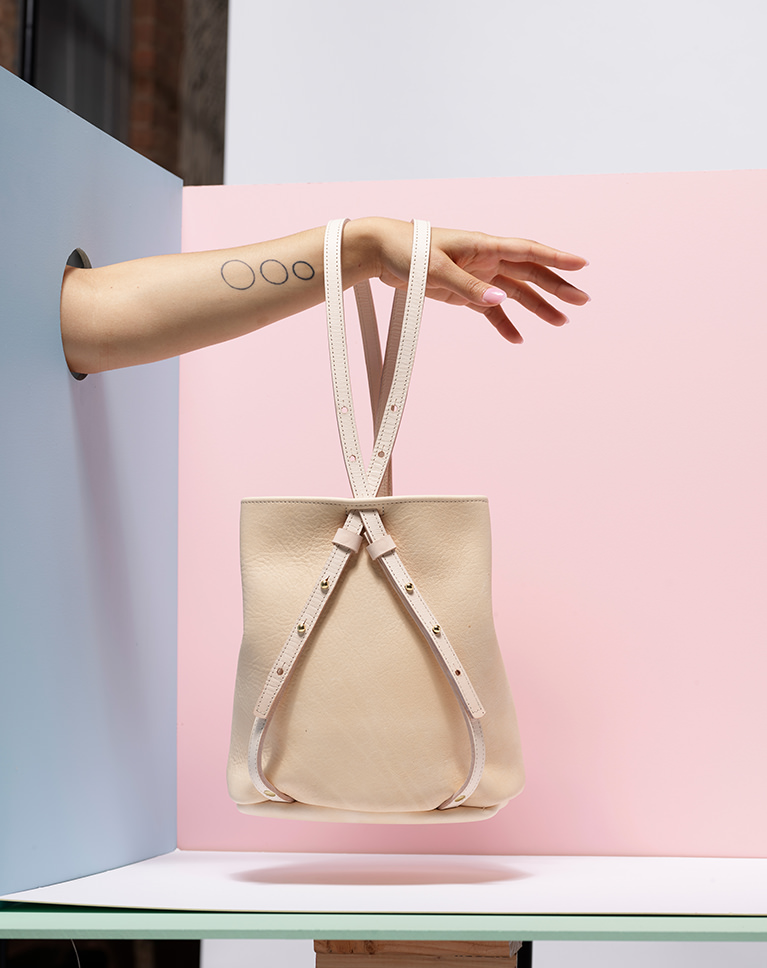
CLEAN AND EXTEND BACKGROUNDS
ORIGINAL
Perfect Composition
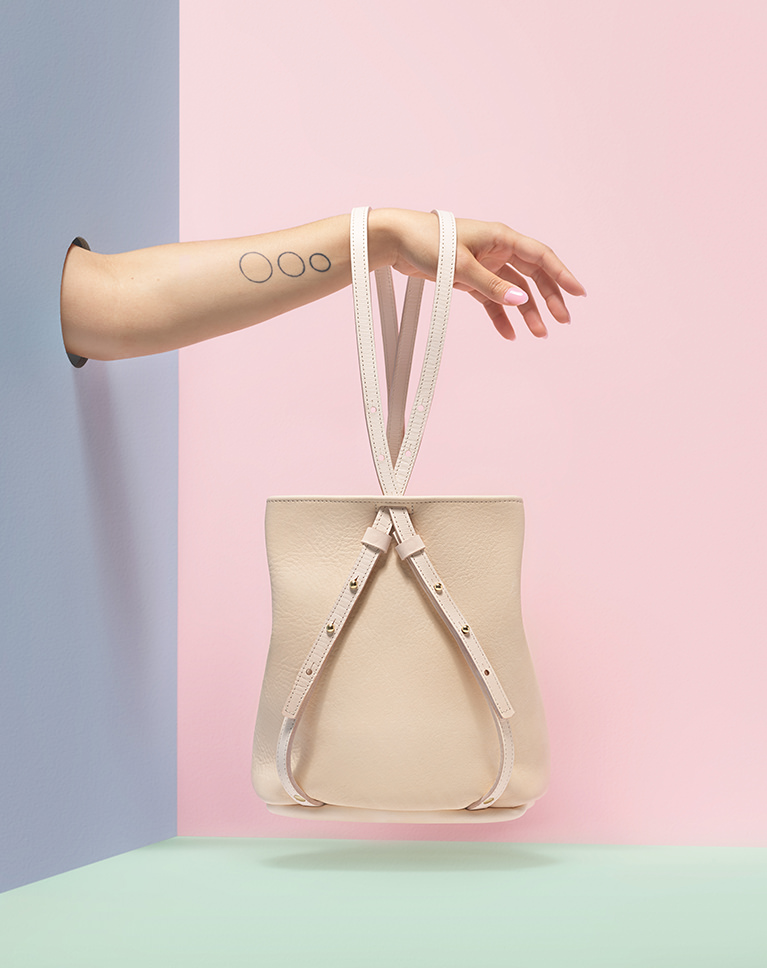
Whether you’re editing a single product or a group of products, where and how you place them in the frame will make a huge difference in the final image. Learn to extend backgrounds, crop photos, create symmetry and more!
Shape & Style
Straight lines. Smooth curves. Symmetry. All of these things are extremely important and can separate a good product photo from a great one. Learn to reduce and remove distracting elements while making a product look its very best.
Cut Out Backgrounds
When editing product photos, the background is just as important as the product itself. We show you how to prepare images that will fit seamlessly into a web design, a print ad, social media, and more. Learn to extend backgrounds and build brand new backgrounds from scratch!
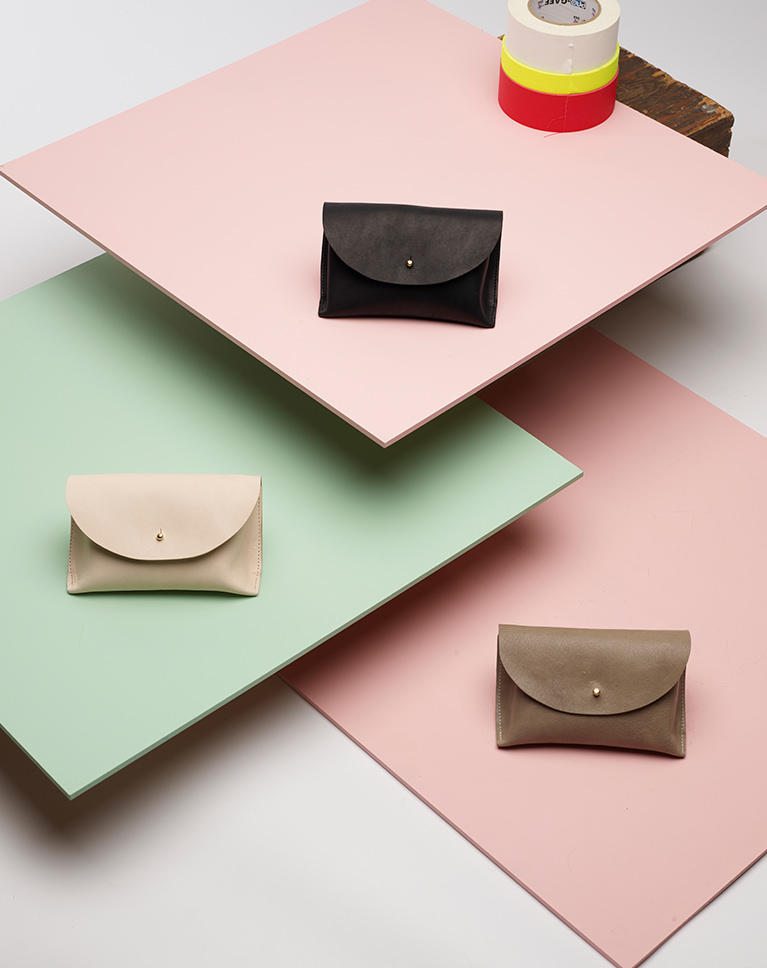

EXTEND SETS & BACKGROUNDS
ORIGINAL
Frequency Separation
Frequency separation is one of the most powerful techniques for the professional retoucher. Learn how to edit color and texture separately for maximum control and flexibility. Better yet, our custom Frequency Separation Action which will have you editing like a pro in no time!
Dodge & Burn
How do you place a three-dimensional object into a two-dimensional image while preserving its shape and form? Learn to sculpt highlights and shadows to help accurately express the size and volume of any object.
Photoshop Actions Included
Make complex tasks a breeze, speed up your workflow, and still get professional-level quality. Up your retouching game with a frequency separation action and give your images a professional finish with our sharpening action!


Ross Floyd
Professional Product Photographer
Ross Floyd is an award-winning product and interiors photographer and director based in Chicago, IL. He specializes in telling the story of the designed object and space. Ross uses bright and graphic imagery to elevate objects while emphasizing line, shape, form and material with light. He is hired by clients around the world for his ability to convey the experience of an object or space through brilliant images.
View Ross’s Portfolio

Aaron Nace
PHLEARN Founder
Aaron Nace is the #1 Photoshop instructor in the world reaching millions of students in 146 countries. Known for his unique vision and conceptual style, he prides himself most on making creative education affordable and accessible for anyone that wants to learn.
Reviews
New & Popular Tutorials
Training Site in
the World
Tutorials!
Ratings
and Counting
Subscribers
I keep on coming back to this tut (for 2 years or so), it’s so rich. Thank you!
Just wow! So complete any full of tips and tricks!
Amazing tutorial! very useful, I absolutely learnt a lot from this tutorial! You sould enable the picture in picture mode in the phlearn videos, especially in these kinds of videos with photoshop retouching, it would be very helpful for the viewers, in order to use photoshop at the same time.
Awesome, Very nice and helpful tutorial. Thanks.
Honesty this tutorial brings me many steps forward! Really appreciated!
dude you and your beard, I thought 5 different guys all named Aaron working together to make Phlearn tuts.
pure gold mate. pure gold.
Having been a graphic designer for 9 years and then transitioning into product photography, this tutorial has completely restructured the way I use Photoshop. So amazing to learn so many new techniques and tricks after all this time!
Excellent course! I love it.
PHLEARN is on another level ! so much detail but taught in a way that allows you to understand the information !
I absolutely loved the interaction between Aaron and the photographer. Excellent tips and I the frequency separation alone is worth my whole subscription.
I absolutely love this course! I switched from Photoshop to Affinity Photo a couple of years ago but what Aaron teaches is not only applicable to a certain software, it’s the skills that you gain. If I need to learn new tricks on retouching PHlearn is my first browser bookmark to click.
A must have technical tutorial! I PHLEARNED a lot 🙂
that great. i would ask how to take shadow from suface is glass
Amazing, the attention to detail is mind blowing.
Loved it! This is the first PHLEARN tutorial I’ve watched on the subject of retouching. The frequency separation photoshop action alone was worth the price of admission! I definitely recommend it.
Aaron is such a nice teacher and this is amazing tutorial, thank you so much. And thank you for the possibility to download assets, very useful!
This tutorial is seriously packed with a wealth of information on using Photoshop to an advanced level. Aaron does a fantastic job clearly communicating the techniques he is using which makes the tutorial well paced for familiar Photoshop users. It’s very insightful to see Aaron and Ross discuss ideas for adjustments to each image and then see how Aaron interprets the changes in Photoshop. A fantastic tutorial series that comes highly recommended.
The best tutorial by Phlearn! Absolutely amazing and actually the most useful tutorial I have ever completed, and I’ve completed many of them. There isn’t many tutorials or resources for aspiring product retouchers out there which is a huge shame, I was so ready to purchase this tutorial when it was released. It would be so awesome if you made some more product based tutorials which maybe focus on different type of images such as cosmetics, cars, jewelry etc., if you make more product tutorials, I will buy them all!! Thank so much for this amazing tutorial!
I’ve watched a lot of tutorials about Frequency Separation on Phlearn and all over the web. To be honest, the best explanation of this technique is on this tutorial, on section 3 of the chapter 11 (the PD grey backpack): Aaron shows how to handle the texture, the light, the color clearly and very quickly. And the tip on section 4 of the chapter 11 about sharpening is definitely amazing. Now I get the technique and Aaron is a great teacher, thanks a lot!
Sensational! So much care and attention to detail for every aspect of this precise craft; explained in such a way that anyone from any experience level can benefit. Pure pleasure. I’ve been using PS for many years and I found this tutorial very helpful! In fact, in typical PHLEARN fashion, it’s easy to understand, and effective to apply. Thank you, wish you a fantastic 2019! ~ Alldaron
Another brilliant PRO Tutorial from Phlearn and a great follow-up to the previous product photography tutorial with Phlearn and Ross Floyd. The different products with their different and unique material characteristics and different retouching requirements made for a varied, extensive and comprehensive tutorial, demonstrating a wide range of retouching techniques. The only thing I was somewhat hoping for was a wrap-up with Ross Floyd, going over the final images against the initial retouching notes. That would’ve neatly brought together the interplay and interaction between all the parties involved: the product owner (the client of the product photographer), product photographer, and the retoucher (subcontractor for the photographer). But that’s a just a bonus wish. The tutorial was excellent and I highly recommend it.
Absolutely blown away with the demonstration of techniques to achieve utterly beautiful images. The dialog with Ross Floyd gives a wonderful view into the collaboration to create a product image. “Building a Background with Gradients” in chapter 3 is a master class in itself. Grateful appreciation to Aaron and the PhLearn team for this amazing tutorial.