Visual Effects
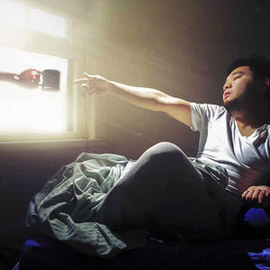
Follow along and learn how to take the texture from any background and blend it directly onto a subject. Discover techniques for blending, colorizing, advanced cloning, creating highlights and shadows, making selections and more.
Photoshop | Visual Effects | Medium | 1.5 hours | 7 videos
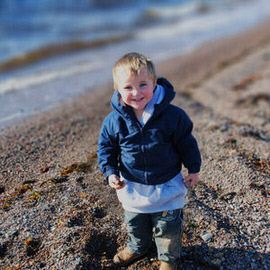
1 Sample Image

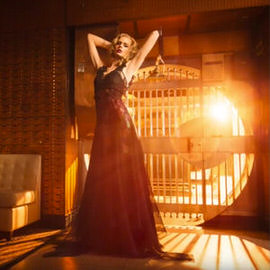
Transform your next portrait image into a special effects scene worthy of a superhero. In this tutorial, you’ll learn to add realistic fire to your photos. Watch as we retouch a background, add fire, create custom brushes and much more.
Photoshop | Visual Effects | Easy | 1 hours | 4 videos
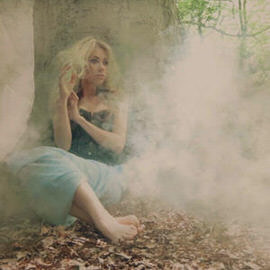
7 Sample Images | 3 Photoshop Brushes
Shooting later in the day gives you the opportunity to add a warm “sunset Style” to your image in Photoshop. In today’s episode we show you how to Color your image to give it that warm “sunset” feel.
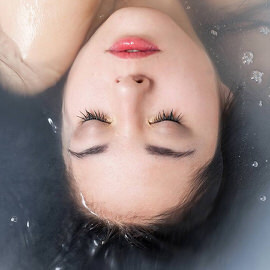
In today’s episode we show you how to add fish to an image of a girl in a bathtub. The Compositing process is simple as long as you keep in mind how Color, Light and Depth work.

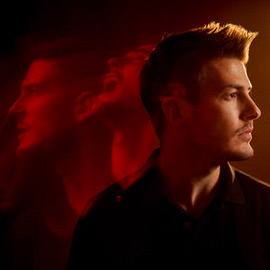
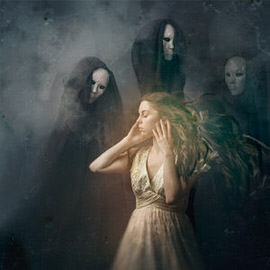
A double Exposure is traditionally done using a film camera by taking two different photos on the same Exposure of film. The images will combine in unique ways, giving you the “double exposure” effect.
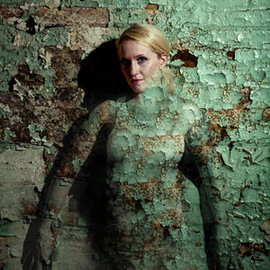
In this episode we are creating a cracked skin effect in Photoshop, making it look more three-dimensional and adding blur. Be sure to check out Part 1 where you will learn how to wrap the Texture around a subject’s Face.

Our goal is to take a flat image and make it look like it wraps around the subject’s Face and blend the images together to make the effect realistic. This part one of two episodes teaching how to make cracked Skin in Photoshop.
In today’s episode we learn how to create Light rays and dust particles using a custom Brush in Photoshop. The key to creating “dust” is to make particles that seem completely random.
Sample Images Included
This tutorial is perfect for those images that have a strong backlight, such as when you are shooting into the sun. We show you how to enhance a lens flare and create lighting effects that will make your image more interesting.
In today’s episode we show you how to add layer FX to duplicates of a layer. The reason we use duplicates is to stack multiple effects.
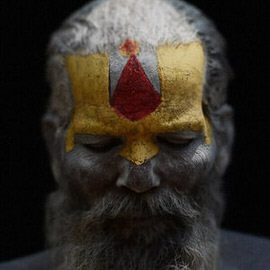
Adding some Texture back to the Skin of a model can help bring Depth and life back to their Face. Perfection often looks fake, and character and Texture adds personality to images.

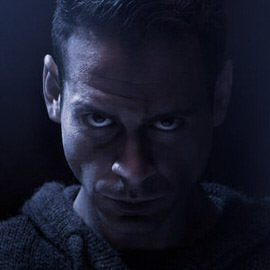
We pick up where we left off in Creating a Movie Poster: Riddick – Part 1. Having taken care of most of the Coloring and Shadow work in part one, now it is time to create the eyes that make this image stand out.
In this episode we show you how to go from an image straight out of camera, into the dark image you see as the final. We cover how to Color your images to strip everything down to one Hue. Then you will learn how to cover your subject in Shadow.
In this episode we show you how to create a custom Brush that creates dust anywhere you want it. All you have to do it paint over the area you would like the dust and erase the rest!
Sample Images Included
In this episode we cover everything you know to create custom brushes from scratch as well as use them to enhance your images!

We noticed that this image by phamily member Quintino has a cool Light trail that resembles a heart monitor’s pulse. It made us think, how could we add more of these to the image?
Here is some great Insight on creating beams of light in Photoshop. Check it out.
Learn how to create a shallow depth of field effect in Photoshop.
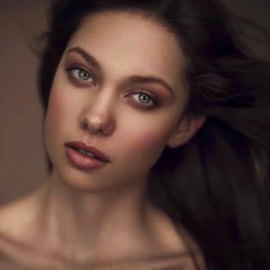
Today we’re editing an amazing self portrait by Amelia Fletcher.
For adding Light rays to your image, make sure you first have an image that will properly support light coming through. You want to have an image that is either lit from the back or from the side.
Today’s episode will cover everything you need to know about shooting for a cinemagraph, and tomorrow we’ll cover how to bring it all together in Photoshop!

Giving objects a Reflection in post becomes a bit more of a difficult task when the bottom of the still life (in this case, a Coca-Cola can) is curved.
In today’s episode we’re going to be editing an image taken by Angela of the Phlearn team.
Today we’re doing another start to finish edit! This image was submitted by Stevie Keen.
Sample Images Included