

description
Part 1 of the Quick Start Guide to Photoshop covers everything worth setting up before the first edit. Assign and customize keyboard shortcuts, tune the General, Interface, File Handling, and Performance preferences, raise the number of undo history states, and choose a working color space in Color Settings so images convert correctly on the way in and on the way out through Save for Web. It closes with the fundamentals of layers, blend modes, adjustment layers, and layer masks.
Enjoying This Free Tutorial?
We publish a new free tutorial every week, each one with sample images and PSDs you can download and follow along with. Sign up and they land straight in your inbox, along with early word on sales, events and subscriber-only offers.
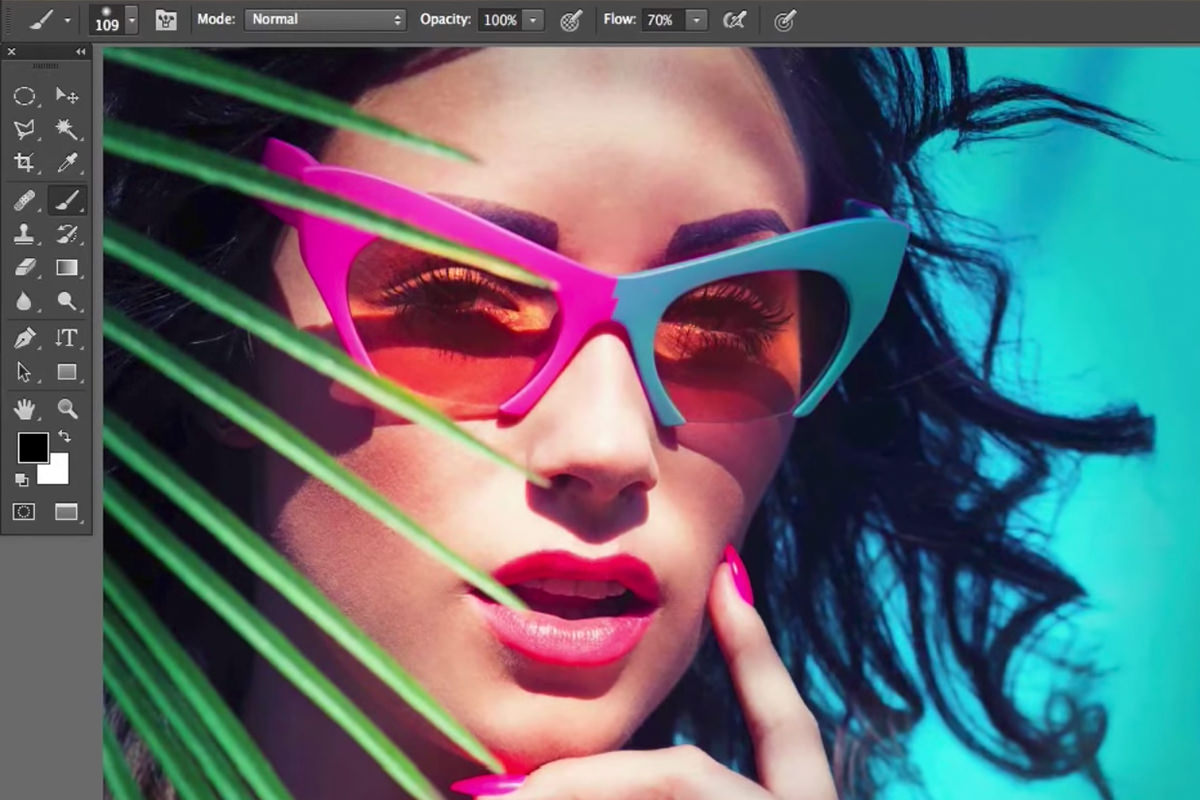
The Quick Start Guide to Photoshop (Part 1)
Opening Photoshop for the first time can feel overwhelming, so this three-part guide breaks it down starting with everything worth setting up before any actual editing begins. This first part covers keyboard shortcuts, preferences, color settings, the toolbar, and the fundamentals of layers, layer masks, and blend modes, all the groundwork that makes the more hands-on editing in parts two and three make sense.
Getting Comfortable With Keyboard Shortcuts
Nearly every command in Photoshop has a keyboard shortcut next to it in the menu, and leaning on those shortcuts instead of clicking through menus is what makes working quickly in Photoshop possible.
-
Open an Image With a Shortcut
Press Cmd/Ctrl+O to open an image instead of navigating through File > Open.
-
Open the Keyboard Shortcuts Editor
Go to Edit > Keyboard Shortcuts to see and change any shortcut in the program.
-
Create a Custom Shortcut
Find a command that doesn’t have a shortcut yet, such as Filter > Blur > Gaussian Blur, click into the shortcut field, and press a new key combination like Shift+Option/Alt+Cmd/Ctrl+G to assign it.
Setting Up General and Interface Preferences
A handful of preference changes, mostly around interface behavior, make Photoshop feel less cluttered and more predictable to work in.
-
Open Preferences
Go to Photoshop > Preferences > General.
-
Turn Off Animated Zoom and Flick Panning
Uncheck options like Animated Zoom and Flick Panning, since these can use extra computer resources without adding much benefit.
-
Remove the Canvas Border
In Interface preferences, set the border to none for Standard Screen Mode, Full Screen with Menus, and Full Screen so no border appears around the canvas.
-
Turn Off Open Documents as Tabs
Uncheck Open Documents as Tabs if separate floating windows are preferred over a tabbed interface.
Increasing Undo History States and Background Saving
Two settings tucked into File Handling and Performance preferences control how many times an action can be undone and how safely work gets saved automatically.
-
Turn On Save in Background
In File Handling preferences, turn on Save in Background so Photoshop saves automatically without interrupting work, and adjust the auto-save interval as needed.
-
Increase History States
In Performance preferences, raise the History States value, such as to 500, to allow far more undos than the default of 25.
Why Increasing History States Can Slow Down Your Computer
Every history state Photoshop keeps track of takes up memory on the computer, since each one is essentially a stored snapshot of a previous edit. Raising the limit from the default 25 up to something like 500 gives a lot more room to undo mistakes, but on a slower computer that extra memory use can start to noticeably affect performance.
Choosing a Color Space in Color Settings
Photoshop’s Color Settings dialog decides which color space is used while editing, and that choice affects how much color information is available to work with.
-
Open Color Settings
Go to Edit > Color Settings.
-
Set RGB to ProPhoto RGB
Change the RGB working space from the default sRGB to ProPhoto RGB, which contains a much larger range of color information to edit with.
-
Turn On Ask When Opening for Profile Mismatches
Check Ask When Opening under Profile Mismatches so Photoshop always asks how to handle an image with a different embedded color profile, rather than making that decision silently.
Converting Between Color Spaces When Opening and Saving for Web
Editing in a large color space like ProPhoto RGB means converting back to the smaller sRGB space that web browsers expect, and Photoshop handles both directions automatically once preferences are set correctly.
-
Convert an Image’s Color Profile When Opening
When opening an image with a mismatched embedded profile, such as sRGB from an internet download, choose Convert Document’s Colors to bring it into the current ProPhoto RGB working space.
-
Use Save for Web to Convert Back to sRGB
Go to File > Save for Web, which automatically converts the image back to sRGB and allows setting a specific output width before saving as a JPEG, PNG, or GIF.
Why Edit in ProPhoto RGB but Save for Web in sRGB
sRGB is a much smaller color space that contains less color information, which is fine for a browser to display but limiting for heavy editing since pushing and pulling pixels in a small space shows quality loss faster. Editing in the larger ProPhoto RGB space keeps more information available to work with throughout the edit, while Save for Web automatically converts back to sRGB at the very end since that’s the space the internet reads natively; the differences between how Photoshop and Lightroom handle color and editing more broadly are worth understanding as this workflow gets more advanced.
Navigating the Toolbar and Tool Options
Every tool on the left side of the screen comes with its own set of options along the top of the window, and those options change completely depending on which tool is selected.
-
Toggle the Toolbar Visibility
Go to Window > Tools to show or hide the toolbar.
-
Select a Tool and Check Its Options
Click a tool, such as the Magic Wand, and look at the options bar at the top for settings like sampling size and Tolerance.
-
Adjust Tolerance to Change a Selection
Raise the Tolerance value on the Magic Wand tool to select a wider range of similar colors with a single click.
-
Use Keyboard Shortcuts to Zoom
Hold Cmd/Ctrl and press plus or minus to zoom in or out, or hold Spacebar and Cmd/Ctrl while clicking and dragging to zoom at a specific point.
Working With Layers Instead of the Background Layer
Painting directly on the background layer permanently alters the original image, while working on a new layer keeps every addition independent and fully editable.
-
Create a New Layer
Click the New Layer button in the Layers panel before painting or adding anything new.
-
Paint or Add Content on the New Layer
Use the Brush tool to paint on the new layer instead of directly on the background.
-
Transform or Erase Independently
Use the Eraser tool, the Move tool, or Cmd/Ctrl+T to erase, move, or transform the content on that layer without affecting the image underneath.
Why Layers Keep Edits From Damaging the Original Image
Erasing or editing something painted directly onto the background layer also erases and edits the original photo underneath it, since there’s no separation between the two. Placing new additions and edits on their own layers means the original background stays completely untouched, so a layer can be deleted, hidden, or adjusted at any time without any permanent damage to the source image.
Exploring Blend Modes on a Layer
The blend mode dropdown at the top of the Layers panel changes how a layer’s pixels interact with everything beneath it, opening up a huge range of effects from the same painted content.
-
Change a Layer’s Blend Mode
Change the blend mode dropdown from Normal to options like Overlay, Multiply, or Soft Light to see how each changes the way the layer interacts with the image below.
-
Adjust Opacity
Lower the layer’s opacity to blend a strong effect in more subtly.
Understanding Adjustment Layers and Layer Masks
Adjustment layers apply changes like brightness or hue globally, while a layer mask controls exactly where on that layer the adjustment is actually visible.
-
Add an Adjustment Layer
Add an adjustment layer such as Hue/Saturation from the Adjustments panel or the New Adjustment Layer menu.
-
Invert the Layer Mask to Hide the Effect
Press Cmd/Ctrl+I on the layer mask to turn it black, hiding the adjustment everywhere.
-
Paint White to Reveal the Adjustment
Select the layer mask, choose the Brush tool set to white, and paint over any area where the adjustment should become visible.
Why This Approach Works
Setting up keyboard shortcuts, preferences, and color settings before diving into actual editing is what keeps Photoshop from feeling unpredictable once real work begins, since the program behaves consistently from the first edit onward. Choosing ProPhoto RGB for editing and letting Save for Web handle the conversion to sRGB is what balances having enough color information to work with against getting a file the internet can actually read correctly. Understanding layers, blend modes, and layer masks together is what unlocks nearly everything else Photoshop can do, since almost every more advanced technique builds on that same foundation of working non-destructively on separate layers.
Final Thoughts
None of this is flashy on its own, but getting comfortable with the shortcuts, preferences, and basic layer workflow covered in Part 1 is what makes everything covered in the rest of this series click faster. From here, Part 2 moves into some of Photoshop’s most commonly used tools and editing techniques, and Part 3 wraps up the series with saving, exporting, and naming files once an edit is finished.
Quick Reference: Keys, Menus and Settings
- Open an imageCmd/Ctrl + O
- Custom shortcutsEdit > Keyboard Shortcuts; Gaussian Blur set to Shift + Alt/Option + Cmd/Ctrl + G
- PreferencesPhotoshop > Preferences (Edit > Preferences on Windows): Save in Background on; History States 500
- Color settingsEdit > Color Settings: RGB ProPhoto RGB; Ask When Opening for mismatches
- Back to sRGBFile > Save for Web
- ZoomCmd/Ctrl + + or -; Space + Cmd/Ctrl drag
- Layers and masksCmd/Ctrl + T to transform; Cmd/Ctrl + I inverts a mask
Photoshop Setup for Beginners: Common Questions
Why learn keyboard shortcuts in Photoshop?
They are the fastest way to work. Nearly every menu command shows its shortcut beside it, like Cmd/Ctrl + O for File > Open.
How do I make my own keyboard shortcut?
Go to Edit > Keyboard Shortcuts, find the command (Aaron uses Filter > Blur > Gaussian Blur), click its shortcut field, press the keys and click Accept. His is Shift + Alt/Option + Cmd/Ctrl + G.
Which preferences should a beginner change?
Aaron turns off Animated Zoom and Flick Panning in General, sets the canvas Border to None in Interface, and unchecks Open Documents as Tabs. Most other preferences he leaves as they are.
Does Photoshop save my work automatically?
With Save in Background turned on in File Handling preferences, it saves in the background at the interval you set, such as every 10 minutes. That helps if Photoshop crashes.
How do I get more undos in Photoshop?
Raise History States in Performance preferences, for example from 25 to 500. More states use more memory, so a slower computer may feel it.
Which color space should I edit in?
Aaron sets RGB to ProPhoto RGB in Edit > Color Settings because it holds the most color information, and turns on Ask When Opening for profile mismatches.
How do I get a ProPhoto RGB image ready for the web?
Use File > Save for Web. It converts the image to sRGB as it saves, and you can set the width and save as JPEG, PNG or GIF.
Why should I work on a new layer?
Anything painted on the background layer is stuck in the photo, and erasing it erases the photo too. On its own layer it can be moved, transformed, erased or deleted without touching the image.
What does a layer mask do?
It controls where a layer shows. White shows it, black hides it; press Cmd/Ctrl + I to turn the mask black, then paint white where you want the adjustment.
Master Photoshop, Lightroom and Photography
Join PHLEARN PRO for $12.99 a month, or $99.99 a year (save 36%). Cancel anytime, with a 100% money-back guarantee.





