Photoshop vs. Lightroom: The Differences That Really Matter
Adobe Photoshop (PS) has been around for almost three decades now and is considered one of the premier post-processing programs available in digital photography. Recently, many photographers have been singing the praises of Lightroom (LR), another Adobe post-processing program.
There are differences between the two Adobe programs, obviously. But, which differences really matter? A lot has already been said by many photographers about PS vs LR. So, let’s examine what things in each program will appeal and apply to your type of photography.
Why Use Photoshop or Lightroom in the First Place?
Straight out of the camera (SOOC) images can often use at least a tweak. When taking photos, a person will tend to differentiate in their minds what images are snapshots as opposed to fine photography. Regardless of how careful a photographer is in setting up exposure and composition, there is often at least one little thing that could be changed.
In other words, there is nothing inherently superior in presenting SOOC images as opposed to an image with improvements or corrections. In addition, many images displayed as fine art or sold to clients have had some custom work done to them before delivering files or printing.
Any SOOC image is most likely going to be in the JPEG file format. Images shot in RAW will require some sort of processing to be shared, seen, sold, or printed. There are advantages to shooting in the camera’s RAW image format. Many articles are available to see what those advantages are.
Adobe is a leader in post-processing programs. Adobe’s programs are so entrenched into the photographic world that photoshop has become a verb to some people. Their programs really are good. Full of features designed to allow photographers and other artists to manipulate their images to bring out the full potential of their artwork.
The Main Differences
File management is one of the major differences between the two programs. While both programs can be used to edit images, Lightroom is a workflow solution, too. It offers easy solutions to manage your process, from loading your camera image files onto your computer, to cataloging RAW and finished files, to exporting options and even printing.
Batch processing is another thing that Lightroom does differently than Photoshop. Some photographers can shorten their work time by hours using Lightroom’s batch processing tools. Lightroom also has an advanced batch editing feature called Sync that offers an alternative method of batch processing.
Advanced functions are where Photoshop excels. With LR having such awesome file management and batch processing tools, some may wonder why they would need Photoshop at all. Well, those advanced editing tools are the main reason PS exists in the first place. Sometimes, a photographer simply needs what Photoshop does.
Where Lightroom Excels
File management
Photoshop and Lightroom are both able to handle many different image formats, including the RAW files of most digital cameras. If your version of PS or LR doesn’t support your camera RAW, then your camera is probably brand new. Just wait a while, Adobe quickly updates file support, especially for the CC versions. Some older versions of the programs will not be able to be upgraded for the newest cameras. If you are using your 2004 version of PS, it probably won’t read RAW files from your Nikon Z7 or Canon R.
Lightroom differs significantly from PS in that LR edits are accomplished through non-destructive editing. What that means is that the original file is never actually changed in LR. When adjusting your image, the edits are stored in a catalog. That catalog is a set of program commands that get applied to the image file when you export it as whatever file type output you are using. This catalog holds the editing instruction for all of your LR images. Thus, the hard drive space needed for storage is relatively small.
You can go back to your original image file again and again and it will be just as it was when you loaded it to your computer. You can also continue adjusting from where you left off. That may sound like it would take up a lot of computer space, but it doesn’t really. You’re not duplicating an image, multiplying it over and over with each new edit. You’re creating a new catalog of program commands. Of course, you also have the option of saving it as a specific file type.
With Photoshop, you are changing the image file. The original RAW file will be changed, unless you first save that image as a PSD or TIFF. Then, you work on the TIFF or PSD (Photoshop document), saving your changes to it. Finally, you save your finished work in a file format that can be used. Some printers can print from a TIFF, but a JPEG is probably the most commonly used file format.
So, in PS, you will have at least three large image files in order to have a non-destructive image editing workflow. For every single image. So, you could quickly use up a whole lot of disk storage space. Since LR has some of the most used edits available, it becomes a very good option for photographers with large volumes of images.
Batch editing
Photographers can edit several image files at once in either PS or LR. This is batch editing or batch processing. There are actions that can be purchased, or sometimes downloaded for free, that have presets to use to speed up this process.
Lightroom handles batch editing easier and better, in my opinion. Since the adjustments are saved in the LR catalog, you save a lot of disk space, and a whole bunch of processing time, when batch editing in LR as opposed to the same edits in PS.
Besides the regular batch editing options, there is a LR feature called Sync Settings that lets you batch edit in a slightly different way. The way this works is you select an image file to edit that is representative of the entire group of files you want edited.
Complete the adjustments for that image, then select which of those edits you want applied across the board of several different images. It can be several hundred, if you want, or perhaps you have your images separated into smaller groups by some sort of criteria. For a portrait studio, a real estate photographer, or a wedding photographer, the time savings for this method can be huge.
Importing files
We will include organizing and exporting files in this section as well. One of the major functions of Lightroom is that it is an end to end workflow management tool. You can load from your memory card, CF, SD, XQD, CFE, or whatever type you’re using, directly into Lightroom.
Before LR, a common method was to create a new file to load into from the memory card. In Win8, Win10, or a Mac OS, use Settings to instruct your computer what to do when you insert your memory card. This speeds up your workflow from the first step.
Use Lightroom folders and keywords to organize your image files with a system you personalize for your own preferences. This will take a little time to set up when you first install and start using LR, but afterward, you can make this function work almost automatically. You never lose control of your image cataloging, because the settings are all made by you in the first place.
After using LR for a while, you have dozens, hundreds, even thousands of images all searchable by keywords. Want to include a stock image you have of the Rockies or a remote beach in with your submission for a travel agency or hotel chain? Use the LR keyword search to find the perfect image. No more guessing what what folders to look through. If you’ve been using keywords to organize, any image in your catalog can be found in seconds. Or the mother of the bride wants that group shot of her and her sisters three years after the wedding, keywords such as the client name and family or group will bring up the pictures for her to choose from.
End to end includes exporting and printing. Lightroom is one program you never have to close to take care of almost everything you might need to do for that photoshoot. Load, organize, edit, and send or print. Lightroom can handle all of it. At least most of it. However, there are still very good reasons to use PS.
Easy tools
Admittedly, the first version of Photoshop was a little intimidating for photographers to figure out and use. It had so many controls, some kept a little cardboard basic instruction folder by the computer to help keep track of what tool did what and how to access it.
Other programs came out, competing with Adobe, and usually one of the biggest selling points of those programs was that the tools were more intuitive to use. Photoshop seemed more similar to Adobe’s awesome vector graphic program Illustrator than to a darkroom or slide table experience.
Adobe has continued to improve the PS interface through the years, and when they launched LR, many of the best of those improvements were included. Plus, LR has a generally more intuitive operating feel than even current versions of PS. When in Lightroom, you can pretty much tell that exactly what you want to happen is happening. Like having instant feedback from a darkroom process. Many photographers appreciate LR’s controls being reminiscent of the controls on their digital cameras.
When Photoshop Is a Better Choice
Advanced tools
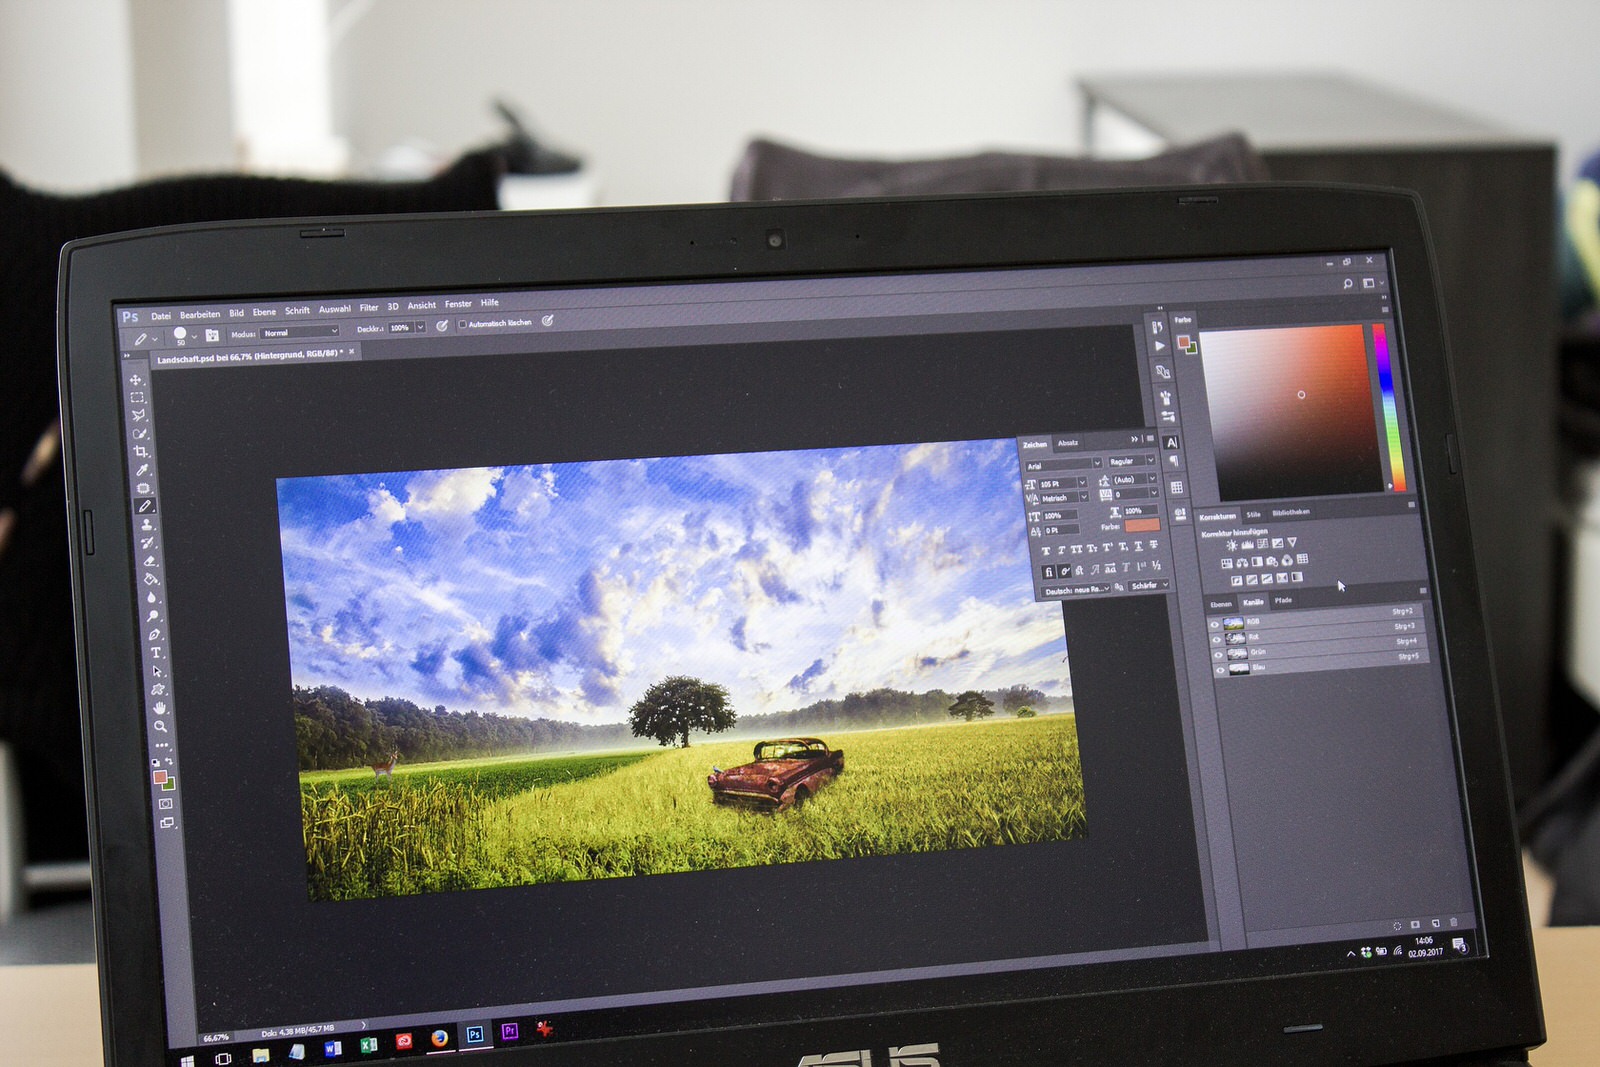
Simply put, it’s hard to imagine an image processing program with more tools, more options in those tools, and more editing power than Adobe Photoshop. With Photoshop, provided you’re good enough at it, you can make virtually any image change that you might envision. You can add clouds to a clear sky, turn dead grass green, remove that dirt smudge from the wedding dress train, you could even put another person’s face in place of someone else.
Deep edits
Though Lightroom has many of the same editing controls as Photoshop, the PS versions are generally deeper. This is the case in many of the editing controls, but as an example, let’s use the sharpen tool. In Lightroom, the develop module has a basic image sharpening panel, and also a simple output sharpening function. Photoshop has six different global sharpening tools, each tool having a wide range of options available. Add to that an array of localized sharpening tools. Now, multiply that by every editing action available in PS. You might find new tools, or new aspects of tools, every month that you keep using PS.
Cutting out or adding in
In Photoshop, you can cut out something from the picture that you don’t want and add anything else in its place. Maybe that light pole in the yard of the old estate ruins the classic look of the property. Take it out, clone in some grass or trees. Or in that group corporate portrait session, the boss only looks good in one frame out of the 15 images you worked so hard to capture, but that’s the frame that nobody else was smiling. Cut his head out of that image, replace it on him in the image with everyone else smiling.
This is also the tool that lets you add roses to the barren garden, or bright puffy clouds to the clear sky, or an image in the TV or monitor screen for that advertisement. Yes, this is the tool that allows you to put wings on a horse or a face in a brick wall. If you can imagine it, you can probably do it in PS.
HDR
High Dynamic Range is a photographic method used to defeat the issue of a scene having a wider range of dark to light than can be reproduced in a photographic image. In the days of film, photographers used the Zone System, adjusted contrast in developing or printing, and dodged or burned in parts of the scene. In digital image processing, you work with the deep levels of information in the RAW files to accomplish similar things.
Or, you can blend images taken at different exposure levels together. In PS, this is done with the Merge Images tool. If you’ve taken a series of tripod mounted exposures, some optimized for the shadows, others for the highlights, and at least one average exposure, then Photoshop can combine those into one image with the entire dynamic range of the scene represented.
HDR images don’t have to have that look that some consider strange. It can be done in a very natural looking way. A good number of the best selling nature scenes or architectural images have probably been HDR processed to show more of what it looked to the naked eye of the casual viewer. Few people, besides other photographers, are even aware of how highly processed those images are. Of course, if you like the other worldly artsy effect some that photographers do, then go for it. Art is art.
Panos
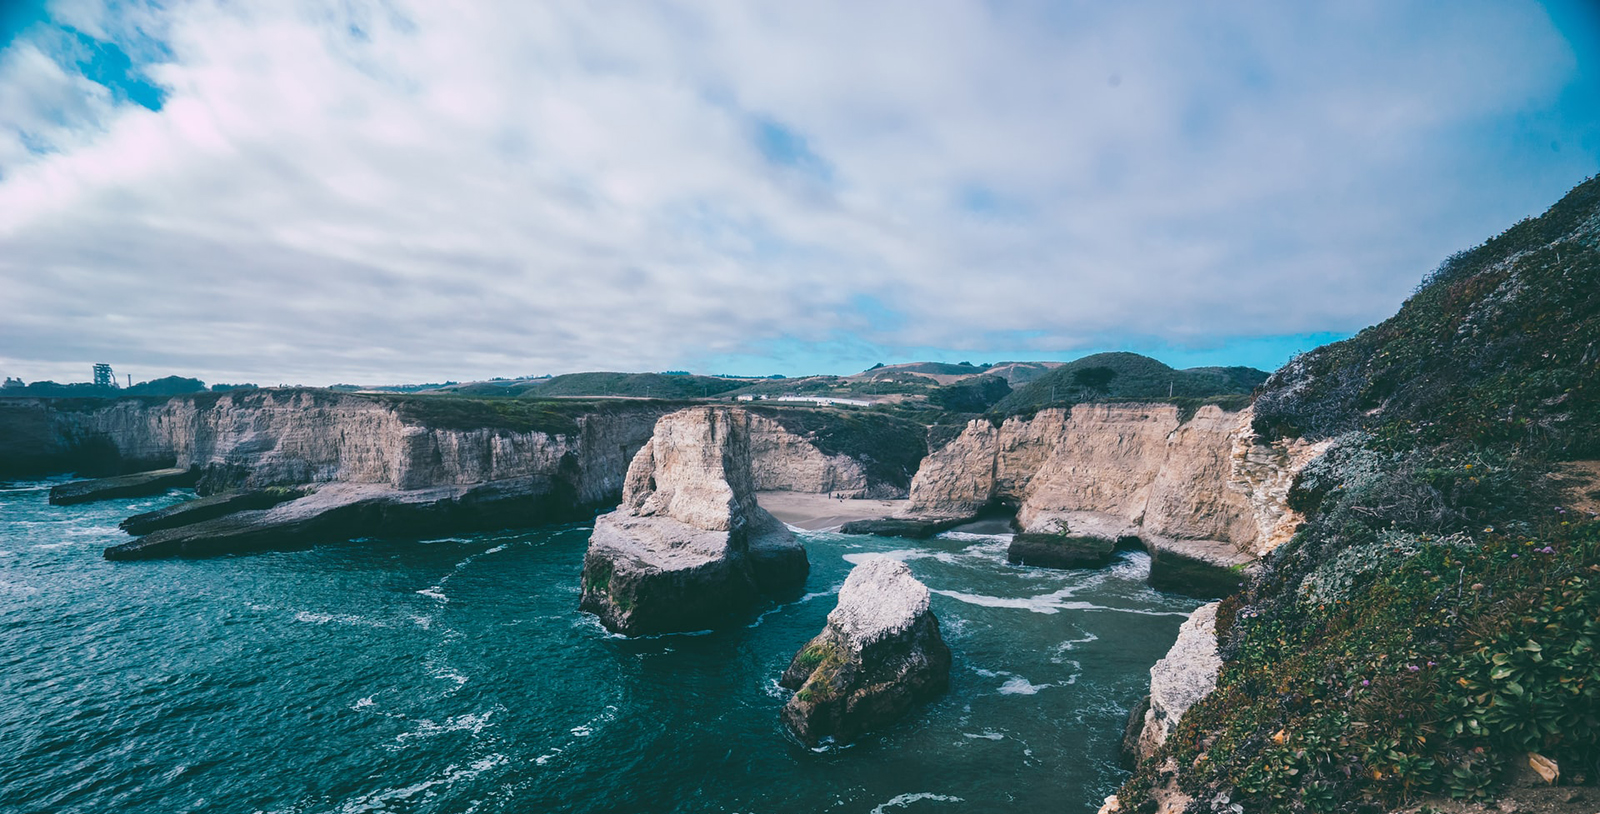
Merge also gives the option of creating a panorama. This will be a static image, not the drag-and-see-things type of file made with PTGui. If you take several images, each with a slightly different view of the scene, you can merge the images together into one large image. Careful technique in capturing the initial images will result in a better final panorama.
When capturing the initial images for panoramic stitching, it’s good practice to use a tripod with a good head, maybe even a pano head, and have an element of the scene overlap from one image to the next. That way, the program has something to grab on to for panoramic stitching.
Layers and masking
Another feature that Photoshop really shines in is using layers, masking, opacity, and eraser tools. Any number of photographic elements can be added, subtracted, merged, or changed. Some other programs have added these tools to their image manipulation features, but PS rules the roost here.
Layers and masking are some of the harder tools to use without a good tutorial or instruction book. Thankfully, there are quite a few resources that can guide us through the process. After getting used to these tools, it can become almost second nature to use it.
Using PS and LR together is a solution to many photographic editing challenges. Use LR for most things, and PS when you need to. There is even a cost effective way to do this.
Which One Is Better Supported?
Support for complicated, full featured programs is a necessity. These post-processing image manipulation programs do so many things, it’s hard to become a complete expert on every aspect of the program. Remember those program cheat sheets we kept at our desks? Well, now we can watch online tutorials that allow us to see the features in use. Many schools and universities even have college credit classes in PS, besides all the seminars for beginners and advanced users.
Lightroom is extremely popular with event photographers such as wedding professionals. LR users have lively, well supported online forums, both from Adobe and from independent photographers.
Lightroom also has many people offering actions and presets, either free or pay, that target specific needs of the various photographic professions. So, while both PS and LR have support in this, LR seems to be the program more photographers use on a regular basis.
Since Lightroom is one of the more popular programs used by a huge number of photographers, pro and hobbyist, it makes sense to me that there is a whole lot of online discussion and support available for it. With Photoshop being virtually a standard in post-processing, and having been around for such a long time, it also has much support available.
LR is all the program most photographers will need
About 90 percent of a photographer’s post-processing work could be accomplished in Lightroom. Then, switch to Photoshop for the deep edits and extensive post-processing image manipulation that some images (or clients) may require.
Both PS and LR are on Adobe’s Creative Cloud Photography subscription
A yearly Creative Cloud (CC) subscription term for individual photographers is available for a very low monthly payment of $9.99. Other subscription plans are accessible for businesses or schools with multiple users.
The Photography plan is one of the most cost-effective ways of using multiple Adobe creative programs. Adobe Spark, for creating social media posts and video clips is also included in the Photography CC plan.
You can also just get a copy of Lightroom or Photoshop by itself as well, if you only plan to use one.
The value of file management is huge
Lightroom’s amazing workflow time savings can greatly reduce costs and frustrations in post-processing. Being able to catalog with keywords is a huge timesaver by itself. Adding in the end to end file management features, Adobe has created a program that may be all many photographers will ever need.
When needing advanced PS tools, there are few worthwhile substitutes
A photographer can do things with PS that many programs won’t let you. Those deep edits and the ability to change anything in the image, given enough instruction and practice anyways, makes Photoshop the powerhouse post-processing image manipulation program of your dreams. Also, some clients may at times require submissions to be in .PSD files.
Learning the basics of both programs is a good practice for all photographers. This is a cost-effective option since both are included in the Adobe subscription plans. What type of photo business you run or what kind of advanced hobbyist you are will be an important factor in which program you use. Why not use both? Then, you are covered for almost anything.
