Film & Vintage Coloring in Photoshop
-
Add to
favorites
-
DifficultyMedium
-
Length1.75 hours
-
Videos10
-
Software
description
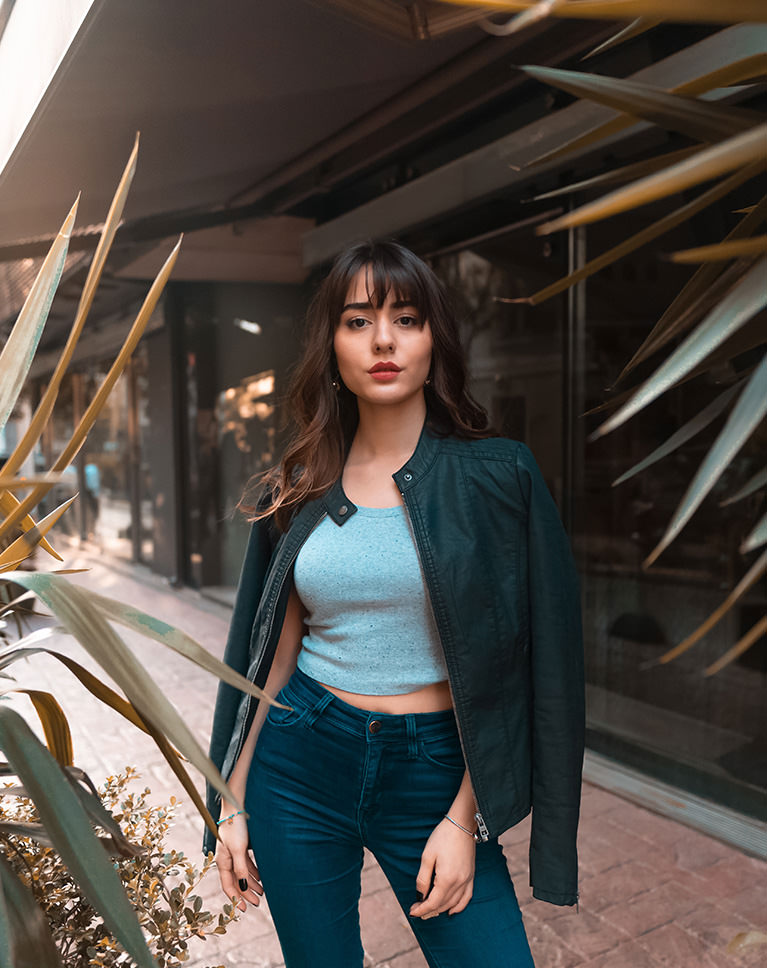
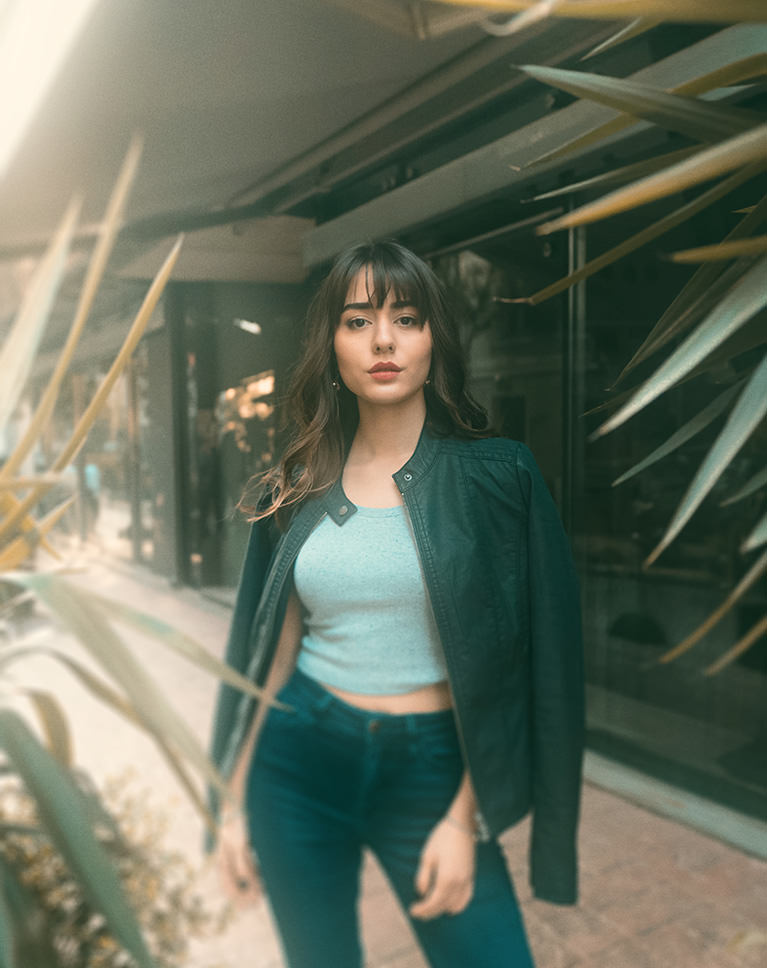
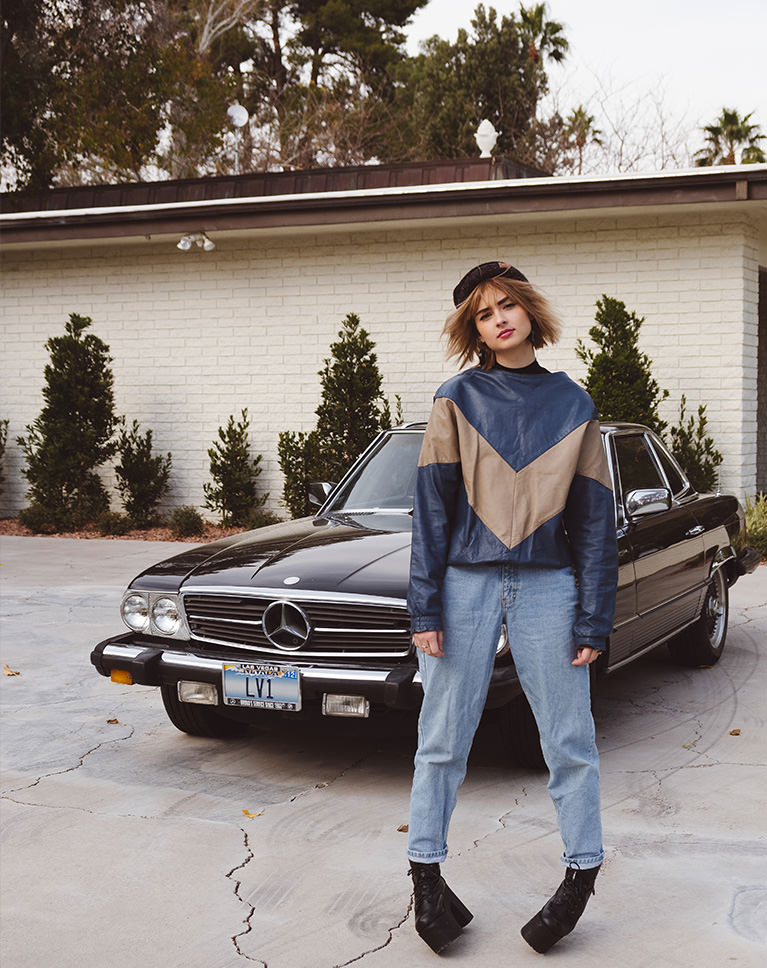
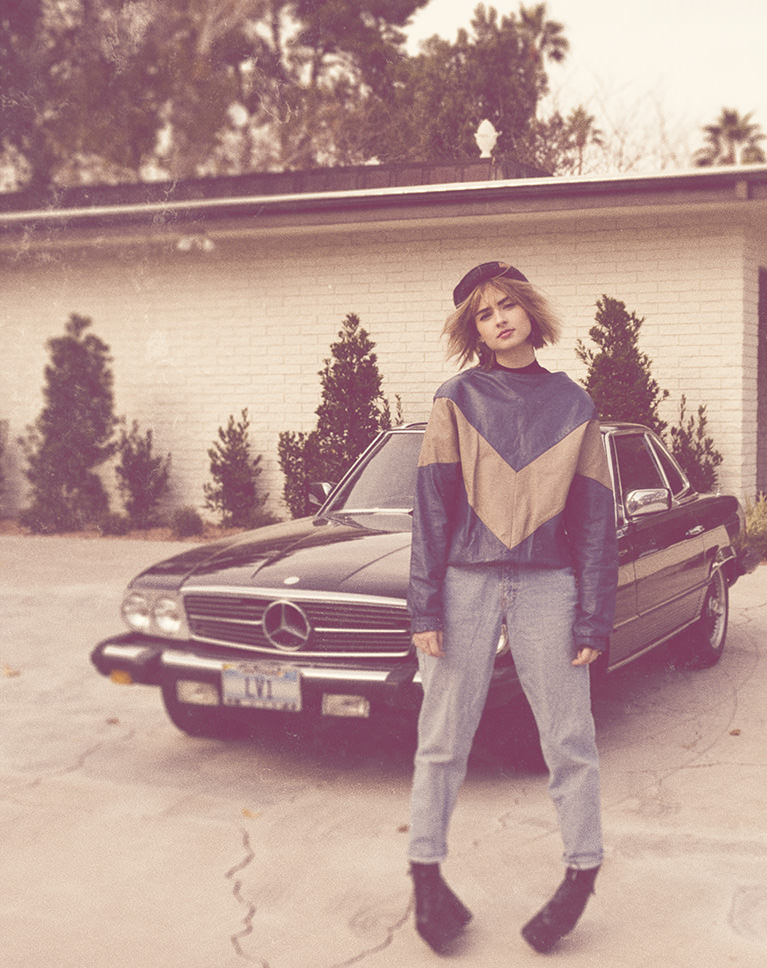
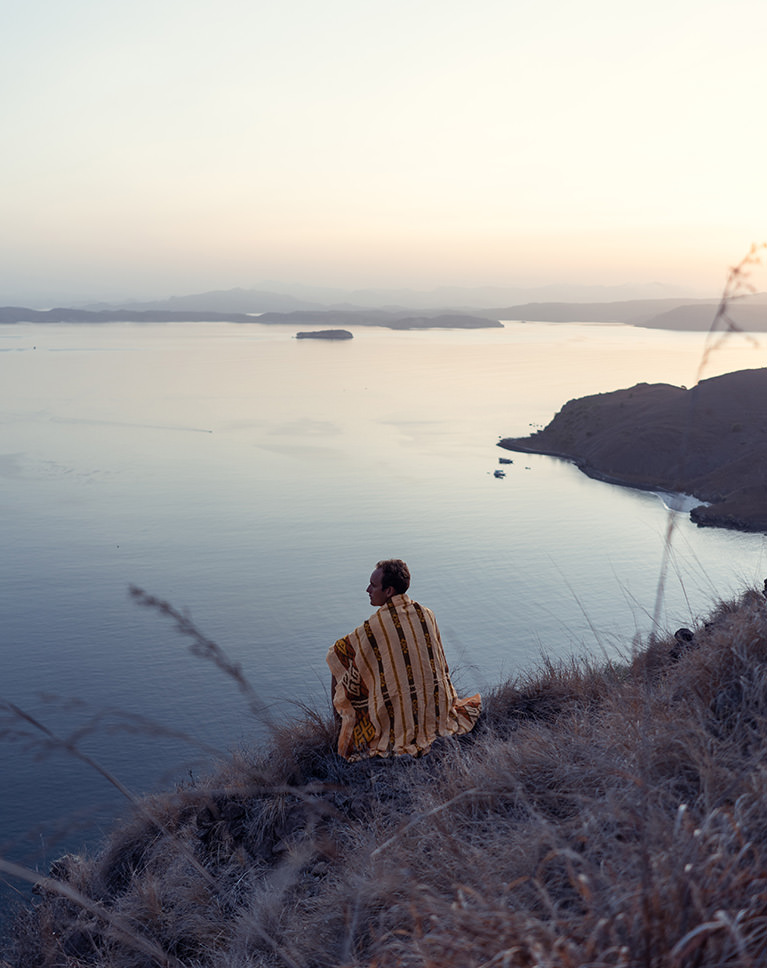
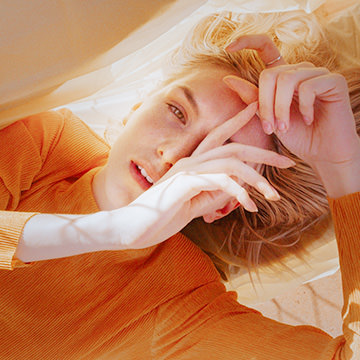
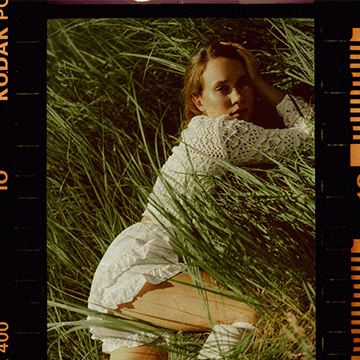
Give your photos some analog love in Photoshop! Learn how to apply vintage coloring, realistic noise and grain, and subtle light effects like lens flares and light leaks that will give your images that classic 35mm feel.
this course includes
- 9 Sample Images
- 3 Textures
- 1 Custom Gradient
Share
Table of Contents
-
01 - Levels & Curves13:46m
-
02 - Black & White6:13m
-
03 - Gradient Maps11:26m
-
04 - Blending12:22m
-
05 - Noise, Blur & Filters21:03m
Course Downloads
Vintage Style. Analog Love.
Film & Vintage Coloring in Photoshop
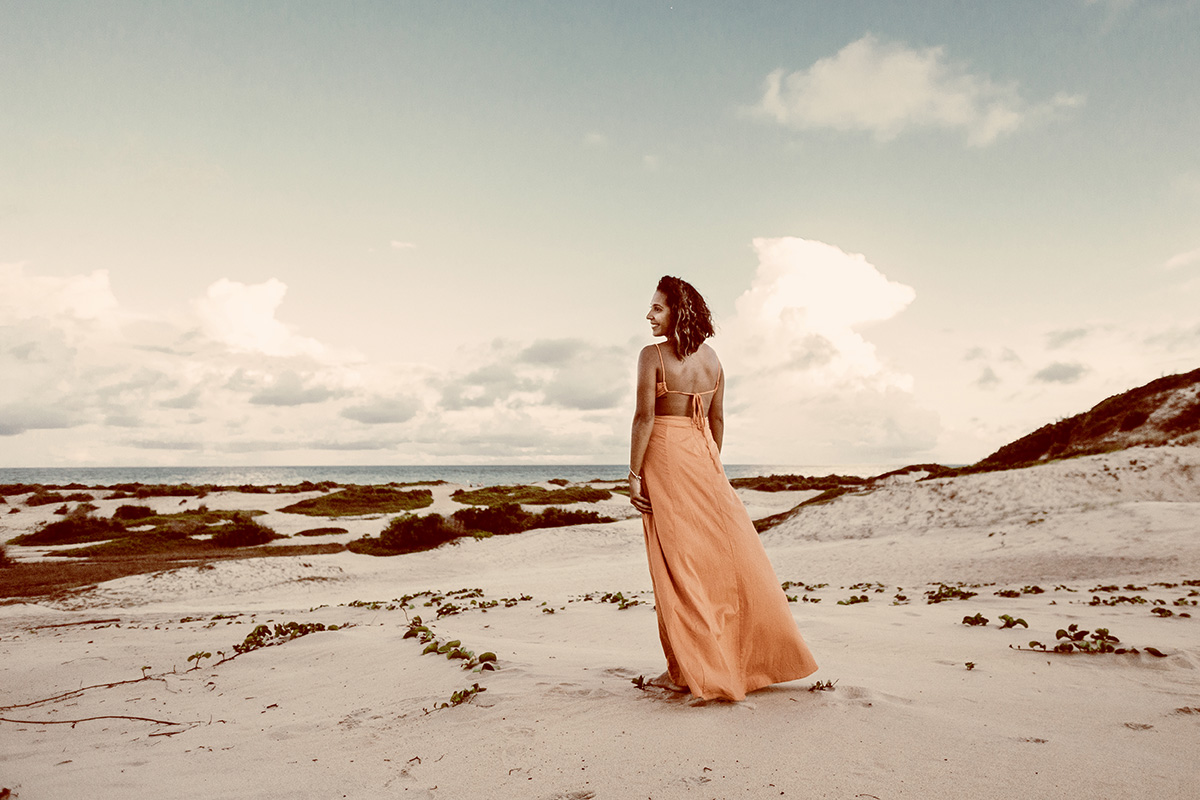
Perfect for wedding, nature, and lifestyle photos, adding a film and vintage look to your images can help those memories last a lifetime. From sepia tones, to black and white, to natural-looking grain, we show you how to create classic analog looks in Photoshop.
Professional Color Grading Tools
Learn all the professional Photoshop tools and techniques to add stunning vintage coloring to your images. Learn about Levels and Curves, Gradient Maps, the power of Blend If, and much more!
Noise, Blurs & Filters
The charm of classic film comes from the subtle imperfections in the images. Light leaks, noise, soft edges and blurs. We show you how to recreate each of these qualities to give your images an aged and faded look.
Soft Lighting Effects
From light leaks, to lens flares, we break down the tools and techniques that you can use to create convincing light effects from scratch!
Natural Vignettes
Vignettes can help to simplify an image while drawing more attention to the subject. They’re also a recognizable quality of old-school film photography. We show you how to add natural-looking vignettes to any photo.
Portraits & Landscapes
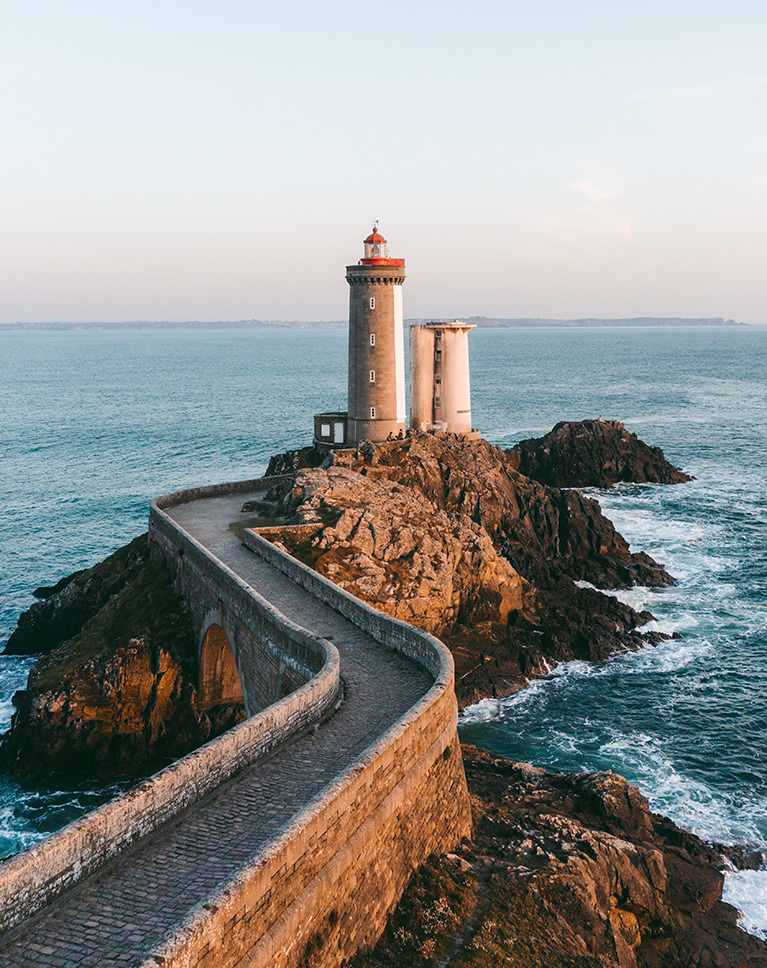
Film and vintage effects are great, but they’re not right for every photo. While these techniques are fantastic for portraits, landscapes, and everything between, we show you how to identify images that match perfectly with these classic looks.
Sepia Tone
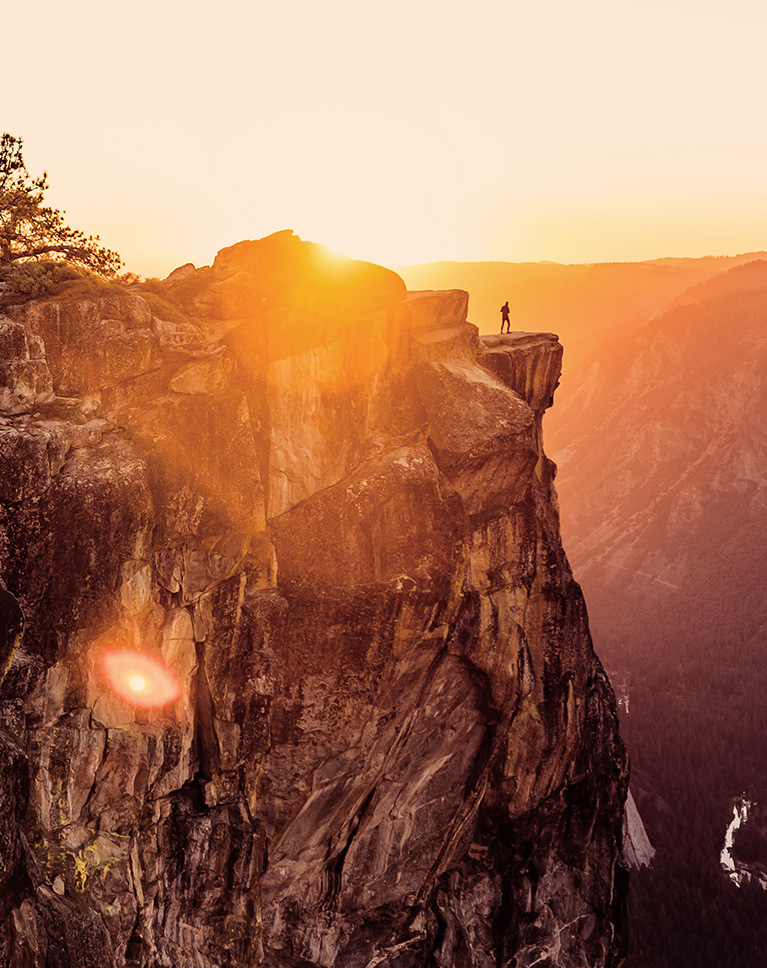
It wouldn’t be a vintage coloring course with the browns and golds of sepia tone. We show you how to add your own sepia coloring from scratch, creating creamy skin tones, rich landscapes, and a classic look.
Adjustment Layers
Adjustment Layers are the key to professional color grading in Photoshop. Learn how to use a variety of Adjustment Layer to blend colors into an image and work non-destructively so that you can get back to the original photo at any time. And we think these tools are so important that they have their very own PRO course: How to Master Adjustment Layers in Photoshop!
Coloring with Gradients
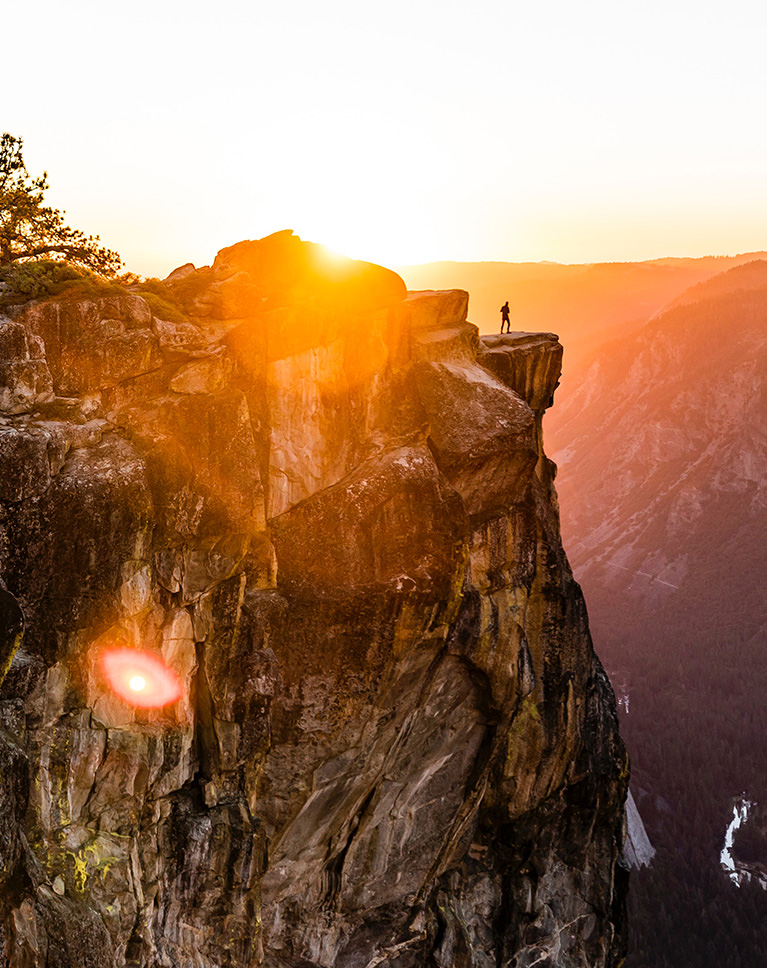
Gradients are a great way to seamlessly blend effects into an image. From soft lighting effects on a shimmering sunset, to subtle color grading on a powerful portrait, we show you how to take full advantage of gradients in Photoshop. Best of all, we include a custom gradient that you can download and use on your own photos!
Film & Vintage Style
Levels & Curves
Levels and Curves can do it all! From detailed exposure adjustments, to flawless color grading, we show you just how much these powerful tools can accomplish.
Natural Skin Tones
Stylistic color grading can take an image to the next level, but unnatural skin tones can ruin an otherwise beautiful portrait. Learn how to apply coloring effects in Photoshop while preserving the natural warm tones found in skin.
Blend If
If you came here for professional techniques, Blend If is sure to satisfy. Blend any effect into an image based on highlight, midtones, and shadow levels for unparalleled control and precision.
Coloring in Photoshop
Coloring is one of the most subjective parts of the editing process, and this is just one of many styles out there. We show you how to let the content of an image guide your creative process so you can quickly decide if an image is right for a classic film look, a Bright & Airy feel, or if it’s on the Dark & Moody side.
Realistic Light Rays & Light Leaks
Learn how to use tools like Gradients and the Brush Tool to create realistic lighting effects! Whether you want some light rays shimmering through a window or light flares from a beautiful sunset, we’ll show you how to do it.
Vintage Textures
Learn how to apply worn paper textures to your images in Photoshop! This course includes 3 high-resolution textures that you can use to give your photos an authentic vintage feel.
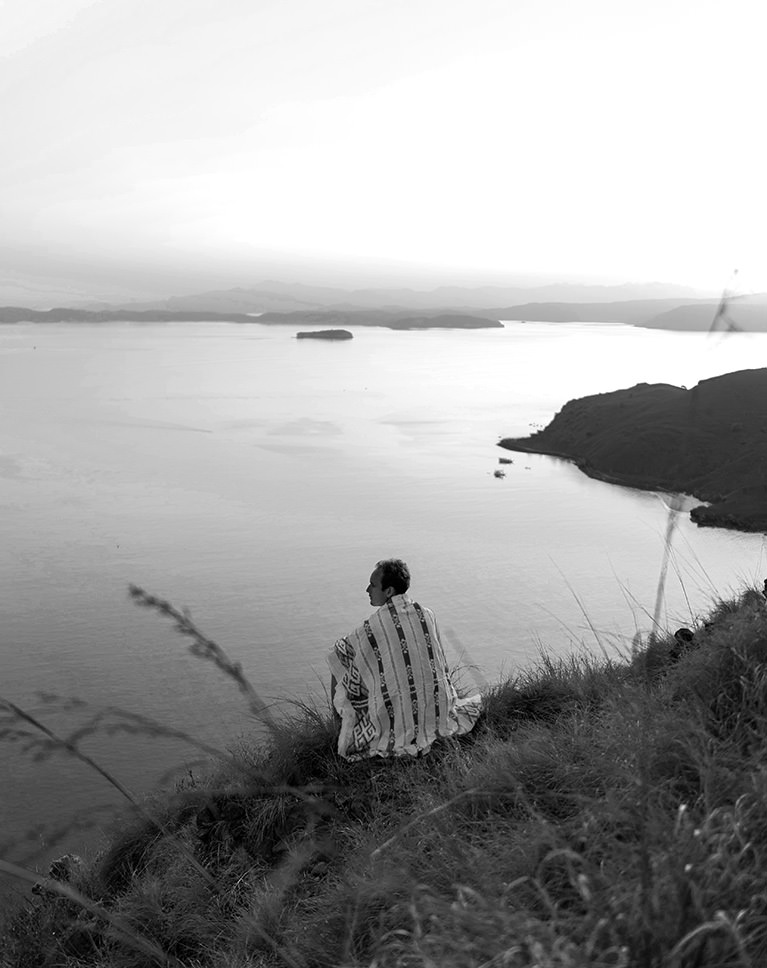
Black & White
Black and white can help simplify an image while putting more focus on the content and composition of a scene. We show you how to convert any photo to black and white with just the right amount of texture and contrast.
Gradient Maps
Gradient Maps are one of the best ways to quickly color grade a photo with stunning results. Learn how to use Gradient Maps to assign colors to the highlights, midtones, and shadows of an image and then blend them in for a stunning, natural feel.
Class Instructor

Aaron Nace
PHLEARN Founder – Class Instructor
Aaron Nace is a photographer, Photoshop artist and founder of PHLEARN. He is the #1 Photoshop instructor in the world with millions of YouTube subscribers.
Reviews
New & Popular Tutorials
Training Site in
the World
Tutorials!
Ratings
and Counting
Subscribers

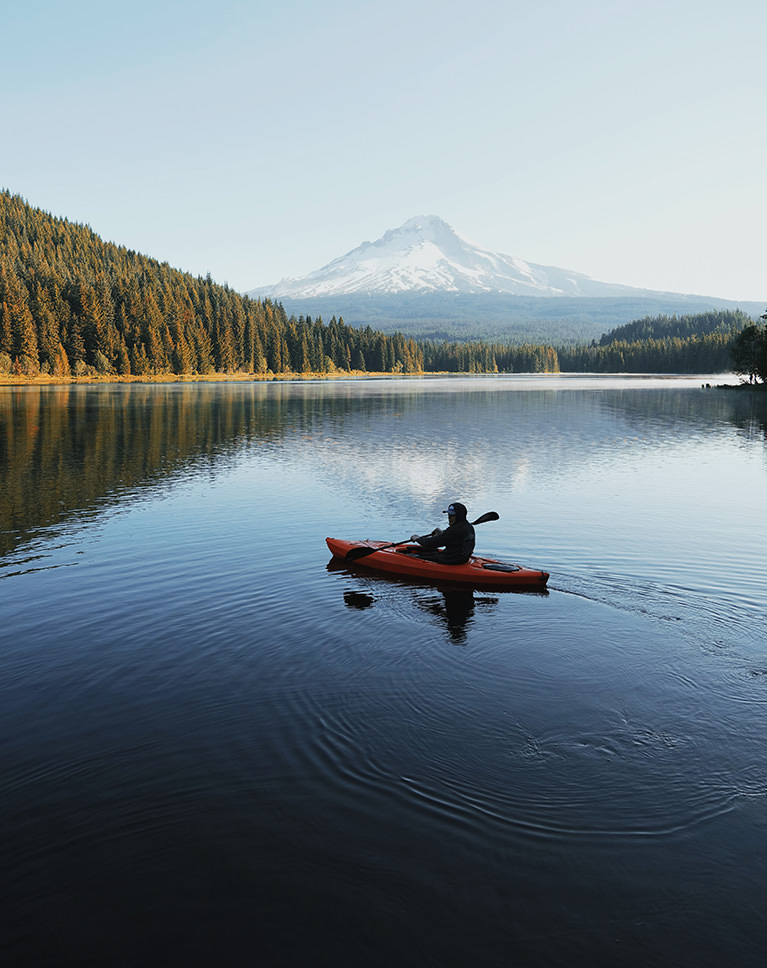
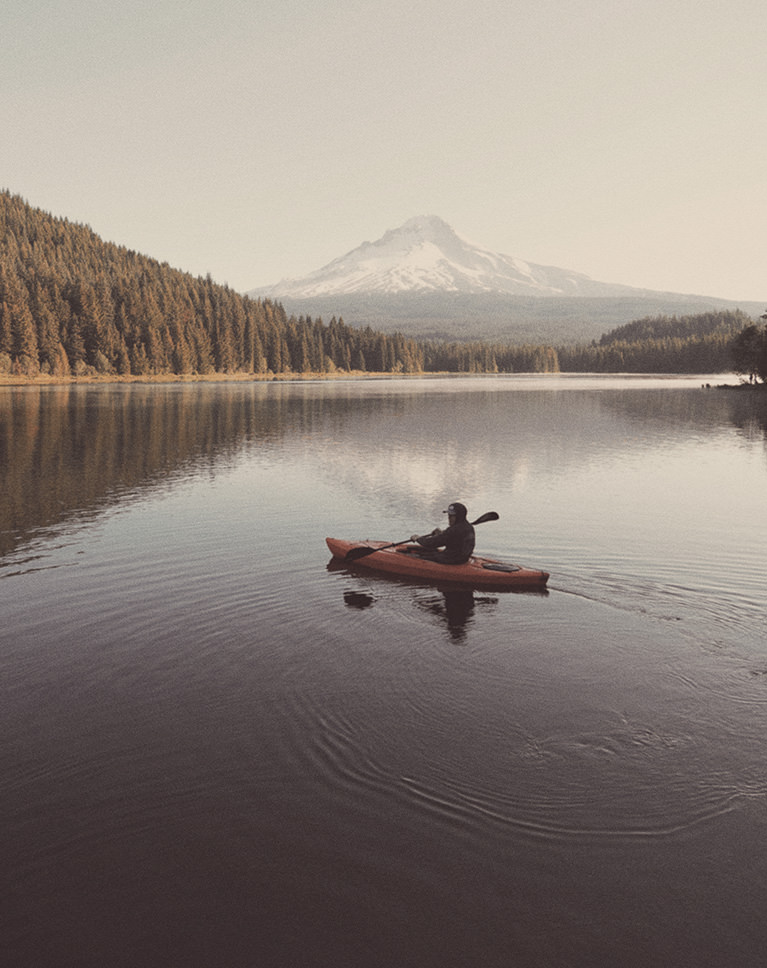
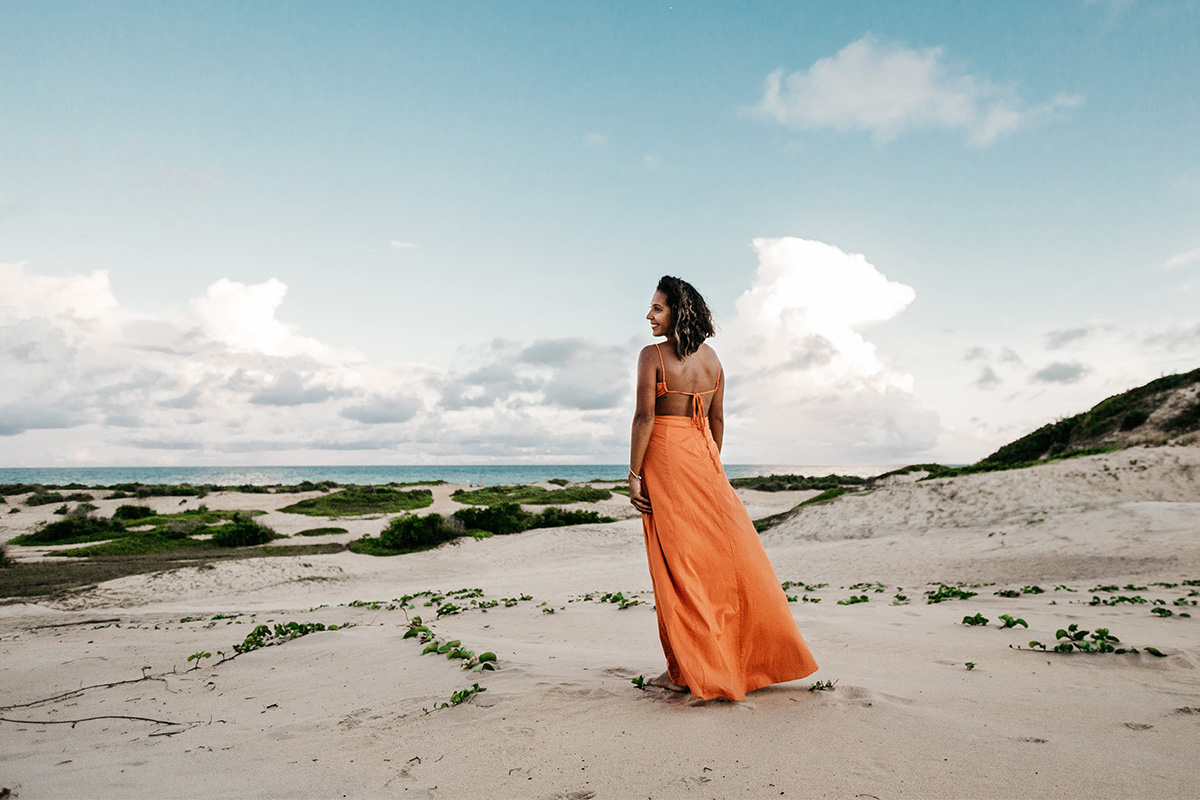
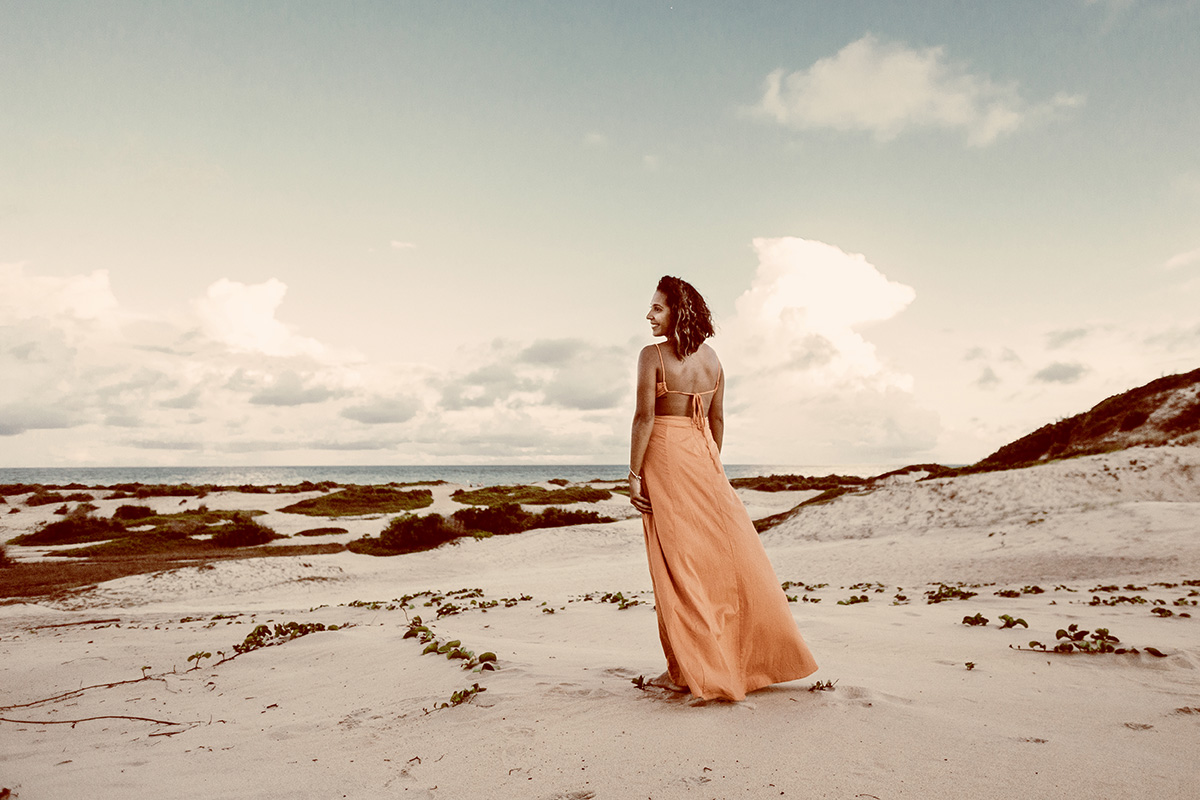




Thanks for creating this class! I was using other programs to create Vintage Photo effects, but I wanted to gain a better understanding of how to recreate similar Vintage effects using Photoshop. As always, Aaron did a fantastic job making this topic simple and approachable. I have learned more about Photoshop from Aaron than from any other source on the internet. I’d recommend this course to those interested in creating Vintage Photo effects.
Great tutorial. Very easy to understand and follow along. I recommend the class for anyone at any level
Understandable even for people who are not native English speakers. The pace of the learning units is pleasant. Aaron manages to teach not only step-by-step instructions, but also the meaning and goal of each step. In addition, Aaron and his team show that there is no royal road in Photoshop and encourage people to go their own way. … and all this in the typical Aaron way: personally and with a lot of good mood.
Thank you, another great tutorial on different ways to colour images and for the hints and tips
Really good. Good ideas.
Another great tutorial on simple stylizing
Perfect Aaron, I enjoy it!
Excellent course, keep it up
Absolutely wonderful tutorial! Love the pace, LOVE the examples and how you tie everything together. Super interesting and fun. Looking forward to the next one! Thanks guys!!!!
Another great tutorial … great pace too.
A lot of information, fast pace, love it!
Excellent tutorial. Again you make it so easy to understand and fun . I used to belong to other sites but they don’t come close to yours. I started helping others in learning photoshop and immediately tell them to join your site as they can’t go wrong. Please keep the tutorials coming!!!
This is fun and easy. Thanks, Aaron!
First, love how you organize the videos. Most obvious reason is that when I need to go back to something even months later it’s very quick to find a specific technique or idea. More importantly is that it allows me to start with the examples at the end so that I understand your thgouth process and how you approach the work. Then I can dig into the techniques in detail. Just the way my brain works. Coloring is such an important part of our art and this tutorial expands my toolkit AND my mind. I’m a tool geek which is massive fun but not always productive. Including so many examples helps with seeing and how to think about this aspect of the art. A must-watch tutorial for all Phlearners!
Great tutorial, loving it so far. I like how Aaron shows us how to use different tools for similar effects. The only issue I have is that the Chapter 3 videos are the same ones from the Dark and Moody tutorials.
Again a nice and in depth tutorial. At first I was a bit sceptic about coloring. But following the tutorial and trying out some things on my own I started to feel some of my images were opening up. So again Aaron, a big thumbs up.
I was thinking to myself, “Why are the tools tutorials +1o minutes???” that’s crazy right? Wrong. I had no idea how much I much I didn’t know. haha! I’m so grateful i checked my emails and i saw the discounted price of phlearn. I instantly bought it without a doubt. I’ve been looking at videos everyday for at least 3-4 hours a day because I honestly learn something new each day! I’m deploying soon so I started a study guide because everything i need to know about photoshop is right here on this site! thank you so much to the Phlearn team!