Download Assets
description
On Day 4 of 30 Days of Photoshop, you’ll learn the power of layers for creating stunning photo composites. This tutorial covers how to use layers for nondestructive editing, create layer masks, and use blending modes to seamlessly combine multiple images and effects into one cohesive final piece.
Follow along with all 30 episodes as we explore the the magic of Photoshop together!
Watch Next
JOIN 30 DAYS OF PHOTOSHOP (FOR FREE!)
Ready to jump in? Sign up and we’ll email you a printable calendar and daily class schedule so you can get started right away!
Image Source
- Alex Azabache
- Karsten Winegeart
Images sourced from Unsplash.
Share
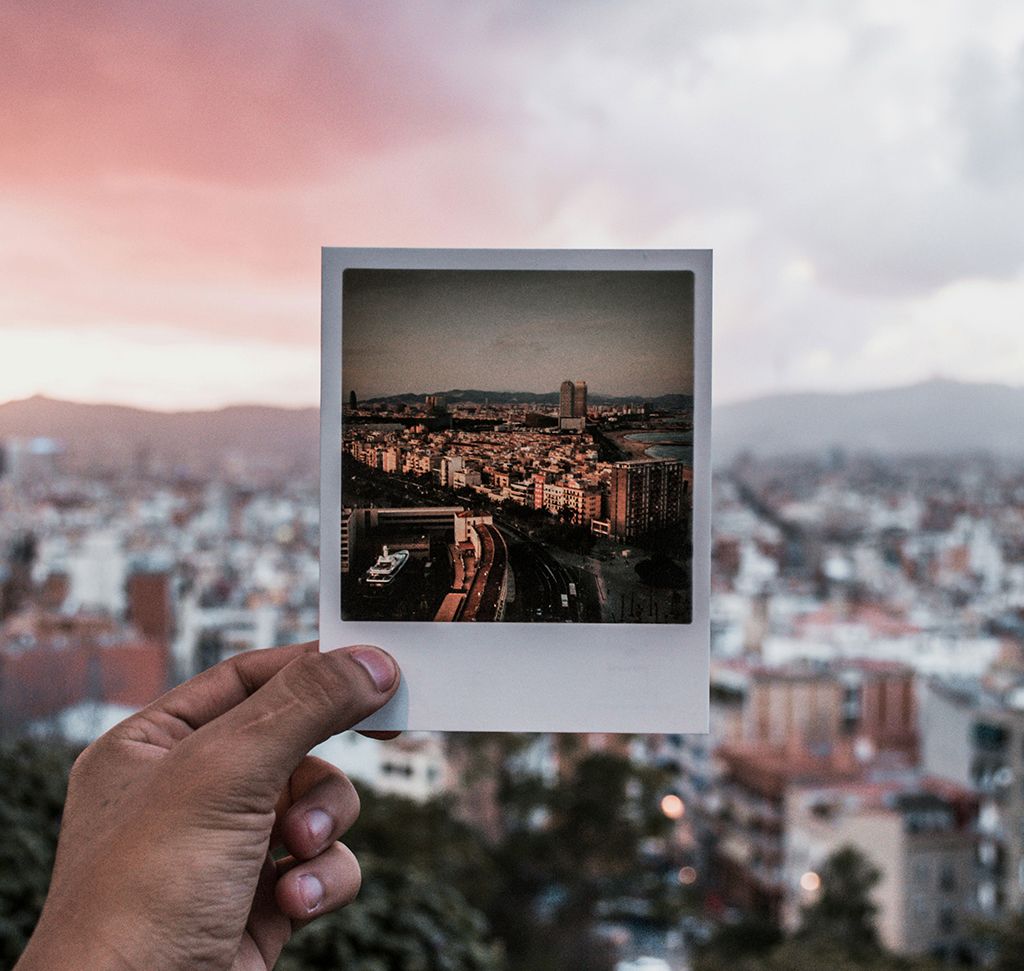

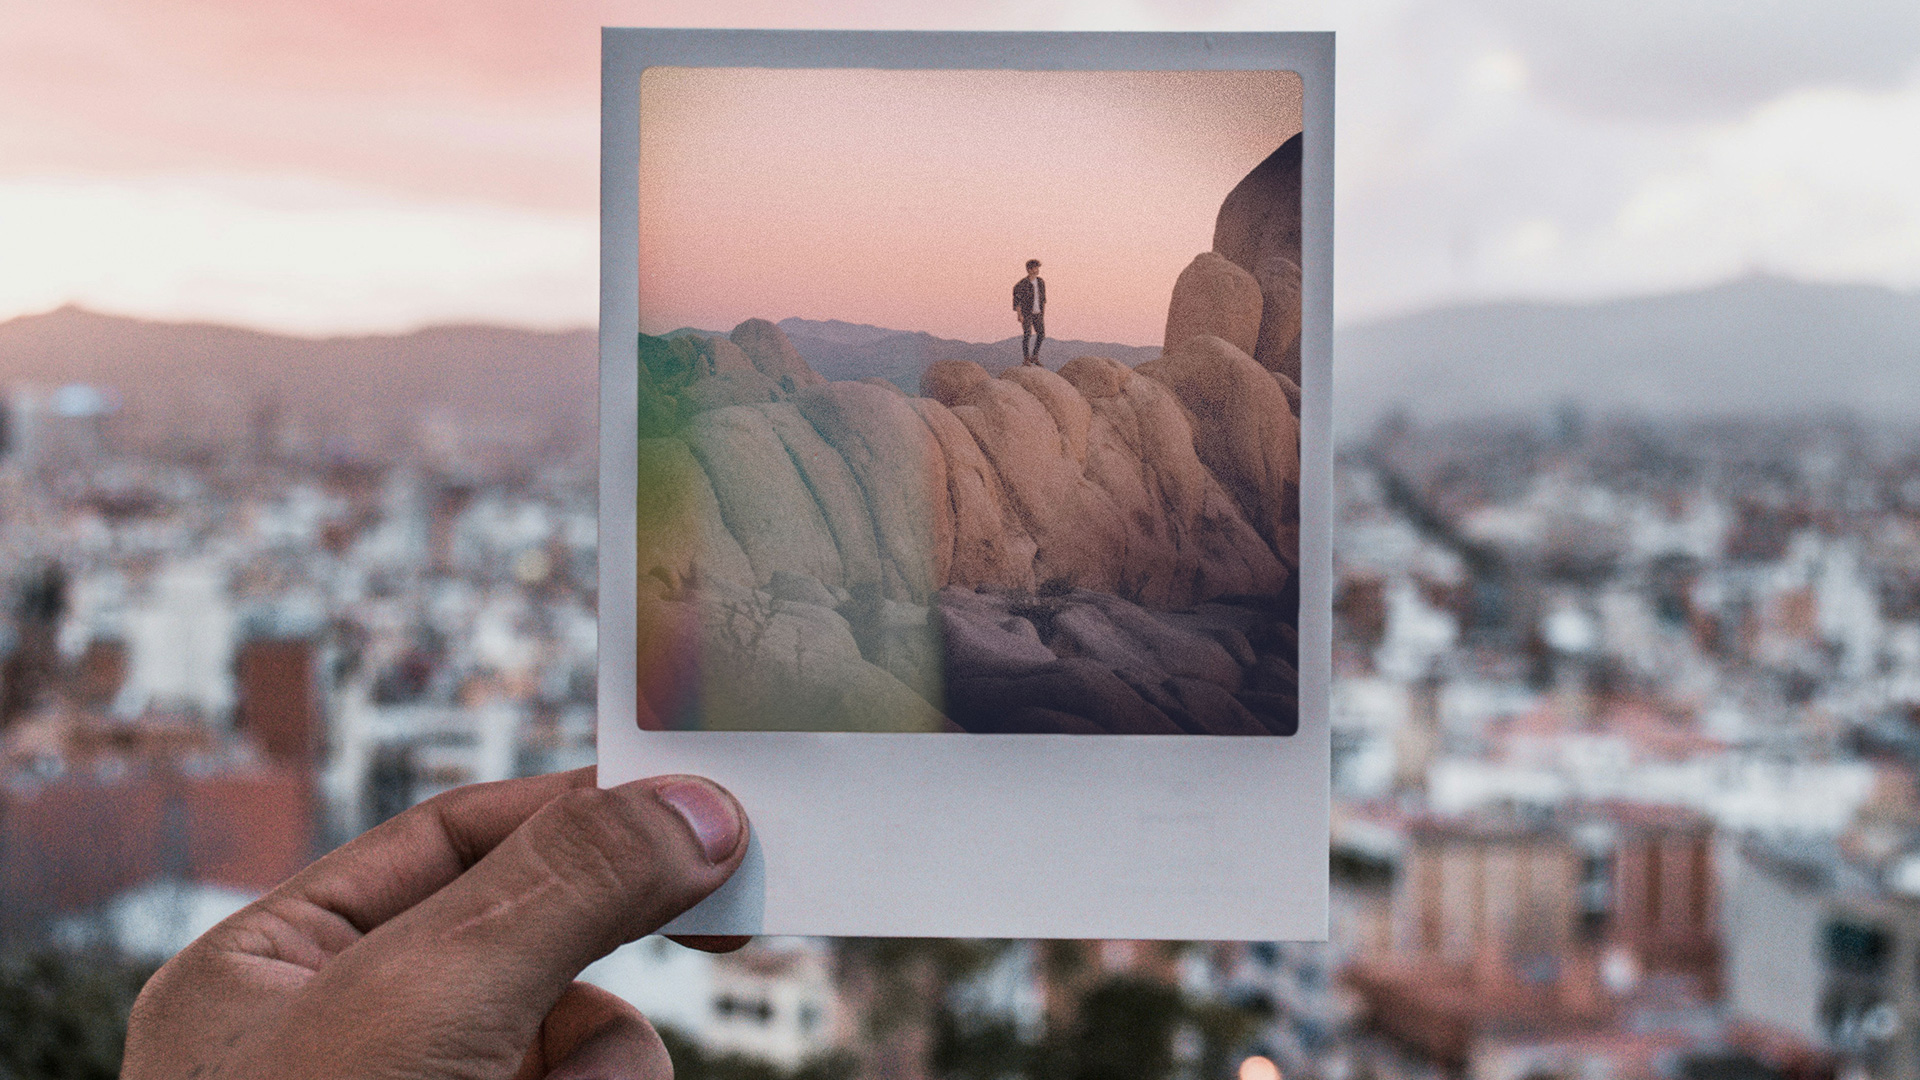
AFTER
BEFORE
Layer Your Way Up
Layers are the core of Photoshop’s nondestructive editing. They allow you to work on different elements of an image independently, giving you full control to adjust, move, or remove parts of your work without altering the original photo. This guide will walk you through a photo composite project, highlighting key layer functions and techniques to create a seamless final image.
Setting Up Layers
First, you’ll learn to handle and manage your layers. Drag and drop a new image into your main document. This automatically creates a new layer which appears in your Layers panel (if you don’t see it, go to Window > Layers). Your new layer will be a Smart Object by default, which allows for nondestructive editing. Remember that the background layer is locked by default. To unlock it, just double-click the layer and click OK. You can rename any layer by double-clicking its name.
Compositing with Masks
To combine images, you’ll use a layer mask.
1. Start by making a selection on your background layer using a selection tool like the Quick Selection Tool (Keyboard Shortcut “W”). This selection is independent of the layer and can be used on another.
2. With the selection active, select the new layer and click the Add Layer Mask icon in the Layers panel. This will make only the selected area of the new layer visible.
3. To move the layer and its mask together, ensure the chain link icon between them is active. To move them independently, click the chain link to unlink them. You can use the Move Tool (Keyboard Shortcut “V”) to adjust their position.
4. To refine your mask, double-click the mask thumbnail to open Select and Mask, where you can adjust feathering and contrast for a more realistic edge.
Adding Effects and Filters
To enhance your composite, you can add more layers and effects.
Create a new layer for light leaks and change its blending mode (for example, to Lighten or Screen) to blend it with the layers below. You can also create a clipping mask (Keyboard Shortcut: Alt/Option + Click between layers) so that a layer is only visible within the boundaries of the layer beneath it. You can also apply Smart Filters to your Smart Object layers, such as a Gaussian Blur or Add Noise (found under the Filter menu). Because these are Smart Filters, you can double-click them in the Layers panel at any time to adjust their settings.
We’ve covered the foundational use of layers, from simple organization to advanced compositing with masks and filters. All of these techniques allow you to edit without affecting your original image. Tomorrow, we’ll dive deeper into adjustment layers!.


